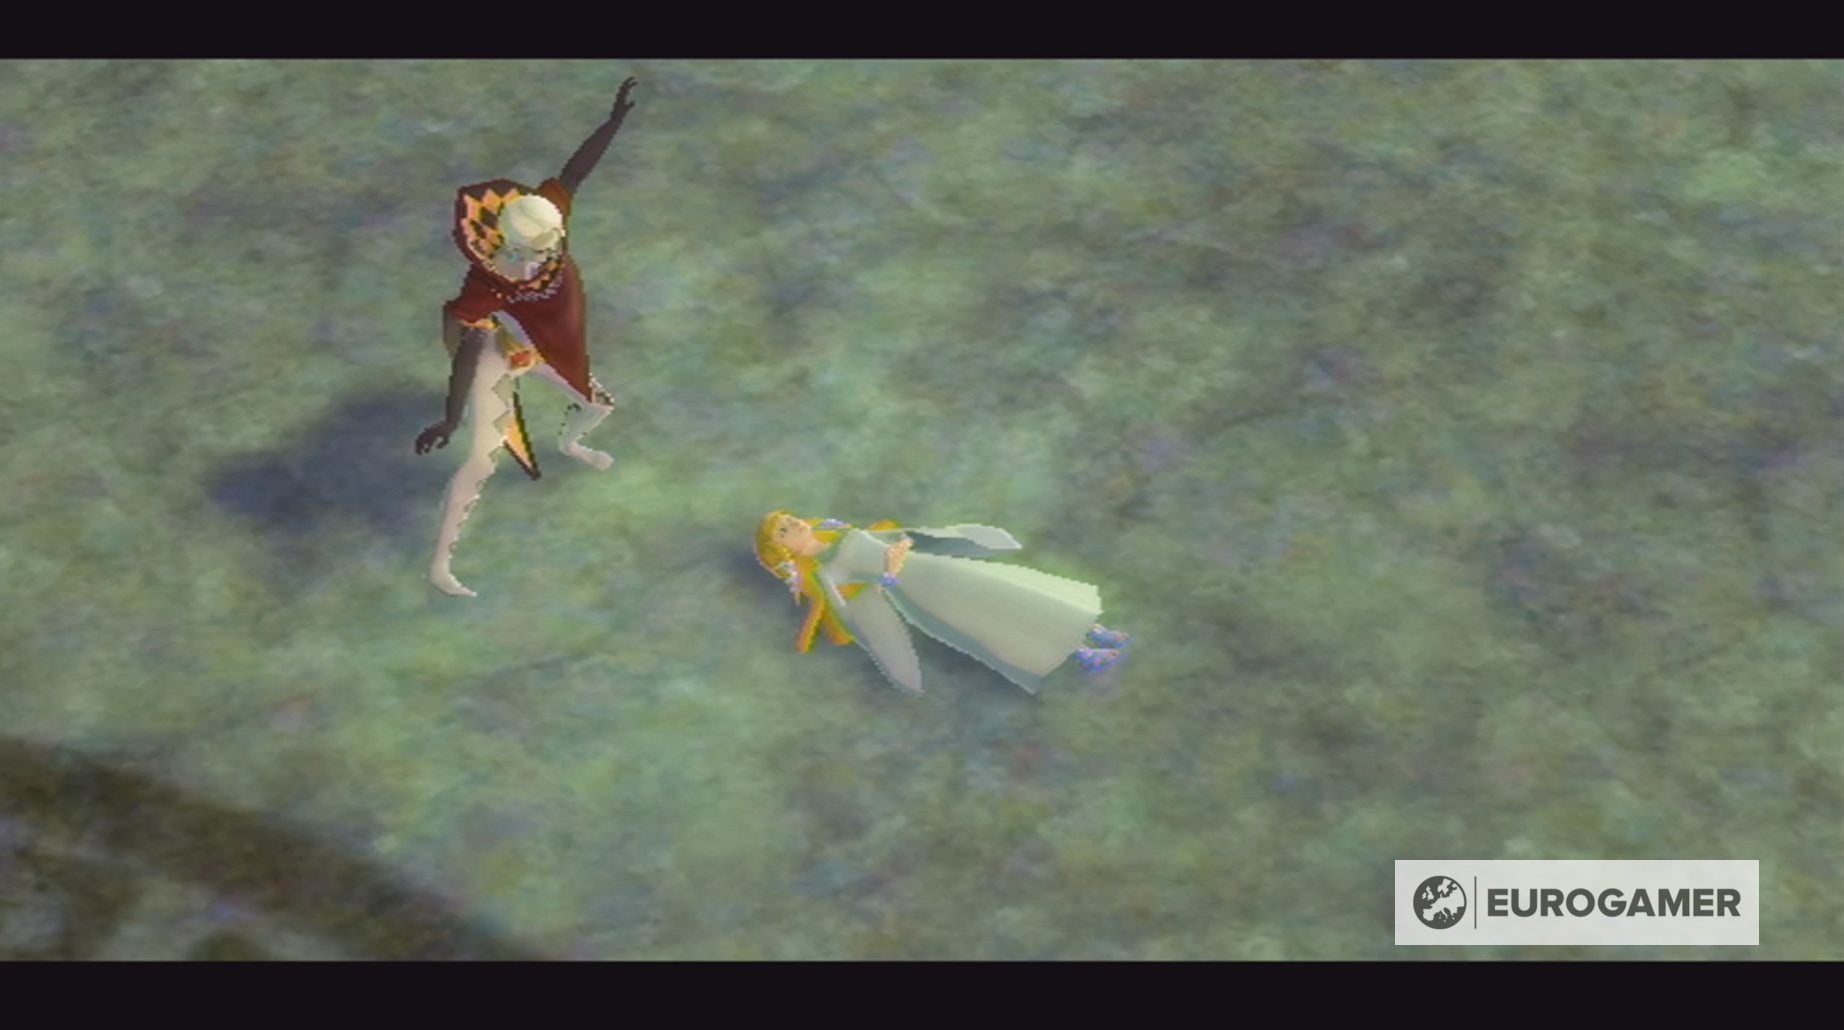
Ghirahim, the Demon Lord, is among the two recurring bosses, the opposite being The Imprisoned, you will face in The Legend of Zelda: Skyward Sword.
Like Hyperlink, Ghirahim is looking for Zelda, however his intentions are undoubtedly way more violent.
Ghirahim would be the boss of the Skyview Temple, the Hearth Sanctuary and penultimate boss on the Sealed Grounds. Under you will discover Ghirahim boss methods for all three encounters that can assist you banish this self-titled lord.
On this web page:
If you would like to be taught extra, go to our Skyward Sword walkthrough.
Skyview Temple Ghirahim boss battle technique in Zelda: Skyward Sword defined
Your first battle with Ghirahim in Skyward Sword takes place within the Skyview Temple, making him the primary boss battle of the sport.

This battle is split into two levels by a cutscene and, under, you possibly can uncover what to anticipate, together with how one can defeat Ghirahim:
Stage One
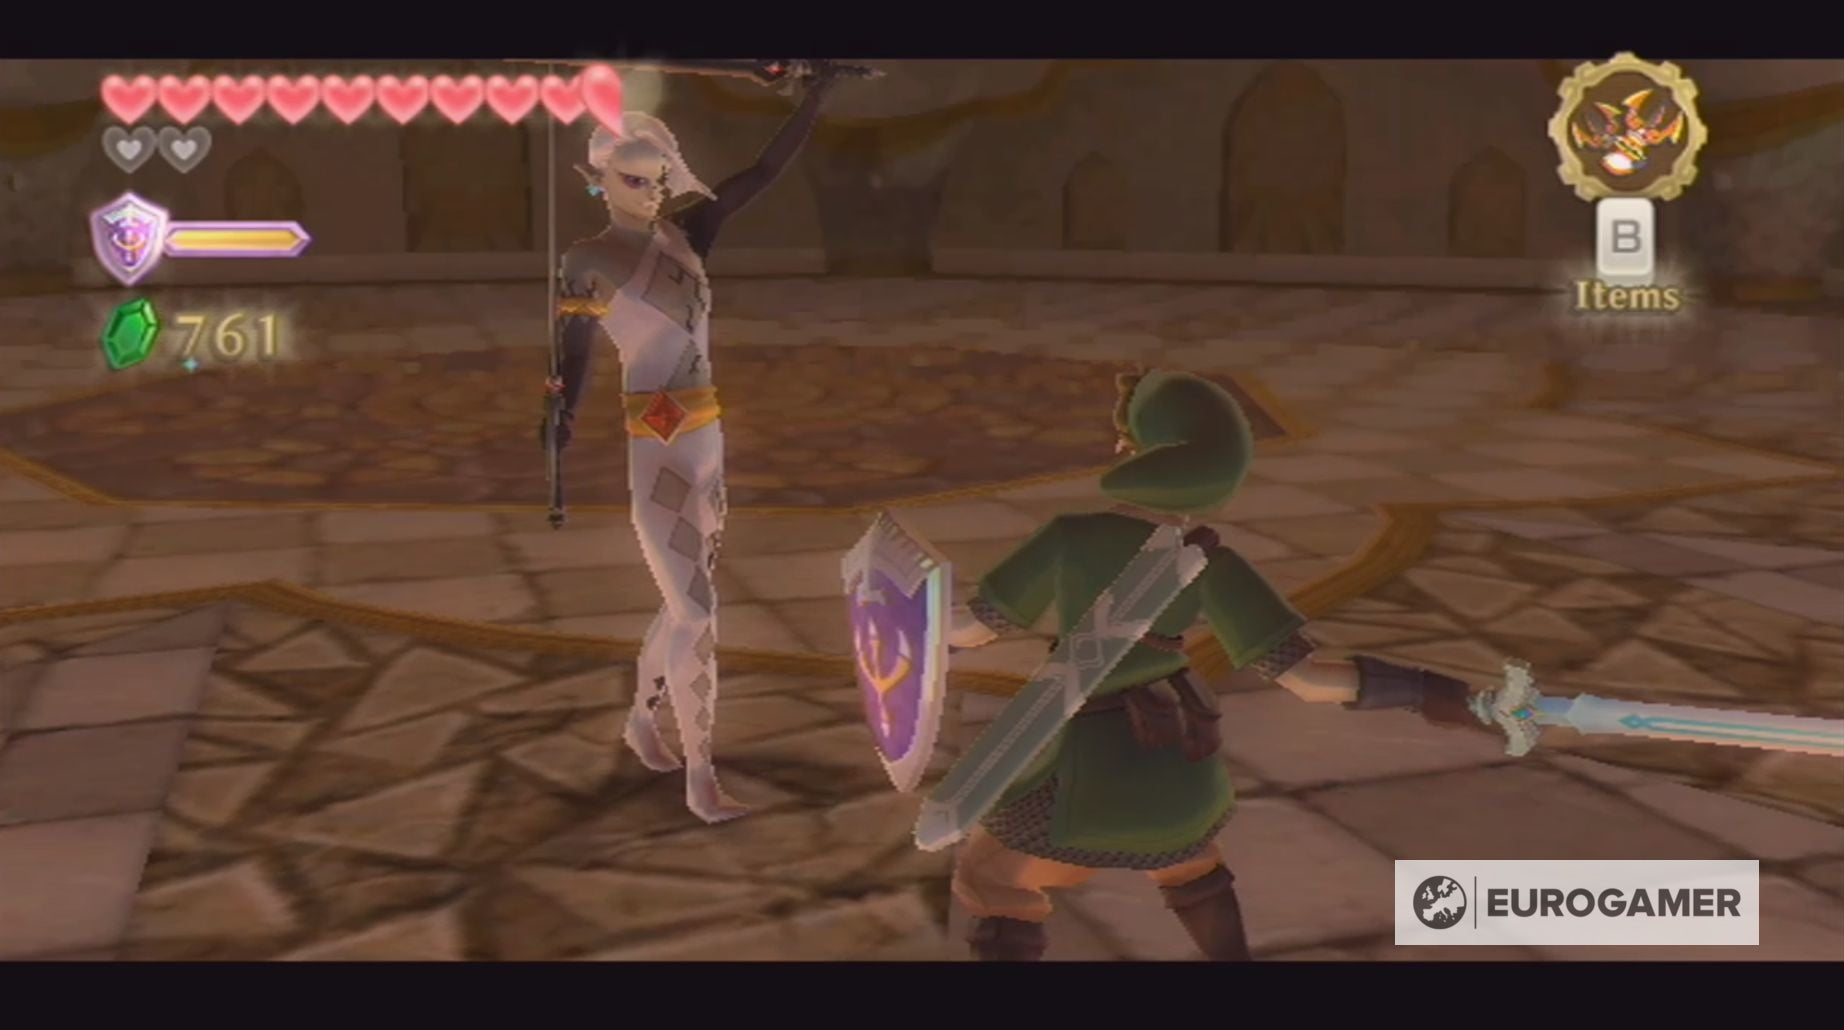
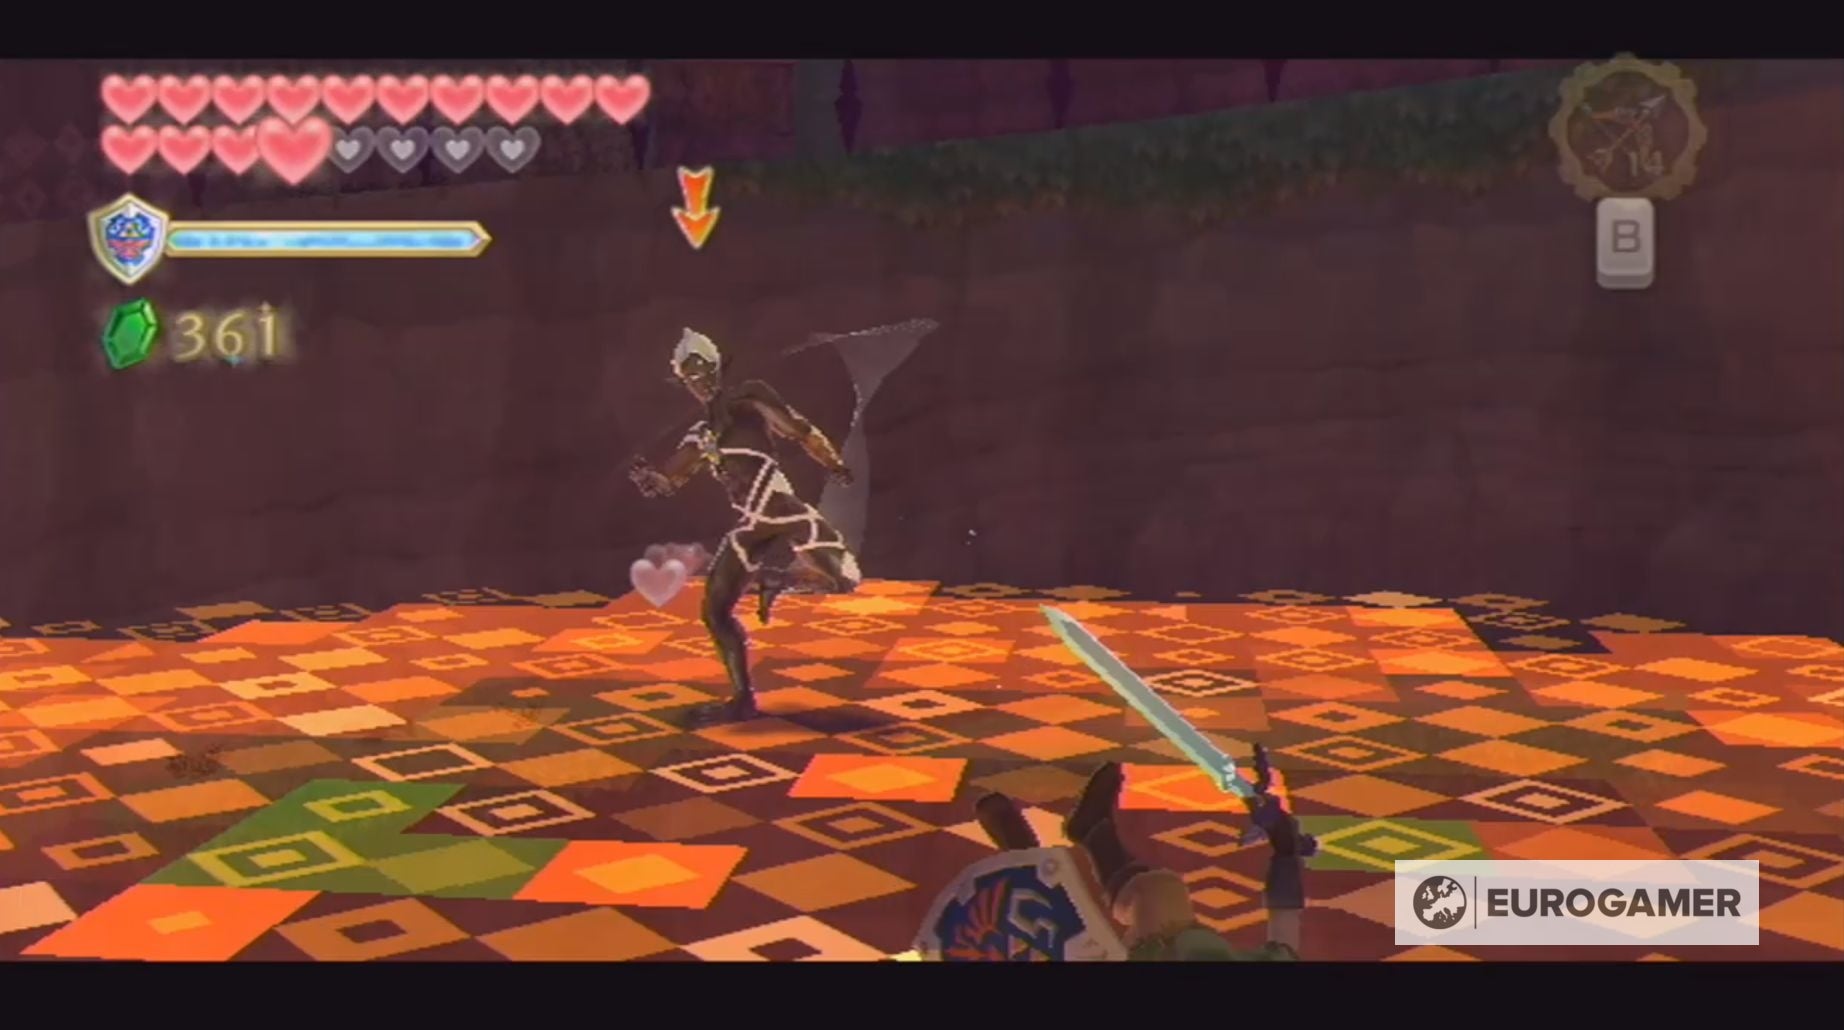
Throughout the first stage of this battle, Ghirahim will monitor the motion of your sword along with his left hand. Fortunately, his hand will glow pink as he does this, making it straightforward so that you can comply with his actions.
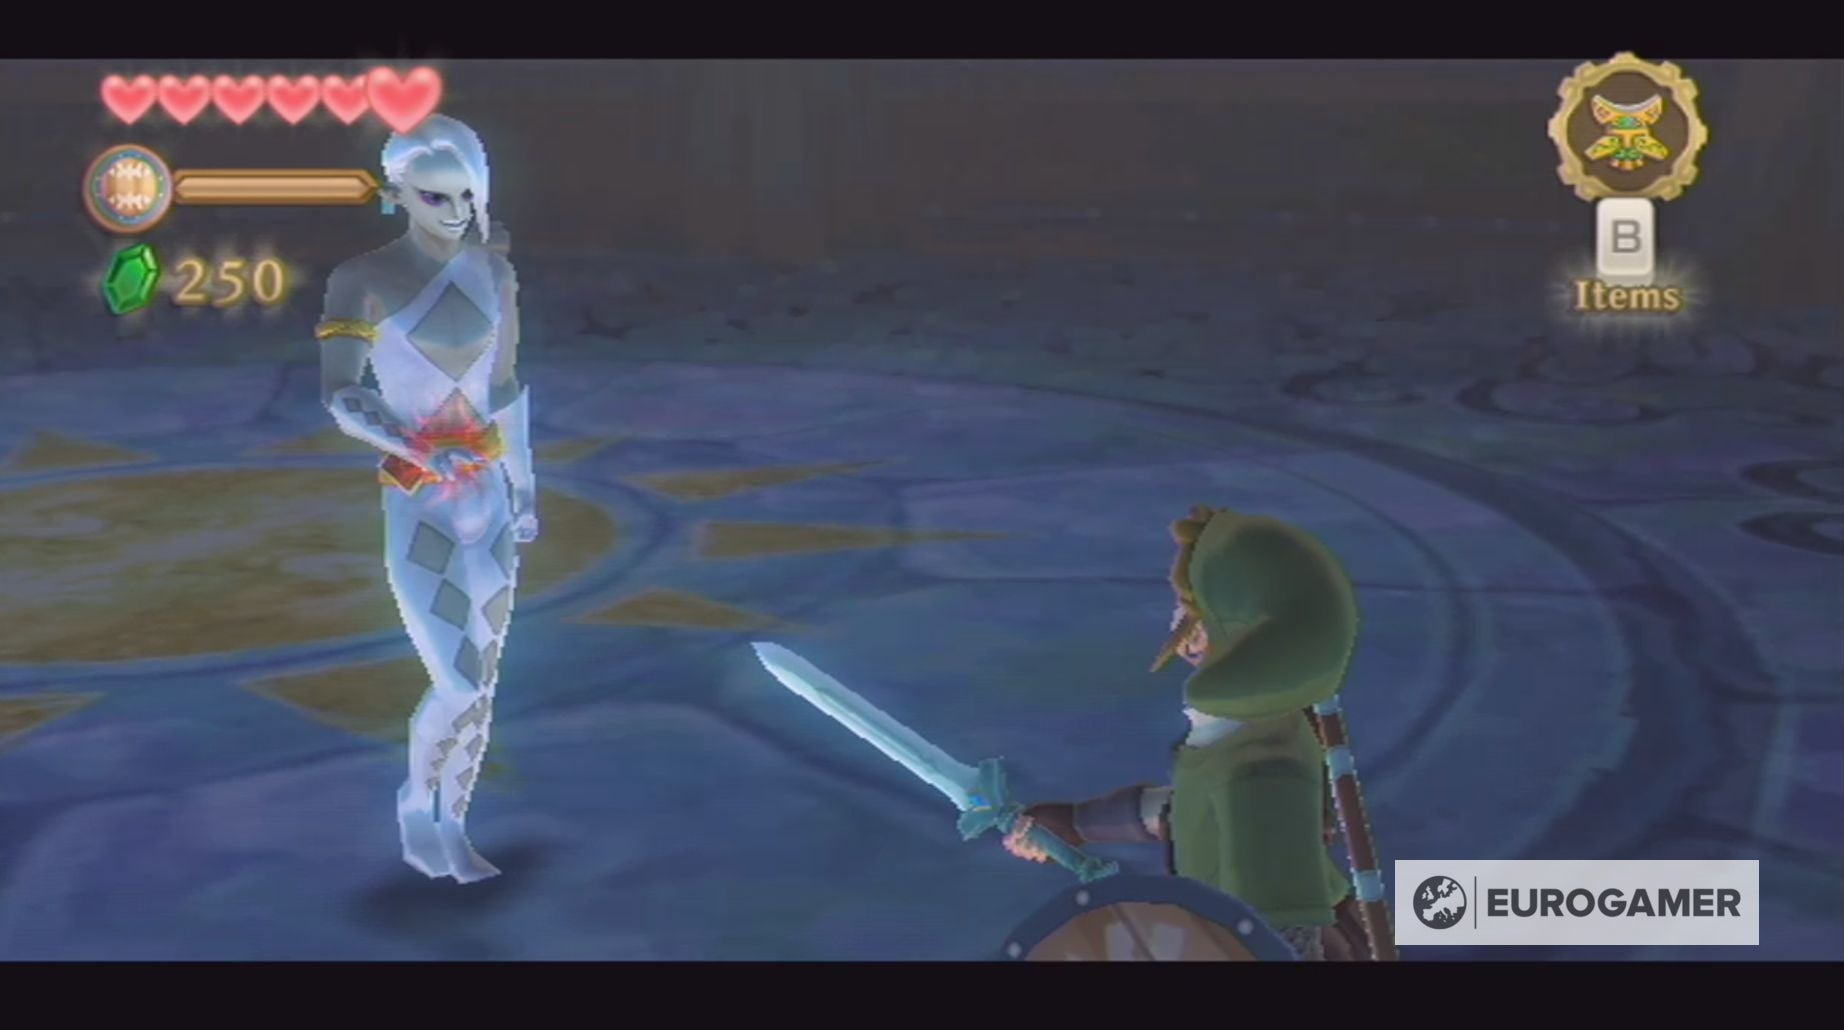
To assault Ghirahim throughout this stage, whereas preserving your sword in a single place, it is best to enable him to come back too near you. As soon as he is in attacking vary, shortly swap the method of your sword, from diagonal to horizontal for instance, after which assault.
Simply ensure you change sword positions or else Ghirahim will have the ability to seize maintain of your sword.
Preserve attacking until Ghirahim attracts his sword.
Stage Two
Ghirahim has three ways throughout this stage of the battle.
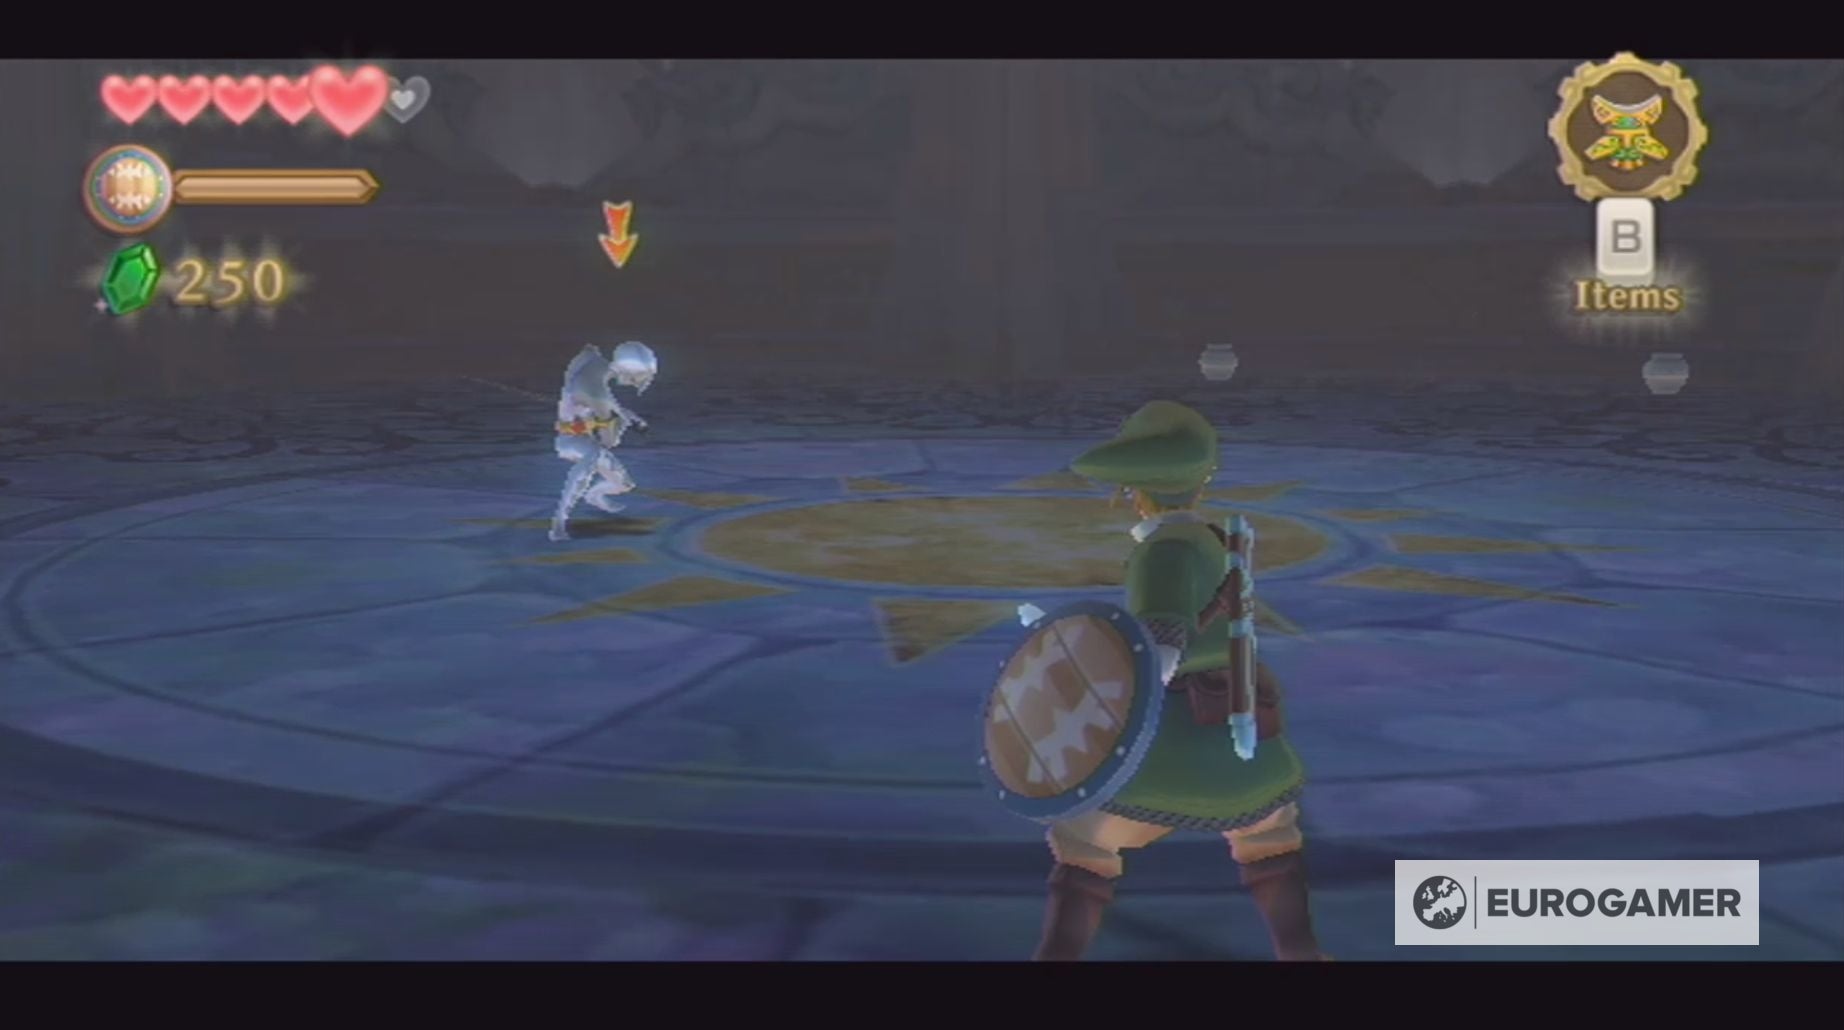
The primary, and largely lethal, is to cost at you earlier than delivering a robust blow along with his sword, which, if hit, will price you a coronary heart. The easiest way to keep away from this assault is both dash away or use a mixture of backflipping and side-jumping. It could, nevertheless, take you a little bit of observe.
If you do efficiently keep away from certainly one of these assaults, shortly run into and get some good hits on Ghirahim.
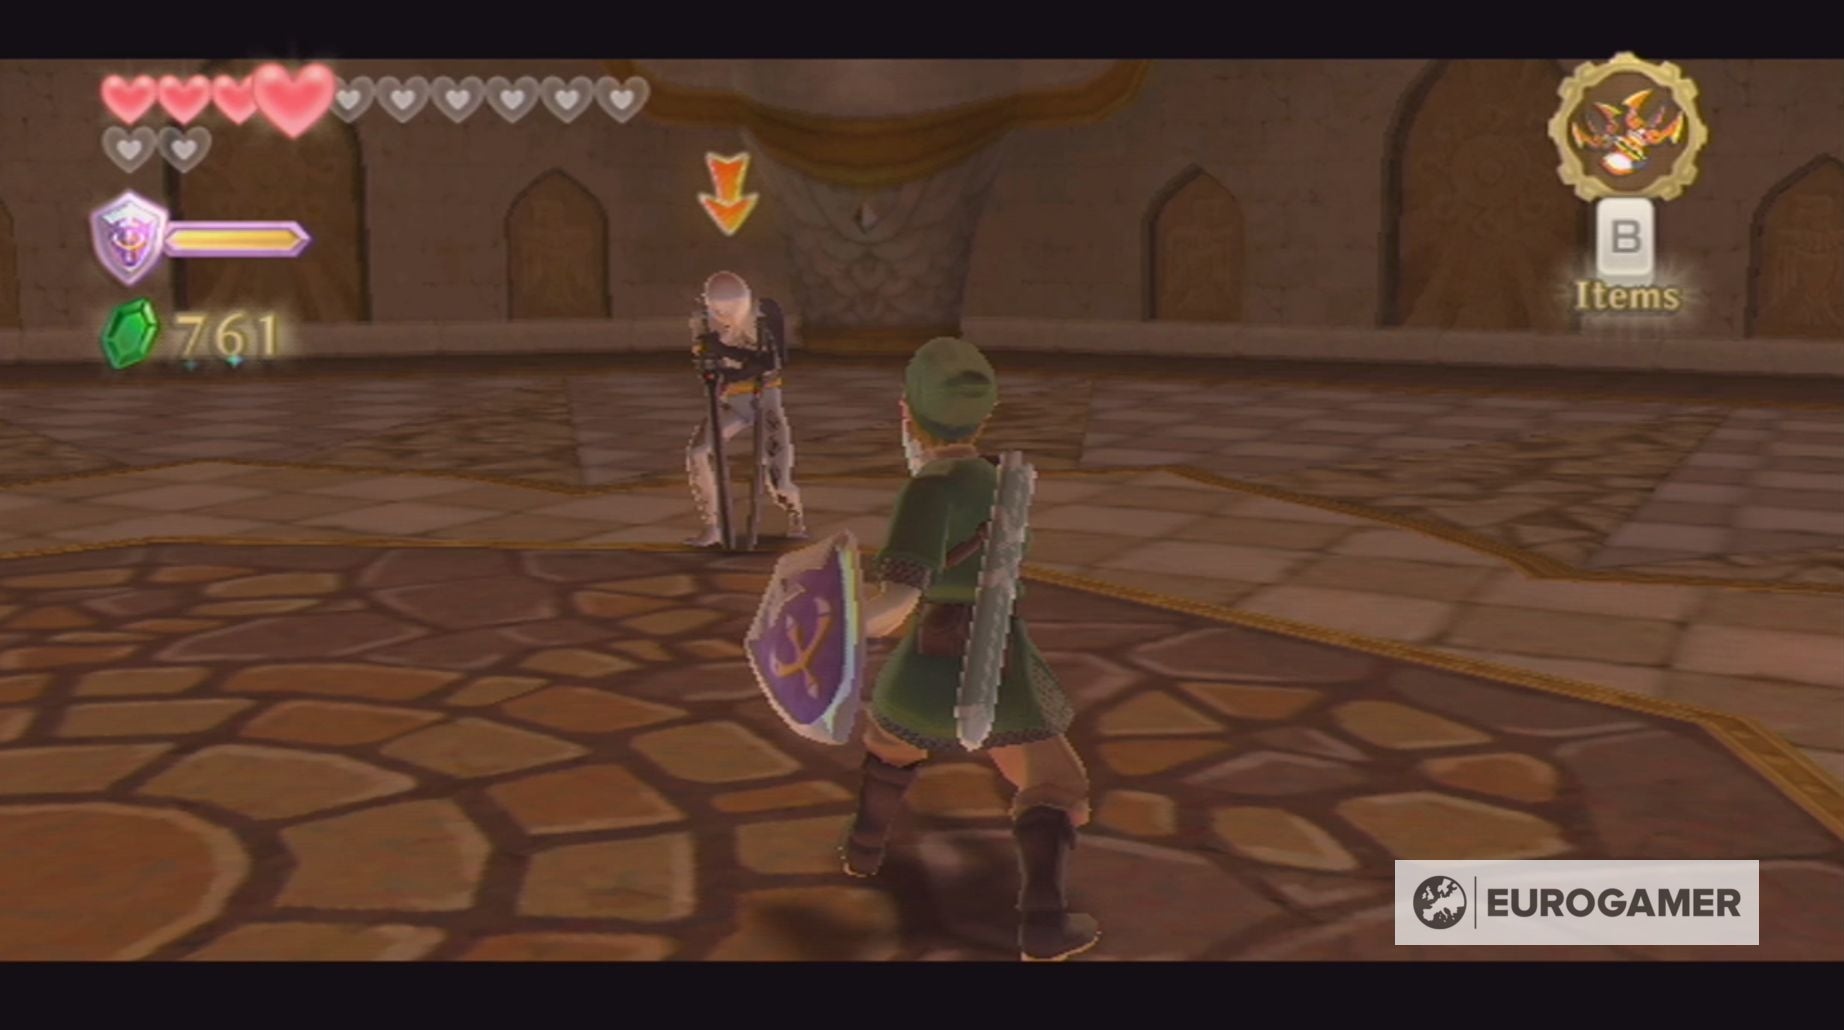
Ghirahim may also disappear and reappear behind you at sure factors all through the battle. When this happens, he shall be holding his sword in a sure place, similar to to his proper, and, so long as you keep away from attacking him on this route, it is possible for you to to get some good hits in.
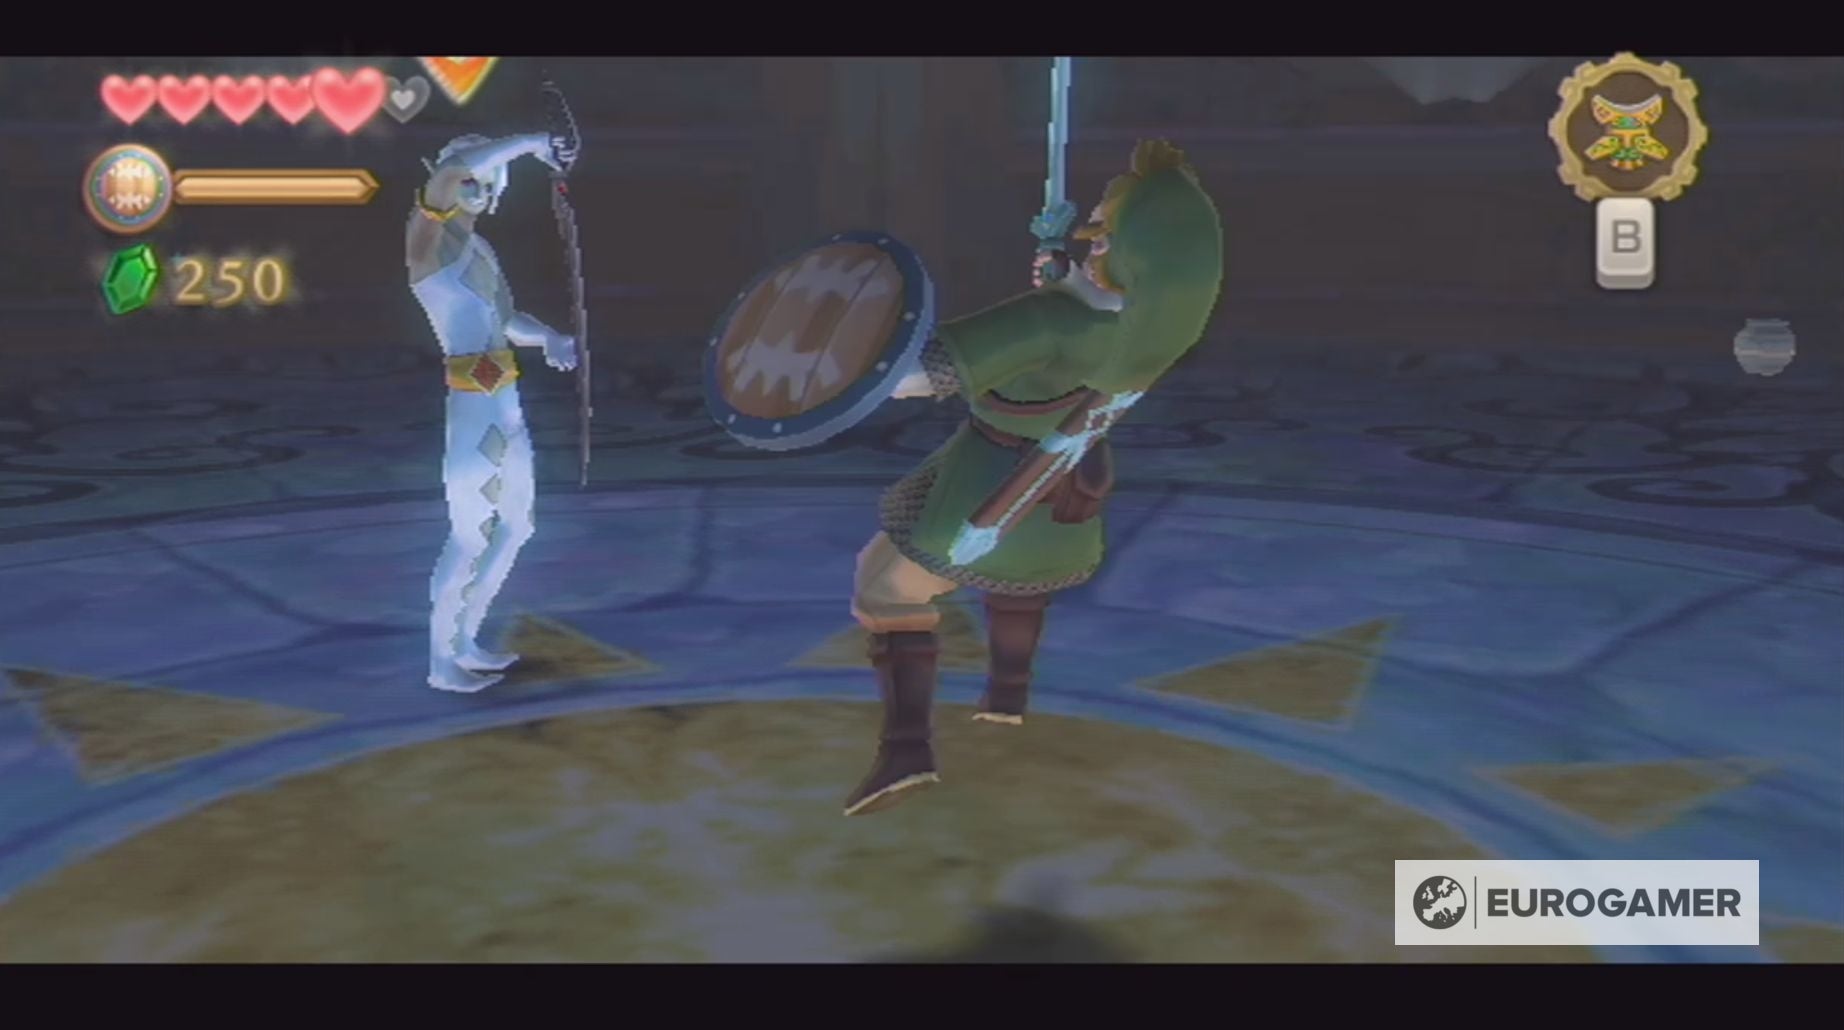
If you happen to do hit his blade, then Ghirahim will have the ability to assault you, destroying one coronary heart.
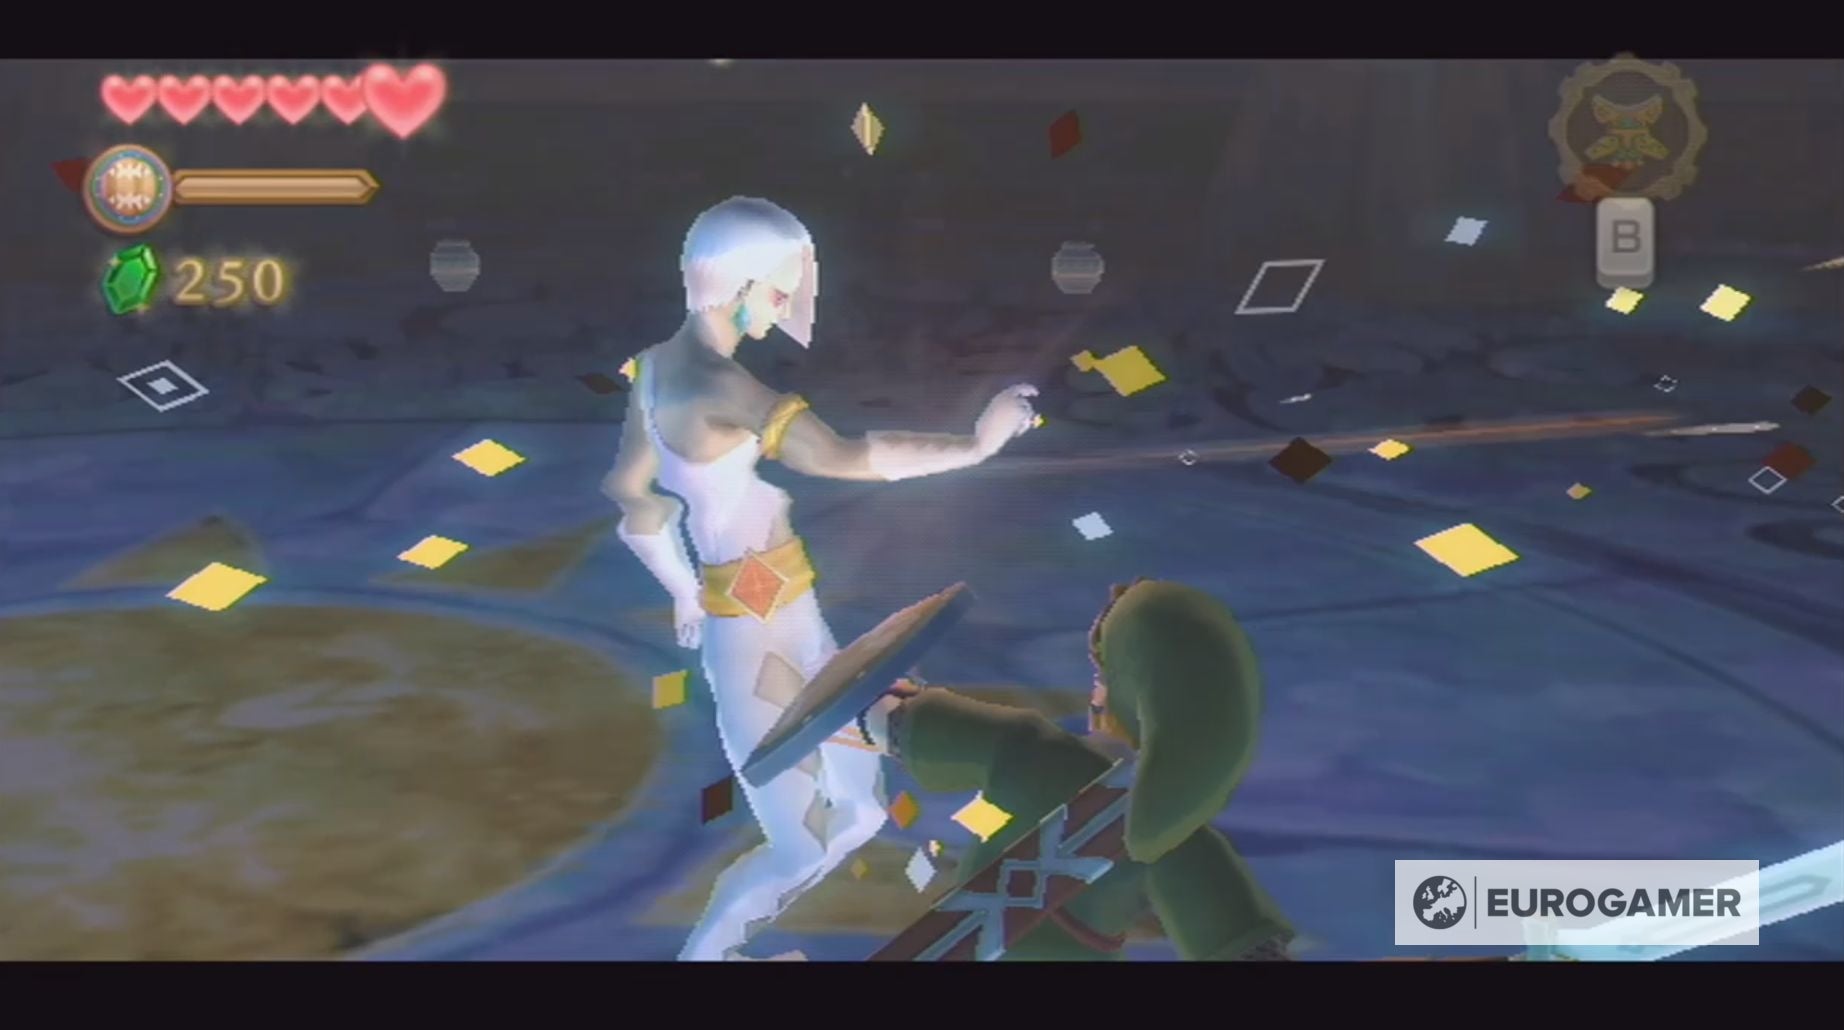
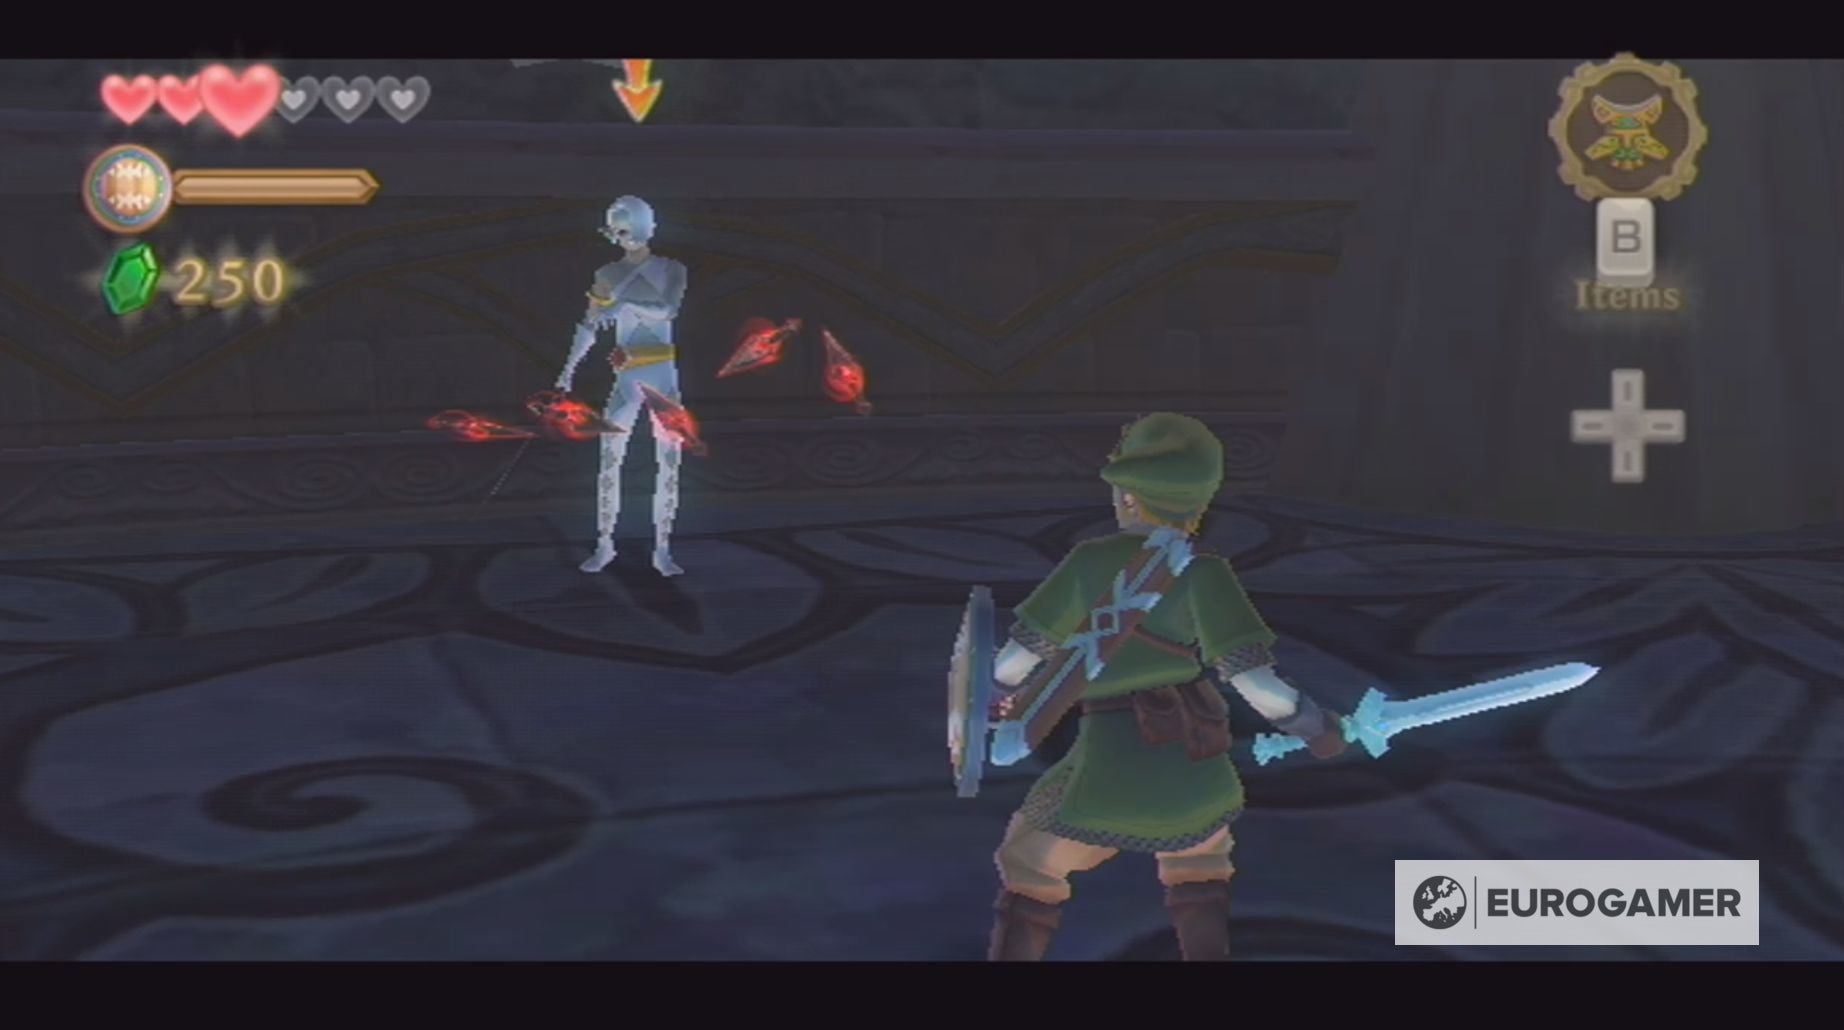
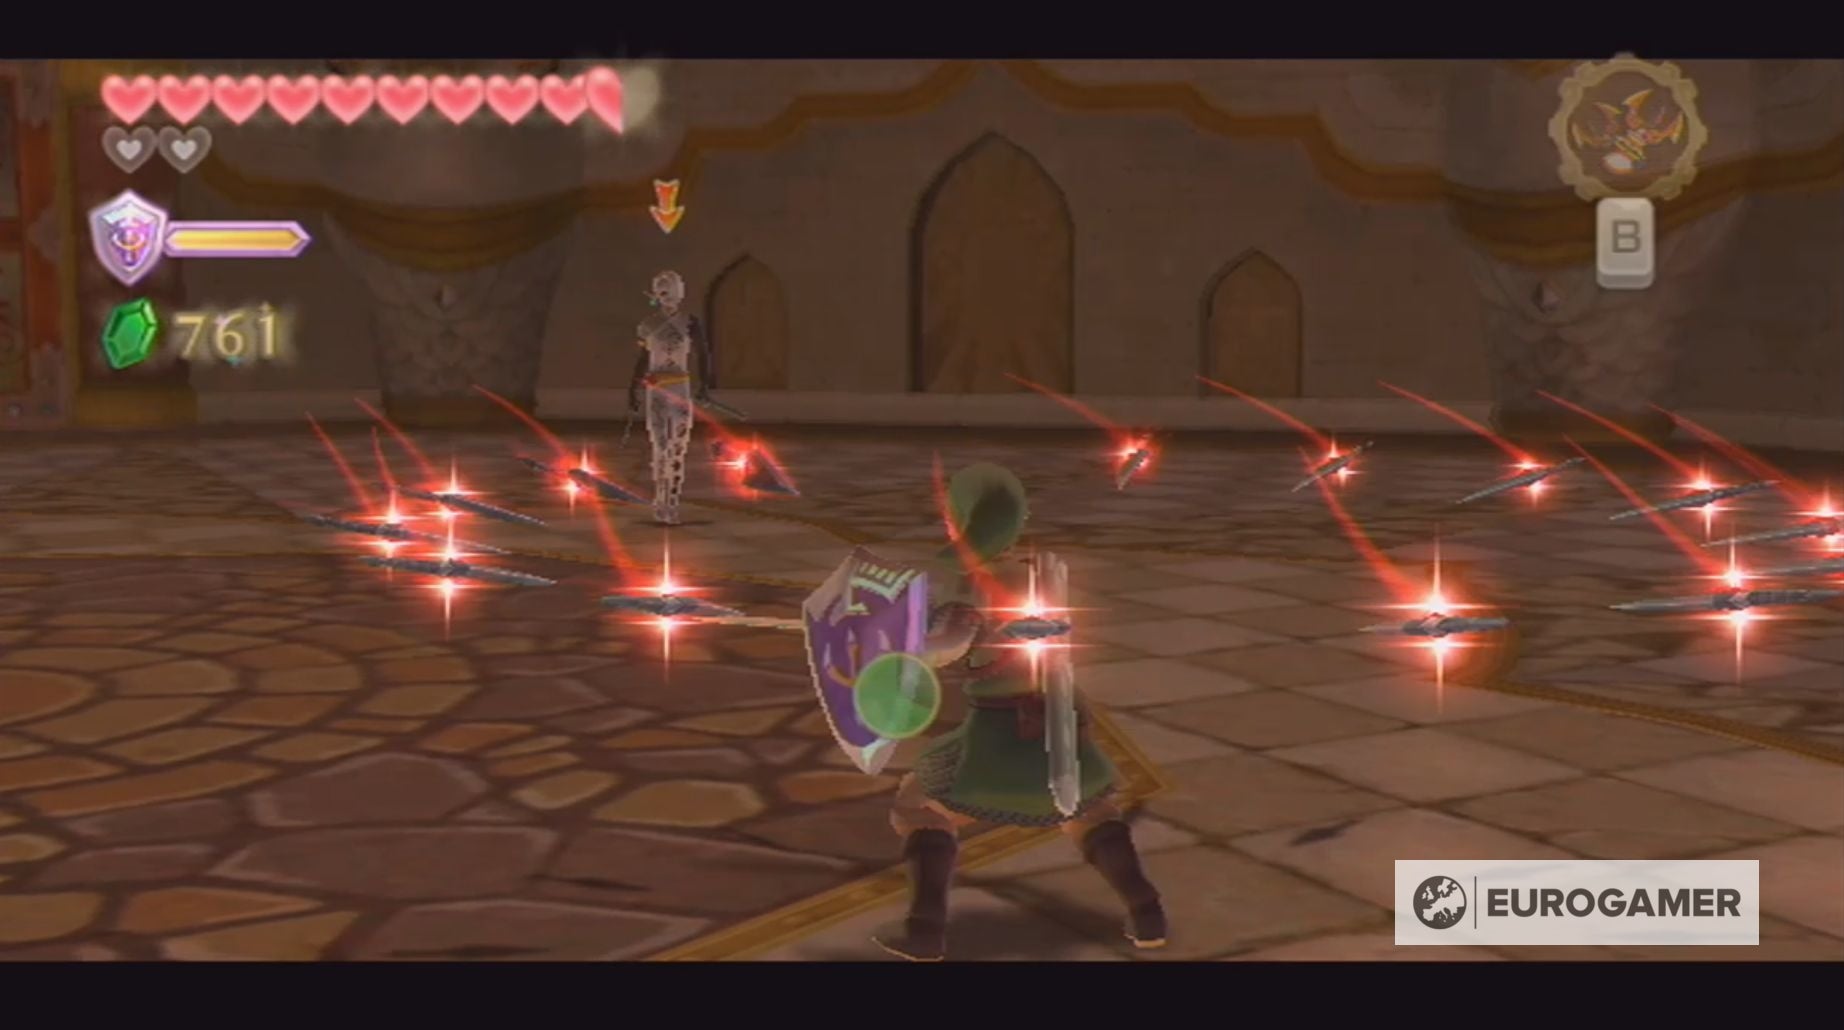
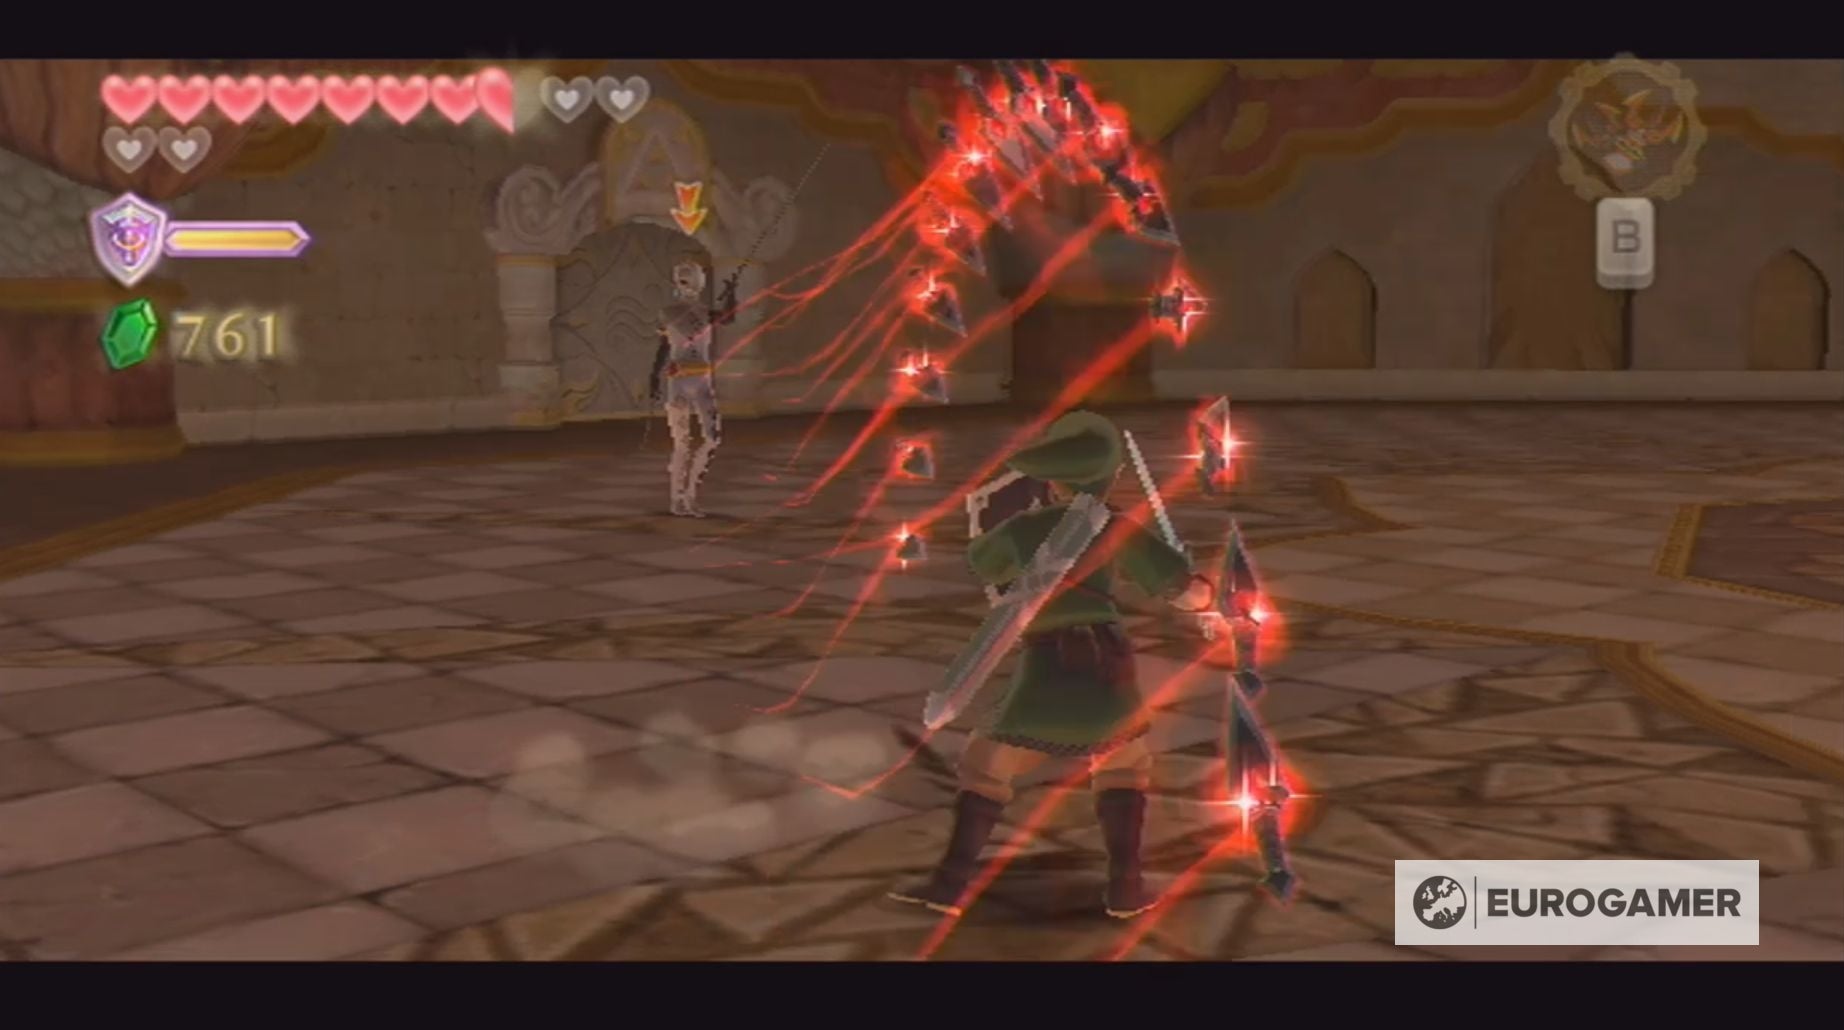
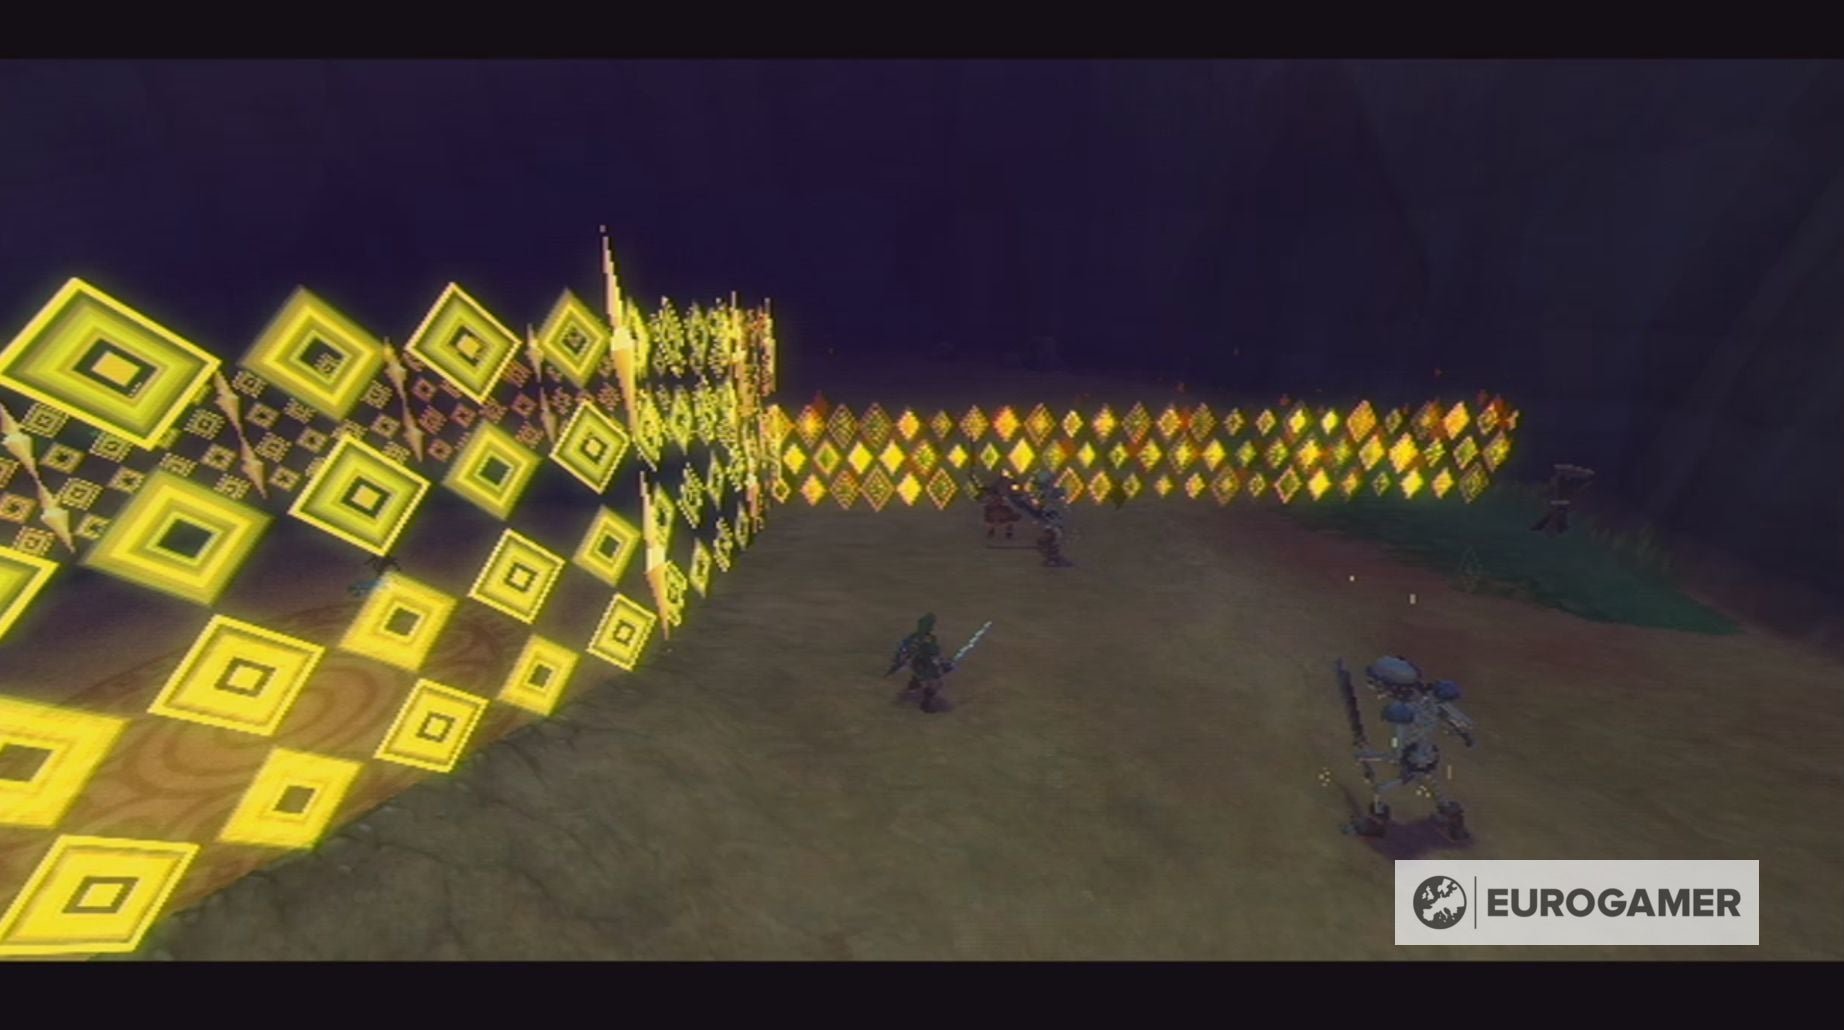
Lastly, Ghirahim will begin throwing a collection of darts roughly midway by means of this stage. These darts shall be positioned in a particular route, both horizontally or diagonally, and you will be given a few seconds to get your sword in place.
When the darts fly, you must knock them out of the sky or danger shedding a minimum of half a coronary heart.
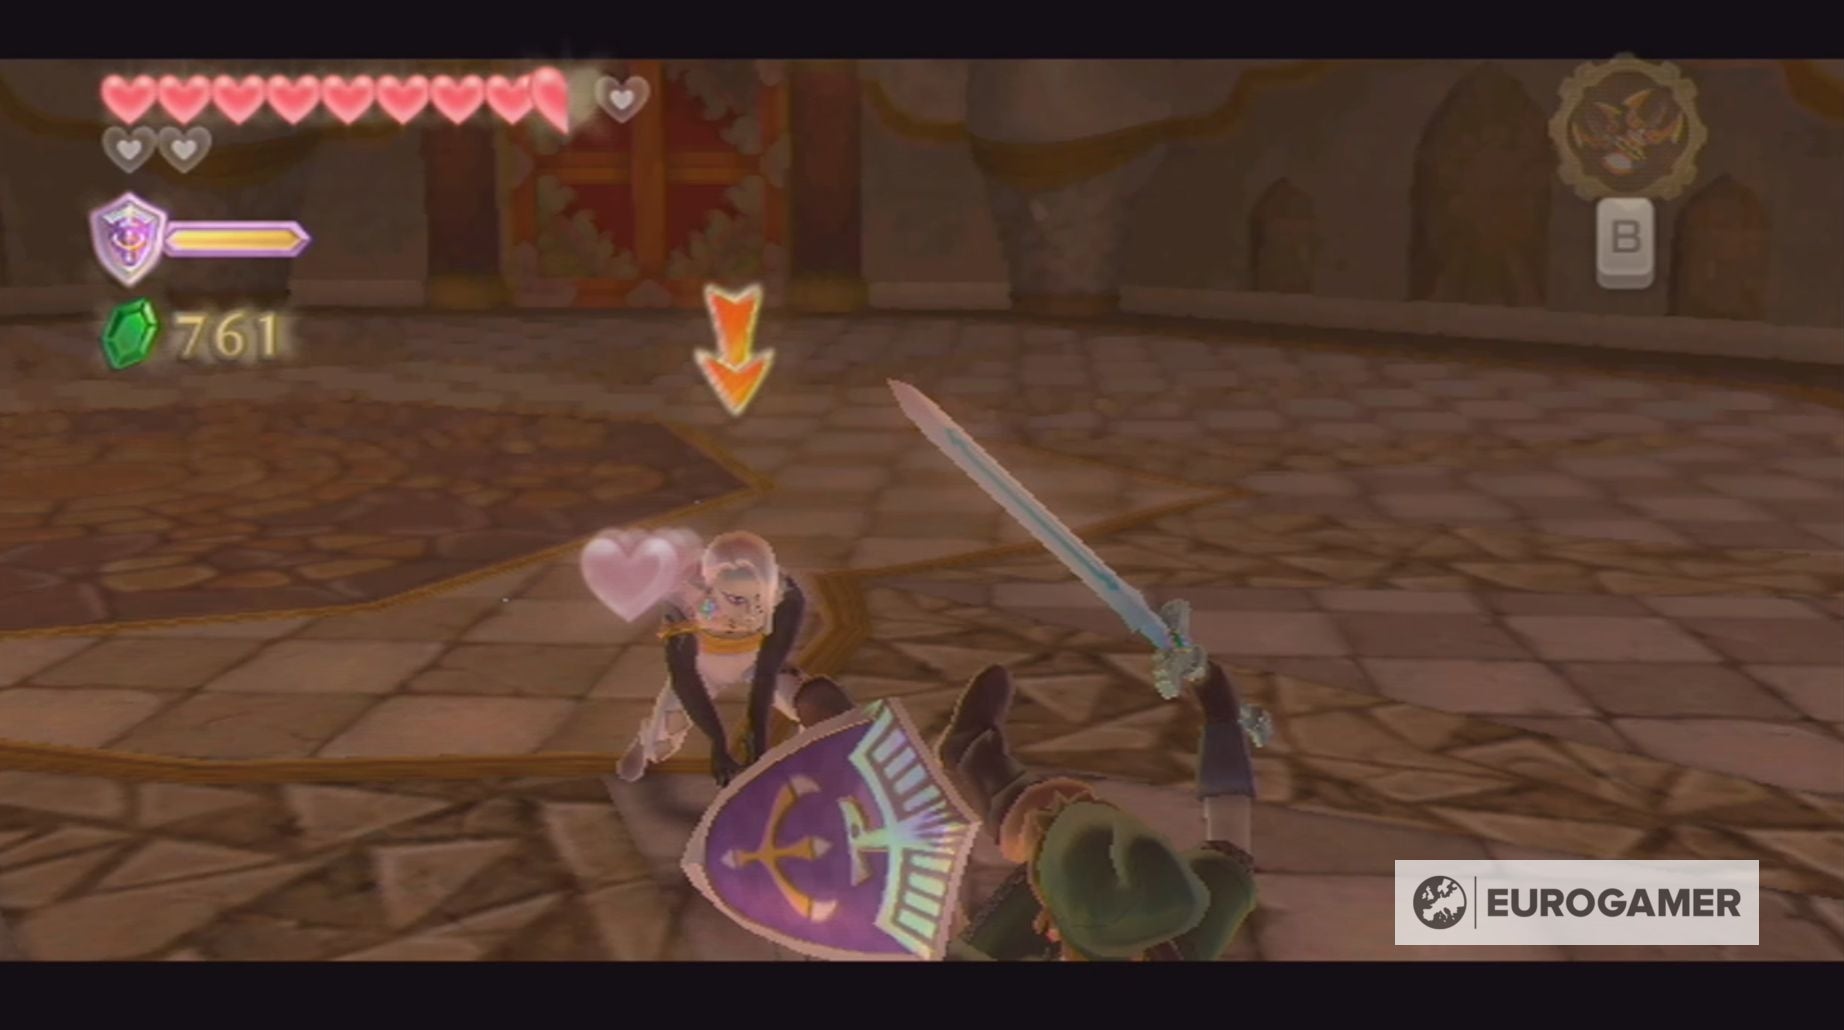
After Ghirahim departs, you’ll gather a full Coronary heart Container and enterprise into the ultimate part of the Skyview Temple. Right here you possibly can gather a stray fairy in an empty bottle and full this a part of the sport’s storyline by performing a Skyward Strike.
Now it is time to return to Skyloft, so you possibly can attain the Earth Temple!
Hearth Sanctuary Ghirahim boss battle technique in Zelda: Skyward Sword defined
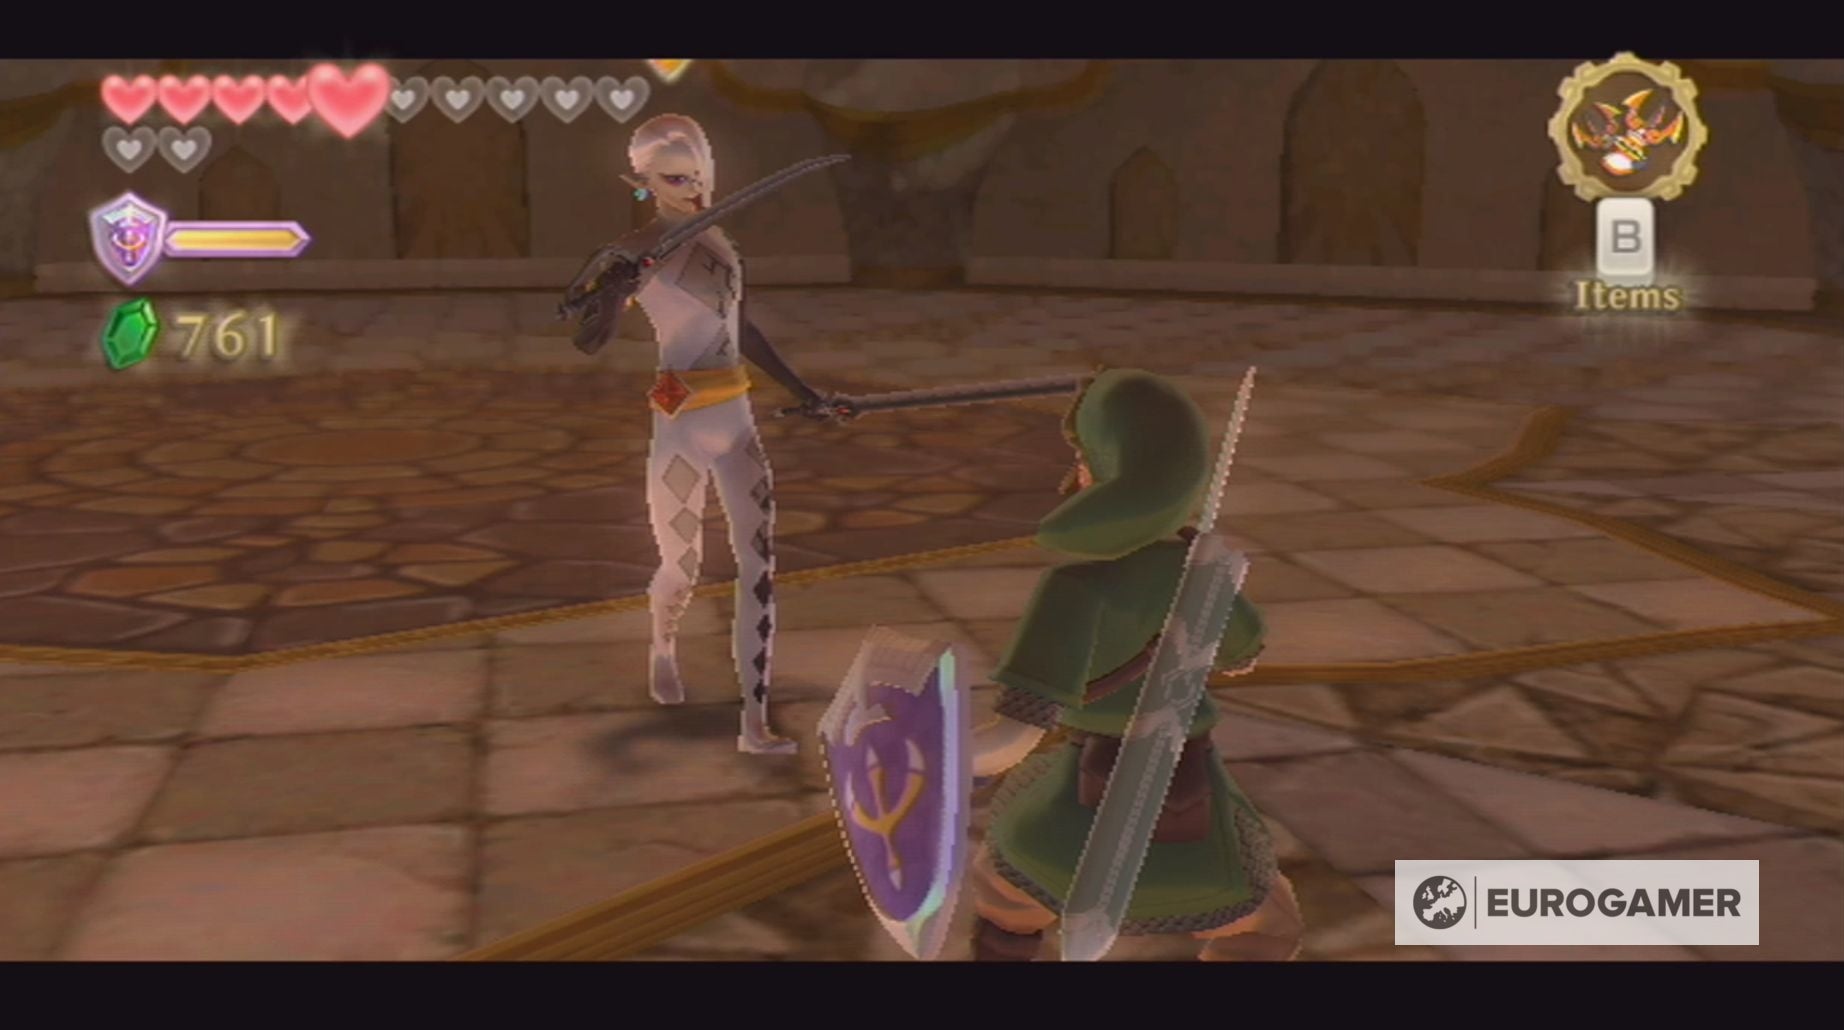
You’ll face Ghirahim for the second time in Skyward Sword whenever you attain the tip of the Hearth Sanctuary.
This battle is split into two levels that are fairly just like your first combat in opposition to Ghirahim:
Stage One
Throughout the first stage, Ghirahim will, as soon as once more, attempt to catch your sword in his hand. Fortunately, his hand will nonetheless glow pink, making it straightforward to vary your sword route, so you possibly can assault him.
He may also summon a variety of darts, which you will want to deflect since they are going to each block your blows and trigger harm to you. Initially of this stage, Ghirahim will solely use two darts, however, because the combat progresses, he’ll up this quantity to 4.
Stage Two
Ghirahim will now assault along with his sword and darts.
Within the phrases of his swords, Ghirahim might use them to protect himself in a selected place. That is, after all, your que to assault him from the other angle.
If you happen to unintentionally hit certainly one of his swords, Ghirahim will reply with a slashing assault. He might also naturally use these assaults whenever you’re shut, so ensure you hold an in depth eye on his actions.
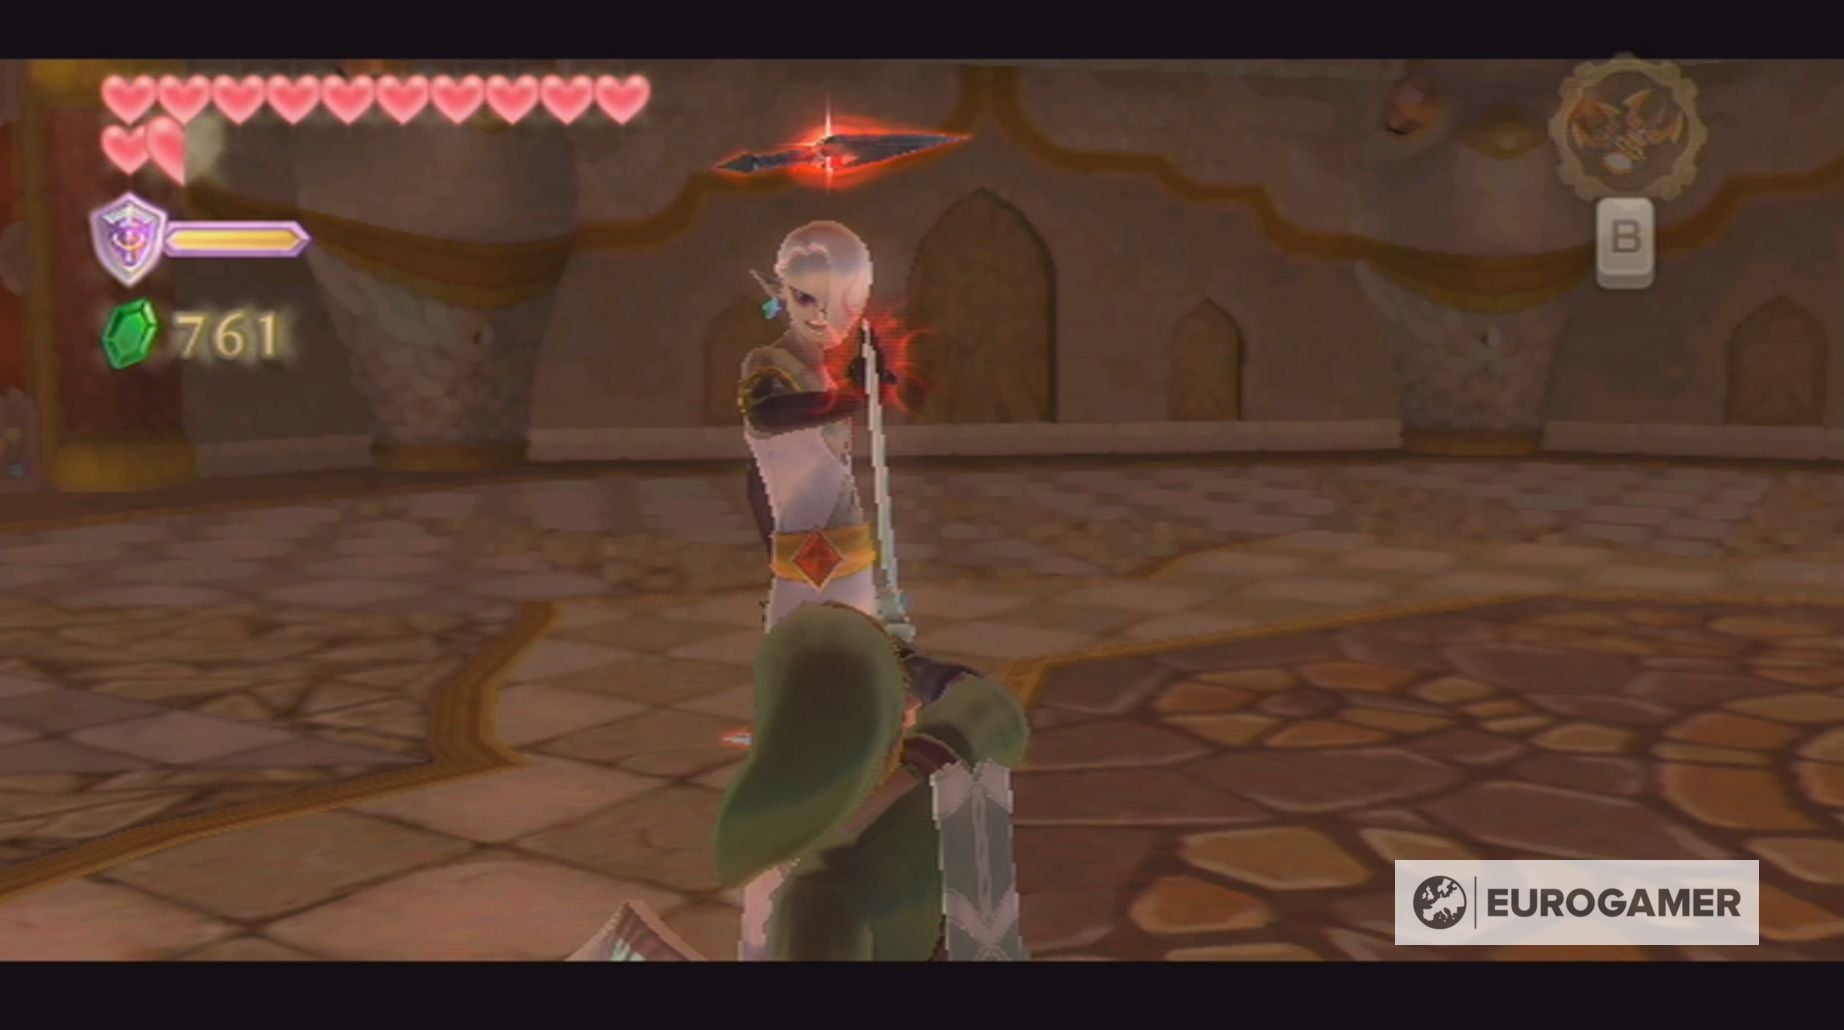
The assault you really have to look out for, nevertheless, is his soar assault. Ghirahim begins this assault by teleporting after which descending upon you.
Fortunately, this assault is kind of straightforward to dodge – you simply have to run away – and, since his swords shall be momentarily caught within the ground, is a superb alternative to assault Ghirahim.
Ghirahim might also merely teleport behind you, so it is at all times a good suggestion to remain on the transfer when he vanishes.
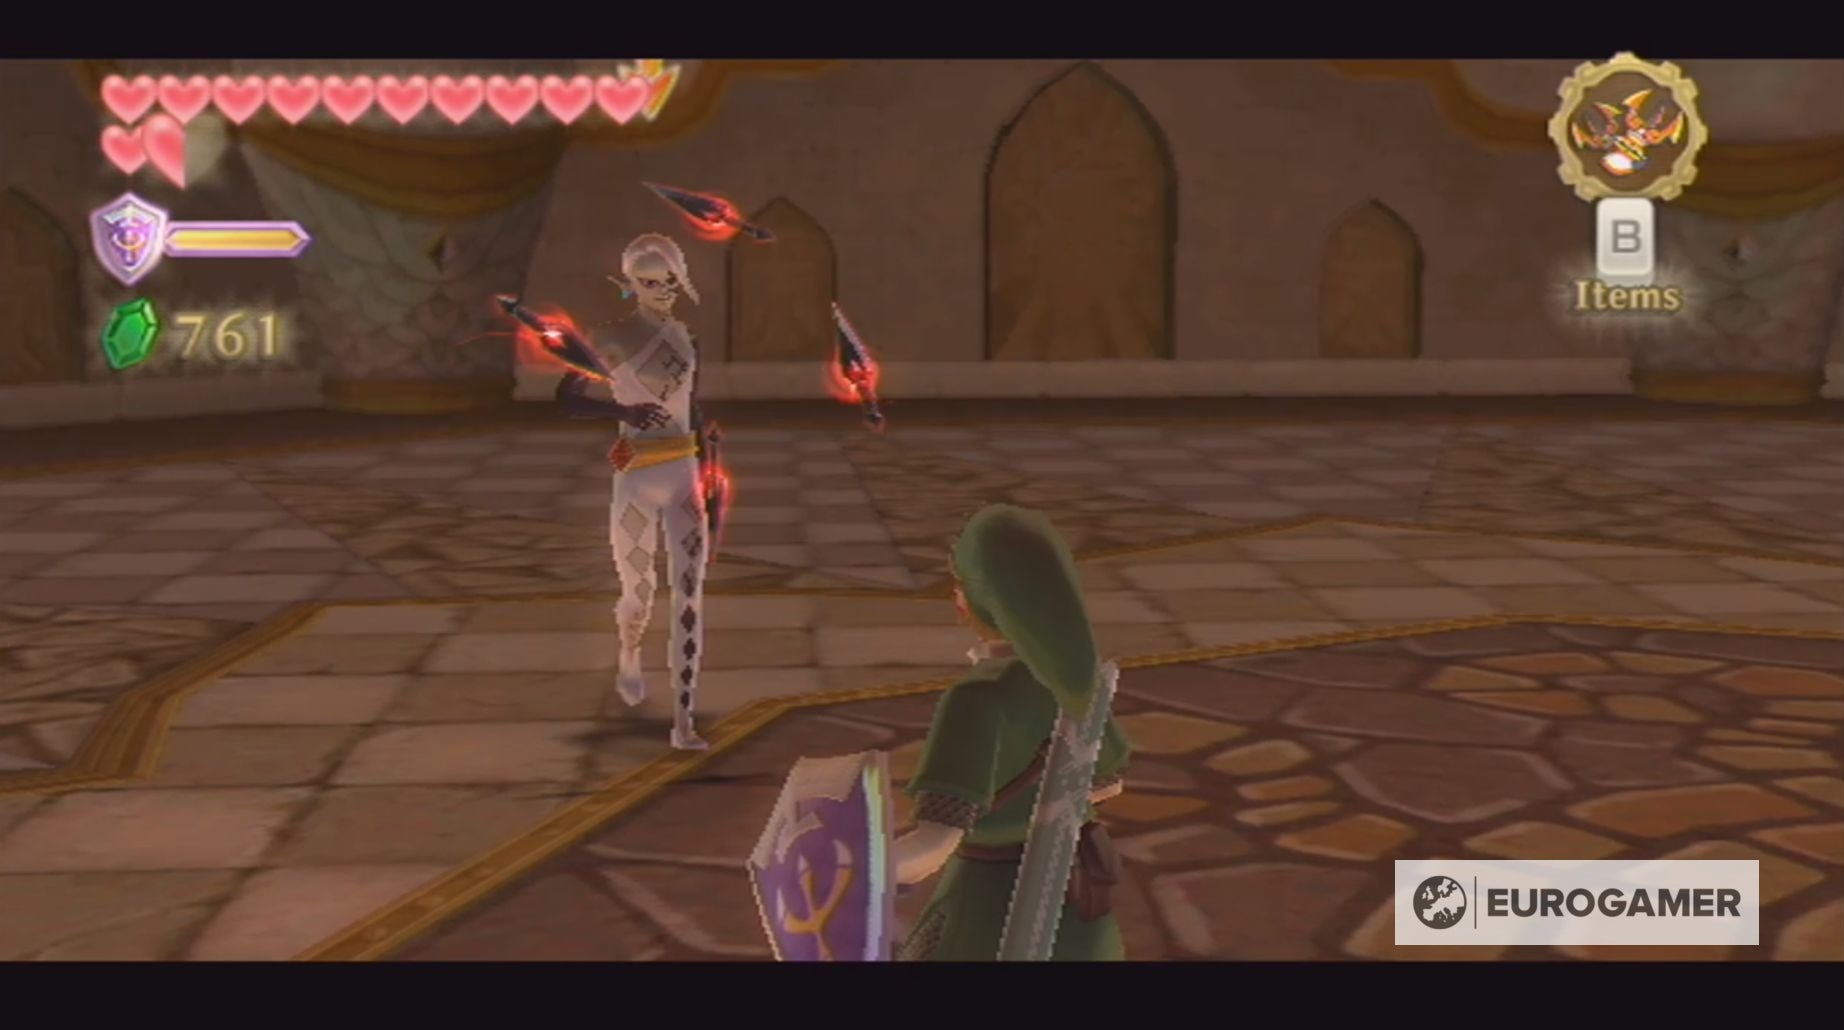
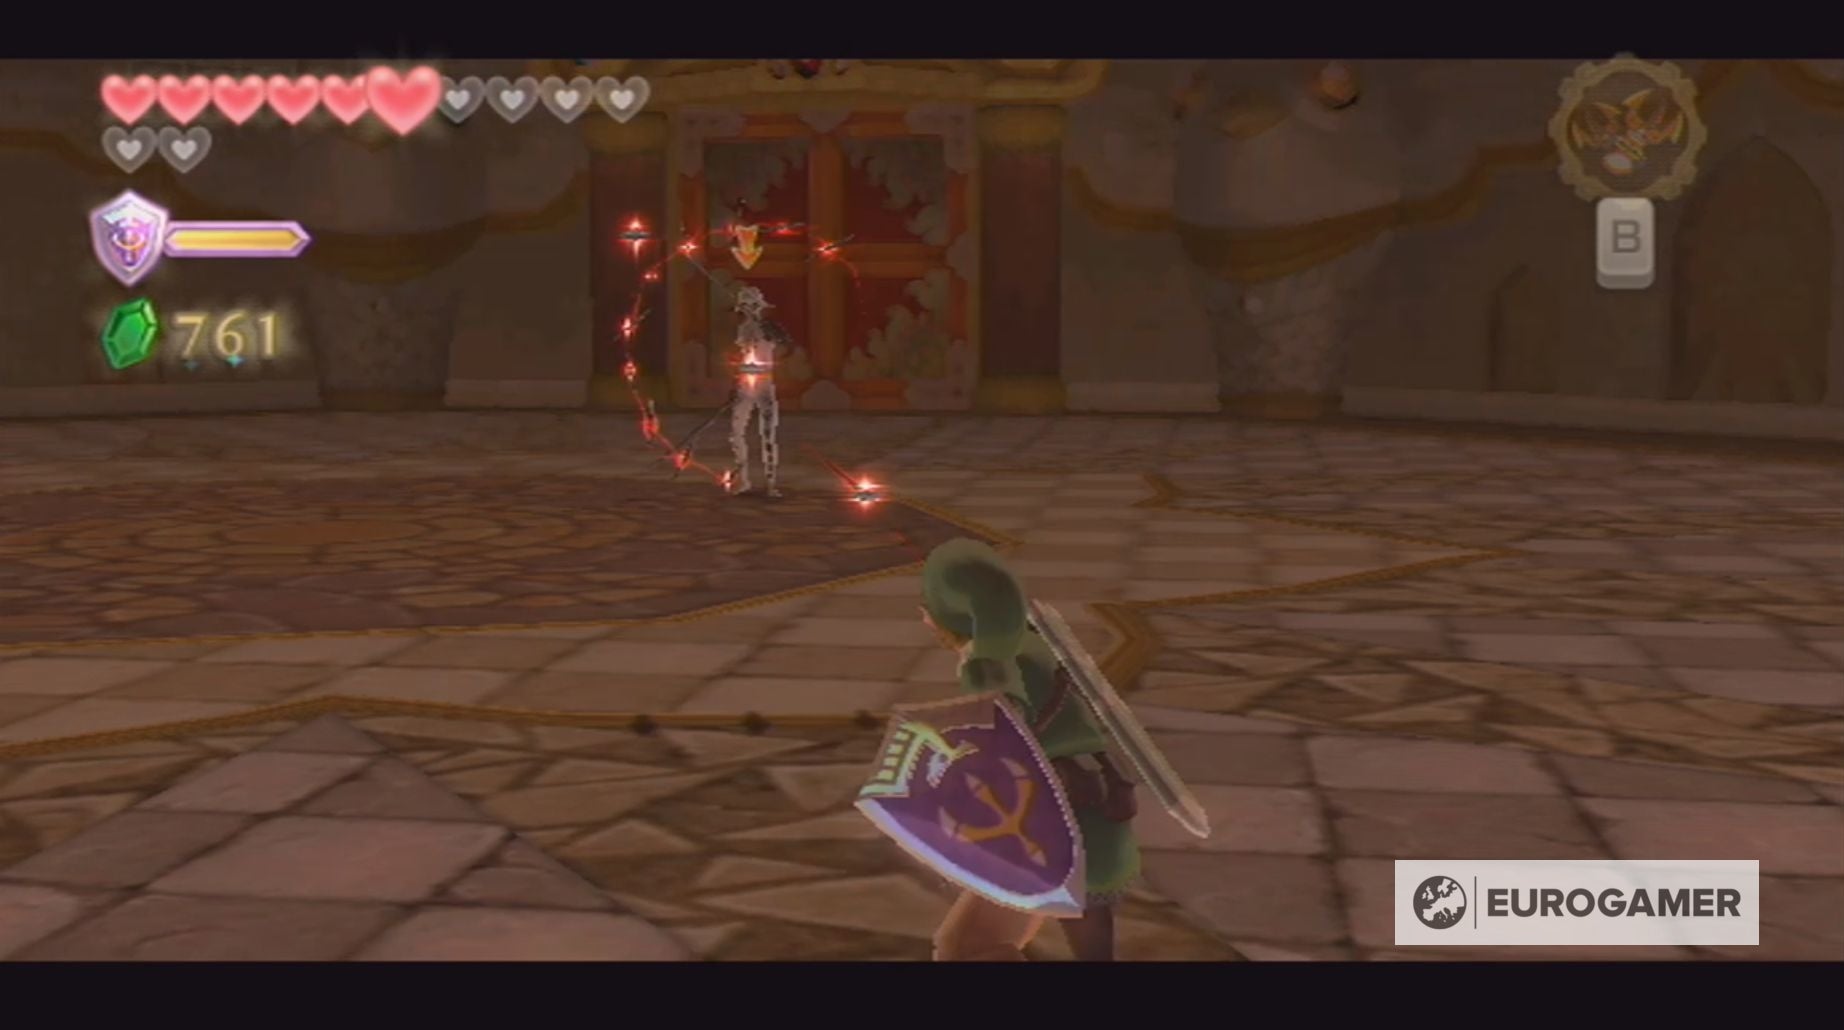
Relating to his darts, Ghirahim will alternate between a variety of ways.
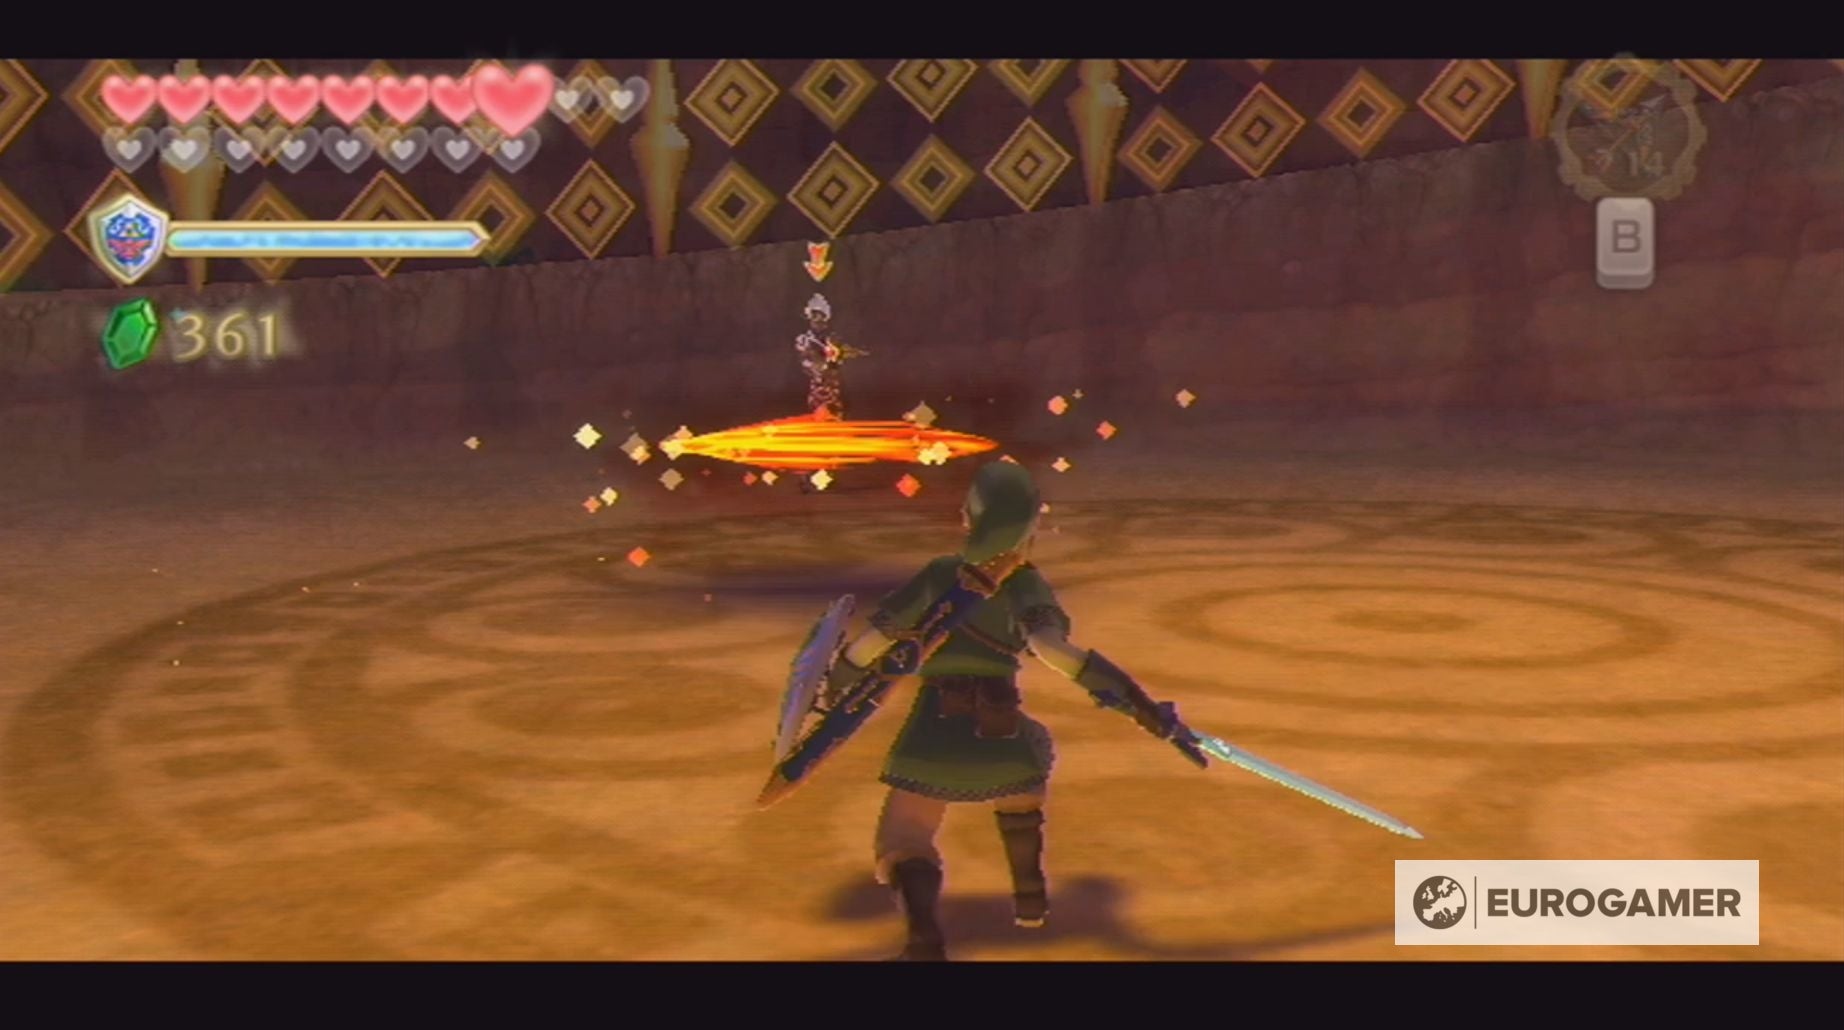
He might encircle you with darts, which may be deflected with a spin assault, or create a dart arch above you – for which you have to carry out a soar assault.
He may also often ship the darts in the direction of you in units, like he did on the Skyview Temple, and you will have to hit them out of the sky along with your sword.
Preserve defending your self and attacking Ghirahim, till the battle is over. Now you possibly can gather the Coronary heart Container and the final sacred flame, earlier than heading to your second battle with The Imprisoned.
Our Skyward Sword walkthrough will assist you to discover each Coronary heart Piece and Empty Bottle. We are able to additionally assist you to defeat Ghirahim, Scaldera, Moldarach, The Imprisoned, Koloktos, Tentalus, Bilocyte and Demise.
You may also uncover the place to seek out Kukiel to unlock the Gratitude Crystals and a variety of aspect quests, together with the bathroom paper quest, lacking sister location and get together wheel location.
Sealed Grounds Ghirahim boss battle technique in Zelda: Skyward Sword defined
You may face Ghirahim for the third and remaining time in Skyward Sword after you discover the Triforce in Sky Preserve.
Earlier than this battle, it is a good suggestion to purchase some coronary heart potions, together with incomes the Hylian Defend and accumulating the Coronary heart Items. If you have not unlocked the Hylian Defend but, then ensure you carry alongside a minimum of one guardian potion and, ideally, have the Goddess Defend.
This penultimate battle is split into 4 levels:
Stage One
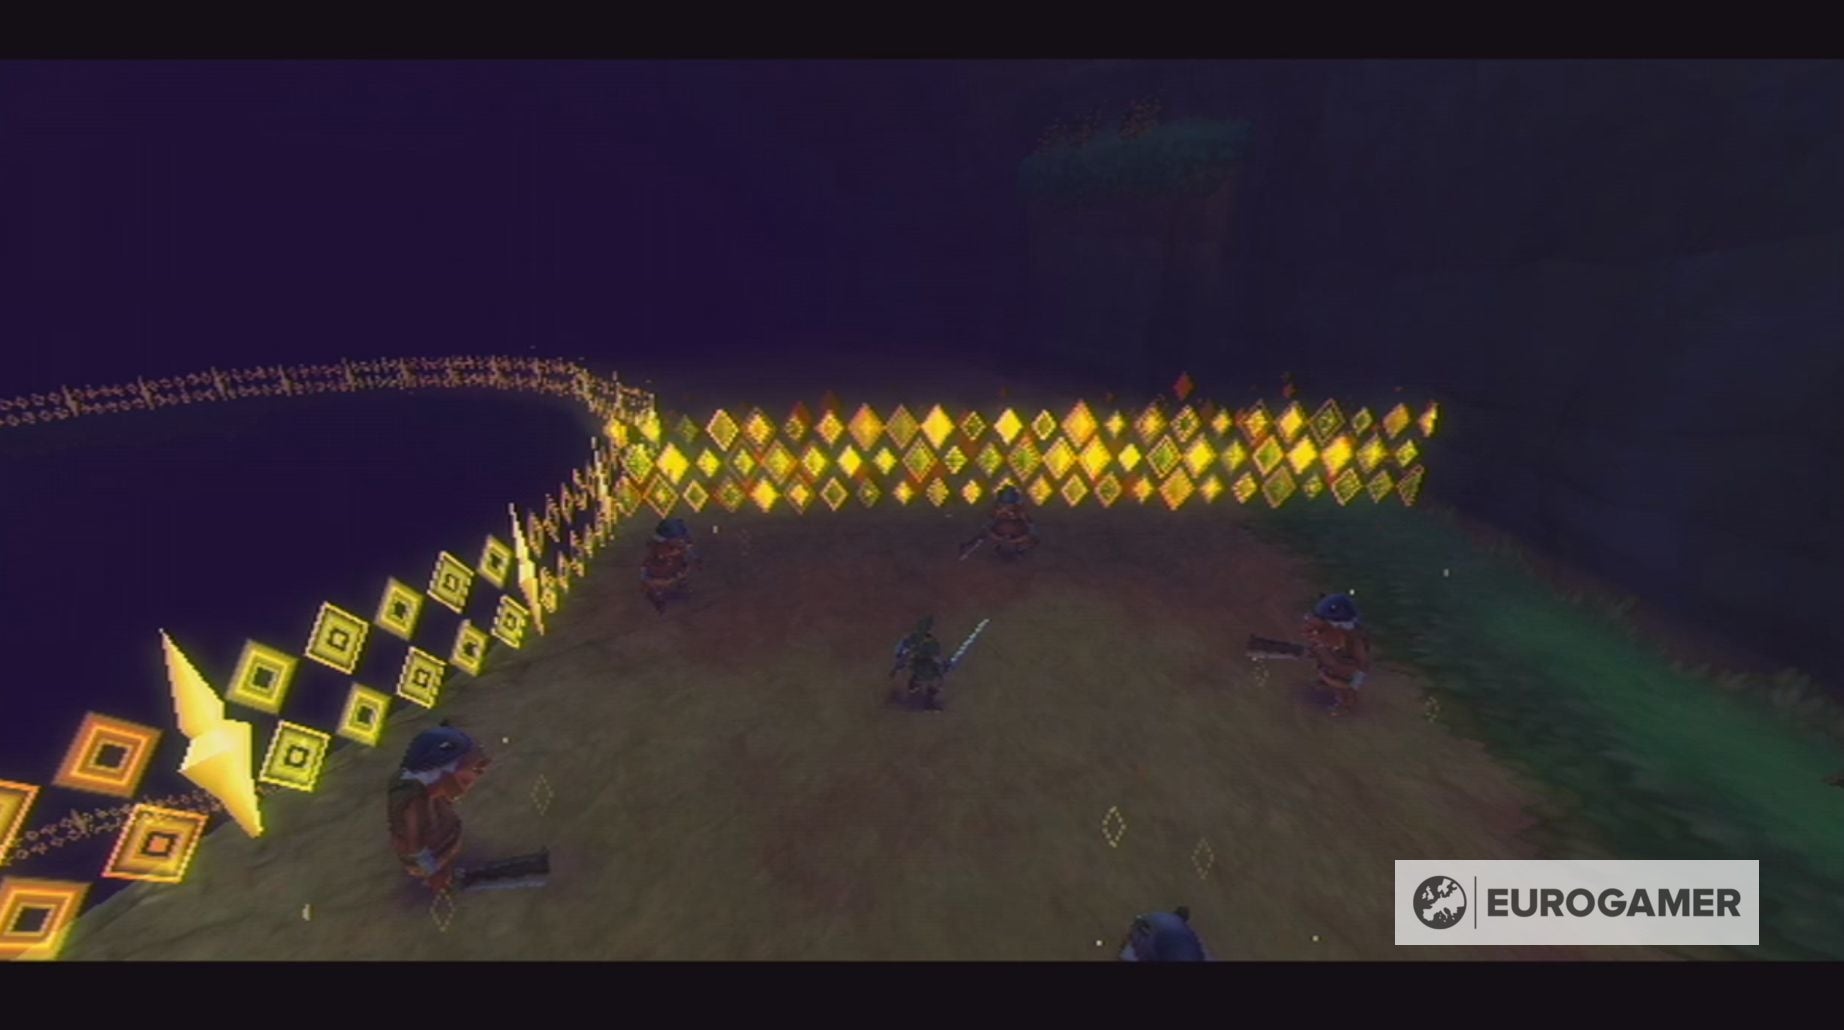
The primary stage of this boss battle does not really contain preventing Ghirahim. As an alternative, you will combat hordes of Bokoblin, 5 Moblins and two Stalfos in your solution to the underside of the Sealed Grounds.
Attempt to keep away from utilizing your potions throughout this stage and, as an alternative, gather the hearts which the enemies drop. If you happen to’re not taking part in on Hero Mode after all!
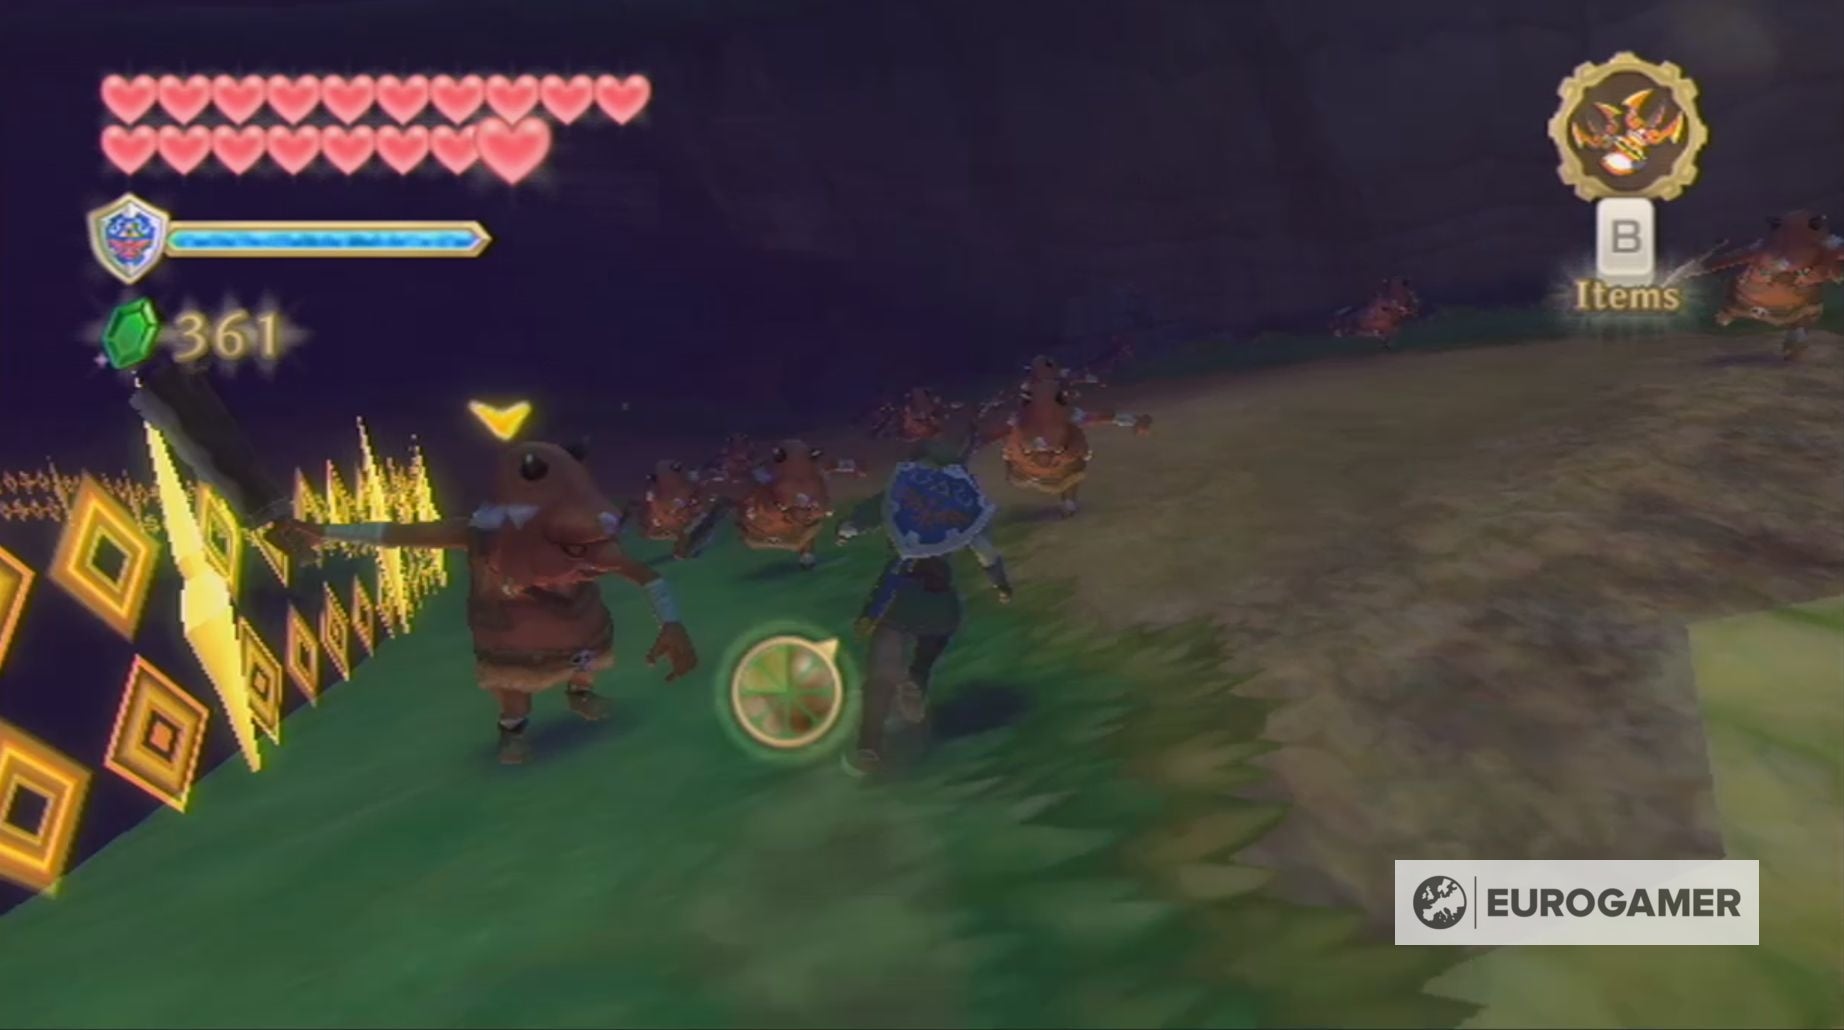
Your journey to the underside of the pit will start with preventing hordes of Bokoblins. You’ll be able to keep away from these enemies by sprinting and grabbing each stamina fruit as you go, however you’ll ultimately attain a roadblock.
When this happens, you will must defeat 5 Bokoblins to progress. You might also discover that a number of the Bokoblins you ignored will meet up with you and, in the event that they do, it is a good suggestion to defeat them.
After this roadblock, a number of the Bokoblins you encounter shall be carrying bombs. It is best to keep away from these monsters, as a result of hitting them dangers exploding the bombs.
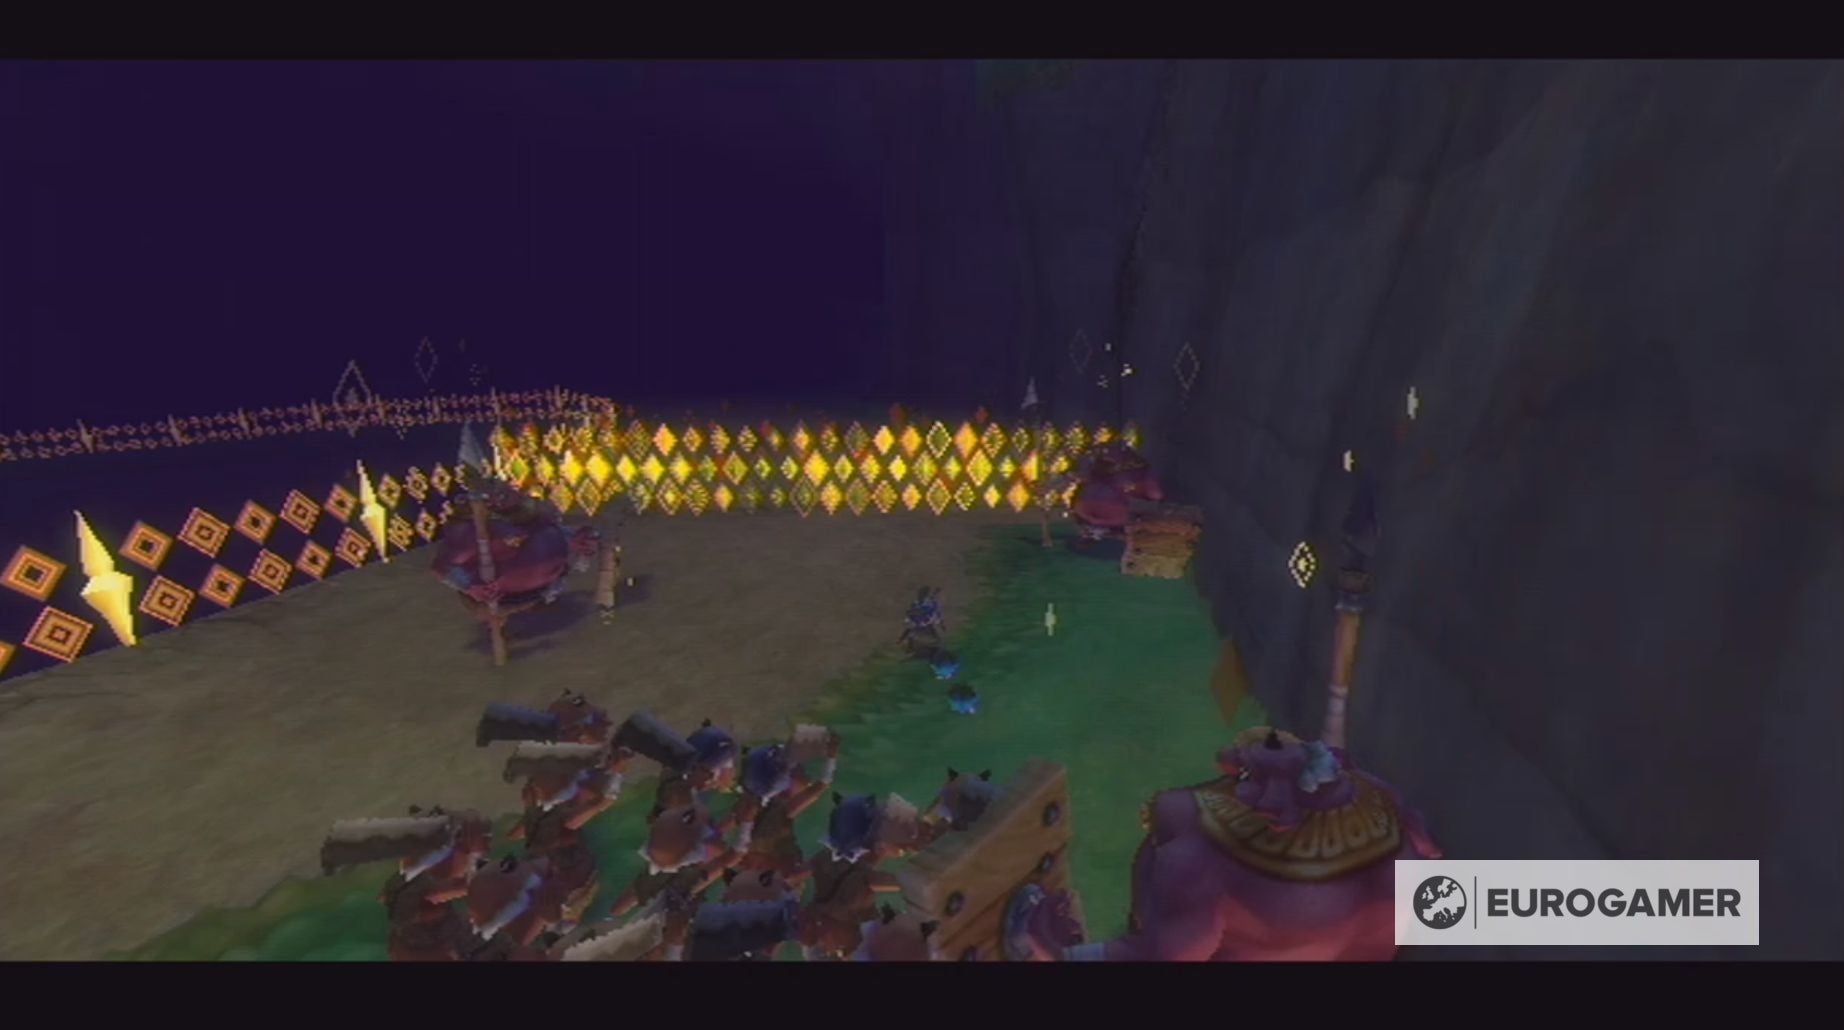
The following roadblock you encounter can solely be destroyed should you defeat three Moblins. If there are any Bokoblins close by, it is a good suggestion to take them out first after which you’ll defeat the Moblins uninterrupted.
As soon as this roadblock is defeated, the Bokoblin hordes shall be joined by a collection of Bokoblin Archers. These archers don’t respawn, however, because of their lengthy vary, it is a good suggestion to kill them.
Eradicating the following roadblock entails defeating a single Blue Bokoblin, nevertheless it’s not so simple as it appears.
It’s because the Blue Bokoblin can undergo the roadblock, taking itself out of your attain, and, from this place, cost at you with its sword. The perfect time to assault this monster is after it has accomplished a working assault.
In your journey to the following roadblock, you will encounter two Bokoblins who’ve the flexibility to summon their brethren by blowing a horn. You’ll be able to select to keep away from these enemies or combat them – although you will need to choose up the horn upon their defeat or else one other Bokoblin will and the cycle will proceed.
On the fourth roadblock, you will must defeat two Stalfoses in the identical method as in Skyview Temple.
Throughout this remaining part of your descent, you will encounter extra Bokoblins, one Blue Bokoblin and two Moblins.
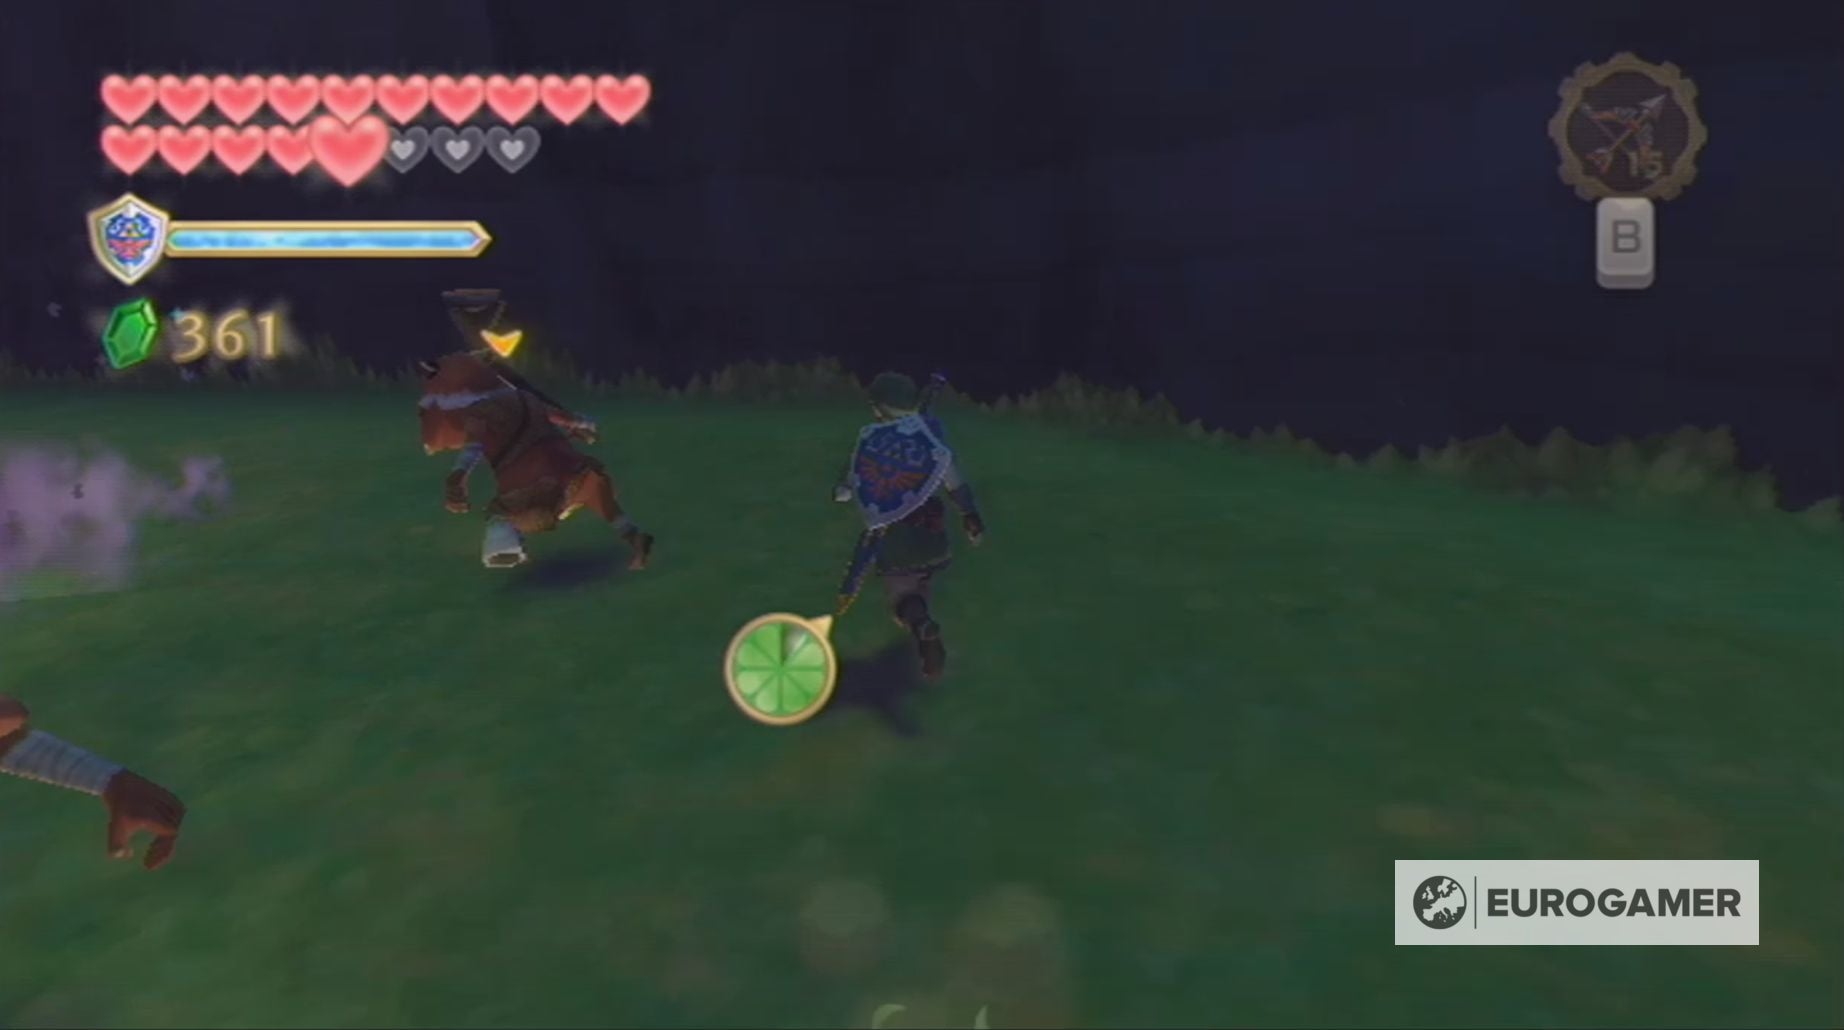
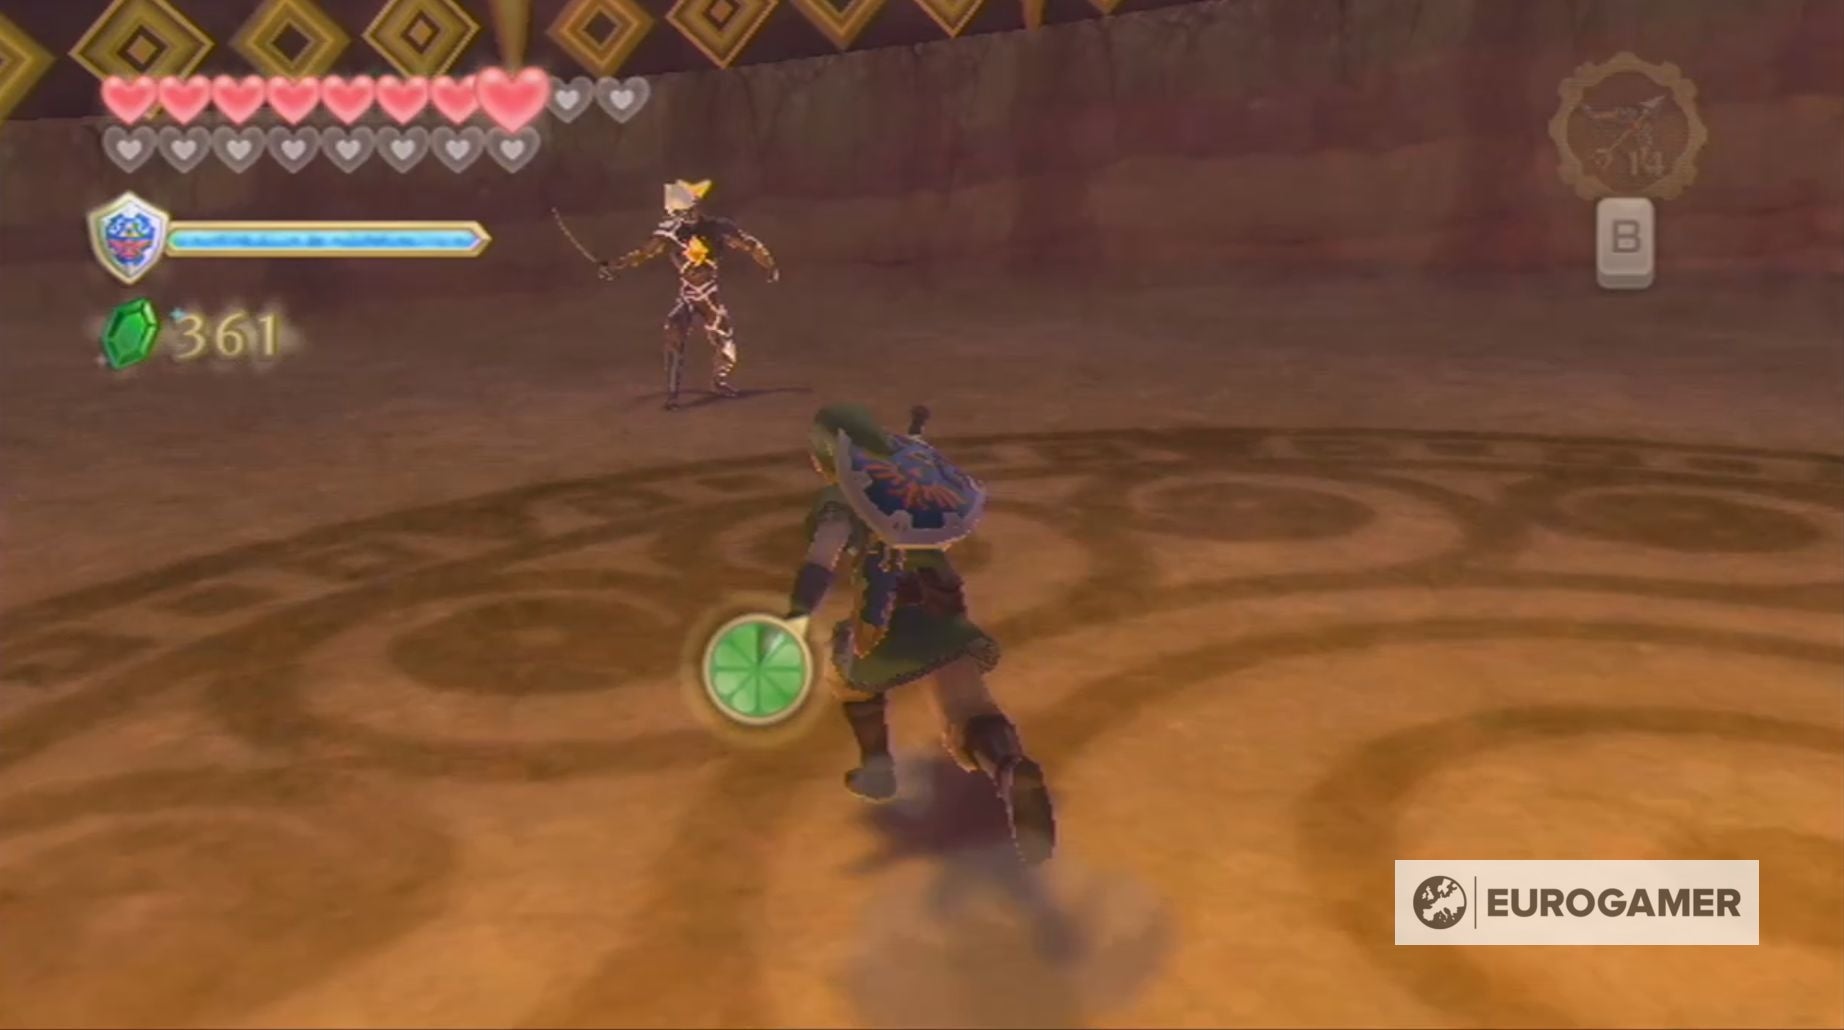
If you lastly attain Ghirahim, he’ll summon 20 Bokoblin which you will need to defeat to combat him.

Stage Two
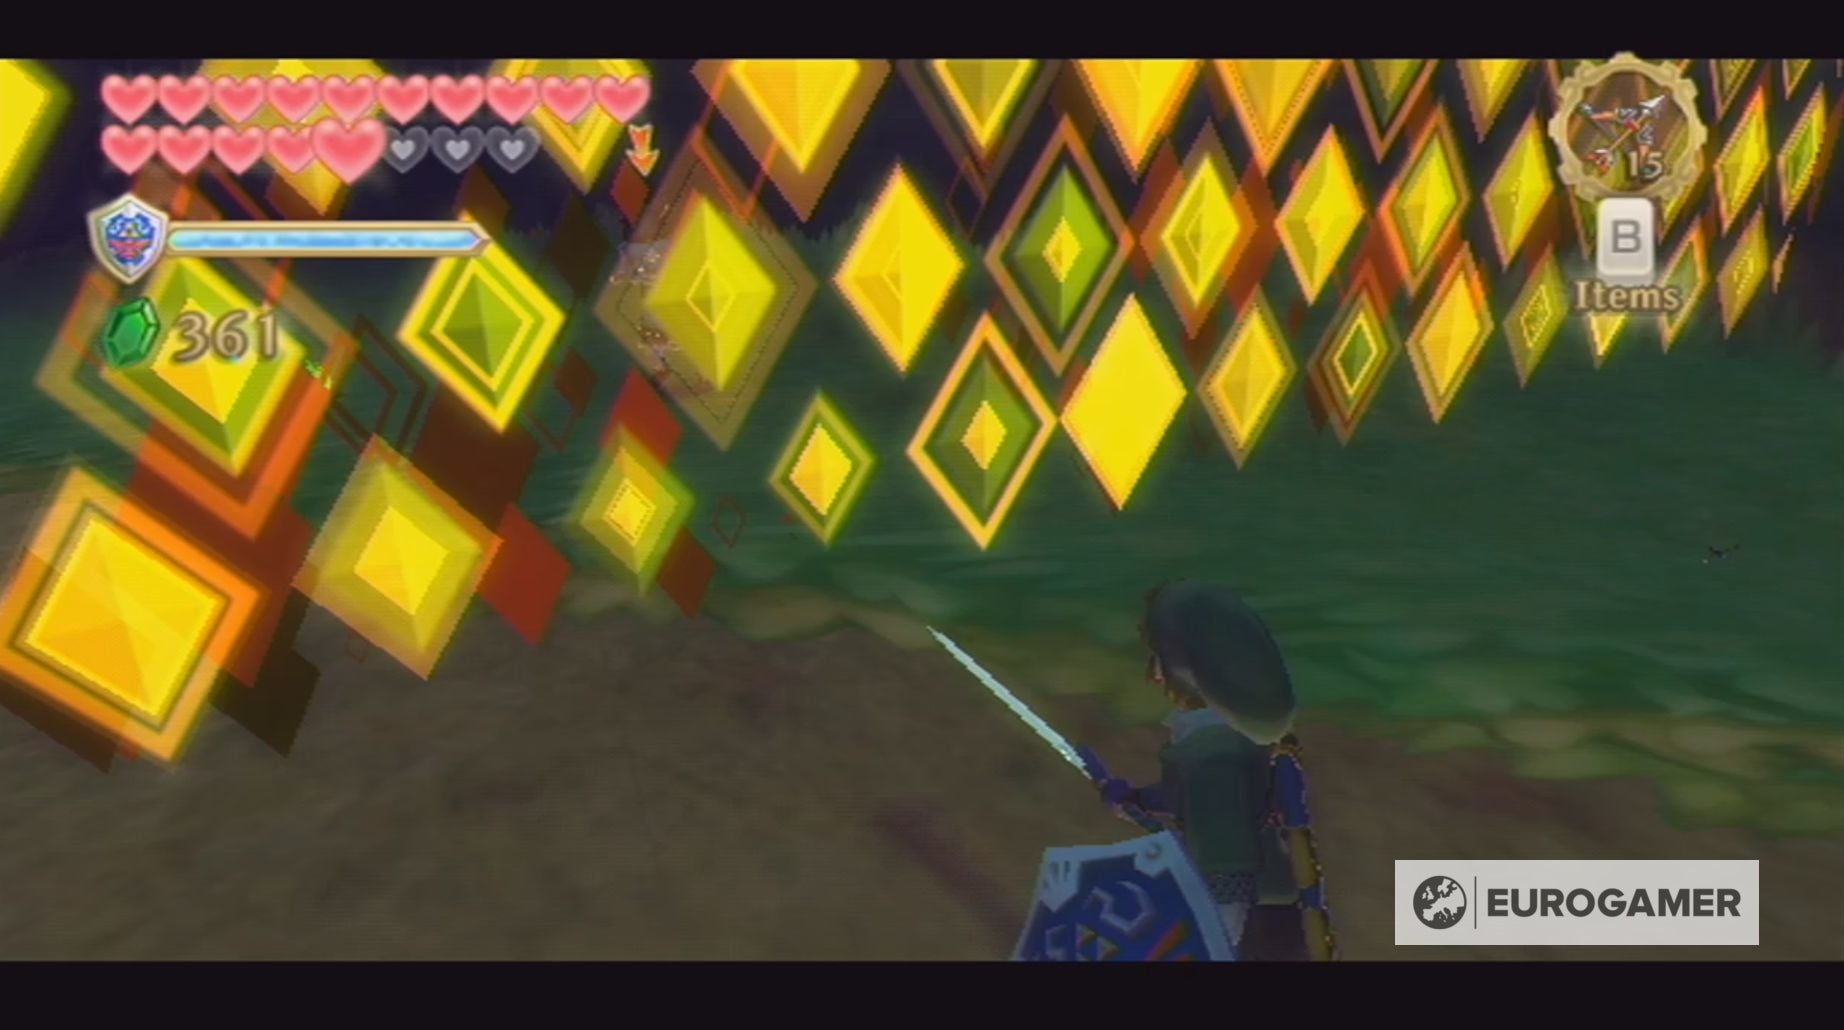
Throughout this stage of the boss battle, you have to knock Ghirahim off the sting of the platform utilizing your sword after which soar all the way down to the following stage, so you possibly can carry out a Deadly Blow on him.
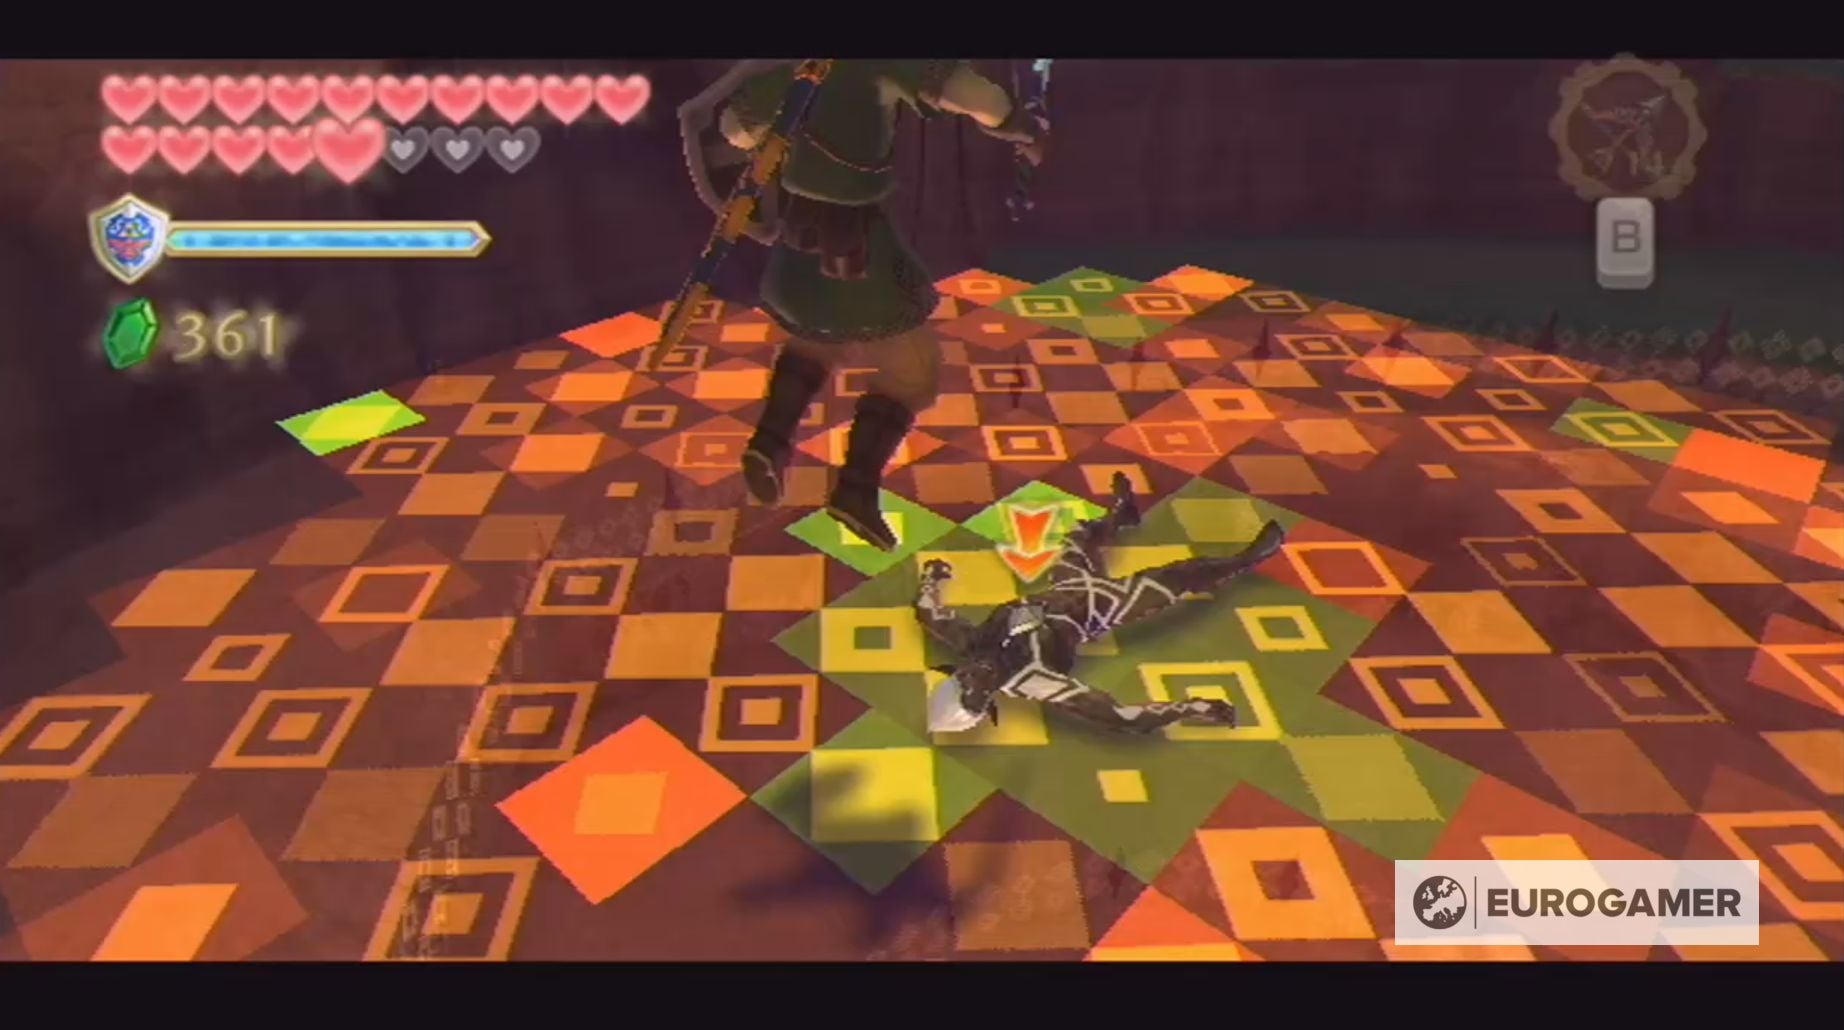
Ghirahim will, all through this stage, choose to defend reasonably than assault, however this doesn’t suggest you possibly can let your guard down.
Often he’ll carry out highly effective kicks which is able to harm you and will knock you off the platform. Fortunately, when this happens, you’ll return to the extent you have been on.
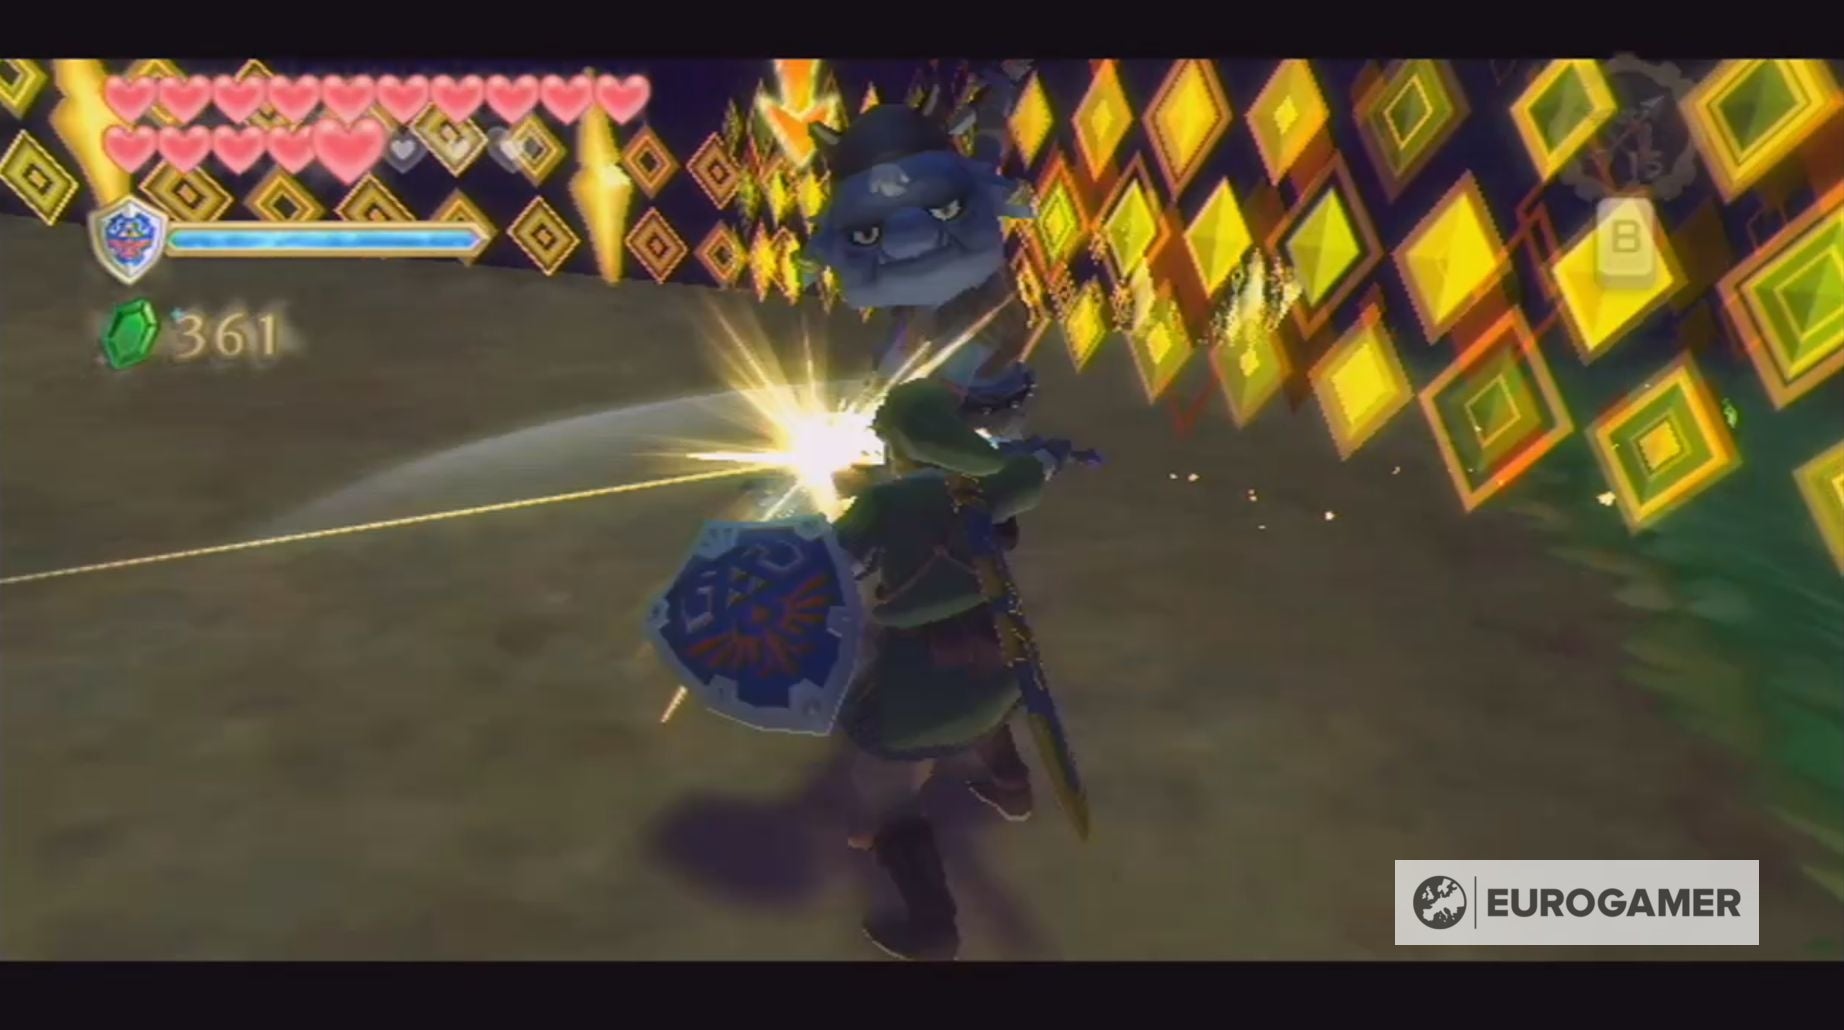
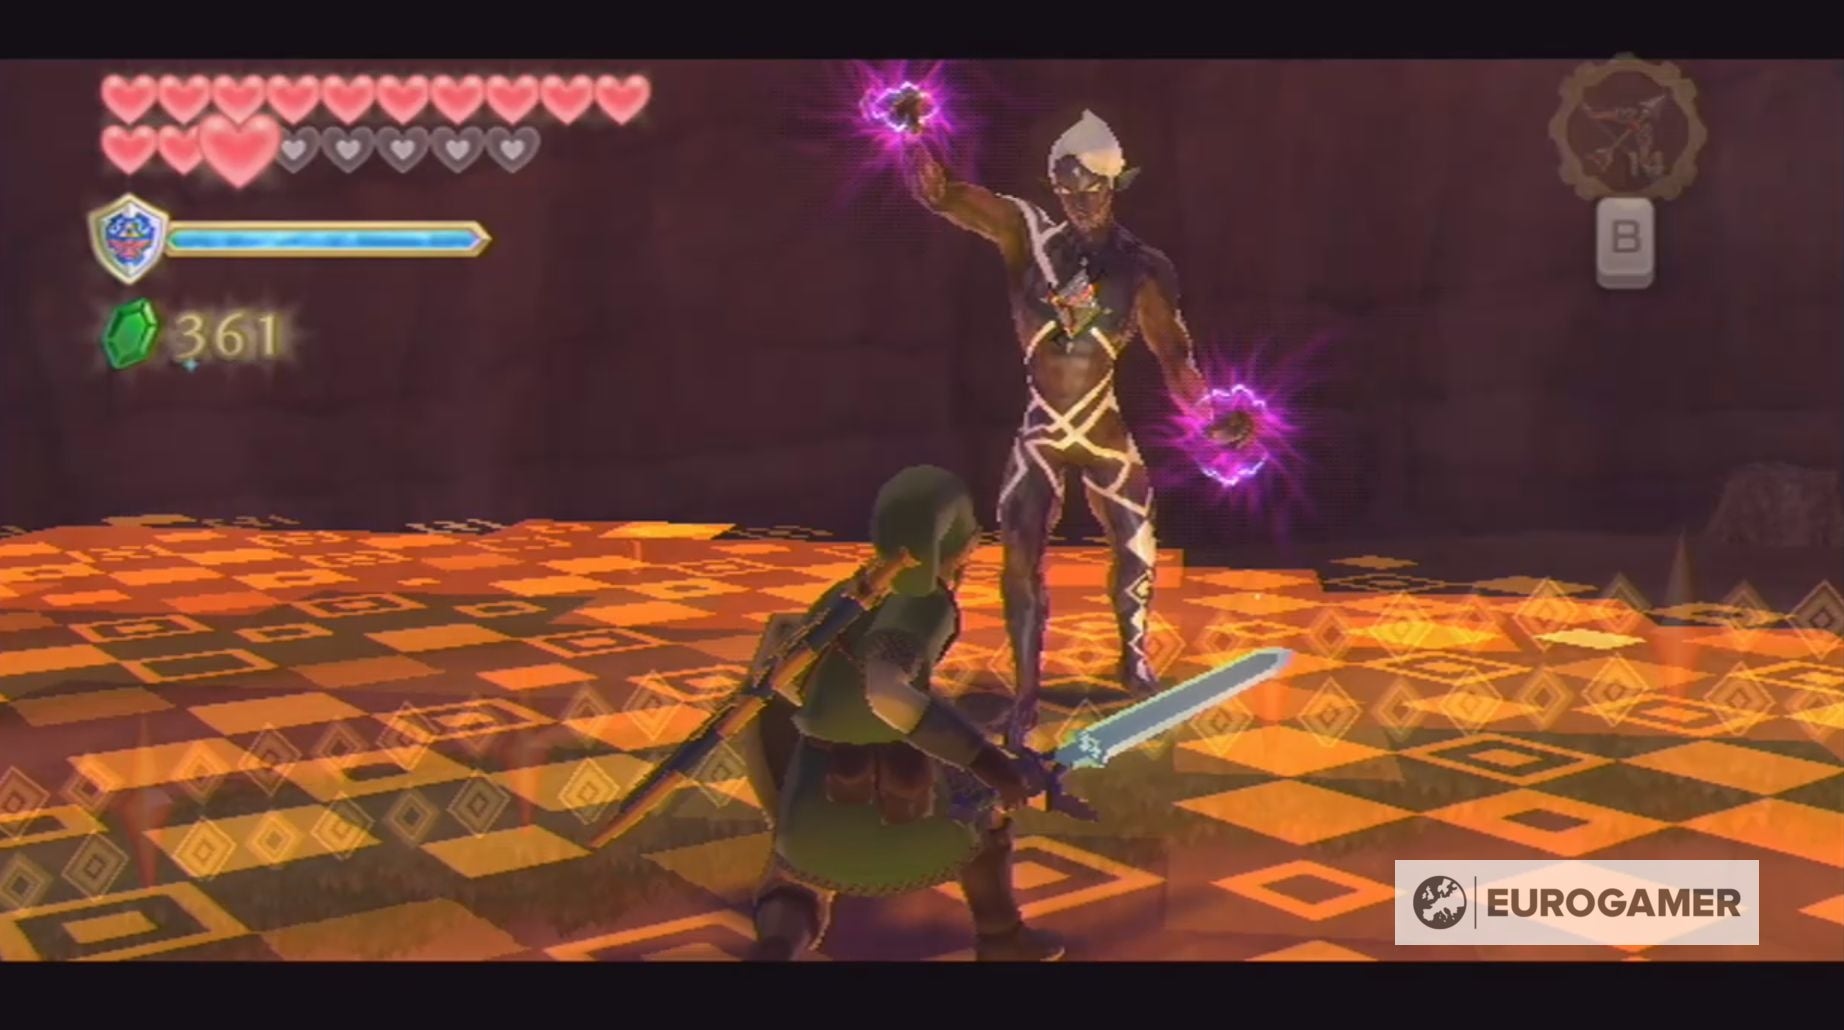
Because the battle continues, Ghirahim’s palms will begin to glow purple and, when this occurs, you will must angle your assaults by means of the gaps he leaves.
If you happen to hit certainly one of his palms, he’ll have the ability to soar over you, switching your positions. When this happens, you will must knock him near the sting of the platform along with your sword once more.
You’ll want to full this course of 3 times to finish this stage of the battle.
Stage Three
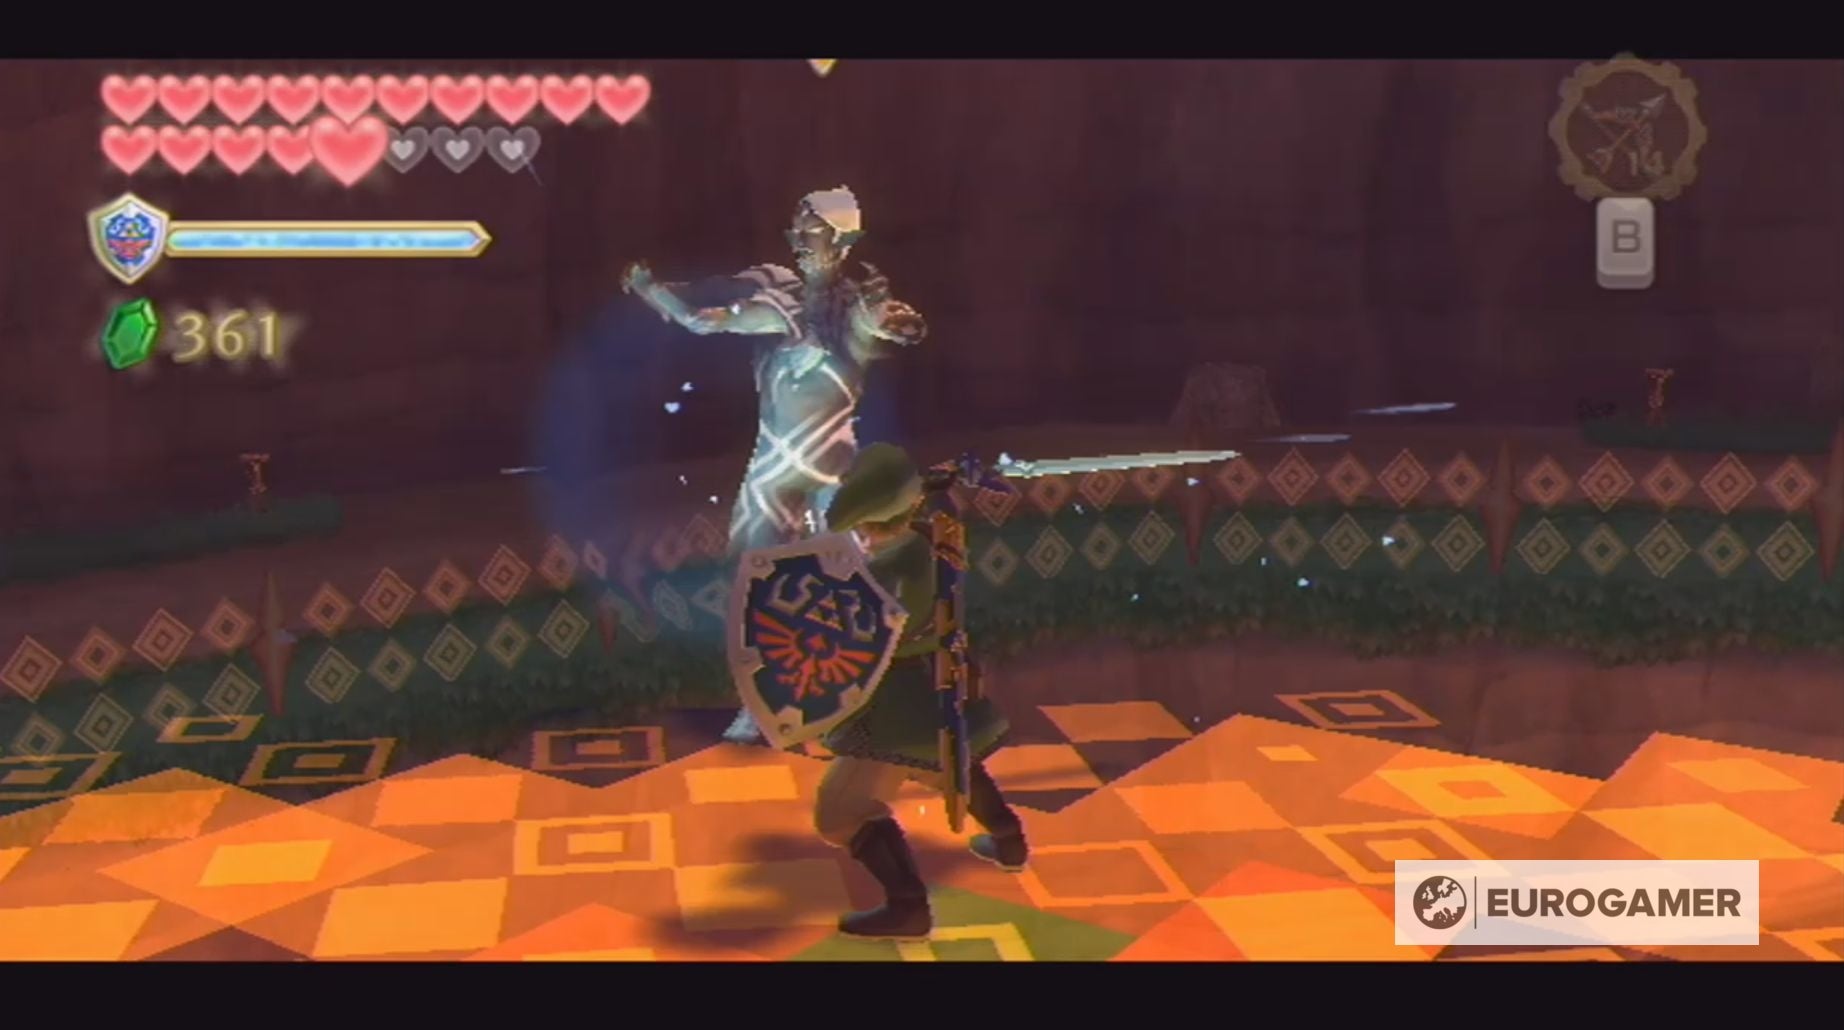
Within the third stage, the one solution to harm Ghirahim is by hitting the crystal within the centre of his chest.
To do that, you will need to both use a protect bash to dam certainly one of his assaults, inflicting him to stagger, or knock one of many circles of pink power he sends in the direction of you with the Grasp Sword.
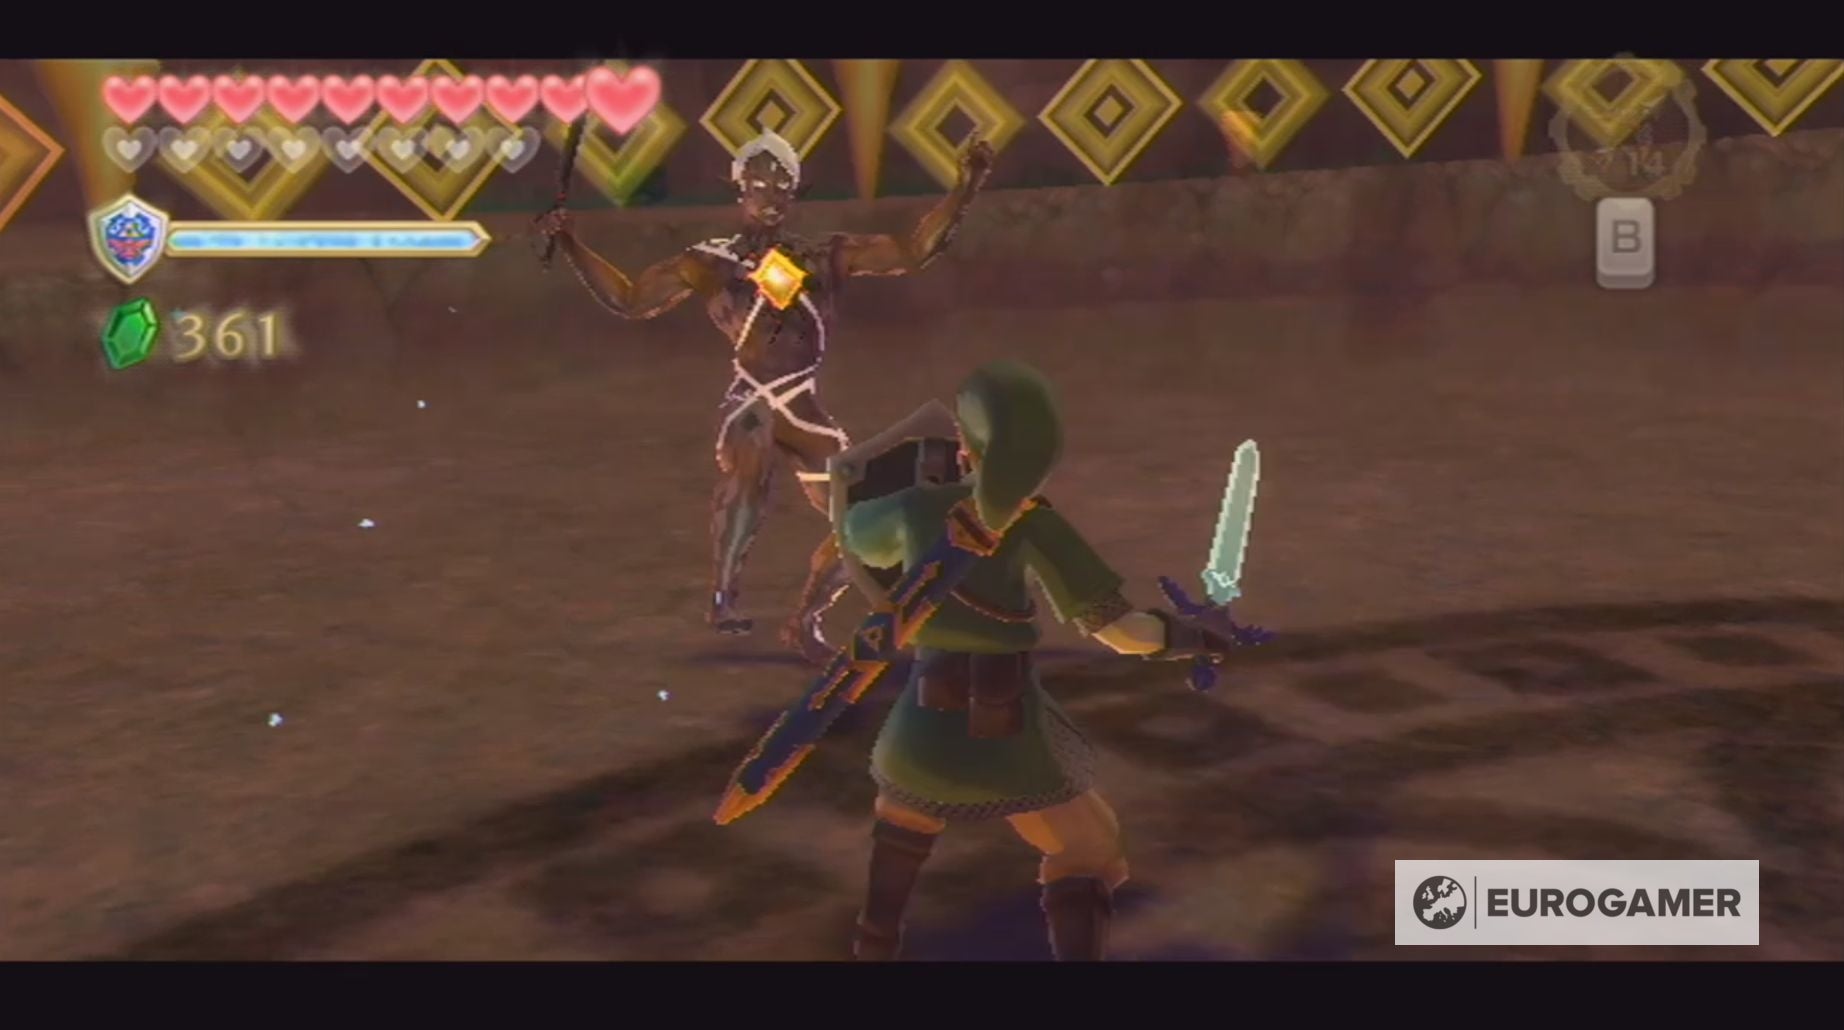
Ghirahim will knock this circle again at you at first, so hold bouncing it again along with your sword till it hits him. When this happens, you’ll dash ahead and assault him.
All through this stage, Ghiarhim will assault you along with his rapier, utilizing assaults just like these he is used early within the battle, and might also ship a collection of darts in the direction of you. When you have the Hylian Defend, then you possibly can merely knock these darts away by holding up your protect.
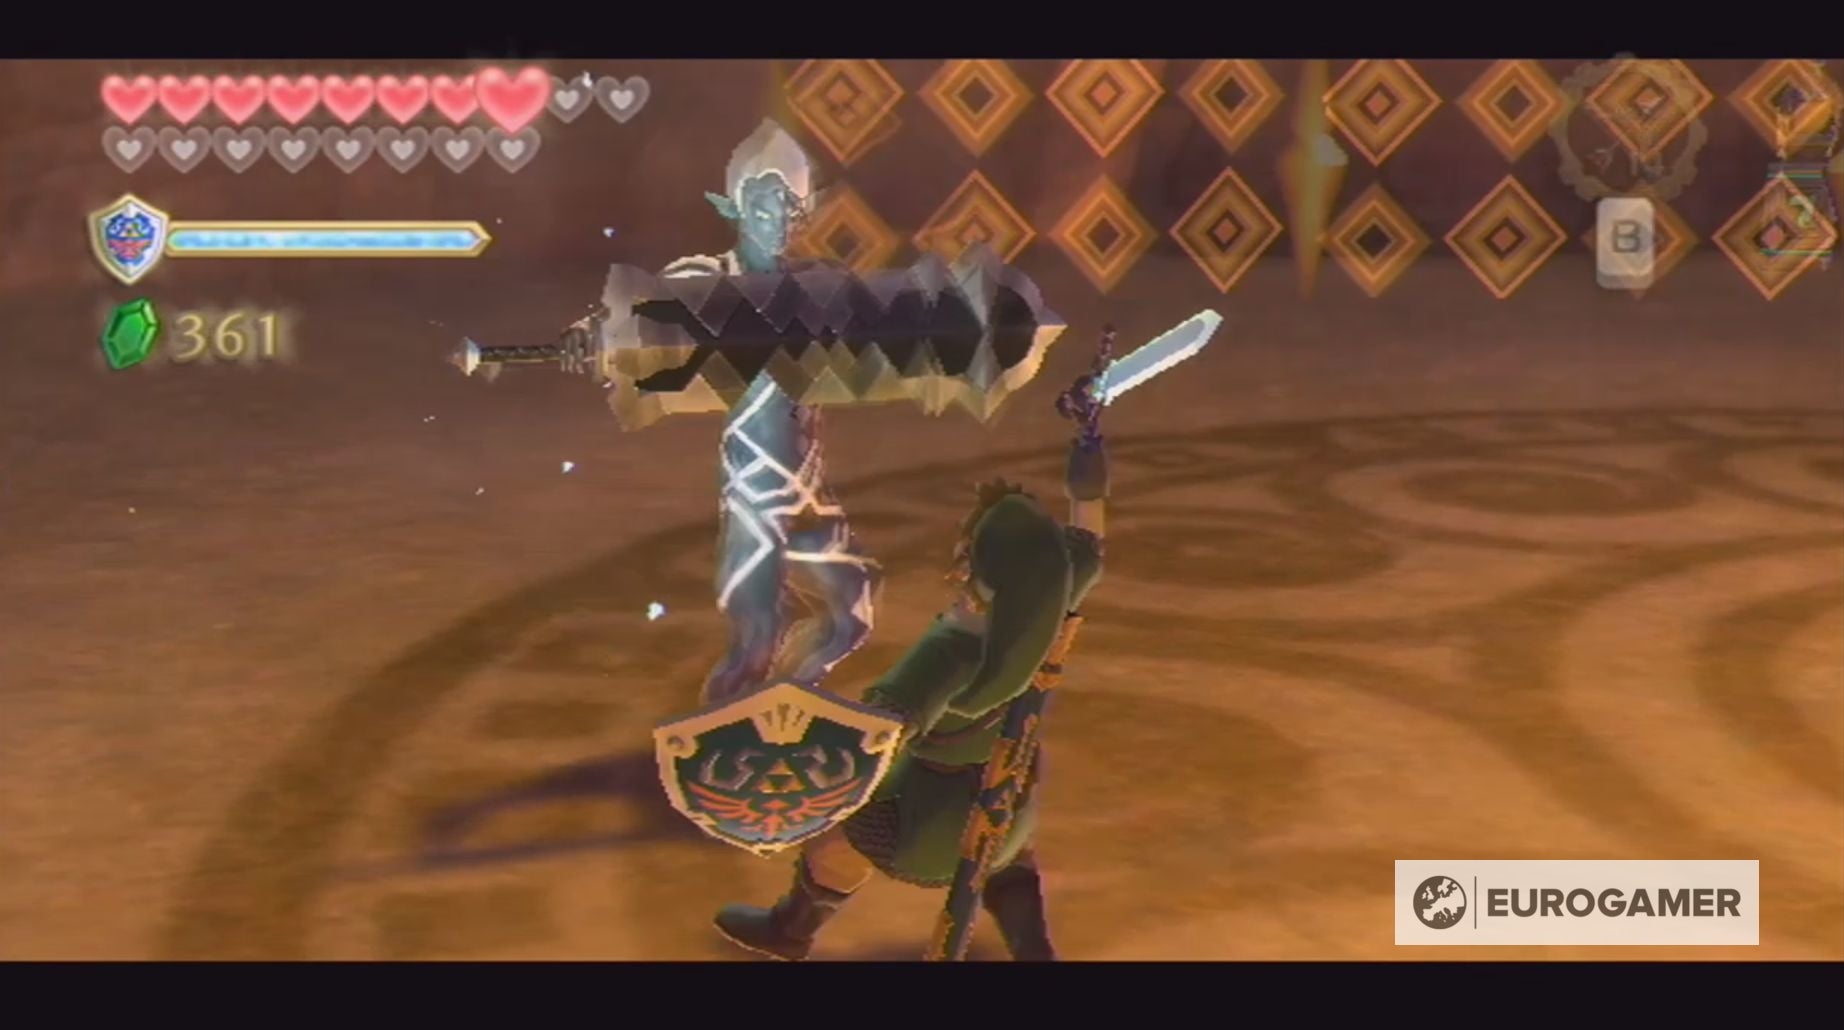
Stage 4
Within the fourth and remaining stage, Ghirahim will assault you with a large sword and, whereas it is in his palms, you will be unable to assault him. Fortunately, his assault sample along with his sword is just like the one along with his rapier and, by now, it is best to know this sample fairly effectively.
To defeat Ghirahim on this stage, you will need to first block certainly one of his assaults utilizing a protect bash.
This can trigger Ghirahim to carry his sword out in entrance of him both horizontally or vertically. When this occurs you have to hit the sword in the identical route he’s holding it; if, for instance, he is holding it horizontally, then you have to assault with horizontal swings.
After a few swings, Ghirahim will swap the route of his sword – if he is holding it vertically, he’ll maintain it horizontally and vice versa.
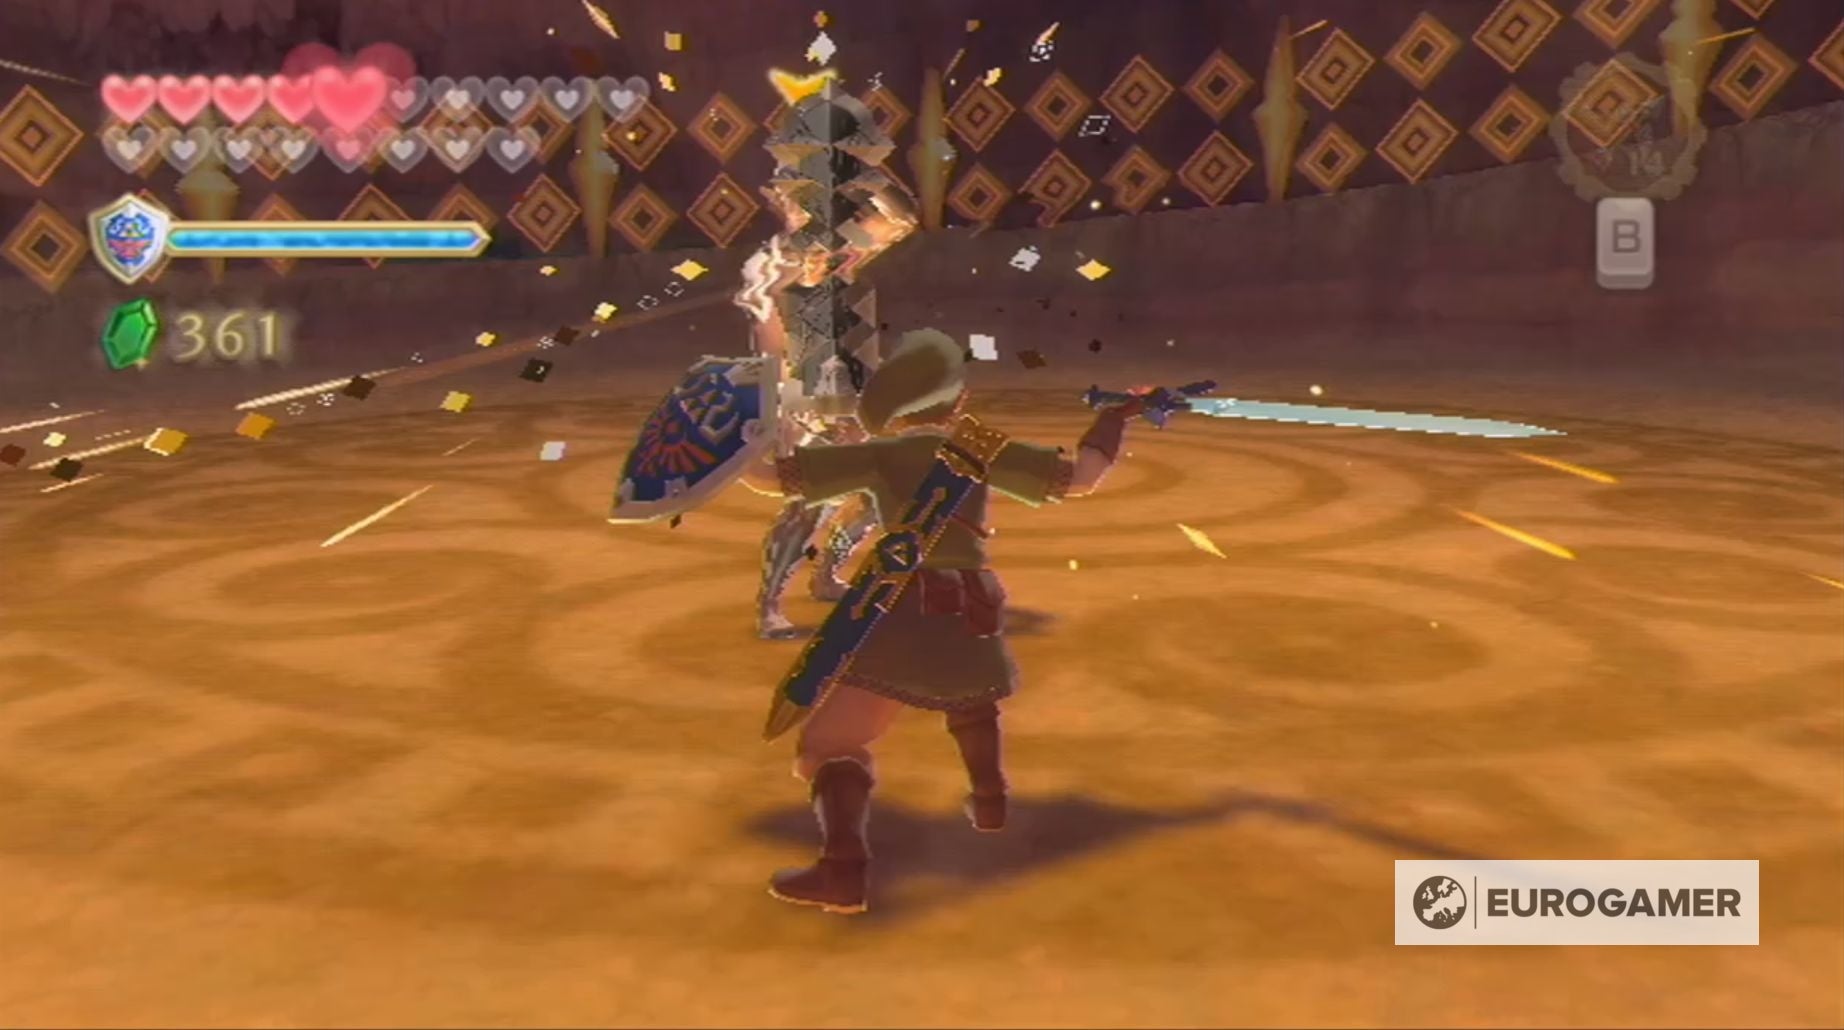
When this happens, you will want to vary the route of your swings or else Ghirahim will knock you down and you will have to repeat the method.
As soon as you’ve got fully destroyed the sword, you’ll assault his weak spot.
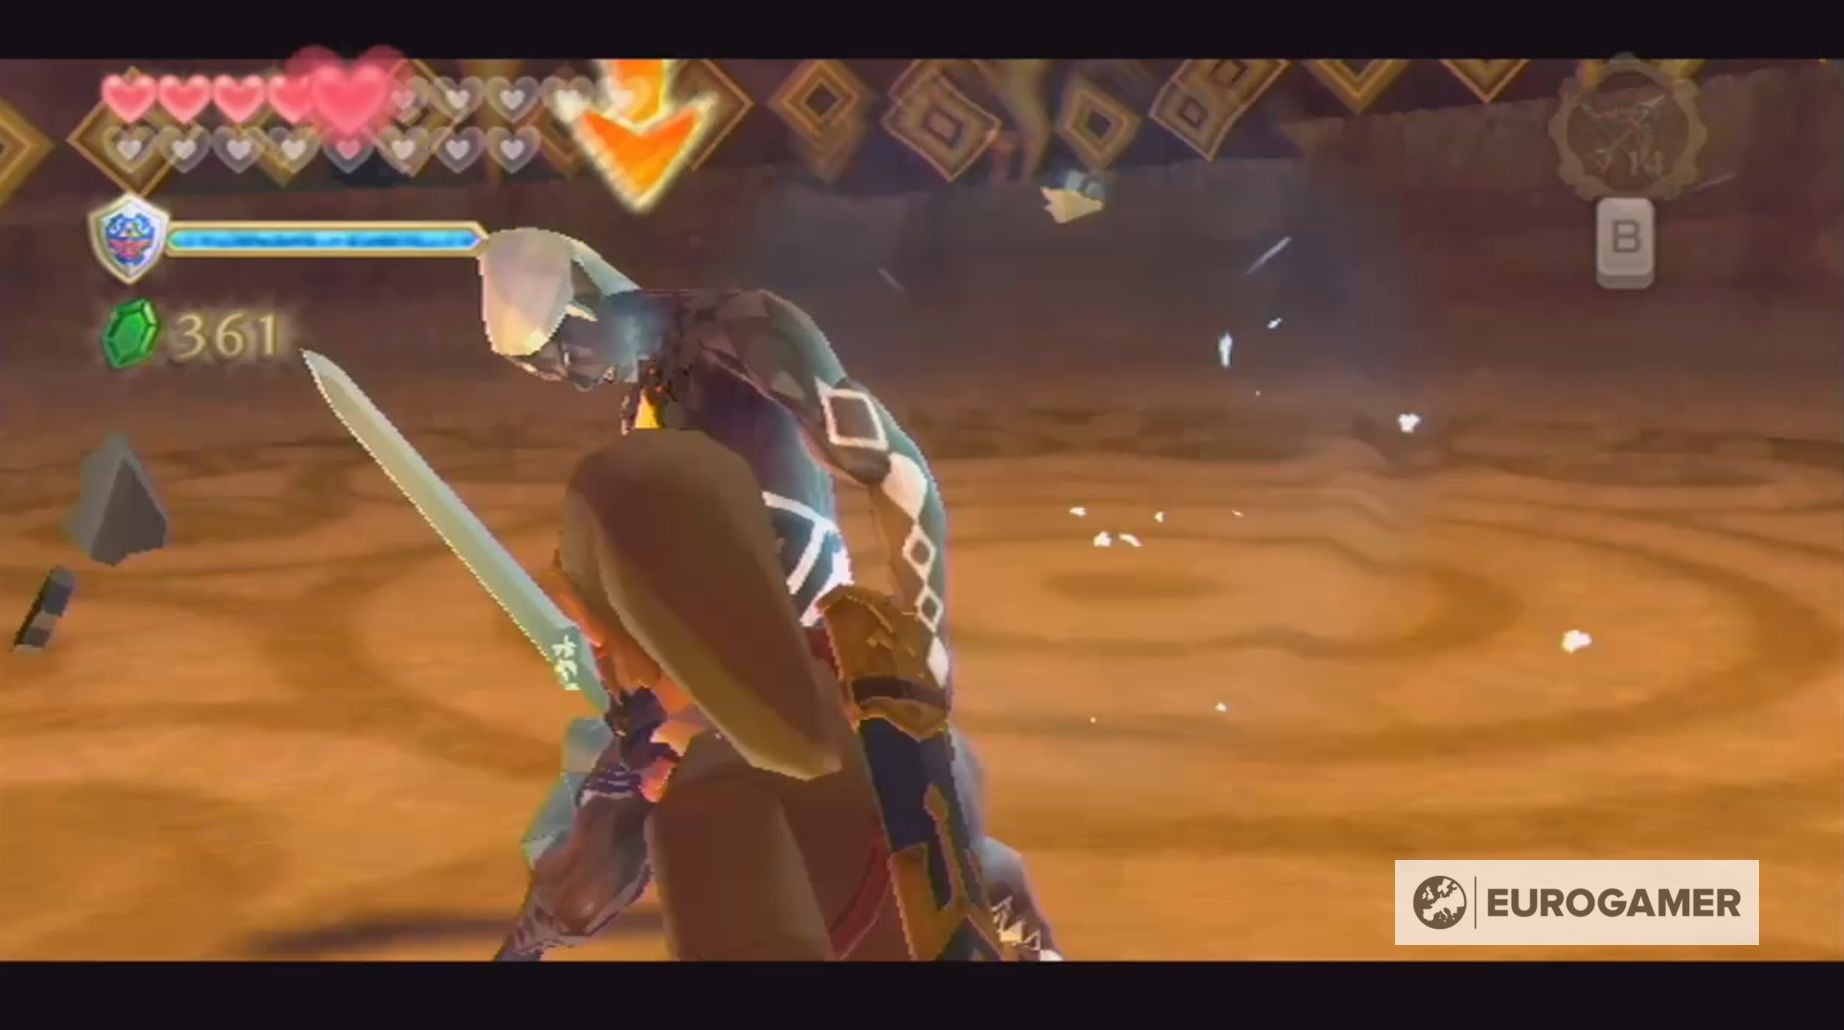
Preserve destroying this sword and attacking Ghirahim till the combat is yours! Although, whereas you might have defeated Ghirahim in fight, Demise will nonetheless regain energy.
It is essential to notice that coming into the ultimate battle with Demise is the point-of-no-return in Skyward Sword. As soon as you’ve got completed the sport, you will be given the choice to transform your saved file right into a Hero Mode file, which is able to return you to the start of the sport.
This implies, if you wish to totally full the sport, you have to take the time right here to seek out each Coronary heart Piece, gather all the Gratitude Crystals and, should you really feel prefer it, totally improve all of Hyperlink’s tools.
If you’re prepared, return to the previous and prepare to combat Demise!
Good luck battling Ghirahim and, should you want extra assist, go to our Skyward Sword walkthrough!