Zelda: Breath of the Wild’s Goron Metropolis is a north east location subsequent to an enormous towering volcano that dominates the skyline, a required go to as a part of finishing Divine Beast Vah Rudiana.
It is house to excessive temperatures, and so you may want hearth resistance to outlive the warmth, which is the place Fireproof Lizards and Firebreaker Armor is available in.
This is the way you make your solution to the area’s Eldin Tower, go north with hearth defending Elixirs, get free Firebreaker Armor and arrive at Goron Metropolis in a single piece.
Should you’re after assist for components of the sport, seek the advice of our Zelda: Breath of the Wild walkthrough and information.
Find out how to get hearth resistance on the best way to Goron Metropolis
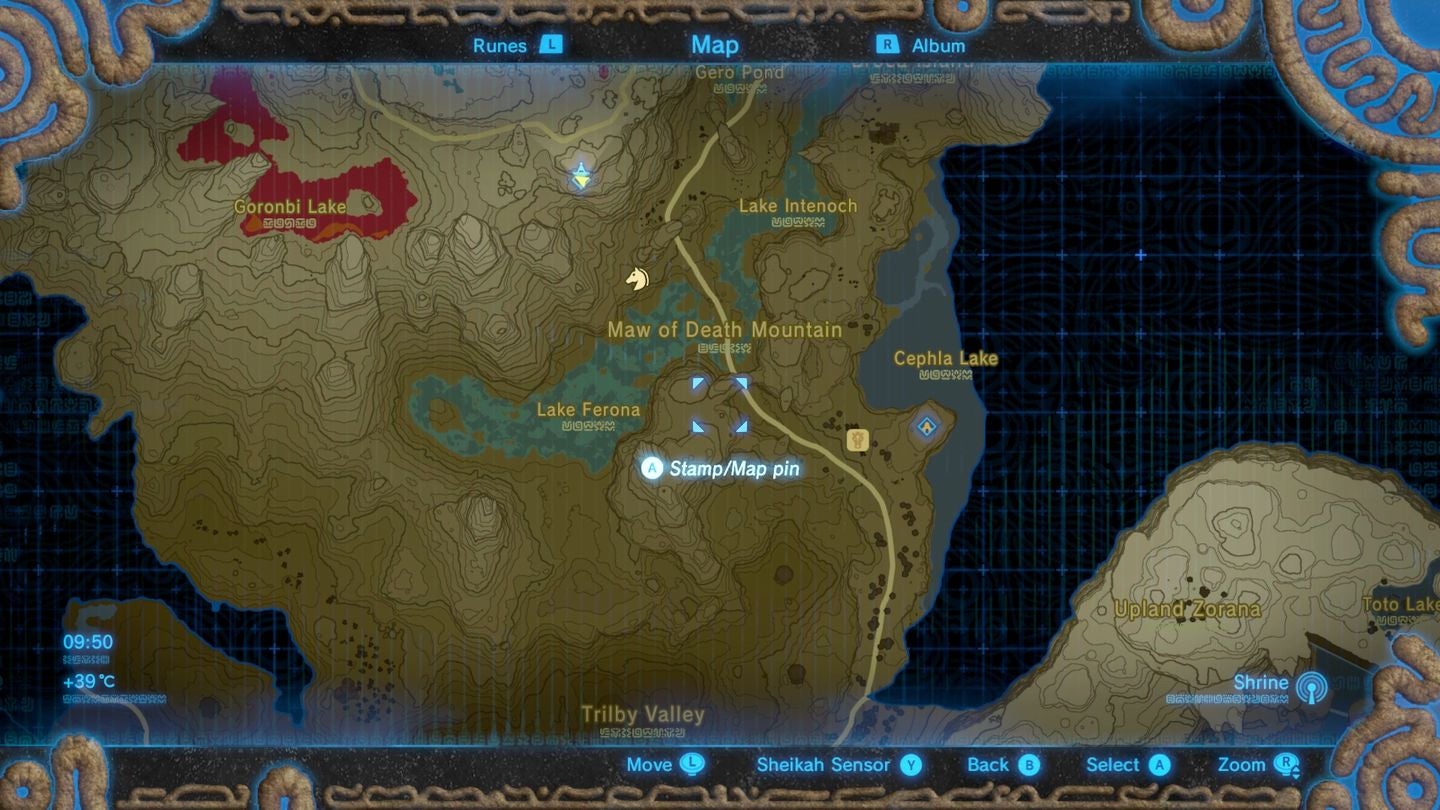
To get Goron Metropolis, it’s essential go through the Maw of Dying Mountain area. The simplest method is to go north from Inogo Bridge (which you may have a journey level if you happen to visited the Soh Kofi shrine subsequent to it) and Lanayru Tower, which is identical area as Zora’s Area, and take the highway going north from there.
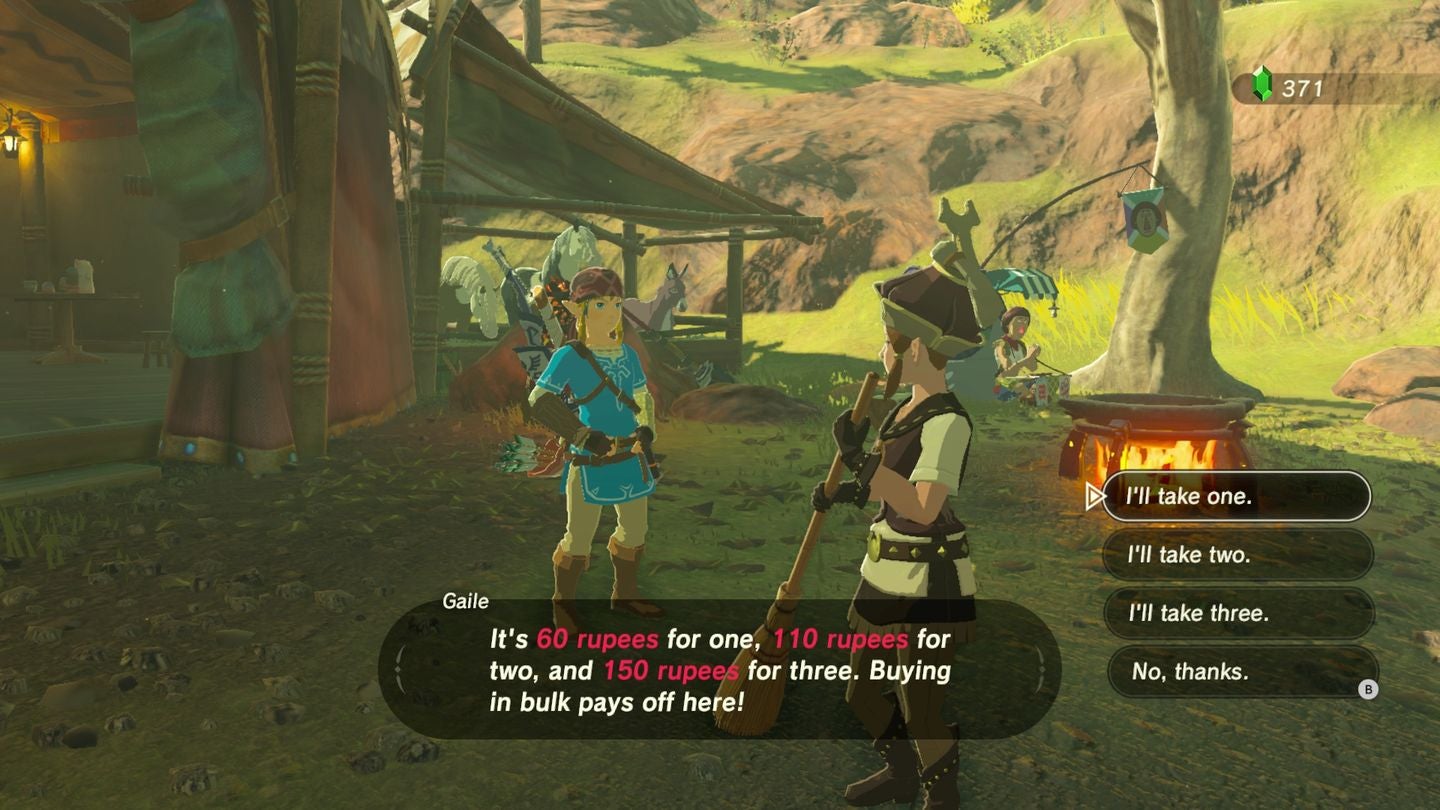
Hold going to achieve Foothill Secure on the precise, and make sure you get waypoint at Mo’a Keet Shrine simply up the hill behind to the east. Earlier than you set off, it is advisable you chat to Gaile outdoors who can promote you some Fireproof Elixirs – three for 150 Rupees – which is able to assist with the approaching volcanic area. Eat considered one of these and you will be secure for six minutes. You will not want one simply but, however hold onto it.
Proceed north and you may enter the Maw of Dying Mountain area. Be ready for extra highly effective foes and extra hearth elemental adversaries alongside the best way, equivalent to Stalmoblin at night time and purple Chuchus, which explode upon dying – simply make sure you stand again.
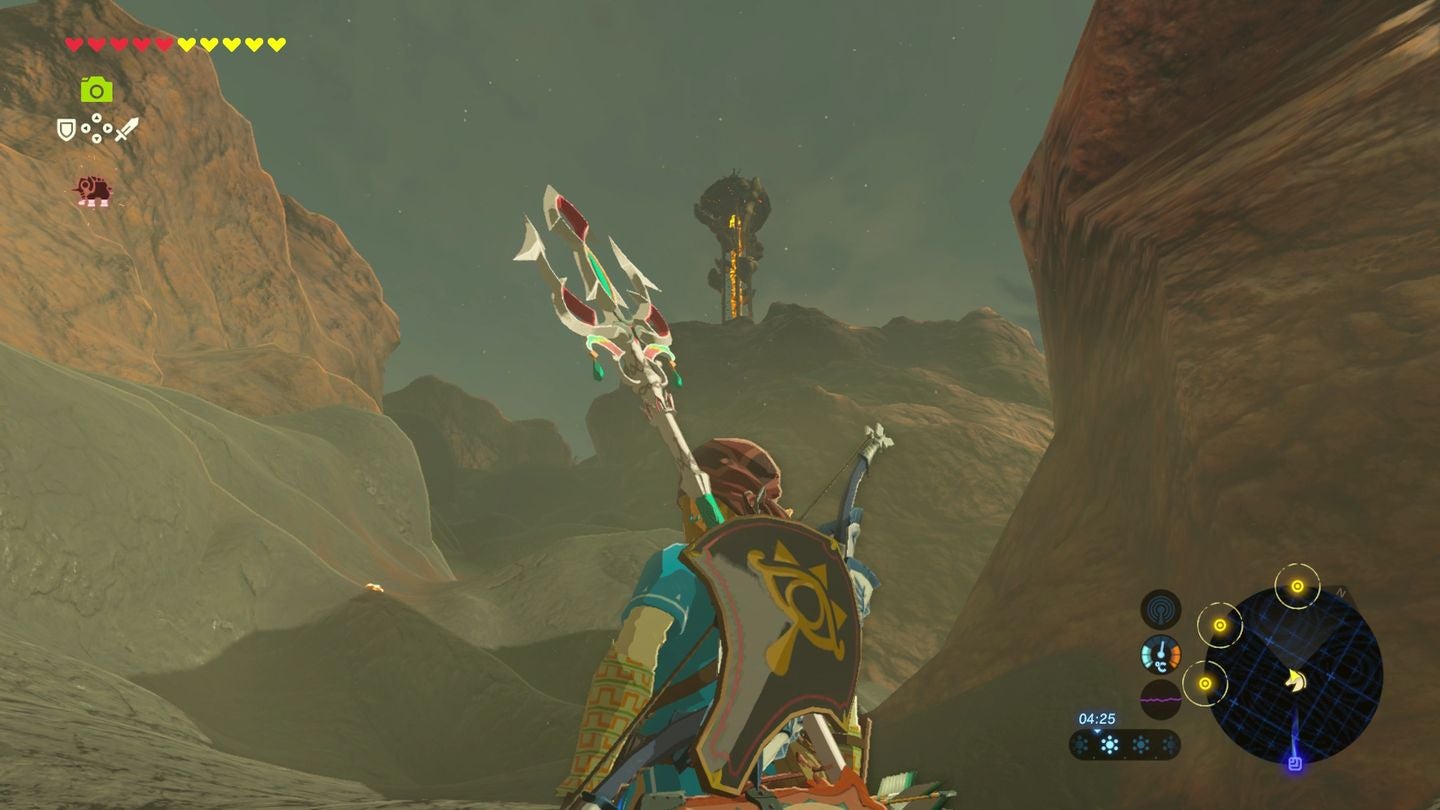
To achieve the Tower, earlier than you enter the canyon correct, there can be a fallen Guardian on the precise. Reverse that to the west is a darkish path going left and up. Take that every one the best way up, awaiting Purple Chuchus and falling boulders, passing a Bokoblin camp on the precise, and Eldin Tower is well accessible.
Should you go north of right here, you may immediately begin getting burn harm, and your picket gear will set ablaze if omitted. It is right here the place you want hearth resistance.
Once more, Foothill Secure to the south (you’ll be able to see it from the Tower) has Fireproof Elixirs on the market from Gaile outdoors. We suggest three, as though you may get armour pretty early in, it is best to be secure and in addition means that you can enhance your warmth safety if you happen to stack them up.
Everytime you’re prepared, drop from the tower to the trail under, and observe it north. A number of notes about this fire-filled area:
- Any picket objects gear will start smoking and catch hearth it omitted too lengthy. Swap them out for metal-based objects as a substitute.
- It is so sizzling which you could cook dinner elements on the bottom. You may’t mix them, however if you wish to give a person Apple or Uncooked Meat some additional therapeutic energy, it is simple to take action.
- Picket objects like arrows can be utilized and reclaimed after use, however it’s going to deplete shortly, so seize it quick.
- Equally, monster and animal components that drop will disappear and burn too if you happen to’re not quick sufficient.
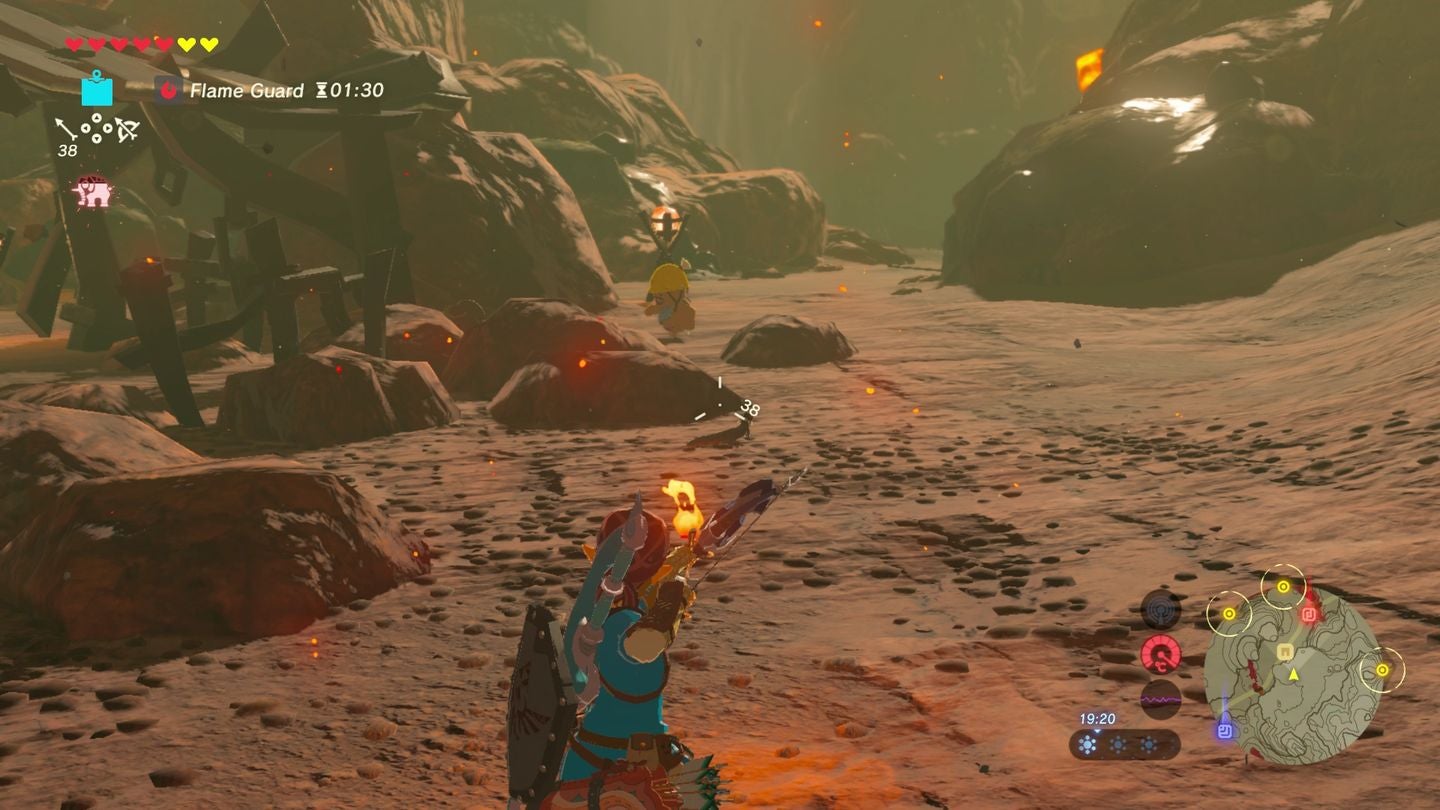
Proceed on the trail and go north. With the restricted time you’ve gotten with the elixir, ignore each enemy and hold going. You may quickly come to a cliff with an Ignio Tatus simply earlier than it.
Whilst you may take it on along with your present gear, a problem comes with the time remaining in your Fireproof Elixir, and burn harm from climbing on prime. Our suggestion is to flee, climb and proceed north on the trail.
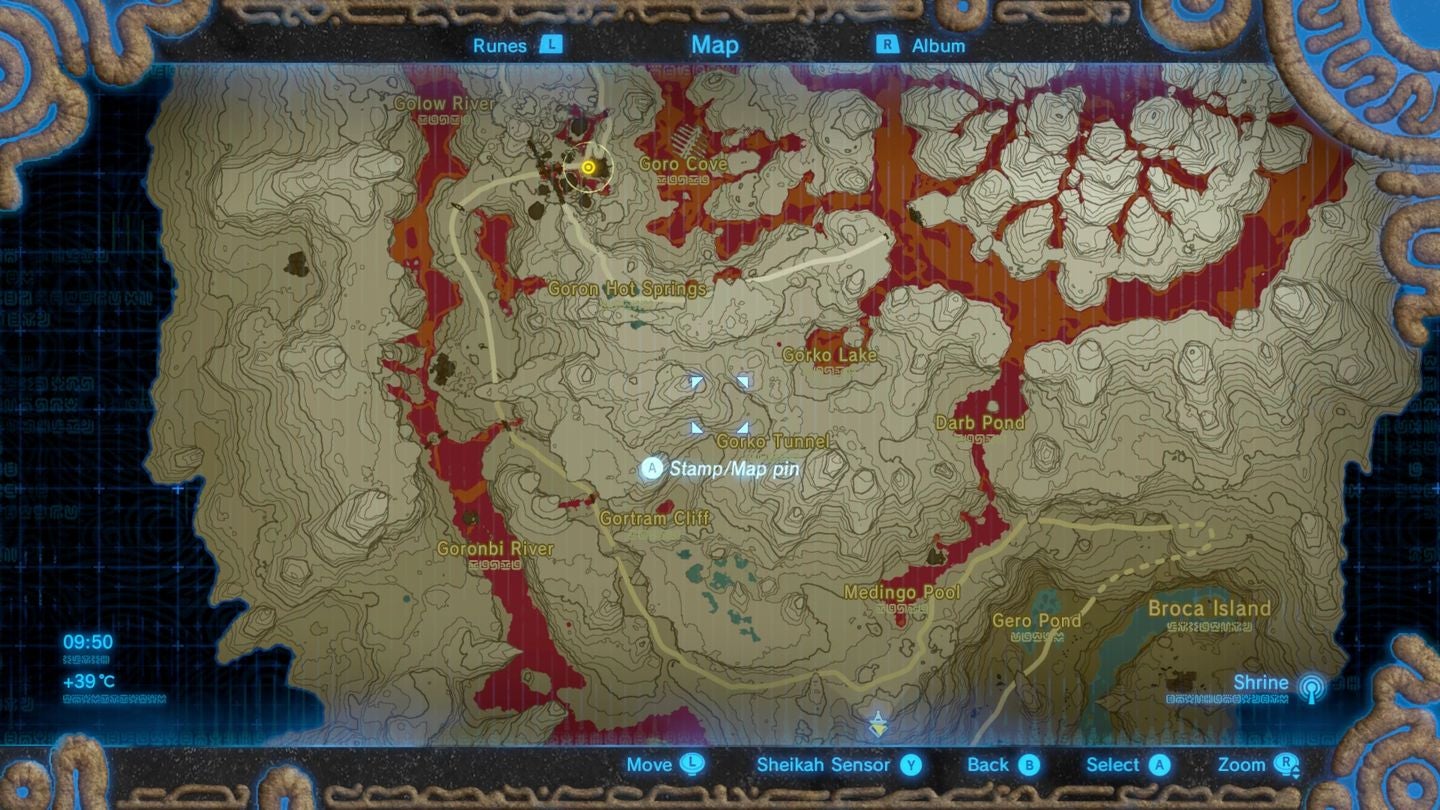
Southern Mine
You may very quickly come to Southern Mine. There’s not rather a lot right here other than chatting to the Gorons to get some background story information, although it is nicely value chatting to the armoured Hyrulian Kima on the left as you get in for the Fireproof Lizard Roundup aspect quest, who duties you with getting 10 Fireproof Lizards to get some Flamebreaker Armour.

The ten Fireproof Lizards can be dotted across the Southern Mine space between the 2 bridges, each out within the open and hidden below rocks. Watch out as you go as they run away when shut, so once you see one, shoot it along with your bow.
We discovered a bunch of three within the south east, which we dispatched directly with a bomb, and make sure you verify below rocks too, and faucet the A button as quickly as you carry to shortly gather it.
Should you’re struggling, taking a snap along with your digital camera rune and monitoring it with an upgraded sensor might assist, and / or if you happen to run out of time, we think about (although have not examined) that the Fireproof Lizards regenerate if you happen to warp in and out once more, so return to the steady, top off on Elixirs and return when prepared.
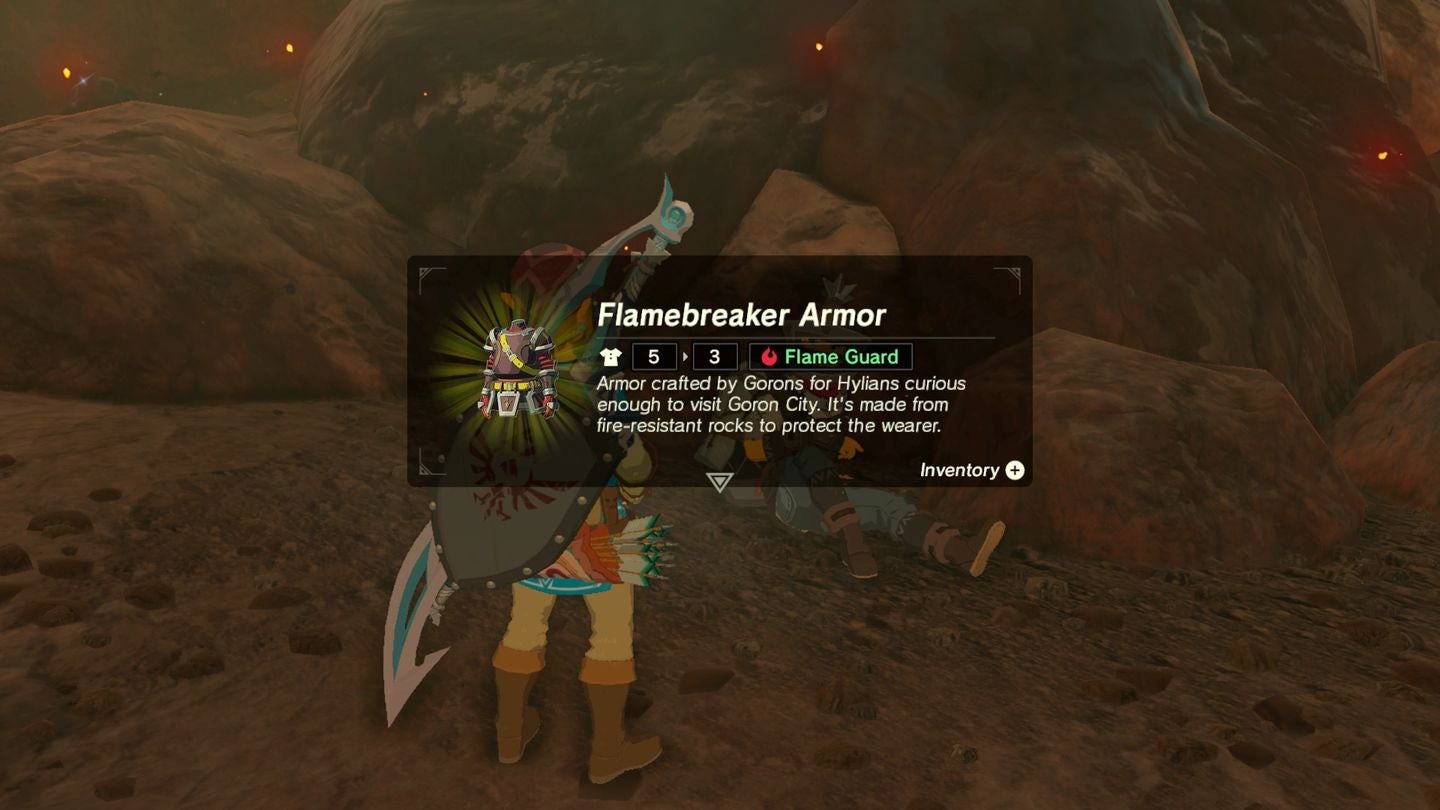
Commerce in all 10 and also you’l obtain the Firebreaker Armour. It must also be famous you should purchase it from Goron Metropolis – however at a really excessive value – and in addition use the Fireproof Lizards to make a Fireproof Elixir (the six minute power is from two Lizards and on Bobokin Horn). Should you see any Smotherwing Butterflies on the best way, they can be utilized for Fireproof objects, too.
While you’re prepared, head north over the bridge. The trail to Goron Metropolis is kind of quick – you may be there in a couple of minute or two – with minimal resistance. You may see a Moblin camp, which you’ll be able to run previous (we suggest utilizing the wind gust to take you north a little bit sooner) and it’s possible you’ll hear an eruption, which can be adopted by a fireball bathe.
There’s a rock overhanging on the left aspect of the trail, which you must duck below and wait till the bathe passes. Now proceed on to Goron Metropolis.
Because of a brand new replace, it is now attainable to play Zelda Breath of the Wild in VR. Need assist with the principle sport? Our Zelda: Breath of the Wild walkthrough will help full Divine Beasts Vah Ruta, Vah Rudiana, Vah Medoh and Vah Naboris and extra.
There’s additionally methods to get the Grasp Sword, Hylian Defend and all Zelda Captured Recollections and Nice Fairy Fountain areas, whereas our Shrines areas and Shrine maps hub explains the place to search out and resolve each puzzle room, together with dragon areas and Labyrinth options.
We even have a DLC 1 information and DLC 2 information, together with all Tingle, Majora’s Masks, Phantom, Midna outfit areas.
Goron Metropolis
Be happy to discover and chat to the villagers, choose up just a few side-quests, use the cooking pot on the southern ridge and, if you have not already, procure some Flamebreaker armour from the clothes vendor on the precise as you enter. You may want two ranges of safety for the subsequent space, so think about getting two objects, or one and a Fireproof Elixir.
- Flamebreaker Boots – 700 Rupees
- Flamebreaker Armour – 600 Rupees
- Flamebreaker Helm – 2000 Rupees
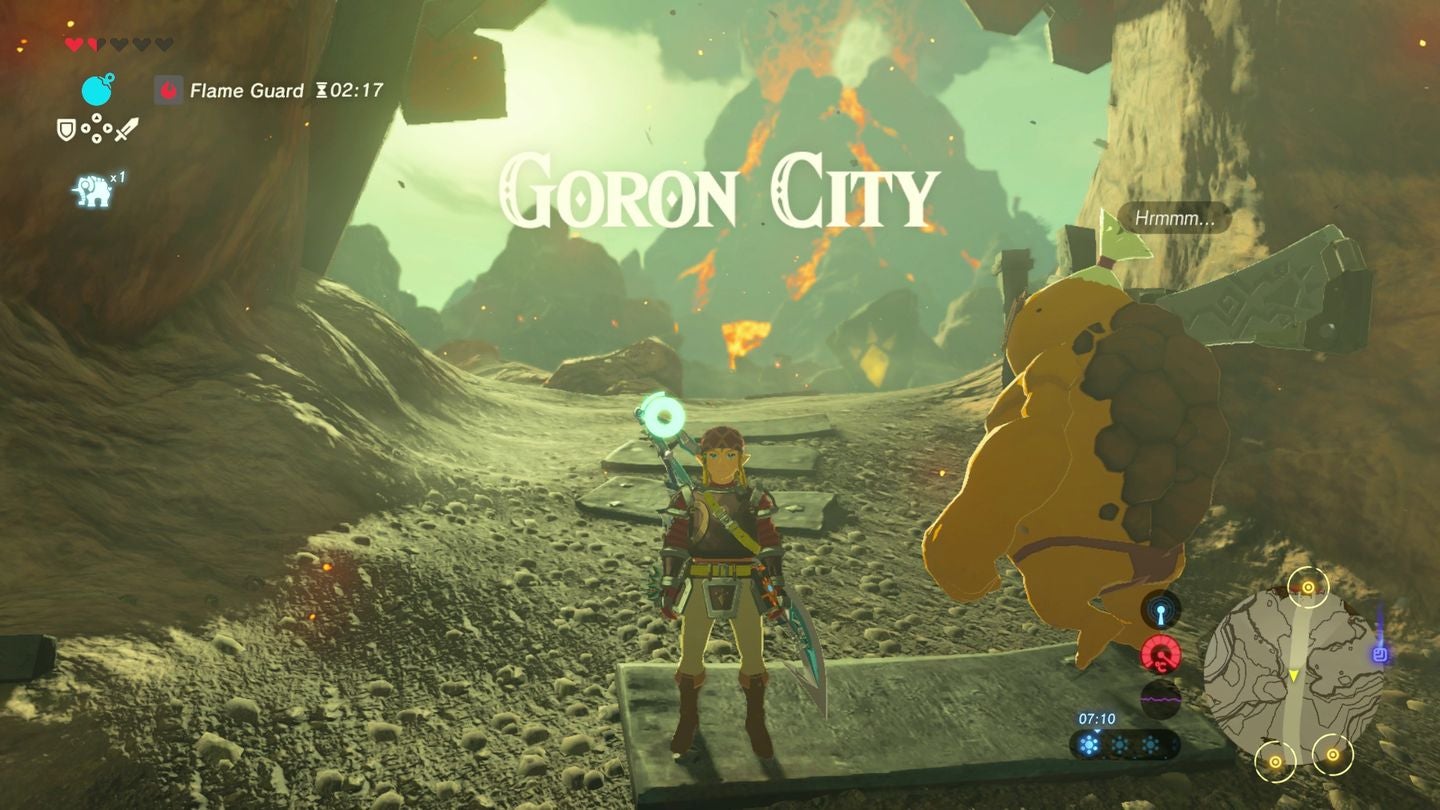
While you’re prepared, chat to Bludo, the village chief who’s on the east of town (the Goron with the attention patch) who provides you with the Vah Rudania quest. He tells you a Goron named Yubono is required, who might be discovered on the Deserted North Mine.
Go left of Bludo, up the winding path and you will be headed in the precise route, passing alongside the Shae Mo’Shah shrine alongside the best way – a useful quick journey level as you standard – then proceed on to the Deserted North Mine which is simply additional forward.