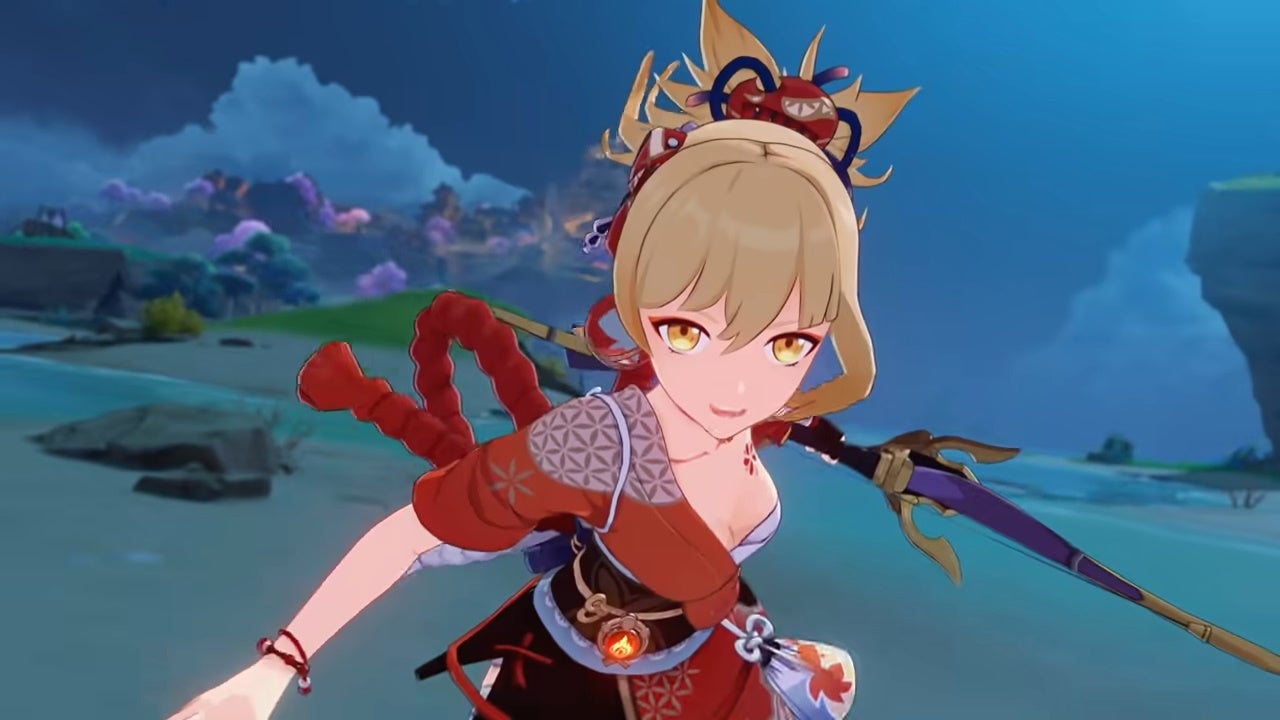
Yoimiya is again as a rerun Banner in Part 2 of the two.8 replace to Genshin Impression.
The firework-loving archer is featured in her returning Tapestry of Golden Flames occasion Banner alongside boosted 4-Stars Bennett, Xinyan, and Yun Jin.
Whether or not you’ve got her, or need to put together for when you do Want for her efficiently, it’s good to know the greatest Yoimiya construct in Genshin Impression, together with her greatest Artifacts and crew comp. It is also good to know what her Constellation perks are, and what Expertise supplies and Ascension supplies are wanted to stage up Yoimiya to her full potential.
Make sure to try our Genshin Impression codes web page to get free Primogems that can be utilized in the direction of unlocking Yoimiya and different characters.
On this web page:
Yoimiya stats and supplies:
Yoimiya construct:
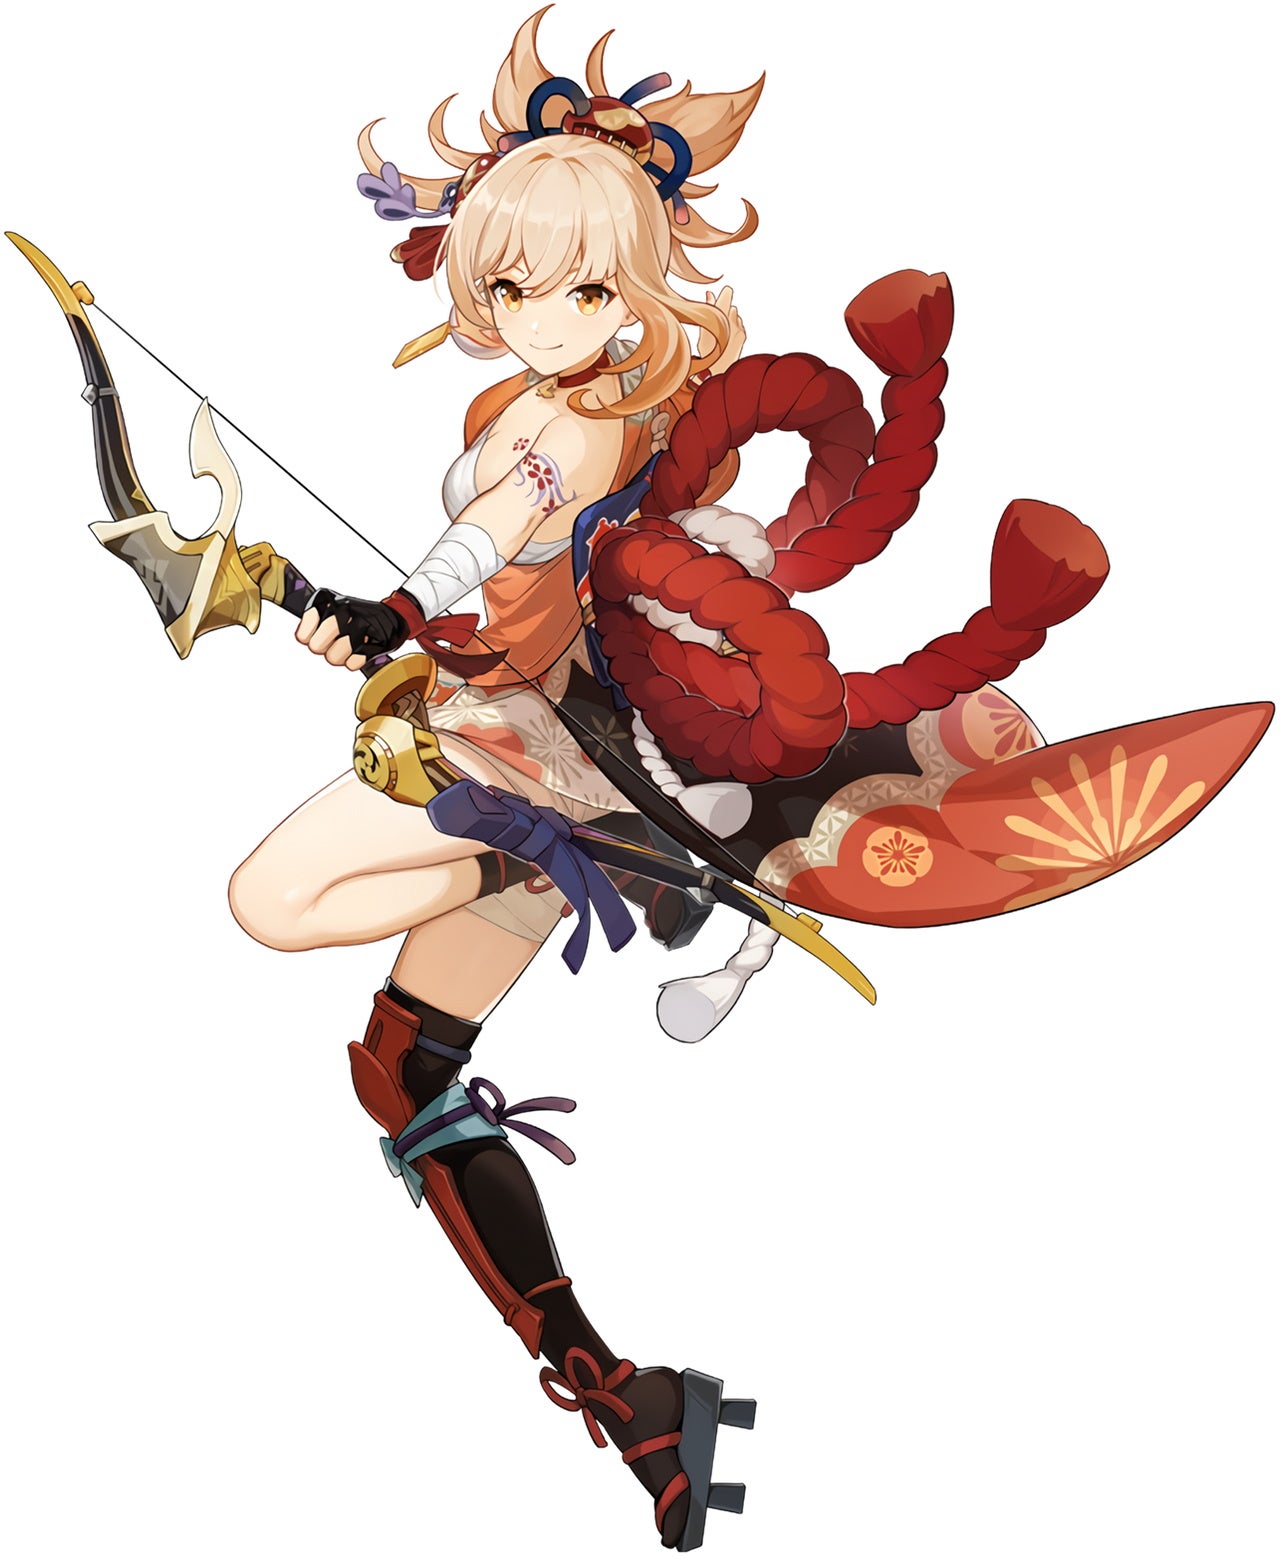
Genshin Impression Yoimiya Skills, expertise, star, ingredient, and weapon
Yoimiya is a 5-Star Pyro archer who’s greatest utilized in a major DPS (harm per second) function when combating single targets on account of her low Elemental Vitality prices and excessive regular assault harm.
This is a abstract of Yoimiya’s talents and stats in Genshin Impression:
- Component: Pyro
- Rarity: 5-Star
- Weapon: Bow
- Banner: Tapestry of Golden Flames
- Greatest construct: Predominant DPS
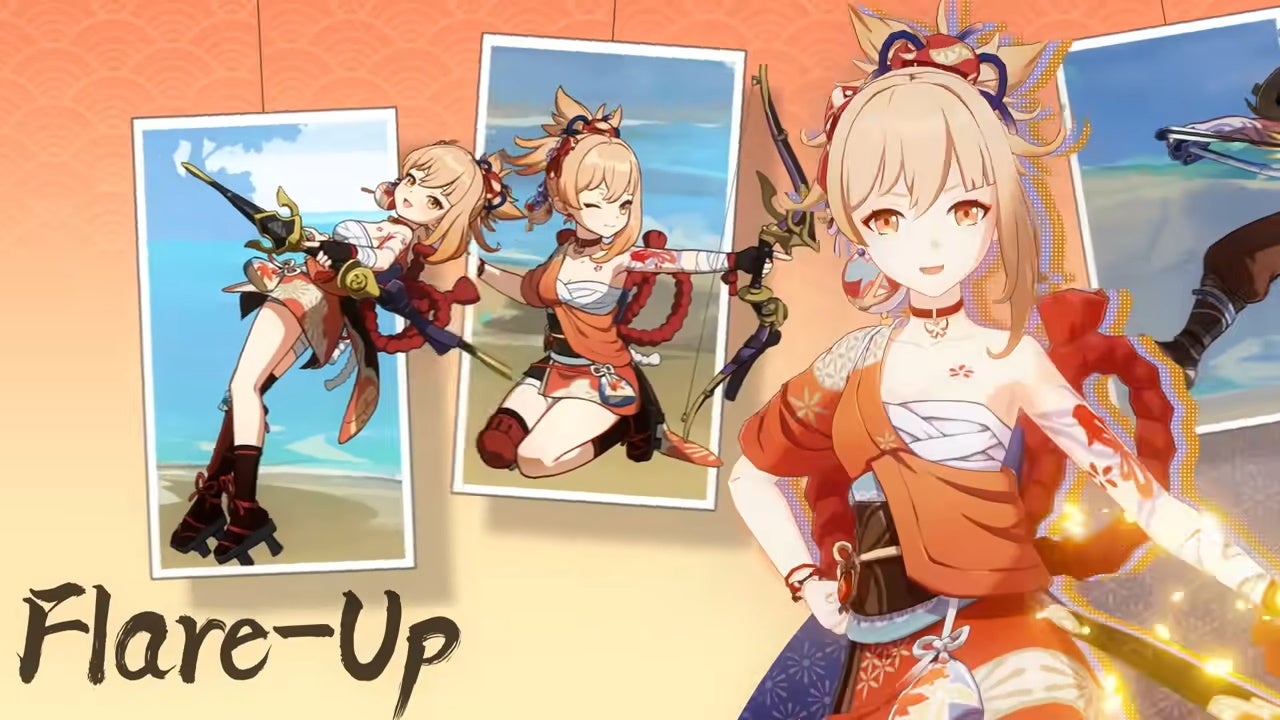
- Regular Assault: Firework Flare-Up
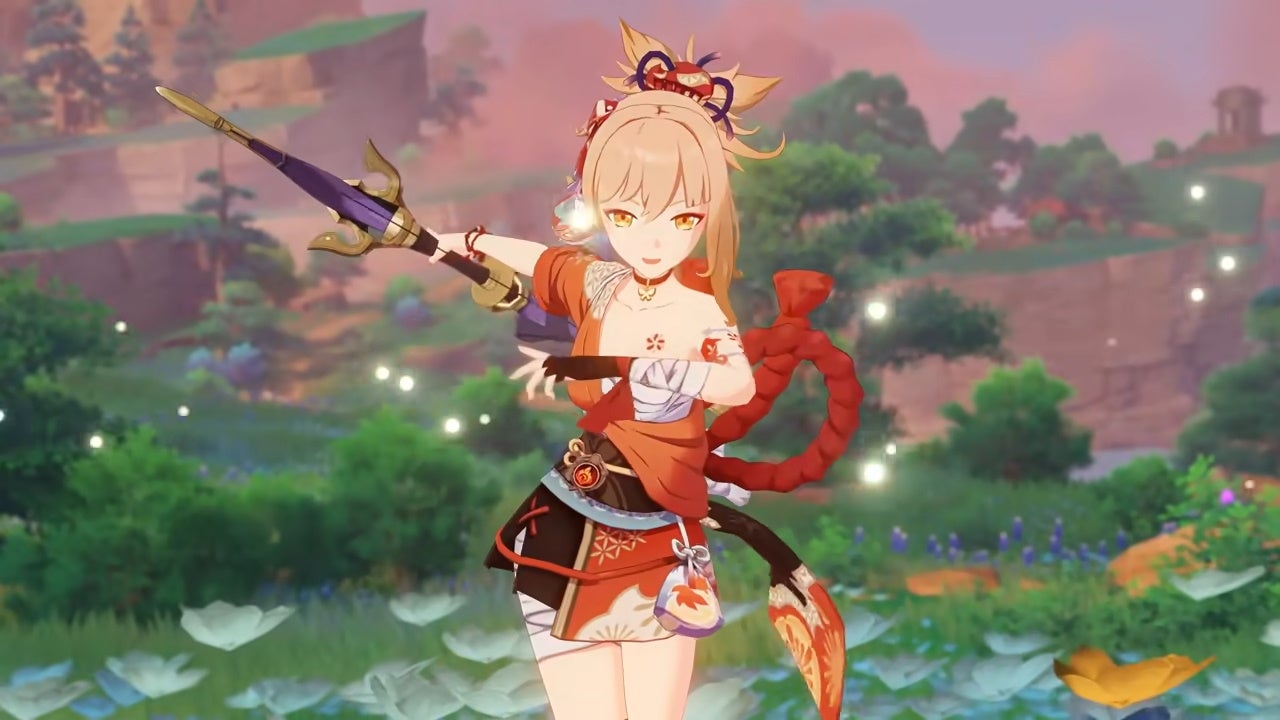
- Elemental Talent: Niwabi Fireplace-Dance
- Elemental Burst: Ryuukin Saxifrage
- Passive one: Tips of the Bother Maker (Throughout Niwabi Fireplace-Dance, pictures from Yoimiya’s regular assault will enhance her Pyro harm bonus by 2% on hit – this lasts three seconds and may have a most of ten stacks)
- Passive two: Summer time Night time’s Daybreak (Utilizing Ryuukin Saxifrage causes close by occasion members to achieve a ten% assault enhance for 15 seconds, and an extra 1% assault bonus will happen with each stack of Tips of the Bother Maker Yoimiya has when Ryuukin Saxifrge is activated)
- Crafting bonus: Blazing Match (when Yoimiya crafts Ornament, Decoration, and Panorama Furnishings, she has a 100% probability to refund a portion of the supplies used)
Yoimiya Regular Assault: Firework Flare-Up
Yoimiya can carry out a 5 hit combo along with her bow, with the third and fifth hit inflicting probably the most harm. If her regular assault is charged as a substitute, it should convert into Pyro harm after one cost. If the cost reaches Degree 2, it should generate Kindling Arrows, with a most of three Kindling Arrows.
Though her regular assault is only towards single targets, Yoimiya’s plunging assault fires off a bathe of arrows that offers AOE (space of impact) harm upon impression.
Yoimiya Elemental Talent: Niwabi Fireplace-Dance
When activated, Yoimiya’s Elemental Talent adjustments her regular assault into Blazing Arrows, changing it into Pryo harm whereas rising the harm dealt. Nonetheless, whereas Niwabi Fireplace-Dance is activated, Firework Flare-Up will not create Kindling Arrows at its second cost stage.
Yoimiya Elemental Burst: Ryuukin Saxifrage
Yoimiya leaps into the air and throws blazing fireworks to the bottom, dealing AOE Pyro harm, and marking one random opponent with the Aurous Blaze impact.
When marked by Aurous Blaze, an enemy hit with an assault of any sort by a celebration member aside from Yoimiya will set off an explosion that offers AOE pyro harm. If an opponent dies earlier than Aurous Blaze deactivates, it will likely be transferred to a close-by enemy. Just one Aurous Blaze could be triggered each two seconds, and can deactivate instantly if Yoimiya is downed.
Genshin Impression Yoimiya Expertise supplies

To get probably the most out of utilizing Yoimiya, you’ll have to stage her expertise up through the use of Expertise supplies, which differ from character-to-character.
For Yoimiya, you are going to have to farm a number of Transience and Scroll objects (when you do not have already got them) to completely improve her capabilities.
As Yoimiya has three Skills, you’ll have to spend thrice the Expertise supplies listed beneath to completely improve all of her talents.
This is what Yoimiya Expertise supplies and Mora you could enhance considered one of her talents:
| Yoimiya Expertise stage | Expertise supplies | Mora value |
|---|---|---|
| Degree 2 | x3 Teachings of Transience, x6 Divining Scroll | 12,500 |
| Degree 3 | x2 Information to Transience, x3 Sealed Scroll | 17,500 |
| Degree 4 | x4 Information to Transience, x4 Sealed Scroll | 25,000 |
| Degree 5 | x6 Information to Transience, x6 Sealed Scroll | 30,000 |
| Degree 6 | x9 Information to Transience, x9 Sealed Scroll | 37,500 |
| Degree 7 | x4 Philosophies of Transience, x4 Forbidden Curse Scroll, x1 Dragon Lord’s Crown | 120,000 |
| Degree 8 | x6 Philosophies of Transience, x6 Forbidden Curse Scroll, x1 Dragon Lord’s Crown | 260,000 |
| Degree 9 | x12 Philosophies of Transience, x9 Forbidden Curse Scroll, x2 Dragon Lord’s Crown | 450,000 |
| Degree 10 | x16 Philosophies of Transience, x12 Forbidden Curse Scroll, x2 Dragon Lord’s Crown, x1 Crown of Perception | 700,000 |
This is what Expertise Supplies you will want to completely improve considered one of Yoimiya’s expertise:
- x1 Crown of Perception
- x3 Teachings of Transience
- x6 Divining Scroll
- x6 Dragon Lord’s Crown
- x21 Information to Transience
- x22 Sealed Scroll
- x31 Forbidden Curse Scroll
- x38 Philosophies to Transience
- 1,652,500 Mora
To improve all three of Yoimiya’s expertise, here is all of the Expertise Supplies you will want:
- x3 Crown of Perception
- x9 Teachings of Transience
- x18 Divining Scroll
- x18 Dragon Lord’s Crown
- x63 Information to Transience
- x66 Sealed Scroll
- x93 Forbidden Curse Scroll
- x114 Philosophies to Transience
- 4,957,500 Mora
Genshin Impression Yoimiya Ascension supplies

Similar to Skills, you could use Yoimiya Ascension supplies to improve her well being, assault, defence, and demanding hit effectiveness.
For Yoimiya, you are going to have to farm a number of Naku Weed and Smoldering Pearl supplies (when you do not have already got them) to completely improve her capabilities.
Not like Expertise supplies, you solely have to spend the beneath Ascension supplies as soon as to completely elevate Yoimiya to her highest character stage. There’s additionally Acquaint Destiny rewarded for reaching sure Ascension ranges. You’ll be able to spend this Destiny on the usual and newbie Banners to Want for characters and weapons.
This is what Yoimiya Ascension supplies and Mora you could improve her for every Ascension stage:
| Yoimiya Ascension stage | Ascension supplies | Mora value | Ascension reward |
|---|---|---|---|
| Degree 20 | x1 Agnidus Agate Silver, x3 Naku Weed, x3 Divining Scroll | 20,000 | x1 Acquaint Destiny |
| Degree 40 | x3 Agnidus Agate Fragments, x2 Smoldering Pearl, x10 Naku Weed, x15 Divining Scroll | 40,000 | None |
| Degree 50 | x6 Agnidus Agate Fragments, x4 Smoldering Pearl, x20 Naku Weed, x12 Sealed Scroll | 60,000 | x1 Acquaint Destiny |
| Degree 60 | x3 Agnidus Agate Chunk, x8 Smoldering Pearl, x30 Naku Weed, x18 Sealed Scroll | 80,000 | None |
| Degree 70 | x6 Agnidus Agate Chunk, x12 Smoldering Pearl, x45 Naku Weed, x12 Forbidden Curse Scroll | 100,000 | x1 Acquaint Destiny |
| Degree 80 | x6 Agnidus Agate Gemstone, x20 Smoldering Pearl, x60 Naku Weed, x24 Forbidden Curse Scroll | 120,000 | None |
In whole, here is all of the Ascension Supplies you want for Yoimiya in Genshin Impression:
- x1 Agnidus Agate Silver
- x6 Agnidus Agate Gemstone
- x9 Agnidus Agate Fragment
- x9 Agnidus Agate Chunk
- x18 Divining Scroll
- x30 Sealed Scroll
- x36 Forbidden Curse Scroll
- x46 Smoldering Pearl
- x168 Naku Weed
- 420,000 Mora
Genshin Impression Yoimiya Constellation
By getting duplicates of Yoimiya from hoping on Banners, you’ll obtain her Stella Fortuna. This materials means that you can unlock Constellation ranges, with every improve both enhancing an present Expertise or Passive capability.
Whereas Yoimiya is definitely completely advantageous at Constellation 0 (C0), there are some good perks she will get from her Constellations.
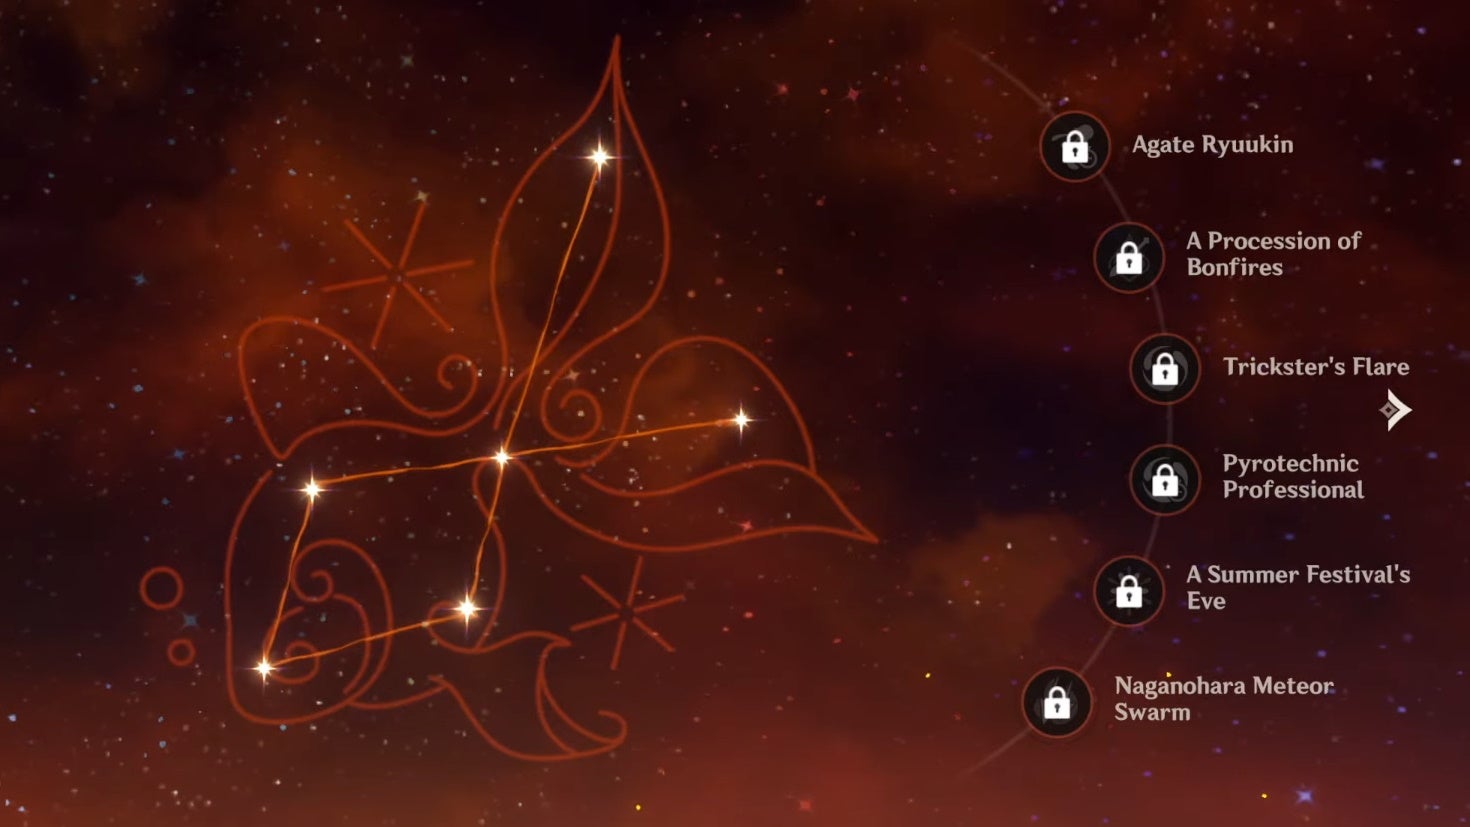
Listed below are all of Yoimiya’s Constellation stage upgrades in Genshin Impression:
- Agate Ryuukin (C1): Aurous Blaze lasts for an additional 4 seconds, and when an opponent affected by Aurous Blaze is defeated, Yoimiya’s assault is elevated by 20% for 20 seconds.
- A Procession of Bonfires (C2): When Yoimiya will get a important hit with Pyro harm, she beneficial properties a 25% enhance in Pyro harm dealt for six seconds – this may be triggered even when Yoimiya just isn’t on the sphere.
- Trickster’s Flare (C3): Upgrades Yoimiya’s Elemental Talent, Niwabi Fireplace-Dance, by 3 ranges, with a most improve stage of 15.
- Pyrotechnic Skilled (C4): When Aurous Blaze triggers an explosion, Niwabi Fireplace-Dance’s cooldown is decreased by 1.2 seconds.
- A Summer time Competition’s Eve (C5): Will increase Yoimiya’s Elemental Burst, Ryuukin Saxifrage, by three ranges, with a most improve stage of 15.
- Naganohara Meteor Swarm (C6): When Niwabi Fireplace-Dance is activated, Yoimiya’s regular assaults have a 50% probability of firing an additional Blazing Arrow, dealing 60% of its unique harm – nonetheless, that is regular assault harm, not elemental.
The best way to play Yoimiya in Genshin Impression
It is all about regular assaults with Yoimiya in Genshin Impression – not charged or plunging, simply her strange five-hit combo. Because of this, her complete construct and crew comp will largely be centered on elevating the harm of her regular assaults.
To make Yoimiya’s regular assaults much more efficient, try to be attempting to activate her Elemental Talent, Niwabi Fireplace-Dance, as a lot as attainable. This converts her assaults into Pyro harm, with a scaling harm bonus relying on her regular assault Expertise Degree. This implies upgrading her regular assault must be Yoimiya Expertise precedence.
Because of her give attention to regular assaults, Yoimiya is greatest used when combating single targets, like a boss. When you’re in want of some extra AOE harm, you possibly can activate her Elemental Burst, Ryuukin Saxifrage, which can even enhance different occasion members’ harm. Together with Kazuha or Xiangling in your occasion comp may present AOE harm assist on prime of Yoimya’s single target-focused playstyle.
Different efficient crew comps will apply Overload or Vaporize Elemental Reactions to maximise Yoimiya’s DPS potential, whereas ideally offering the occasion with some AOE harm as nicely.
Greatest Yoimiya crew comp in Genshin Impression
There are a number of choices relating to constructing a crew round Yoimiya’s DPS capabilities. Ideally, you will need her to be your major DPS carry, with elemental reactions from both Hydro or Electro assist characters.
Among the finest crew comps is 2 Hydro helps to garuantee Vaporize as typically as attainable – with Yelan and Xingqiu being the 2 only. The identical can be utilized for an Overload elemental response with Fishcl and Beidou. You’ll be able to even mix the basic reactions and run one Hydro and Electro character with Yoimiya.
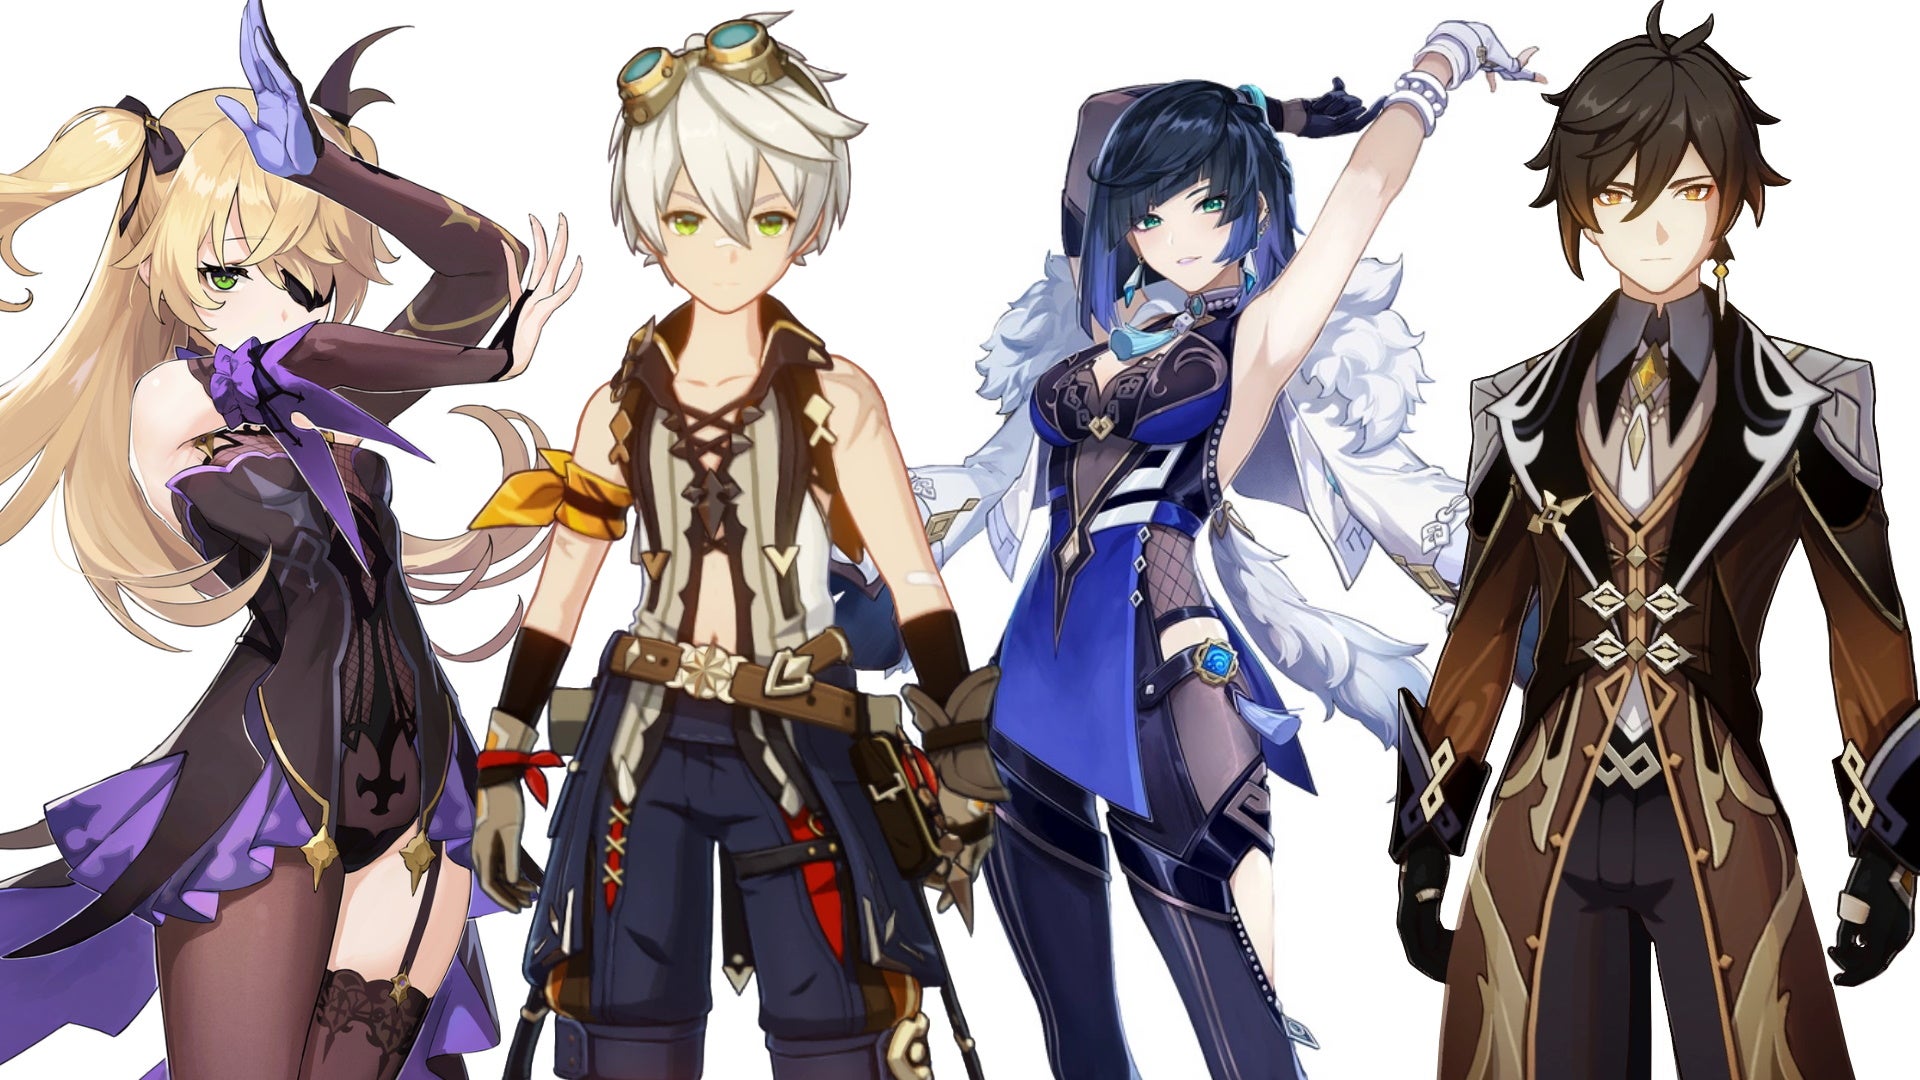
For the final slot in both of those groups, you would possibly need to run Zhongli for his shields, or Jean for her therapeutic capabilities. Bennett may present extra Pyro harm and Vitality Particles if wanted.
To capitalize on as a lot Pyro harm as attainable, a crew of Kazuha and Bennett is really helpful to run alongside Yoimiya. Venti may work instead of Kazuha. As soon as once more, you possibly can run a shielded character on the fourth slot (ideally Zhongli) to make sure Yoimiya would not get interupted throughout her regular assault combo – or Jean when you’re in want of a healer. For much more Pyro harm, strive together with Xiangling as a substitute.
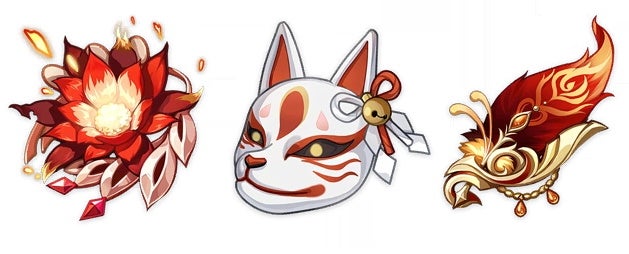
Greatest Yoimiya Artifacts in Genshin Impression
The perfect Yoimiya Artifacts in Genshin Impression for a DPS construct will both enhance her base assault, regular assault, Pyro harm, or important hit effectiveness. Whether or not this be by way of normal proportion will increase, or by rising harm from an elemental response.
With this in thoughts, there are literally a number of completely different Artifact units you possibly can equip on Yoimiya for a great DPS construct. First up, there’s the four-piece Crimson Witch, which must be geared up when you’re working a Vaporize, Overload, or Soften crew. Even when you equip a two-piece, you will get a rise of 15% Pyro harm.
One other efficient Artifact set for Yoimiya is the four-piece Shimenawa Memory set, which depends on you activating Yoimiya’s Elemental Talent often to extend her regular, charged, and plunging assault harm by 50% for ten seconds. A two-piece will enhance her base assault by 18%.
Lastly, now we have the four-piece Lavawalker set. It will increase harm towards enemies affected by Pyro by 35%. The 2-piece Lavawalker is sadly solely helpful in sure conditions, as its solely impact will increase Yoimiya’s Pyro resistance by 40%.
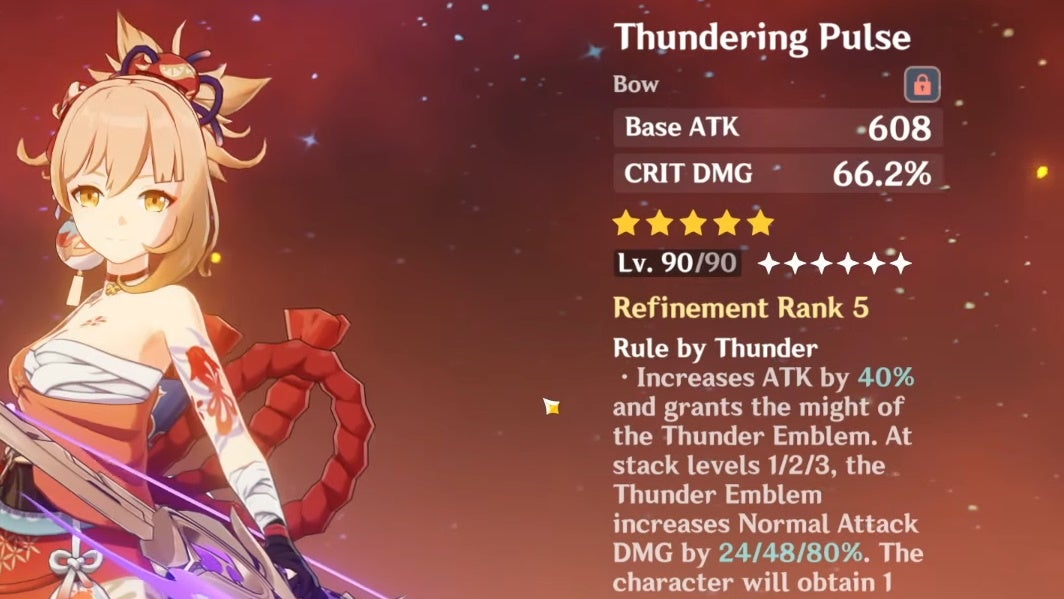
Greatest Yoimiya weapon in Genshin Impression
Yoimiya’s greatest weapon is the 5-Star Thundering Pulse bow. It will increase Yoimiya’s important hit, base assault, and regular assault harm by a big quantity, even at Refinement Rank 1. Even higher, you do not have to fret about activating the bow’s elevated harm, as you will profit from its perks through the use of any of Yoimiya’s assaults – however we advocate sticking to regular as a lot as you possibly can.
For different 5-Star weapon choices, just about any bow will work with Yoimiya, so long as it is constructed for DPS. This implies look out for prime base assault, important hit, and regular assault modifiers. The Aqua Simulacra will fulfill your crit harm wants (however will want Refined to succeed in its full potential), whereas the Skyward Harp may crit successfully and add slightly AOE harm as nicely.
When you do not need to Want on weapon Banners for the Thundering Pulse or different 5-Star bows, then there are a number of various weapons that may nonetheless work nicely with Yoimiya. The 4-Star Hamayumi is a craftable bow that may enhance Yoimiya’s regular and cost assaults, however we advocate utilizing the 4-Star Rust bow if in case you have it.
Rust provides harm to every regular assault and can enhance Yoimiya’s base assault as nicely, with a slight sacrifice to her charged assault capabilities. As try to be utilizing her regular assault and Elemental Talent as your main harm sellers, this may not actually impact Yoimiya’s DPS capabilities. To actually get probably the most out of Rust, you will need to Refine it as a lot as you possibly can.
Now that
Genshin Impression 3.1 is right here, and you’ll participate in Fecund Blessings and Charity and Creativity throughout Of Ballads and Brews for a free Missive Windspear weapon, discover the desert for brand spanking new Dendroculus areas, and conquer the Backyard of Infinite Pillars Area. When you’re simply beginning your Sumeru journey, try our pages on Sumeru Repute, Tree of Goals, Sumeru craftable weapons, the Common Fungus Area, and Nilotpala Lotus areas.
For time-limited occasions, you will should be the best Journey Rank, and as for spending these Primogems now you can Want with Destiny for Cyno.
As all the time, you possibly can go to our tier record, find out how Pity and 50/50 works, and see what the following and present Banners are.
If you wish to loosen up, nonetheless, why not strive fishing at one of many many fishing spot areas?
Keep in mind to additionally test again often for all the newest Genshin Impression codes.
Greatest Yoimiya construct in Genshin Impression
With all this in thoughts, if you wish to reap the benefits of Yoimiya’s DPS capabilities, now we have compiled what we predict is at present the most effective Yoimiya construct in Genshin Impression:
- Yoimiya Greatest Weapon: Thundering Pulse (or Rust as a 4-Star choice).
- Yoimiya Greatest Artifacts: 4-piece Crimson Witch, Shimenawa Memory, or Lavawalker units.
- Yoimiya Greatest crew comp: A crew constructed round Vaporize (Yelan, Xingqiu) or Overload (Fischl, Beidou), with the fourth slot greatest stuffed in by a assist like Zhongli or Jean.
It could take a number of time to search out these Artifacts and supplies to level-up Yoimiya to her full potential, however with a simple playstyle and versatile crew comps, she’s value it when you do not need to make investments time and supplies into increased tiered characters with a harder construct to get proper.
Good luck levelling up Yoimiya in Genshin Impression!