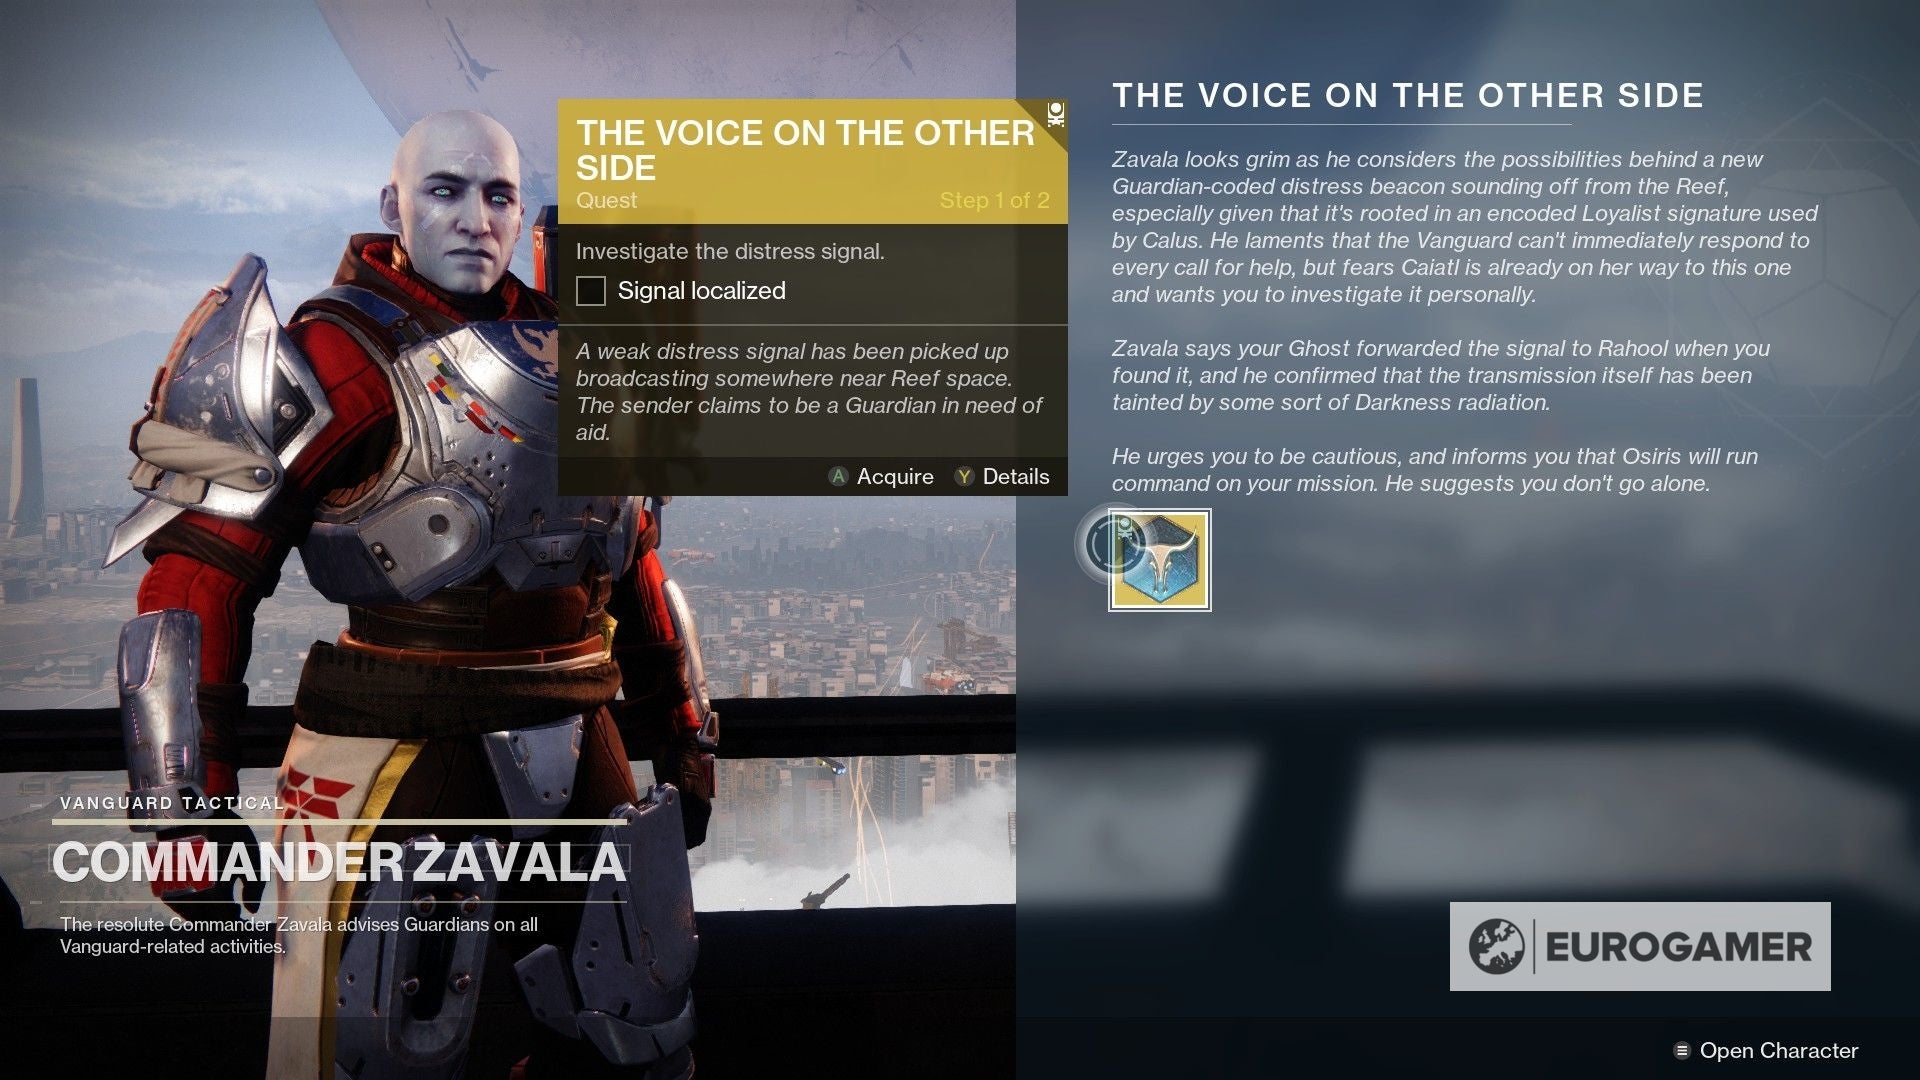
Future 2’s Presage is a mission launched in February 2021 for Season of the Chosen season move holders.
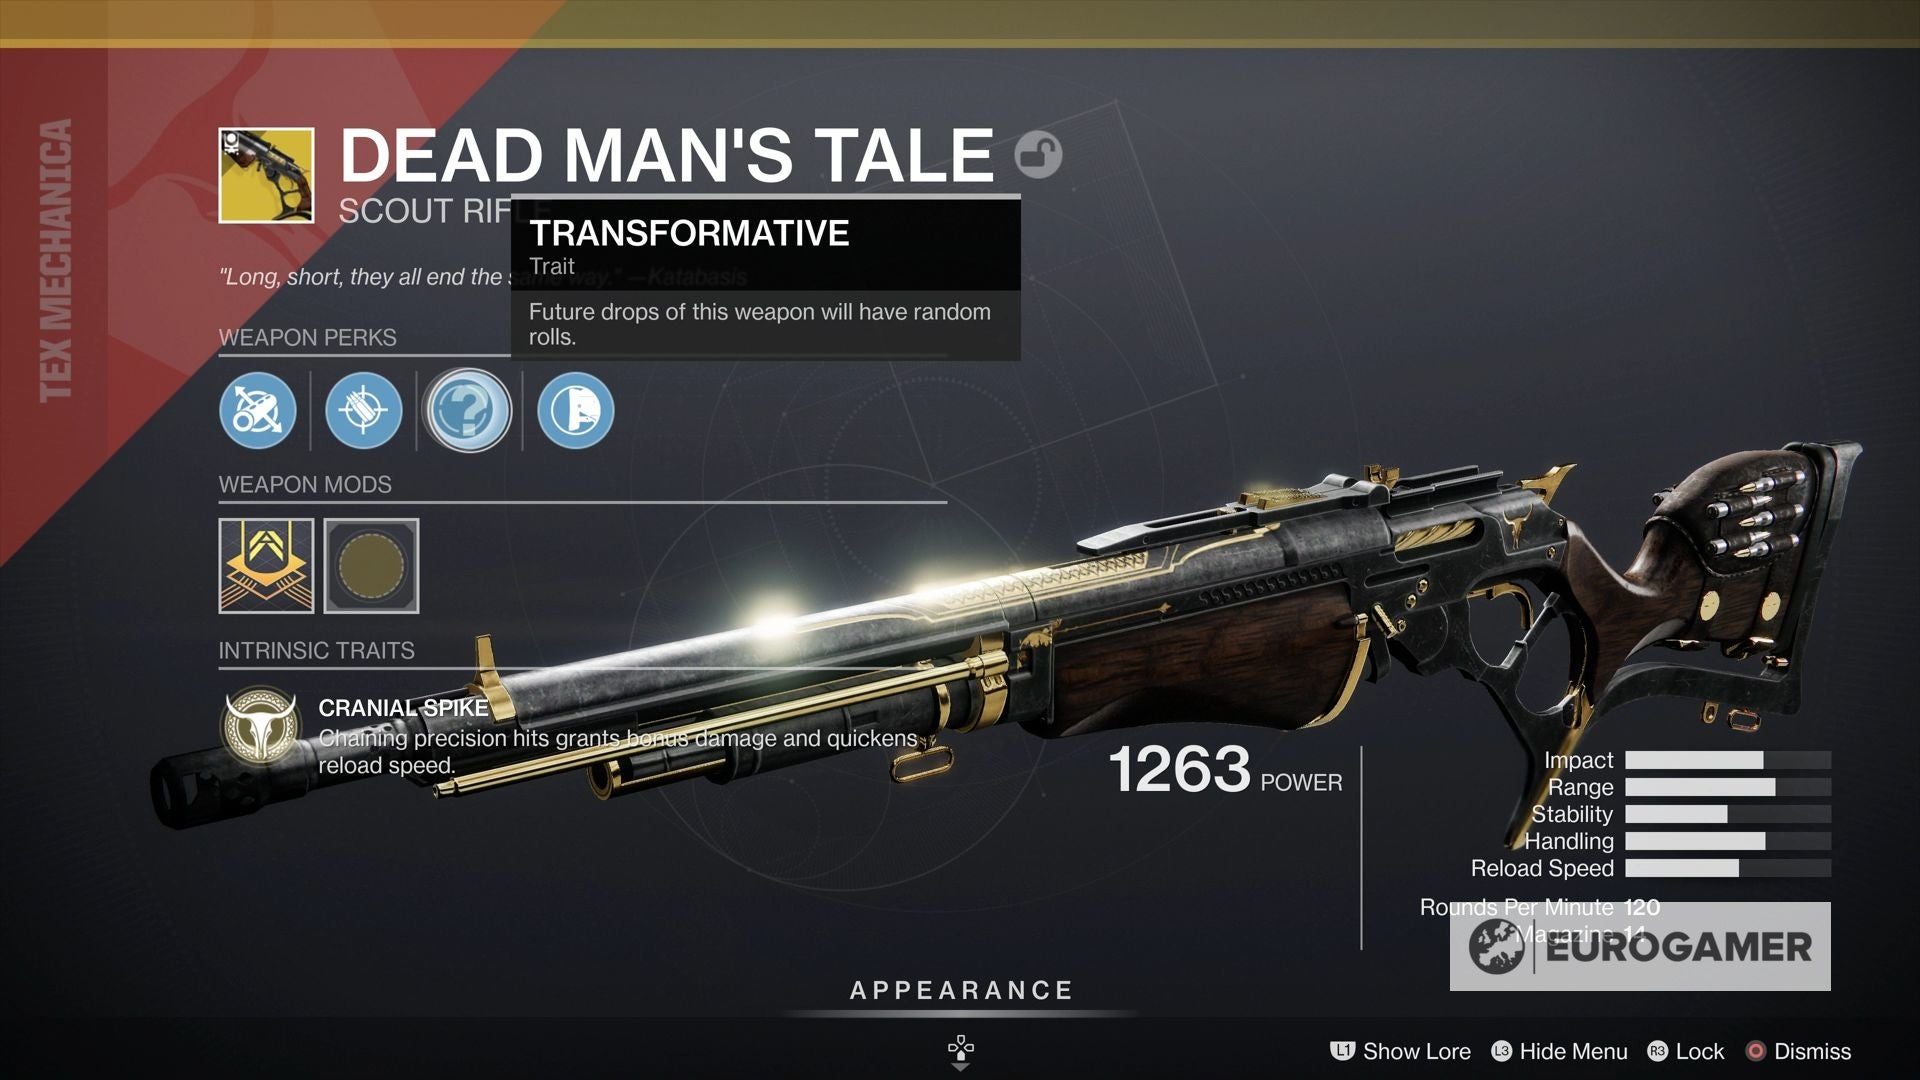
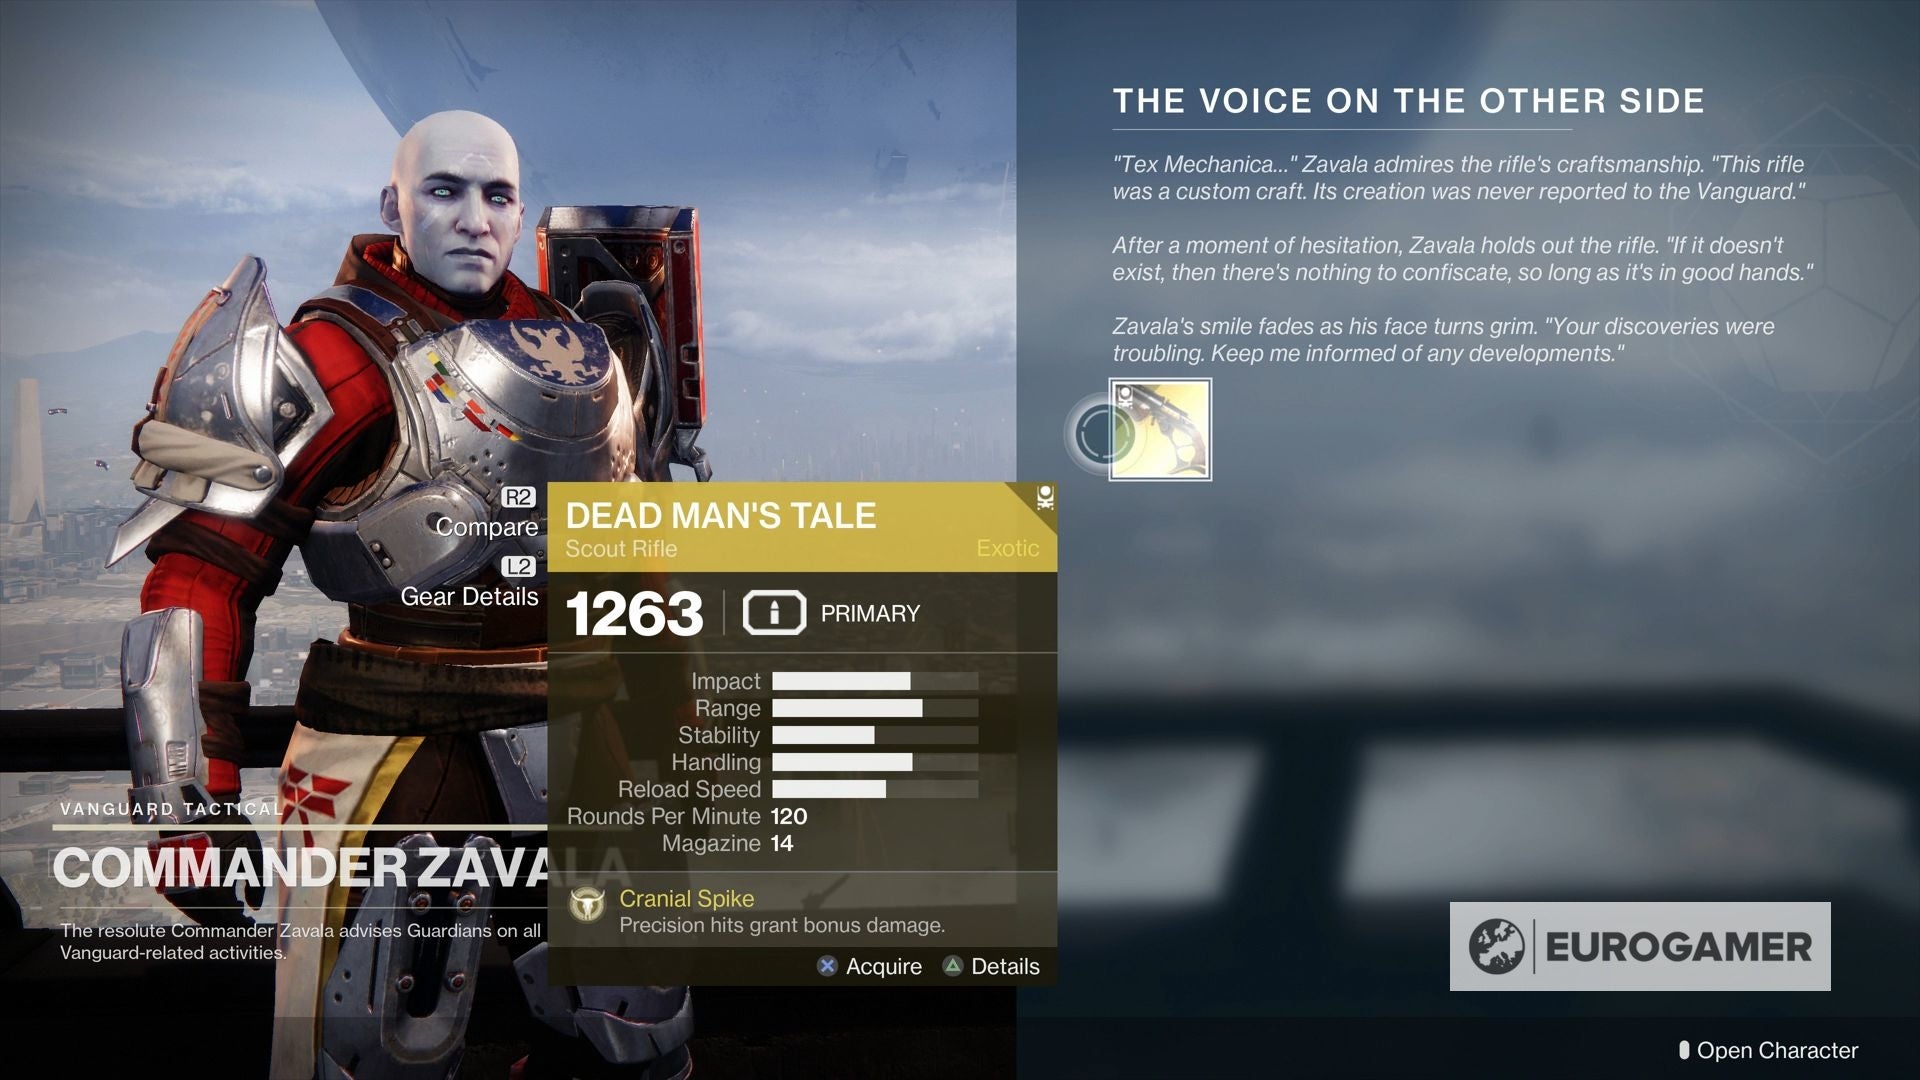
The mission is a part of The Voice on the Different Aspect, a quest which culminates in Lifeless Man’s Story, a brand new Unique Scout Rifle, because the reward.
This mission isn’t not like Harbinger, Whisper of the Worm and Outbreak Perfected’s Zero Hour, providing a difficult mission with a number of troublesome fight encounters and puzzles.
This web page explains how one can begin The Voice on the Different Aspect and Presage, as step one is not apparent – in addition to what to look out for in the course of the mission itself.
On this web page:
Learn how to get Lifeless Man’s Story in Future 2 in short
This is a fast rundown of the steps wanted to acquire Lifeless Man’s Story:
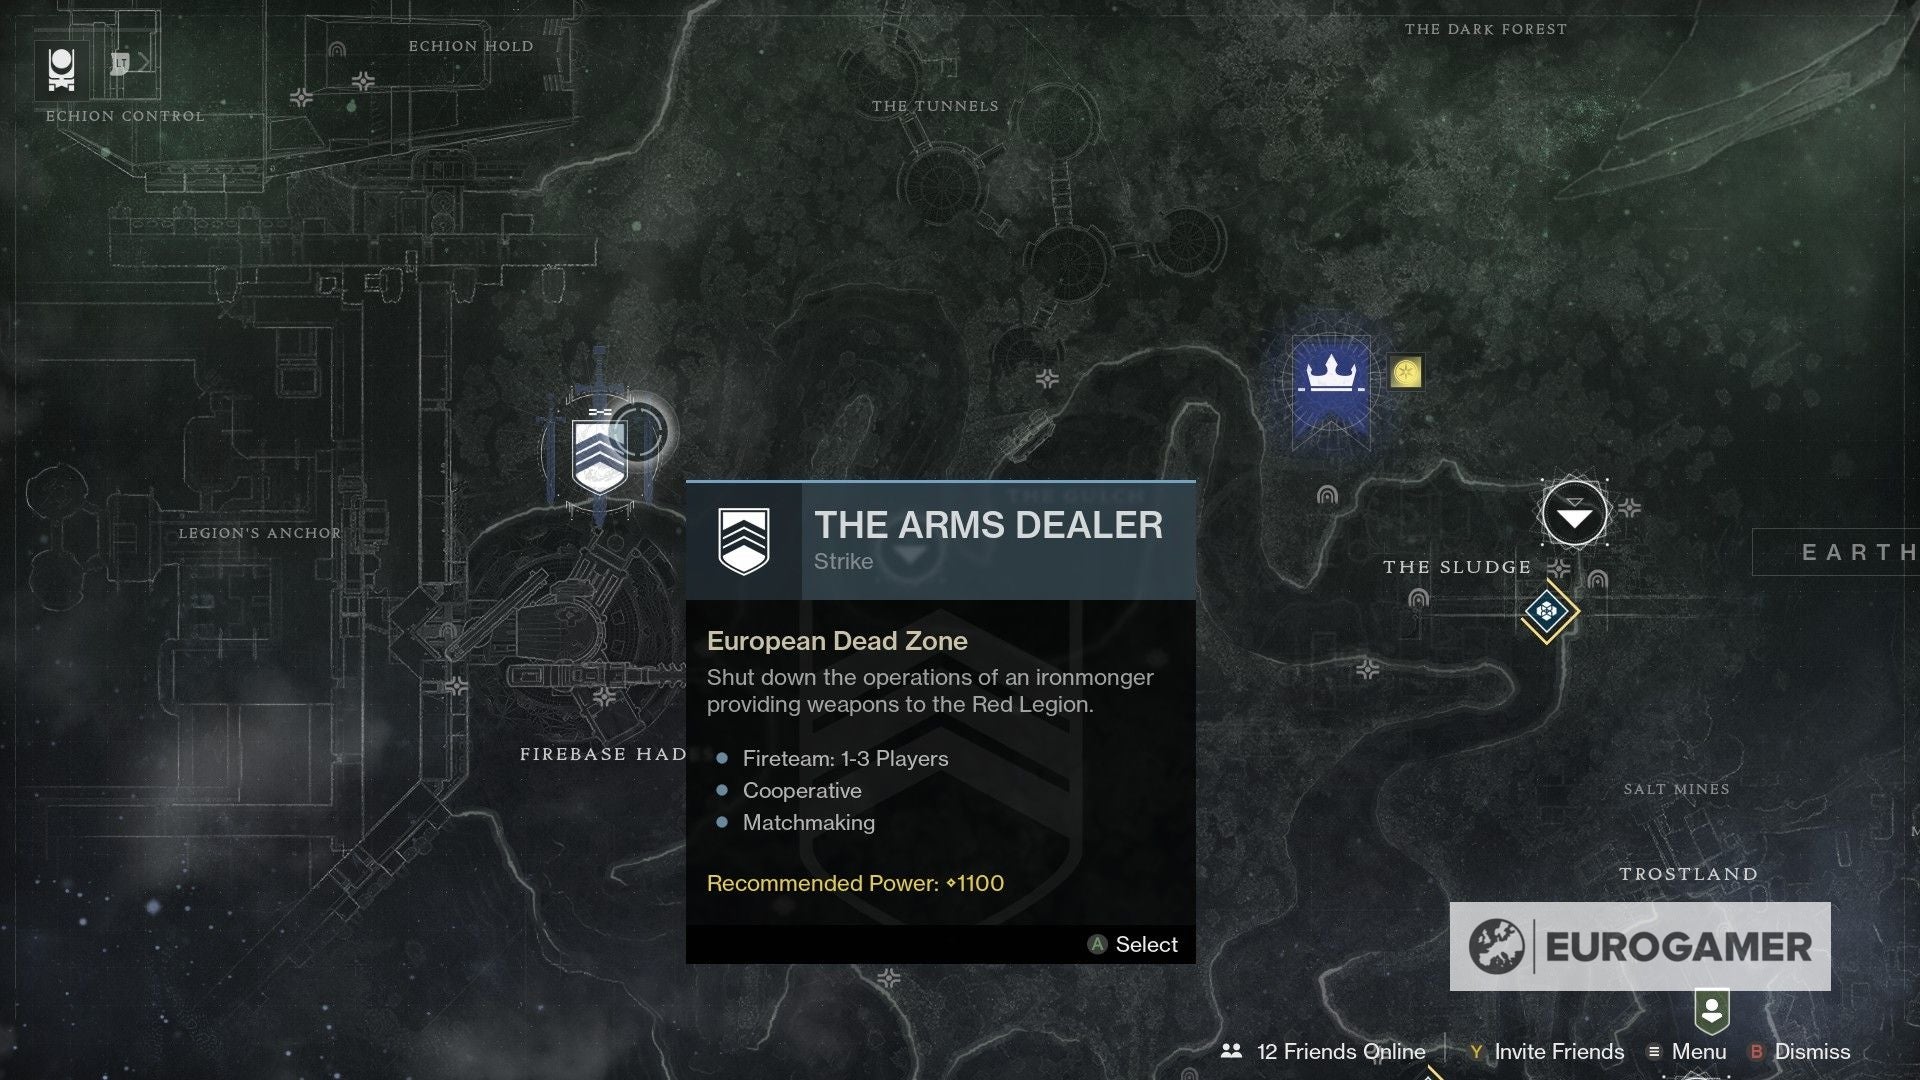
- Play The Arms Supplier strike and discover the Intercepted Misery Sign within the new space
- Go to Zavala within the Tower
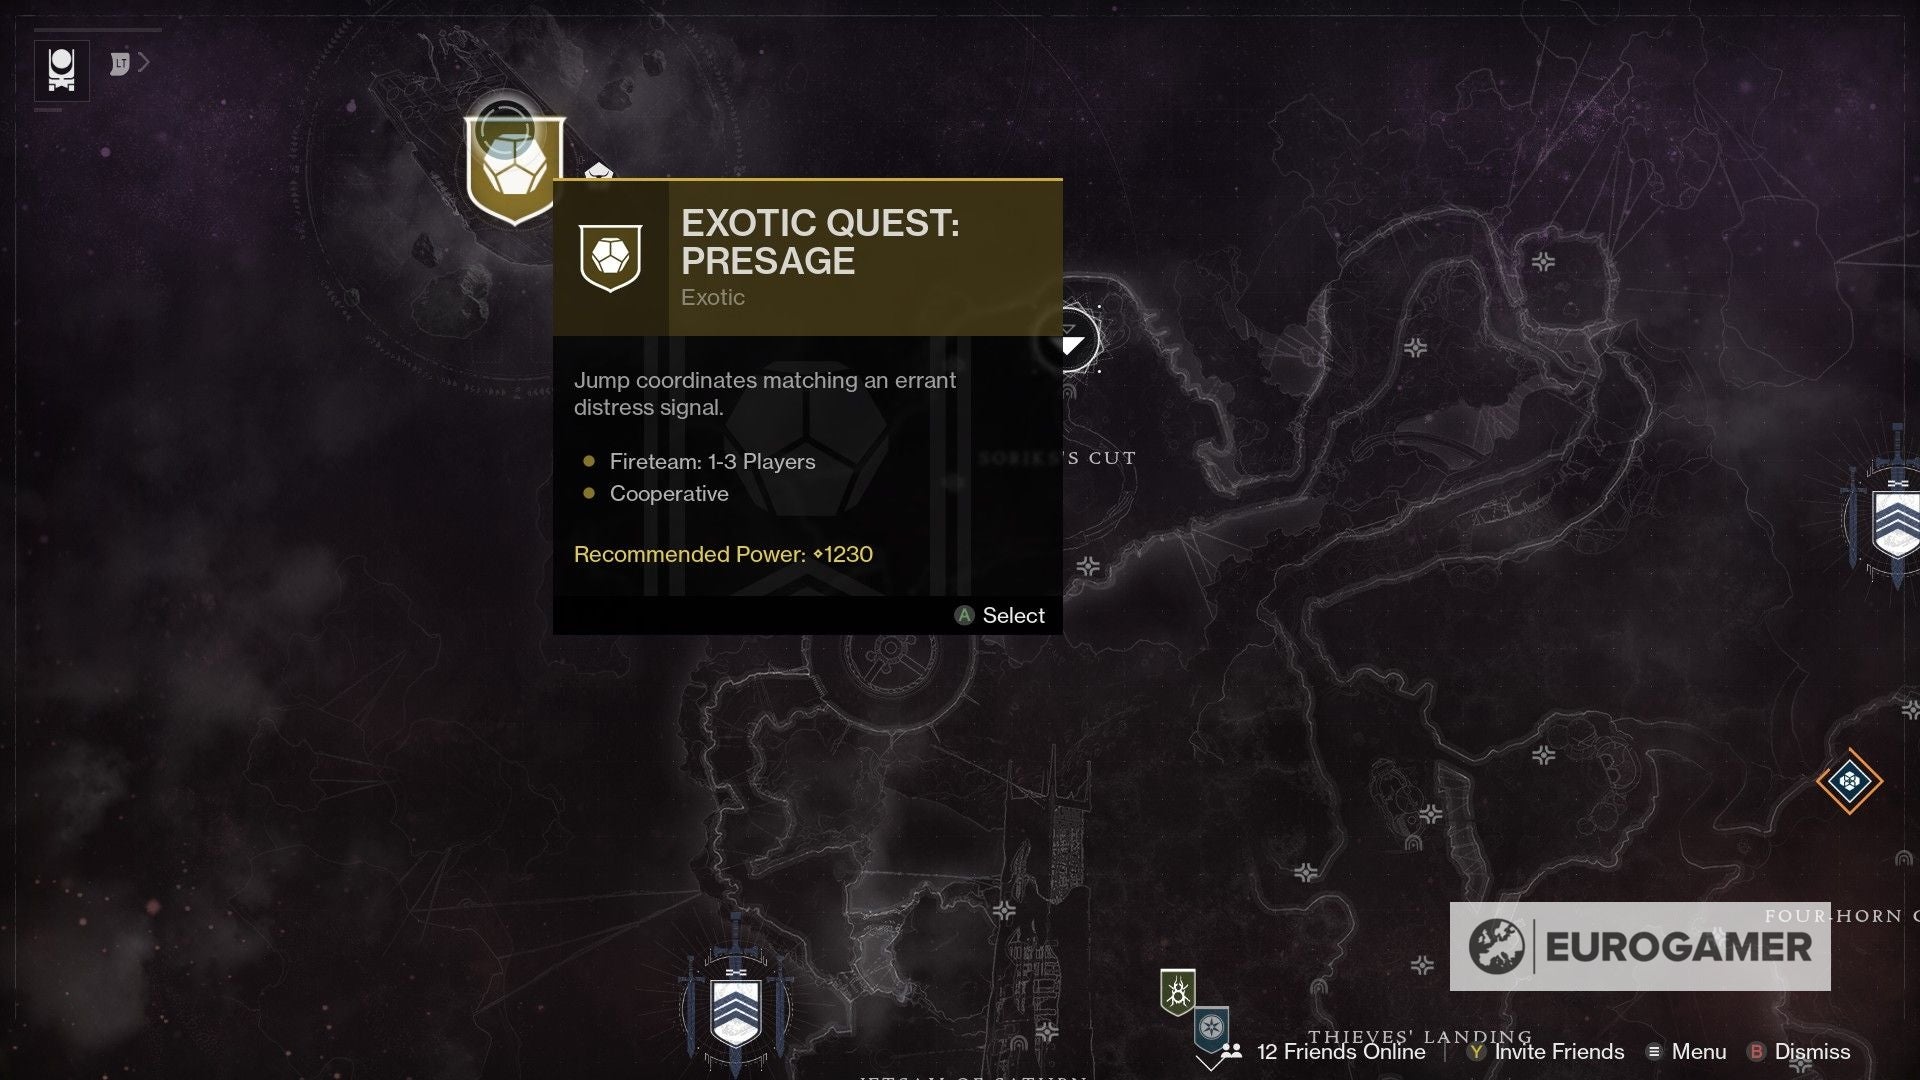
- Play the Presage quest on the Tangled Shore
- Go to Zavala within the Tower as soon as extra
There are far fewer steps than most Unique missions – together with these with cumulate in a novel mission. That mentioned, getting the hunt underway is troublesome until you understand precisely the place to look – whereas the mission itself will take you a while to finish.
Learn how to begin the Presage quest and The Voice on the Different Aspect mission in Future 2
To get began with Presage, you need to enter The Arms Supplier strike. This strike dates again to the bottom recreation, so is probably going acquainted to you – however in case you overlook, you need to go to the EDZ.
It would not matter in case you select it as a Dusk, or from the director display screen within the EDZ – so long as you begin proper initially of the mission.
While you start, you must discover a new route which has opened up. Often once you start, you need to go left not far away. As a substitute, at this nook, is a doorway straight forward, newly opened for this Unique quest.
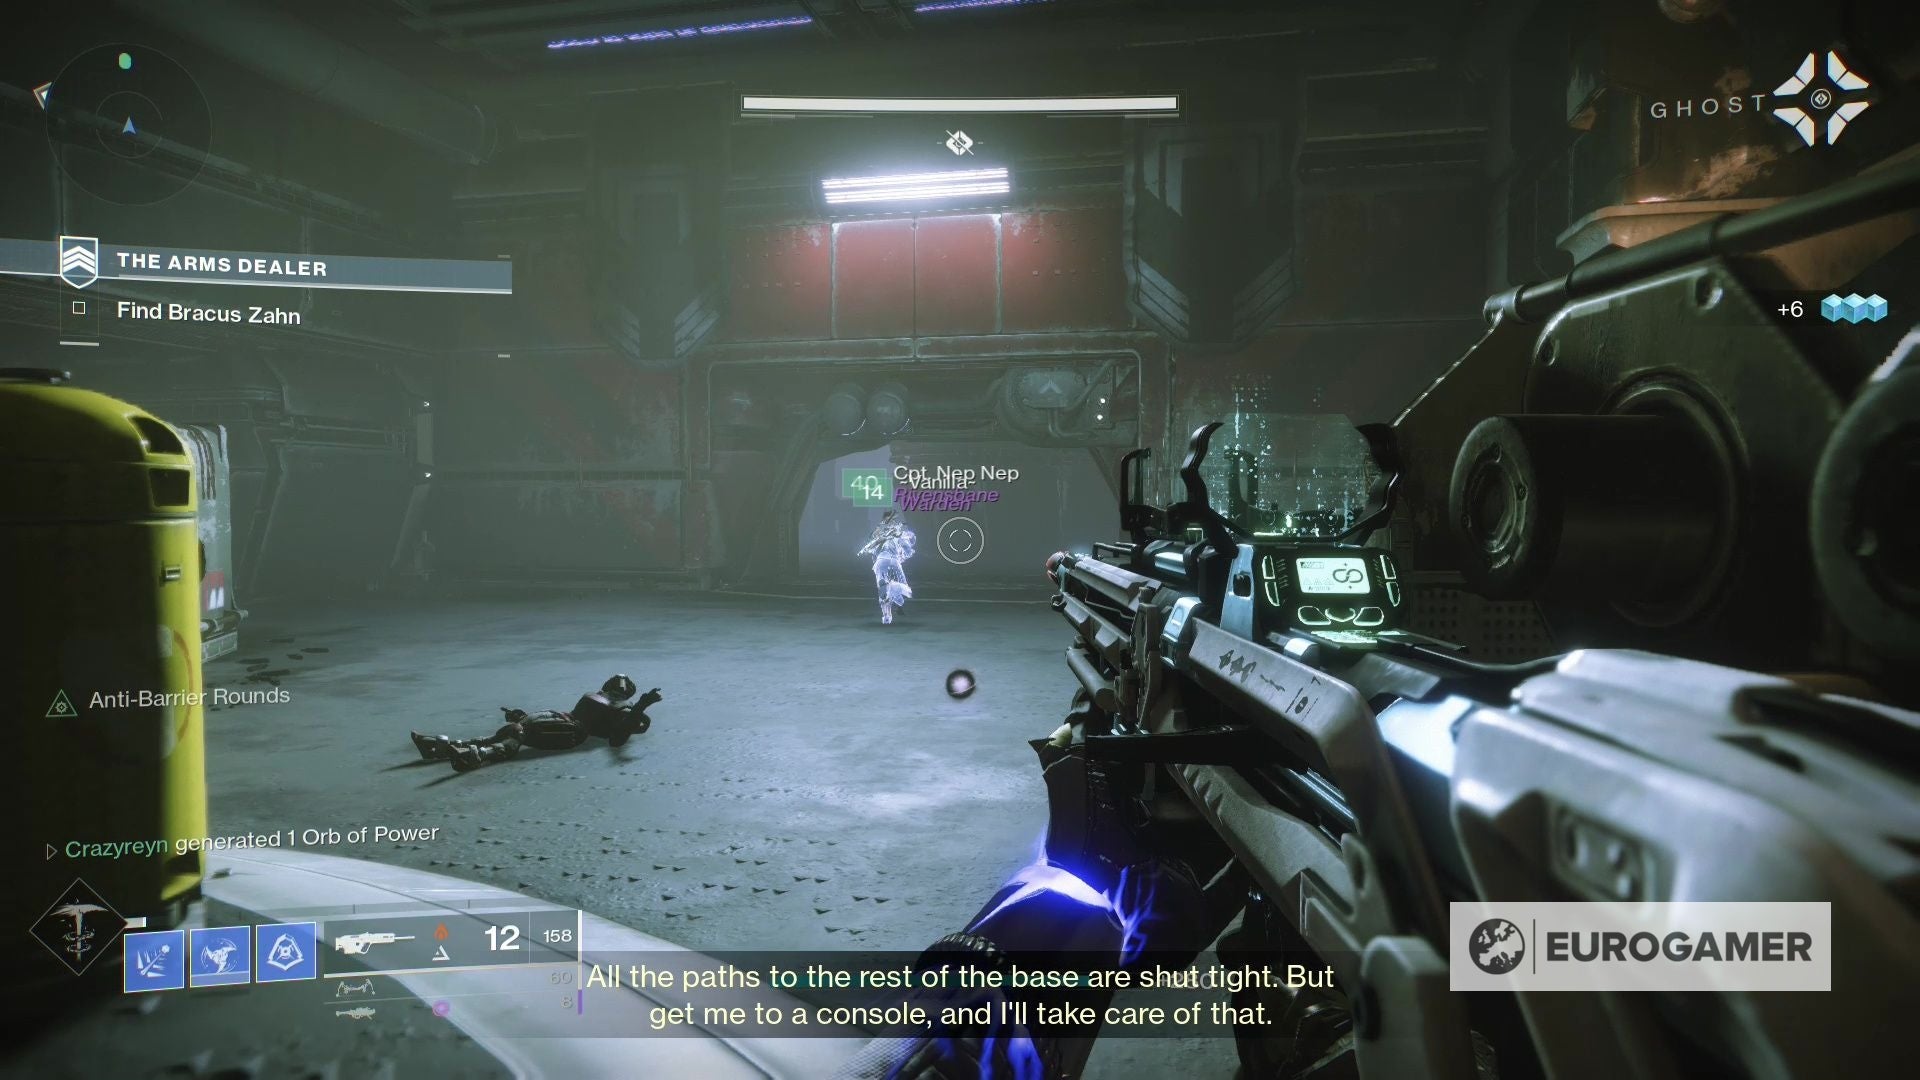
It is easy to overlook in case you’re on autopilot after working the strike so many instances over time – however know it is proper on the very starting, simply past the primary group of enemies.
From there, head onwards previous the turrets, and you will be exterior. There are two ‘helipads’ forward.
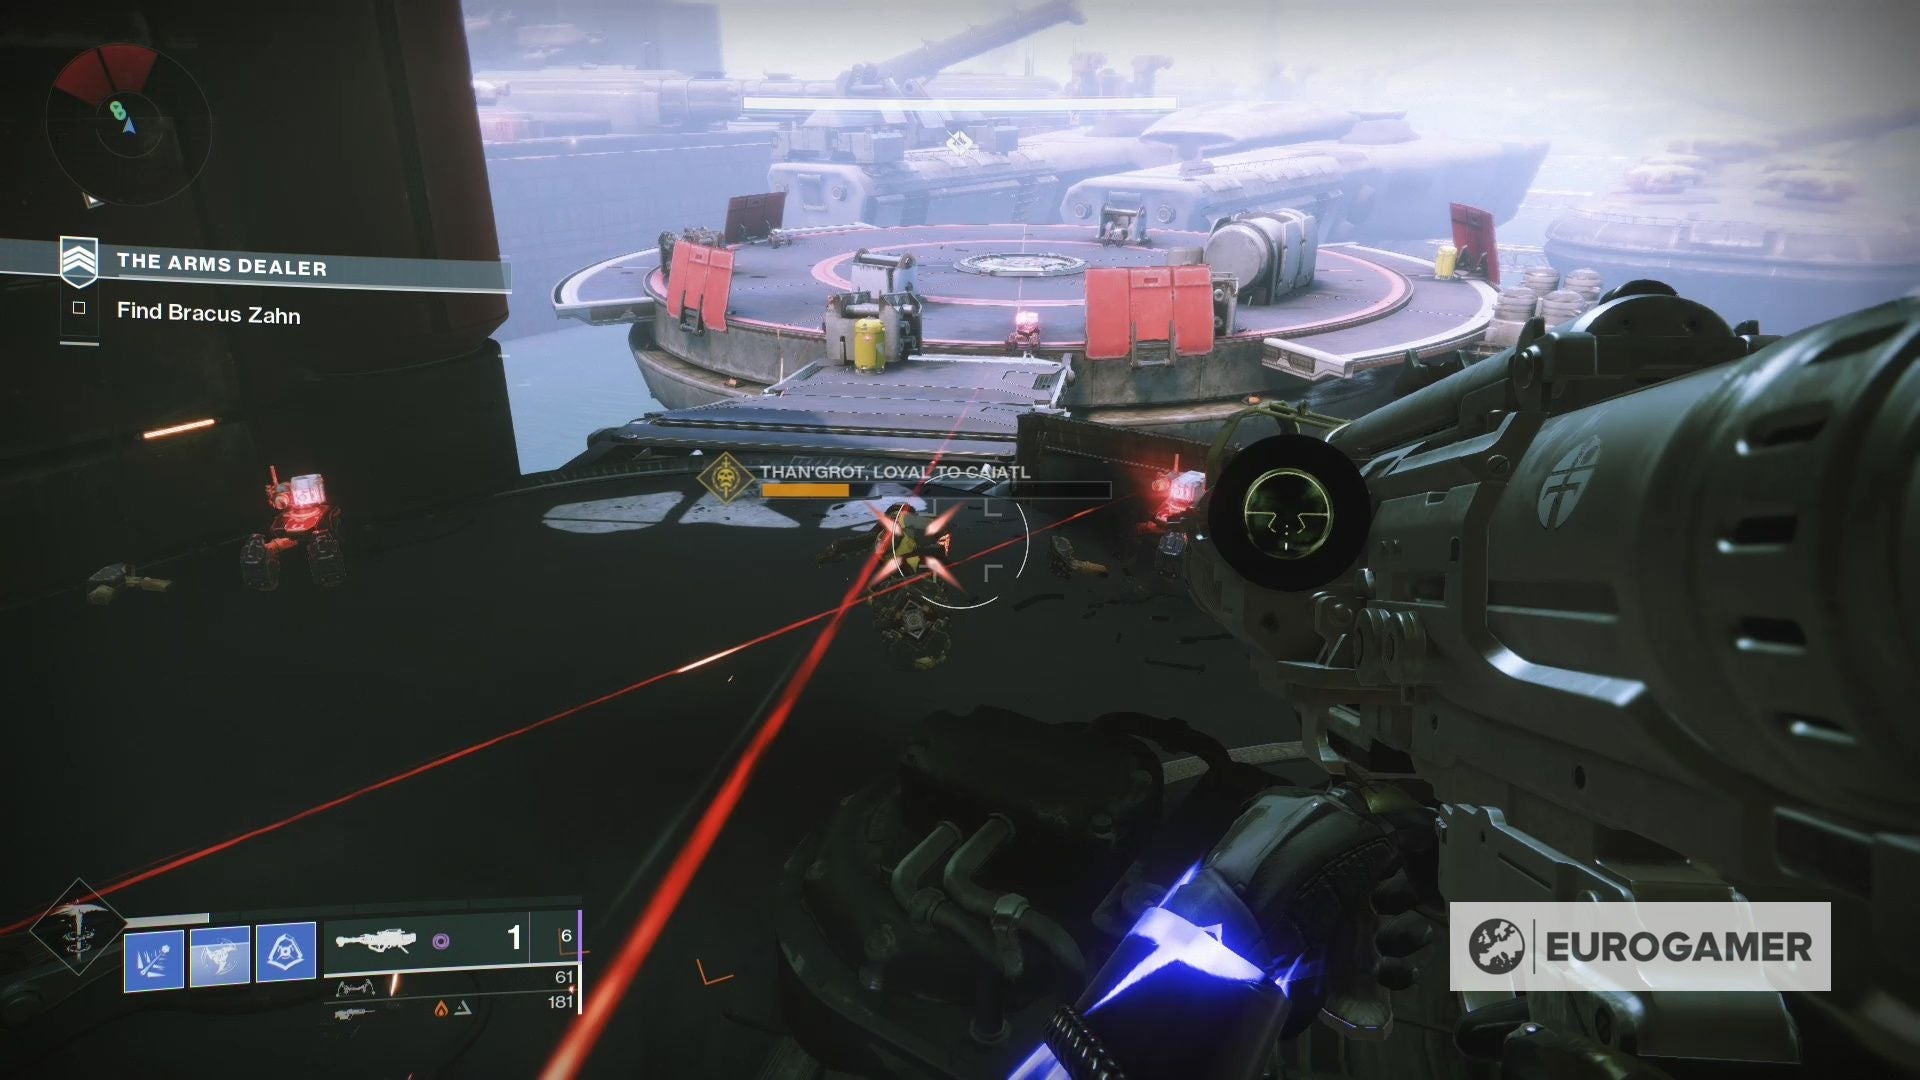
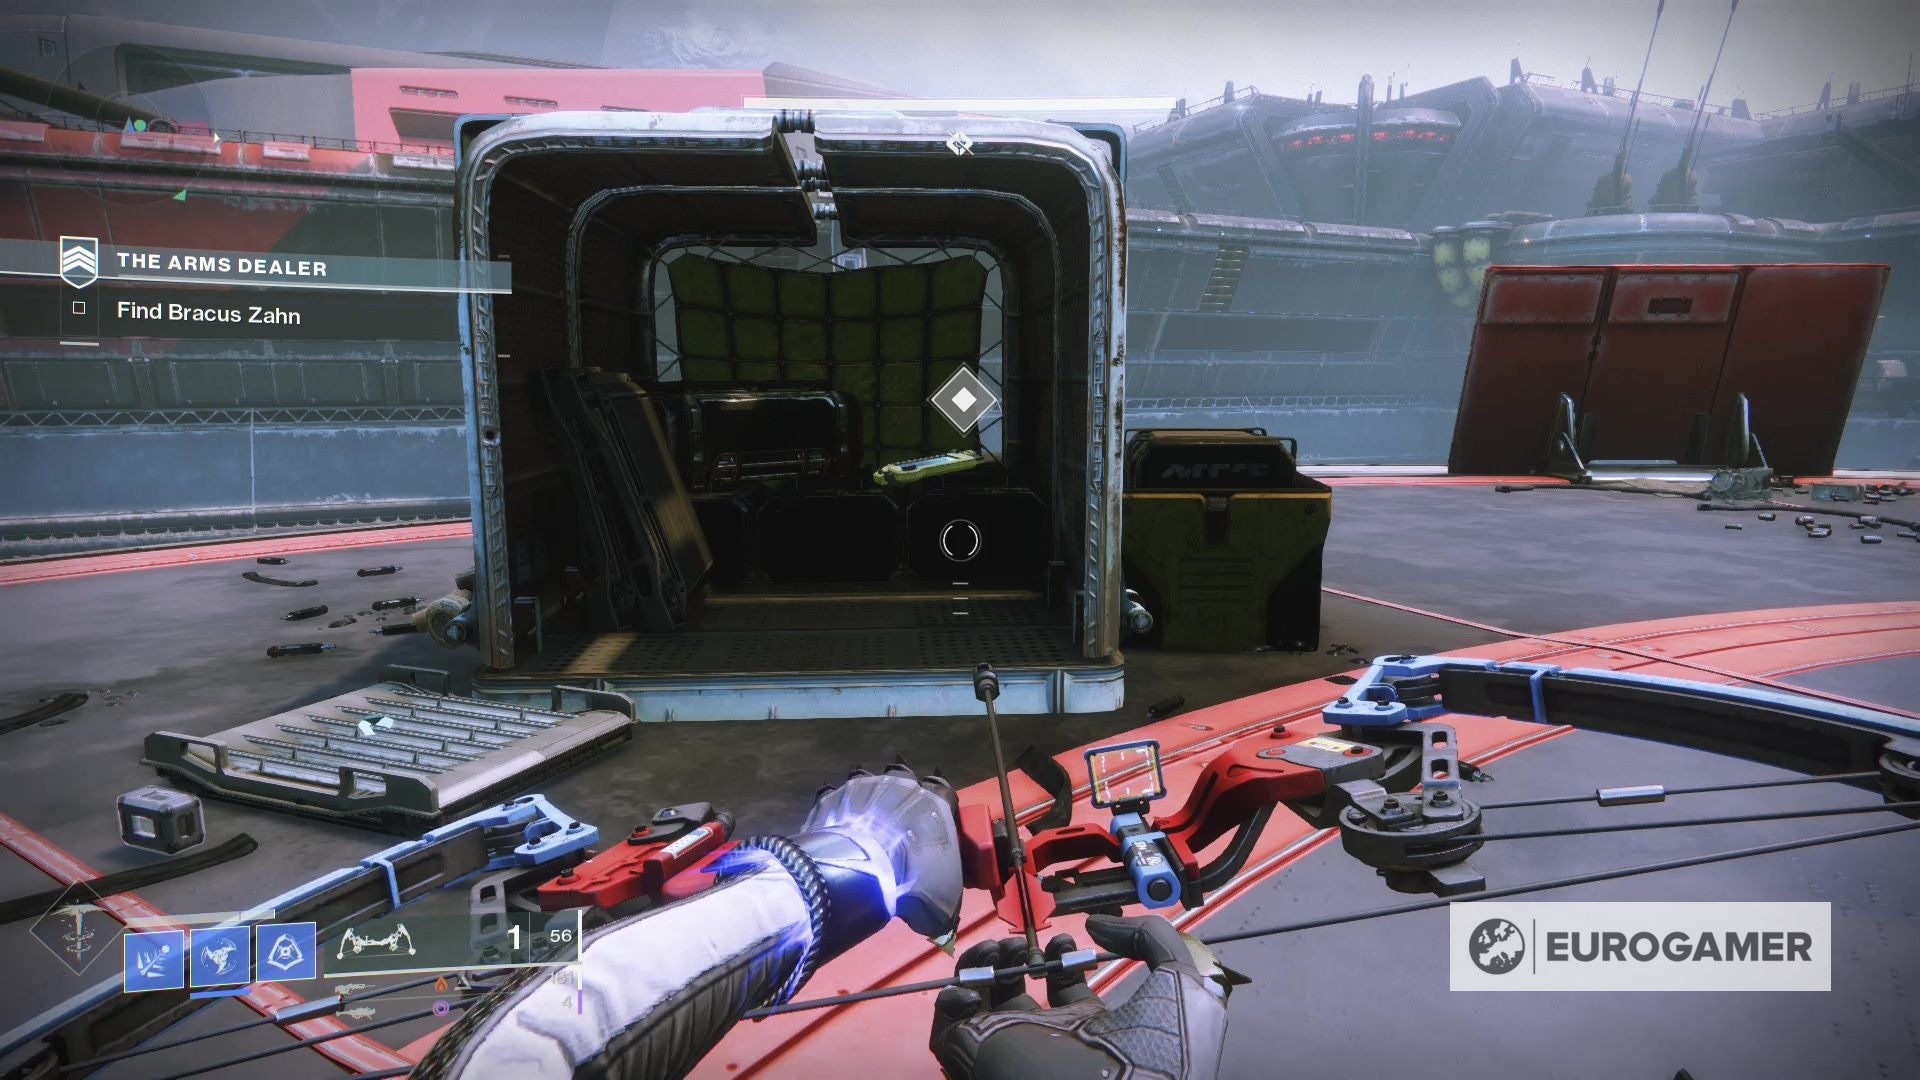
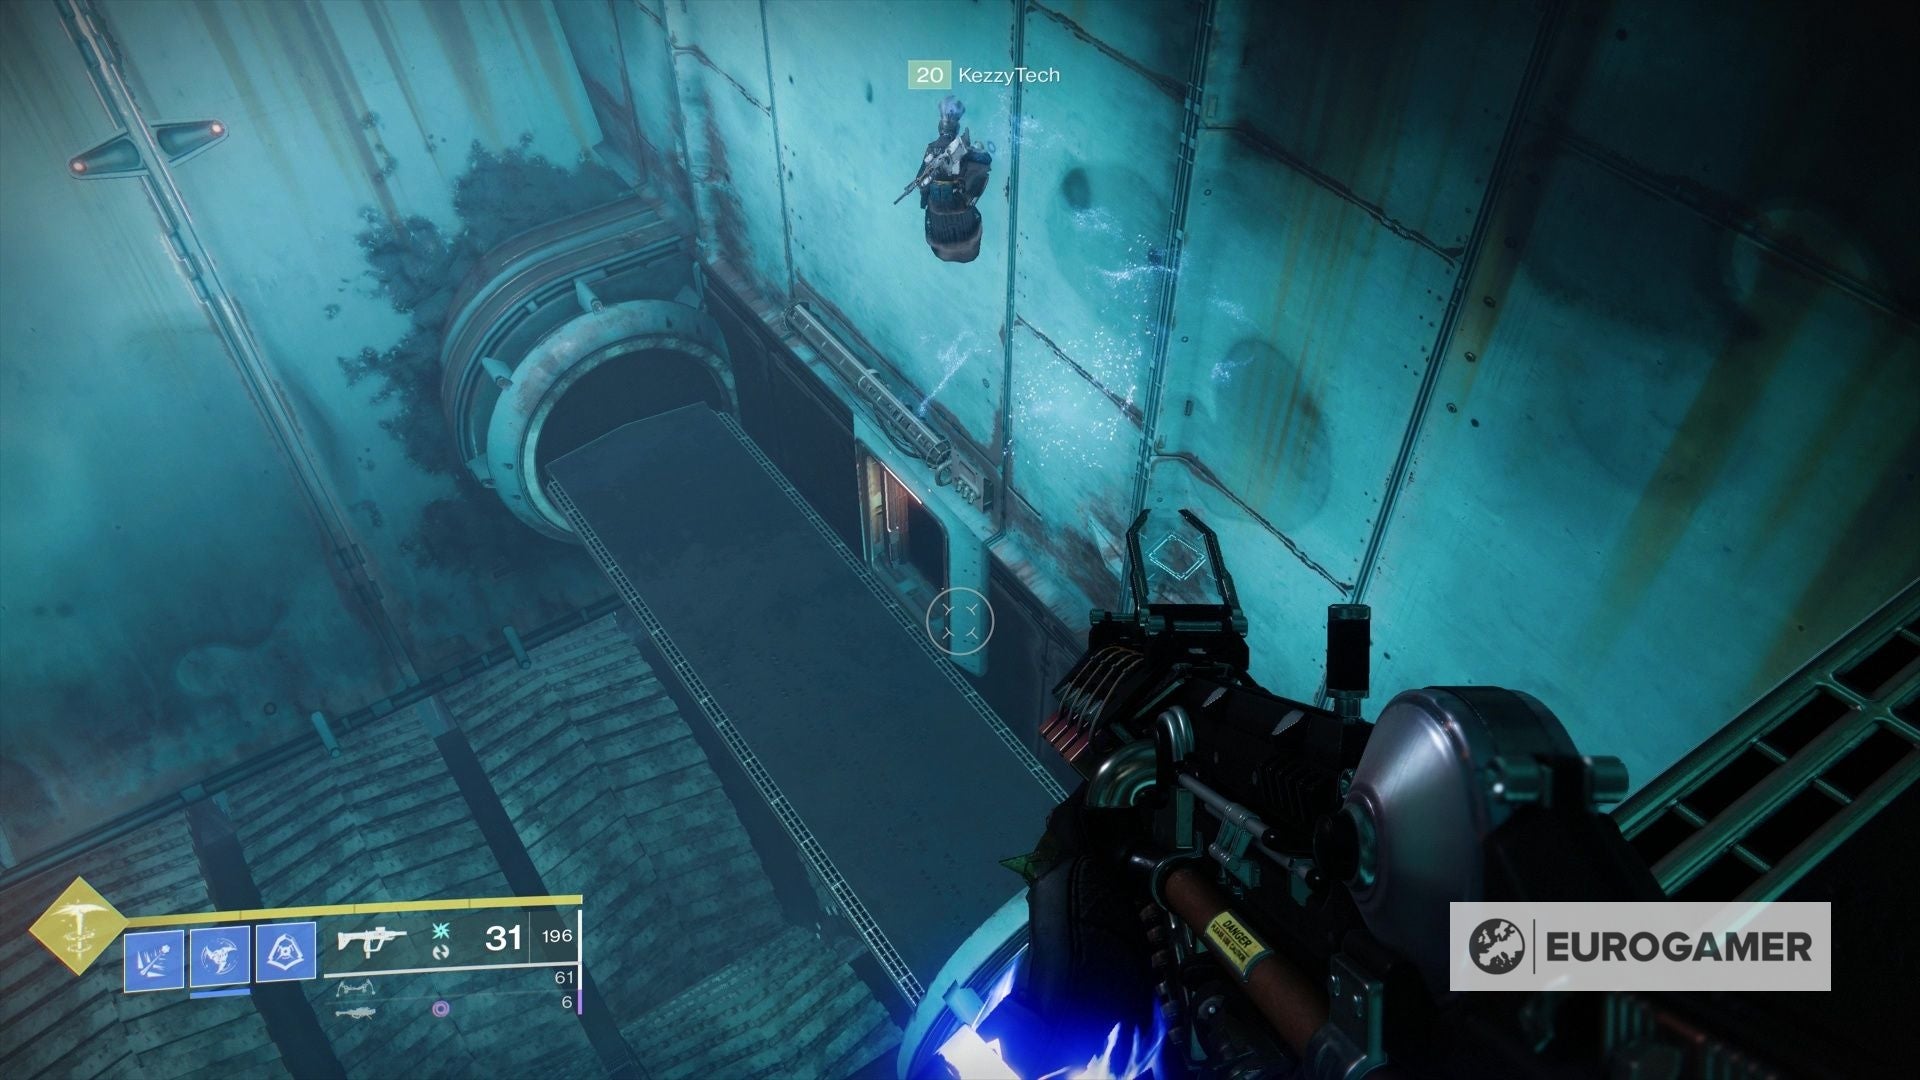
Take out the enemies right here – a few of which have names associated to Caiatl, so you understand you are heading in the right direction – and go to the correct helipad.
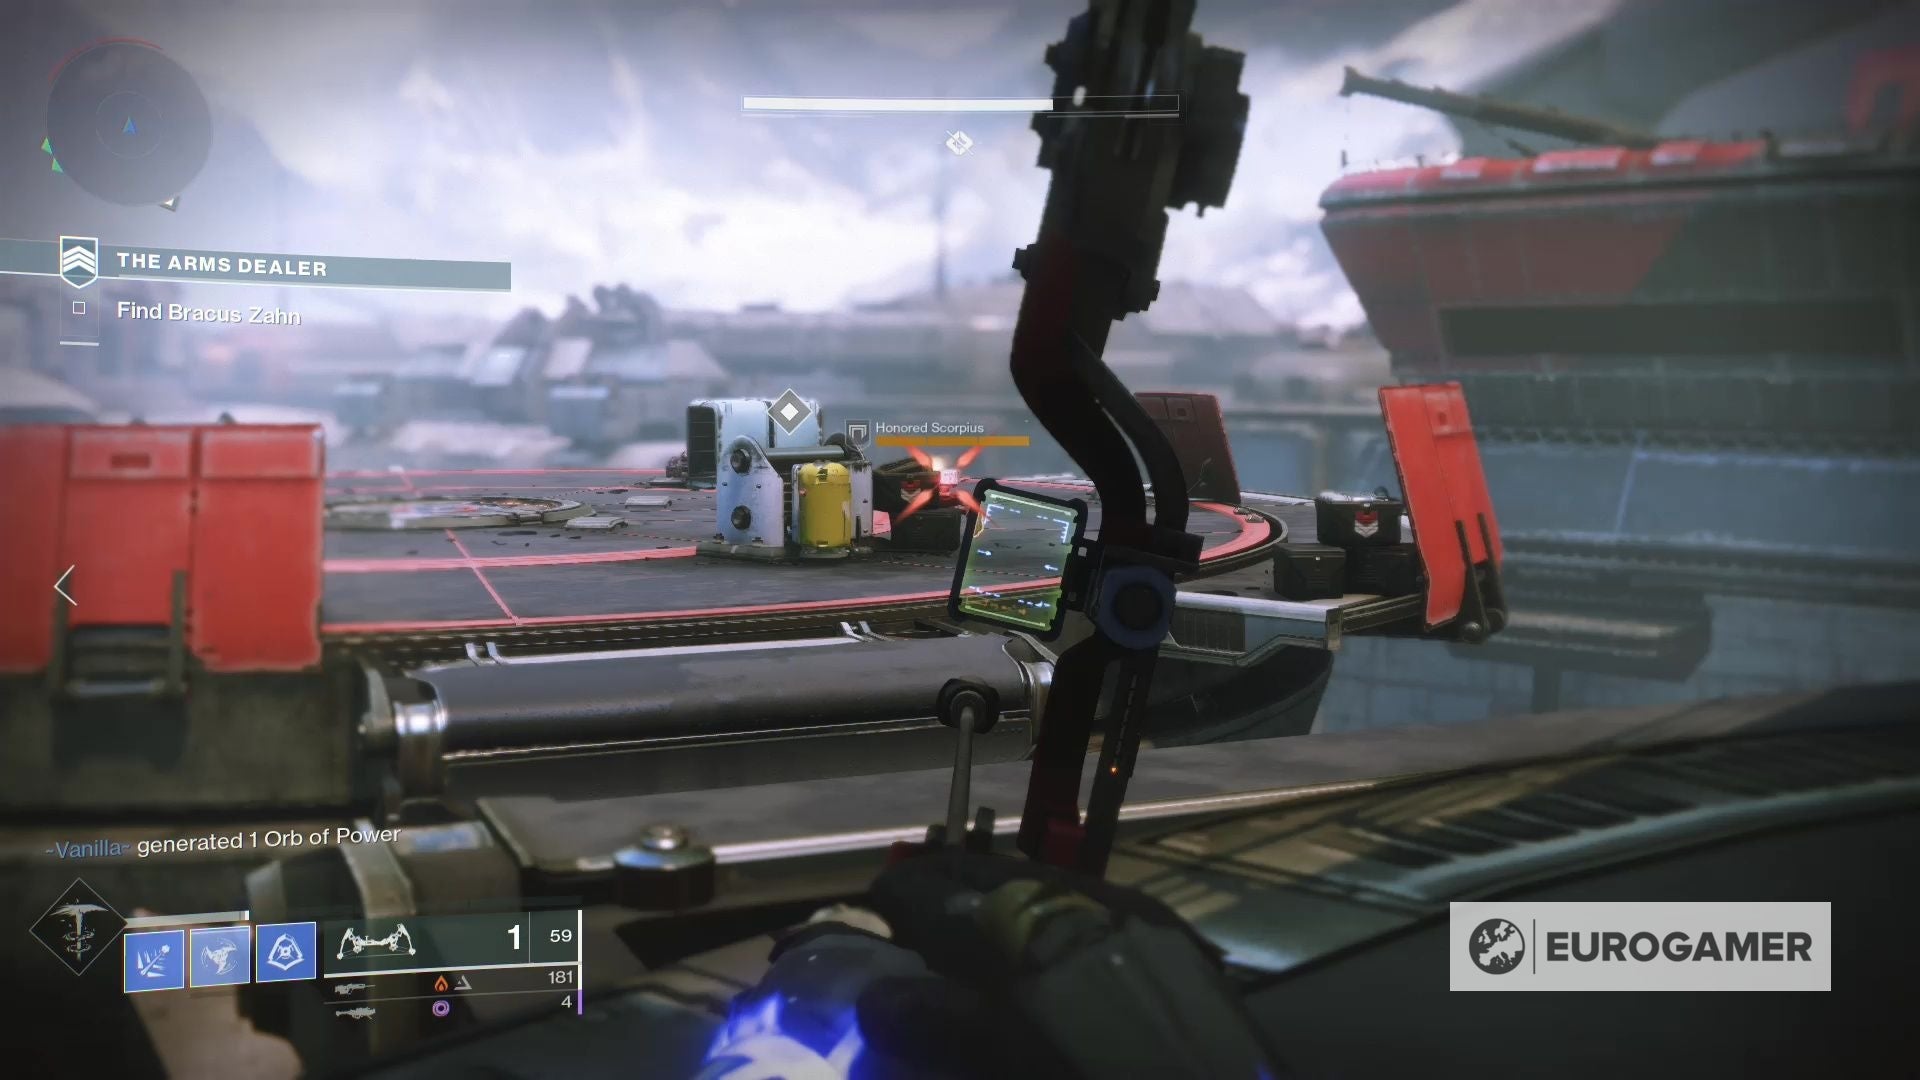
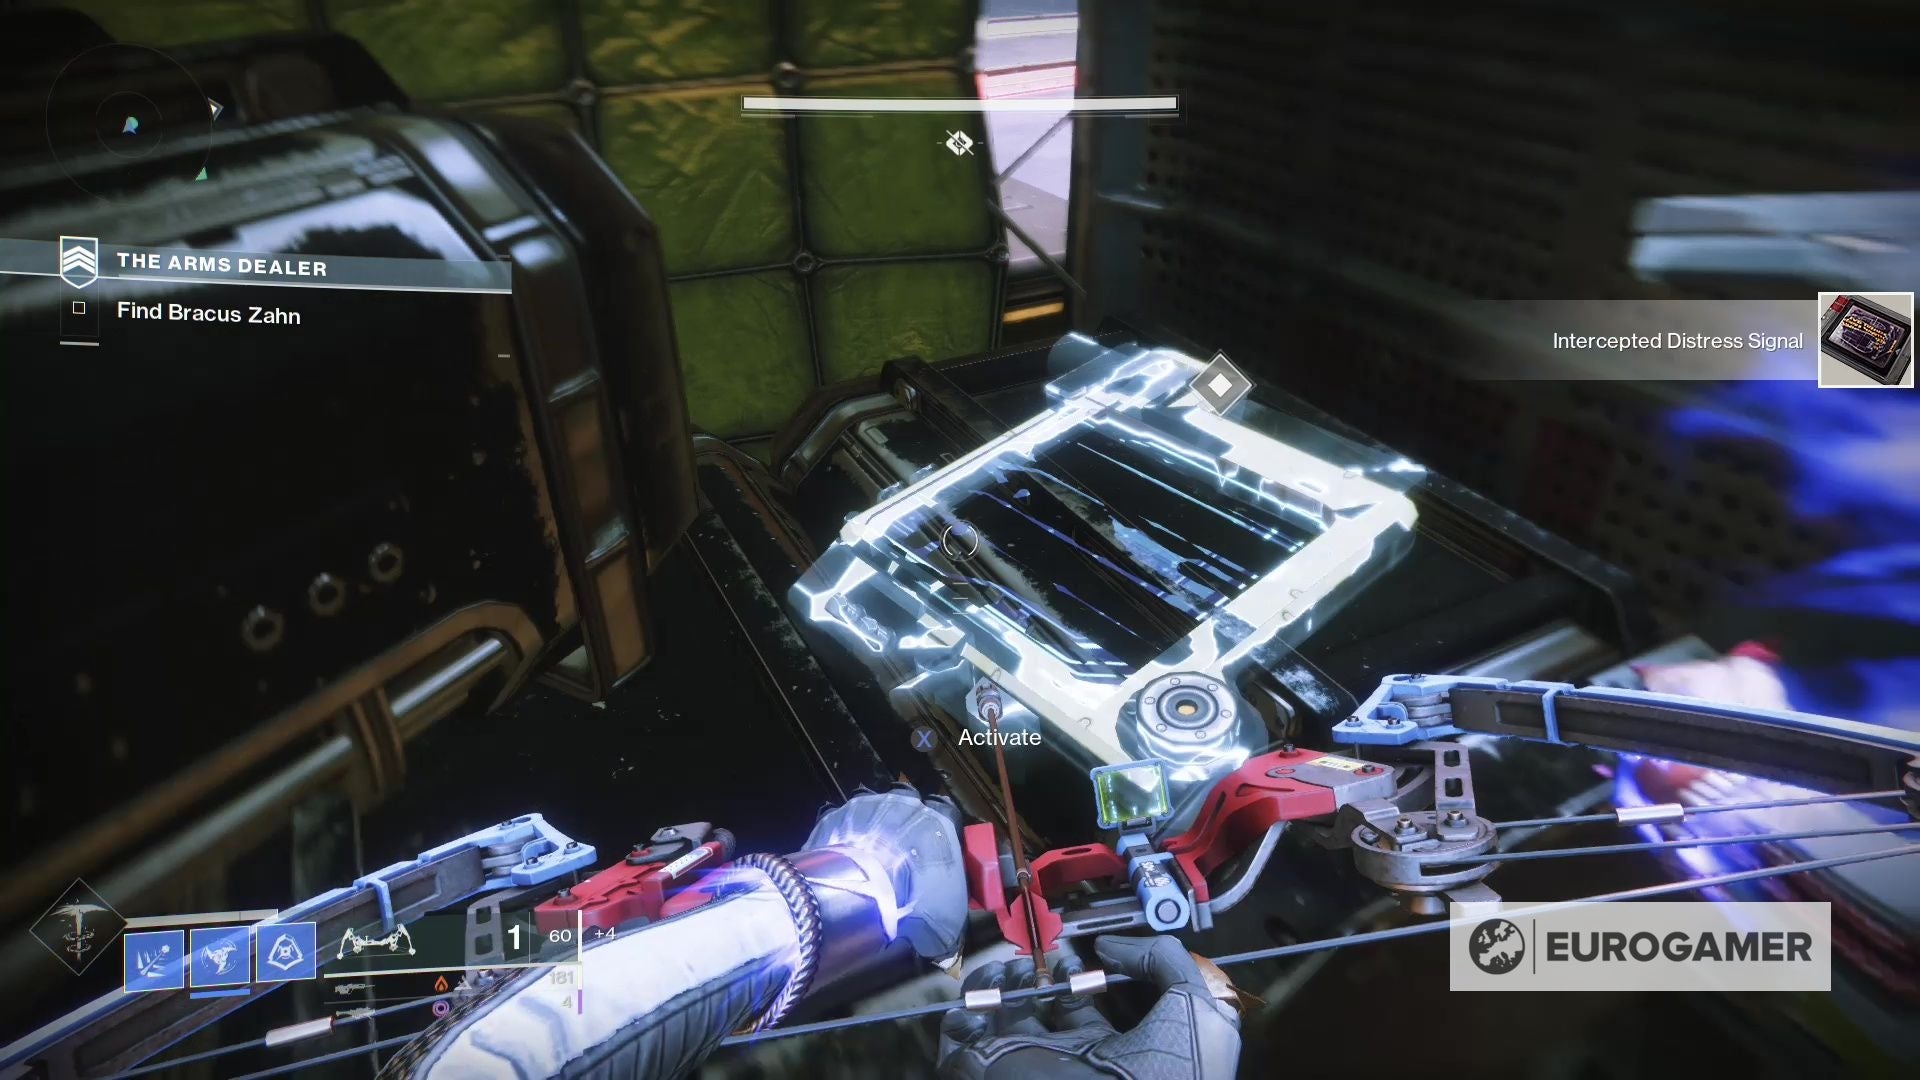
An on-screen marker will lead you to a container, and inside, an merchandise to gather – the Intercepted Misery Sign.
Now go to Zavala within the Tower. He’ll clarify what the Intercepted Misery Sign means, and unlocks a brand new quest – Presage – on the Tangled Shore.
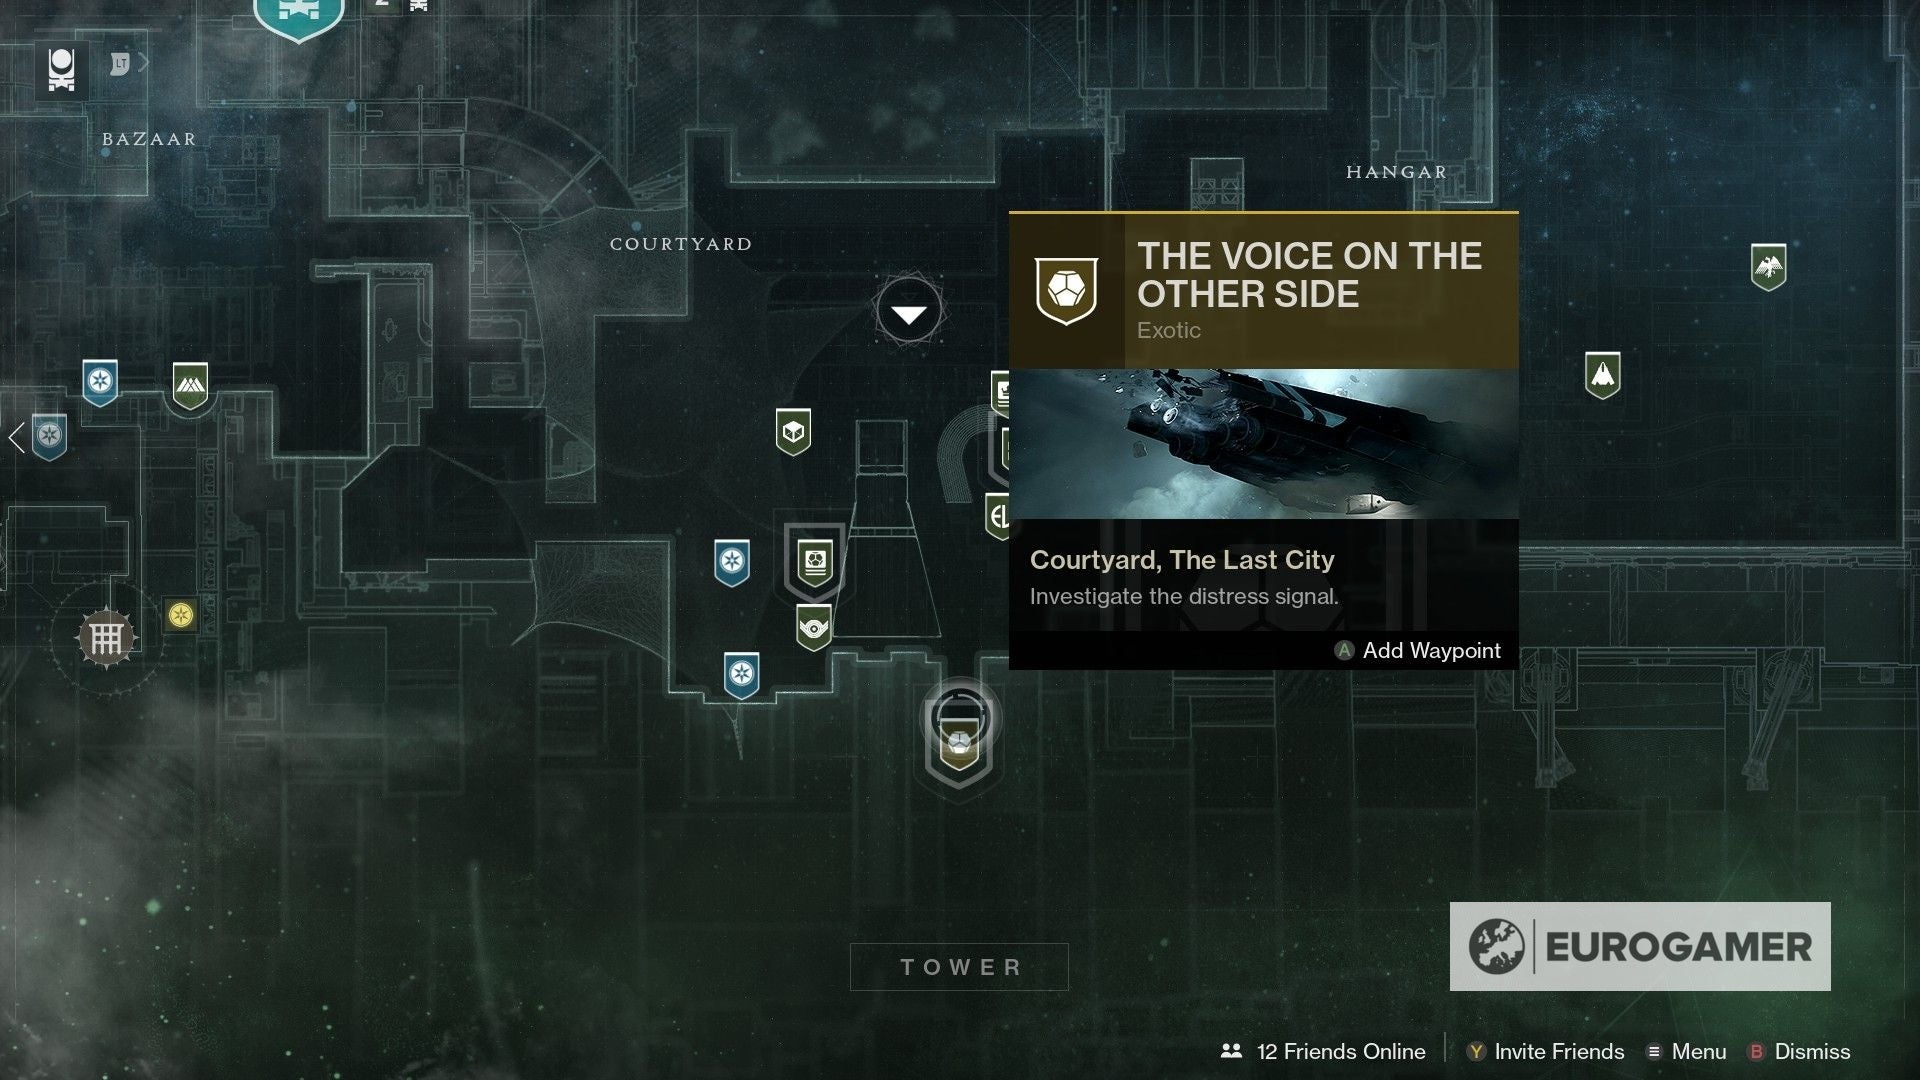
You may then discover the mission on the director display screen within the higher proper nook. Soar in once you’re prepared.
The Season of Plunder is right here! New additions embody the Sails of the Shipstealer quest, Treasure Coordinates and Map Fragments, Cryptic Quatrains and weapons such because the Quicksilver Storm and Taipan 4FR.
In the meantime, there’s the arrival of King’s Fall and King’s Fall challenges equivalent to Devious Concept and Gaze Amaze, plus weapons together with Doom of Chelchis and Contact of Malice.
Elsewhere, we have seen the return of Allied Demand in Iron Banner this season.
Stand up to hurry with our levelling information forward of tackling the Duality dungeon, and learn to gather Calus Bobblehead places, Calus Automaton places and discover all Opulent Key chests.
For The Witch Queen, learn to get Exotics together with Lifeless Messenger and Parasite.
How the Presage quest works in Future 2
The Presage mission is just like Season of the Hunt’s Harbinger, in that it is an Unique mission with puzzle fixing, platforming and several other fight encounters, and in contrast to earlier missions equivalent to Whisper of the Worm and Outbreak Perfected’s Zero Hour, is not timed – permitting you to take your time when exploring.
Although it has a 1230 energy stage suggestion, it is going to be a problem solo – so group up if potential. We ran it in a Fireteam of two and except for just a few boss wipes it felt doable, and took round 90 minutes to finish.
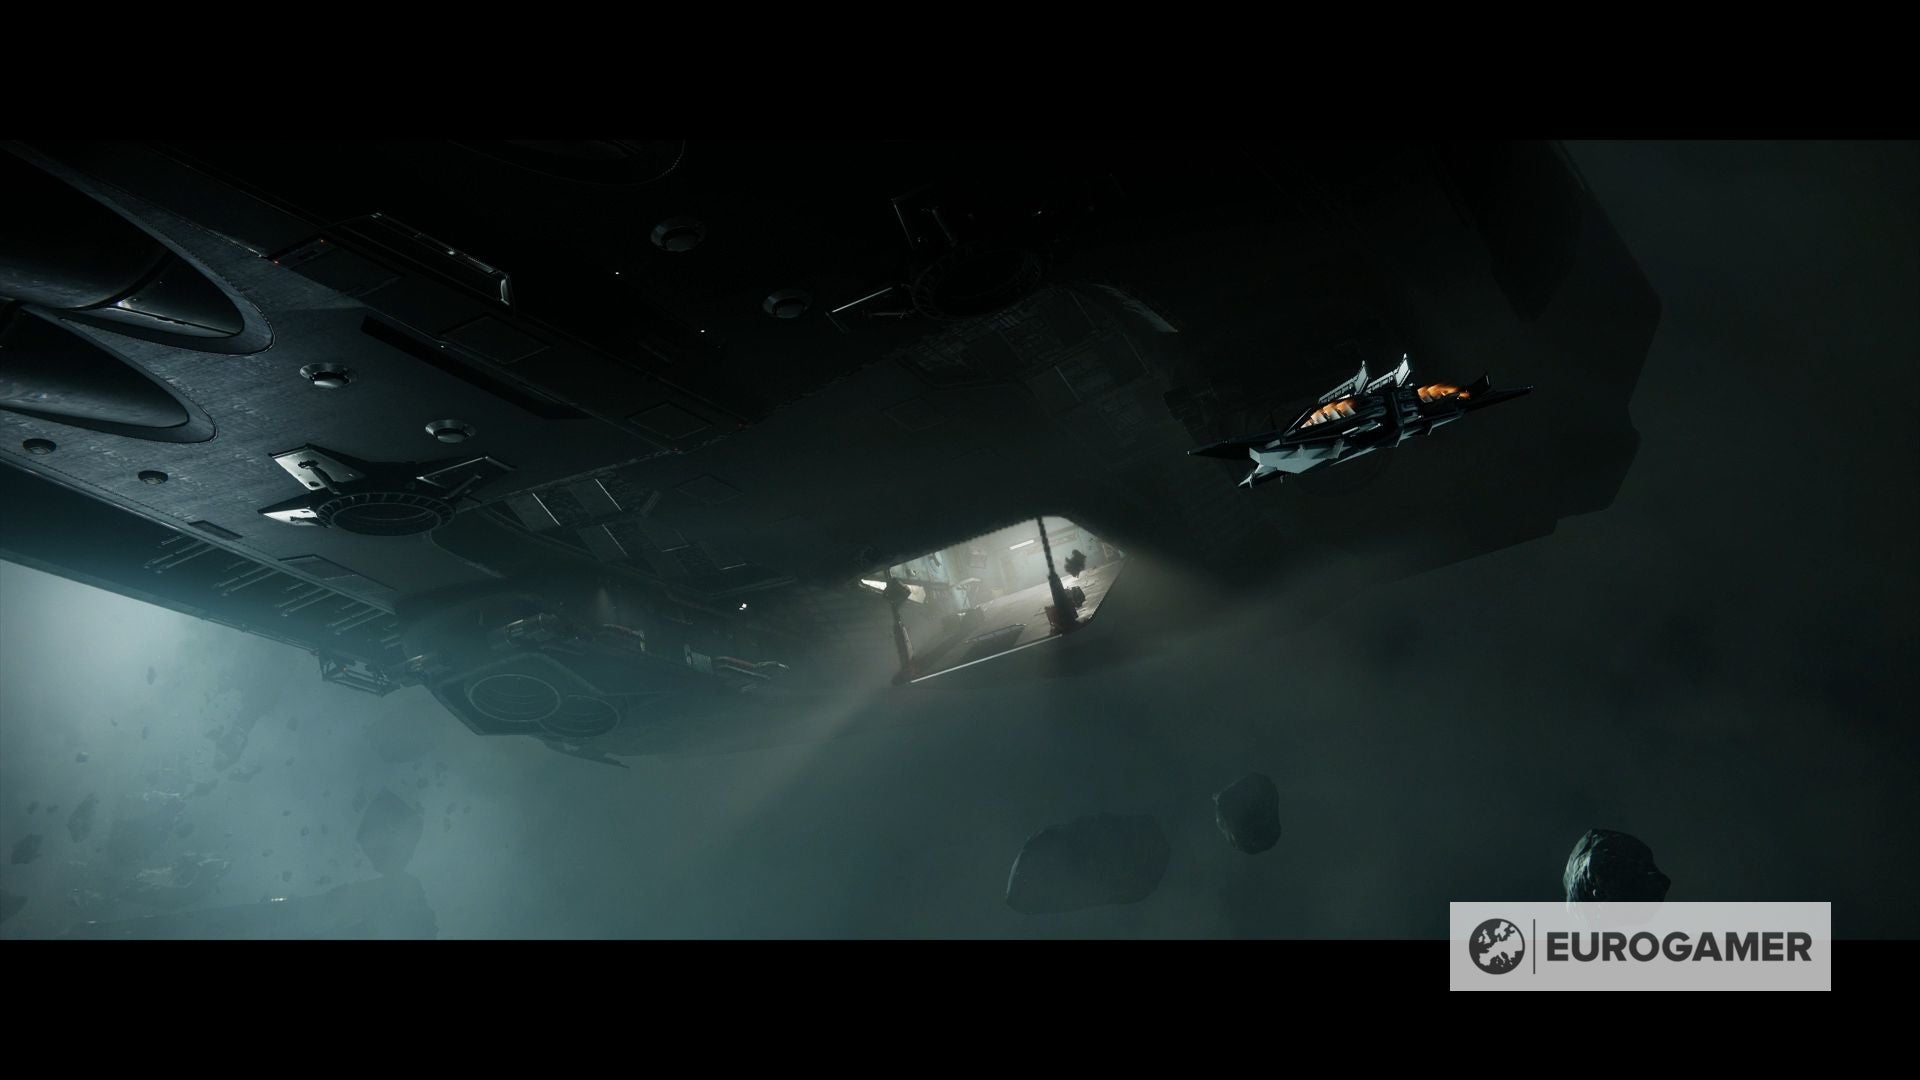
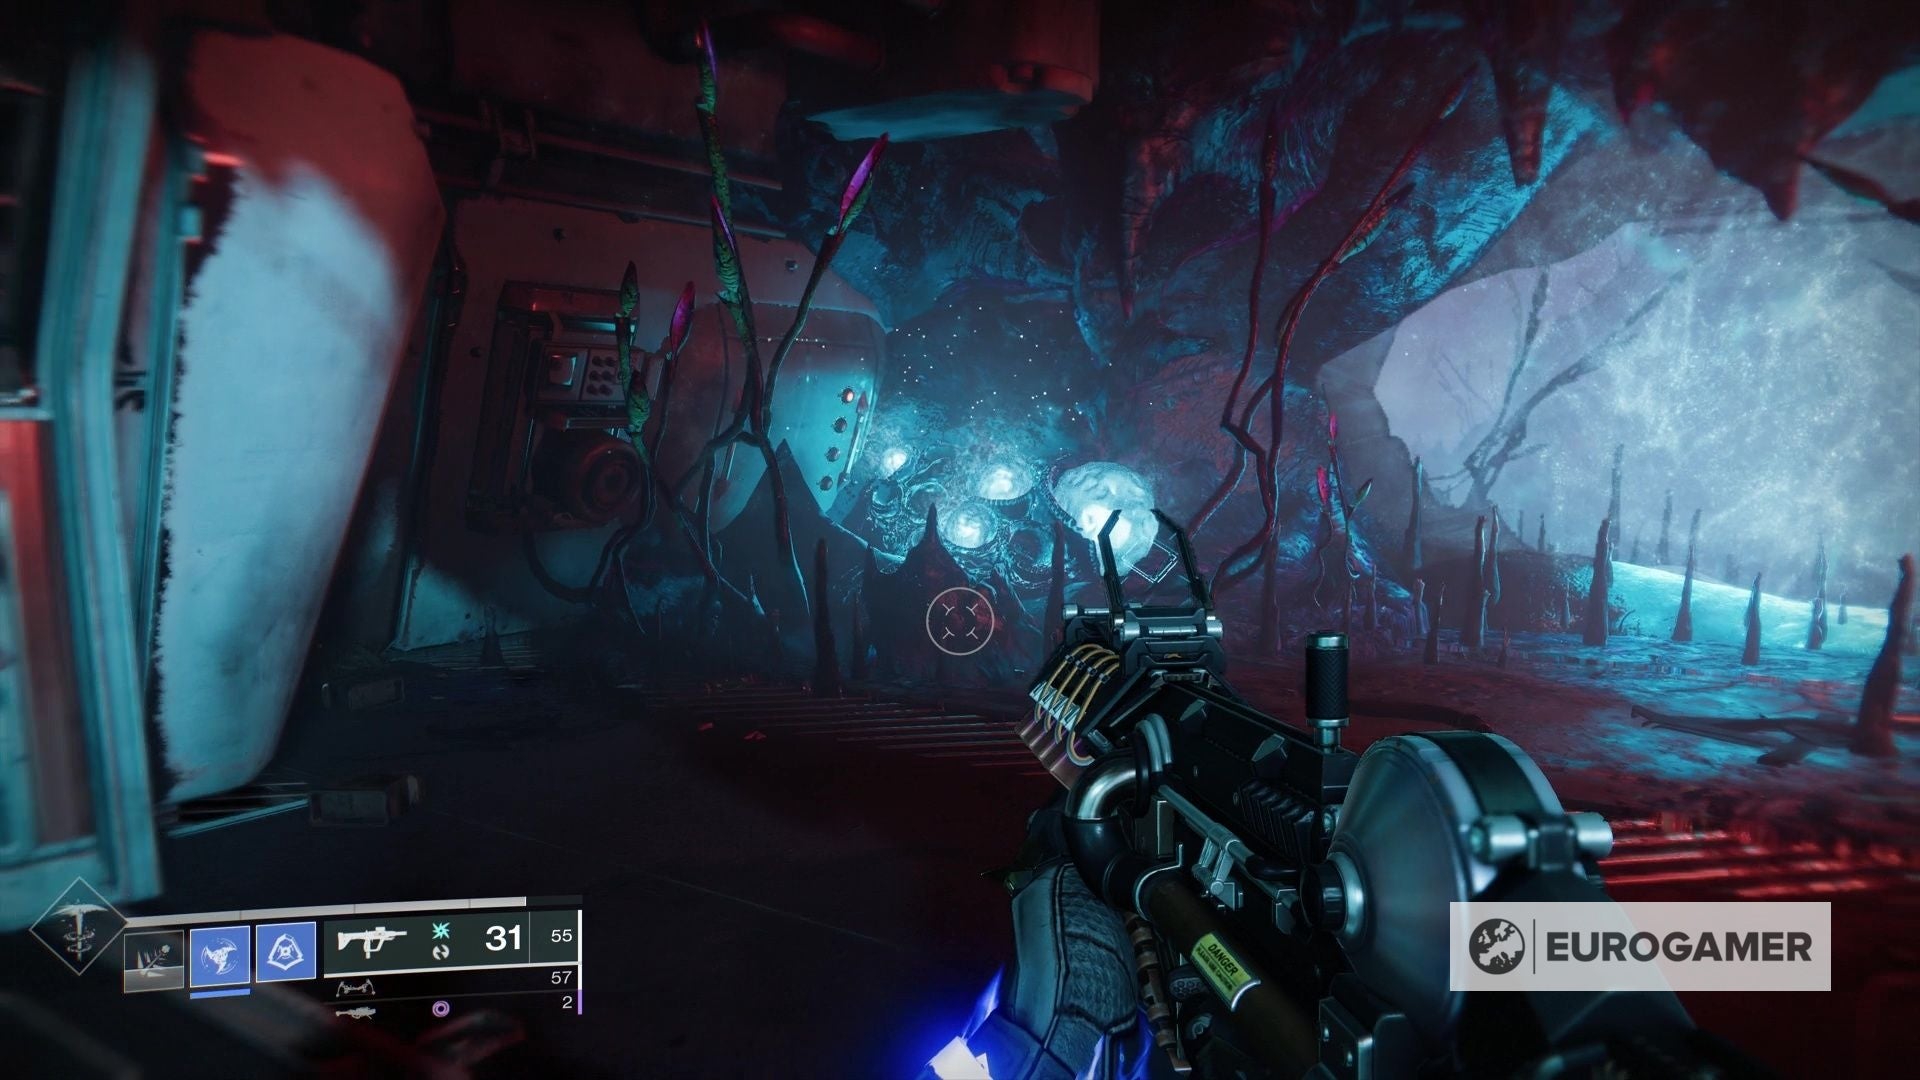
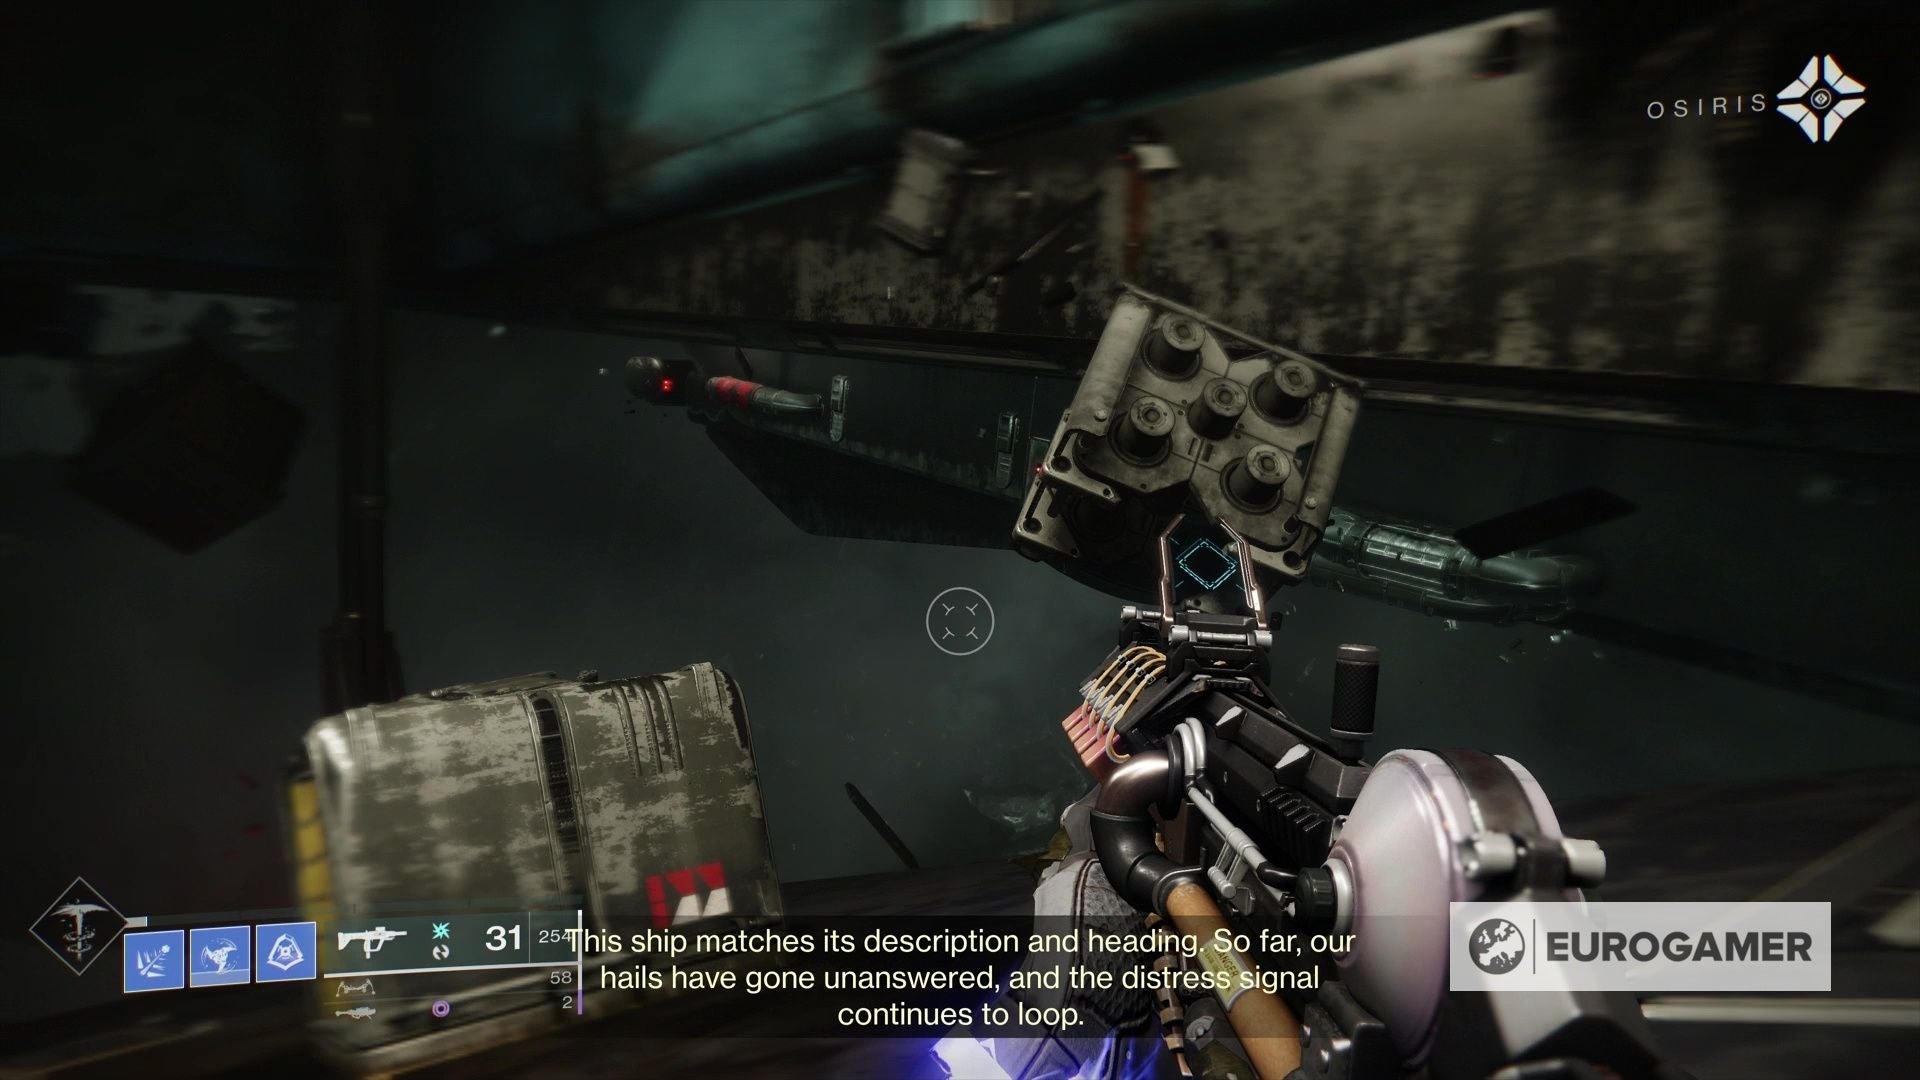
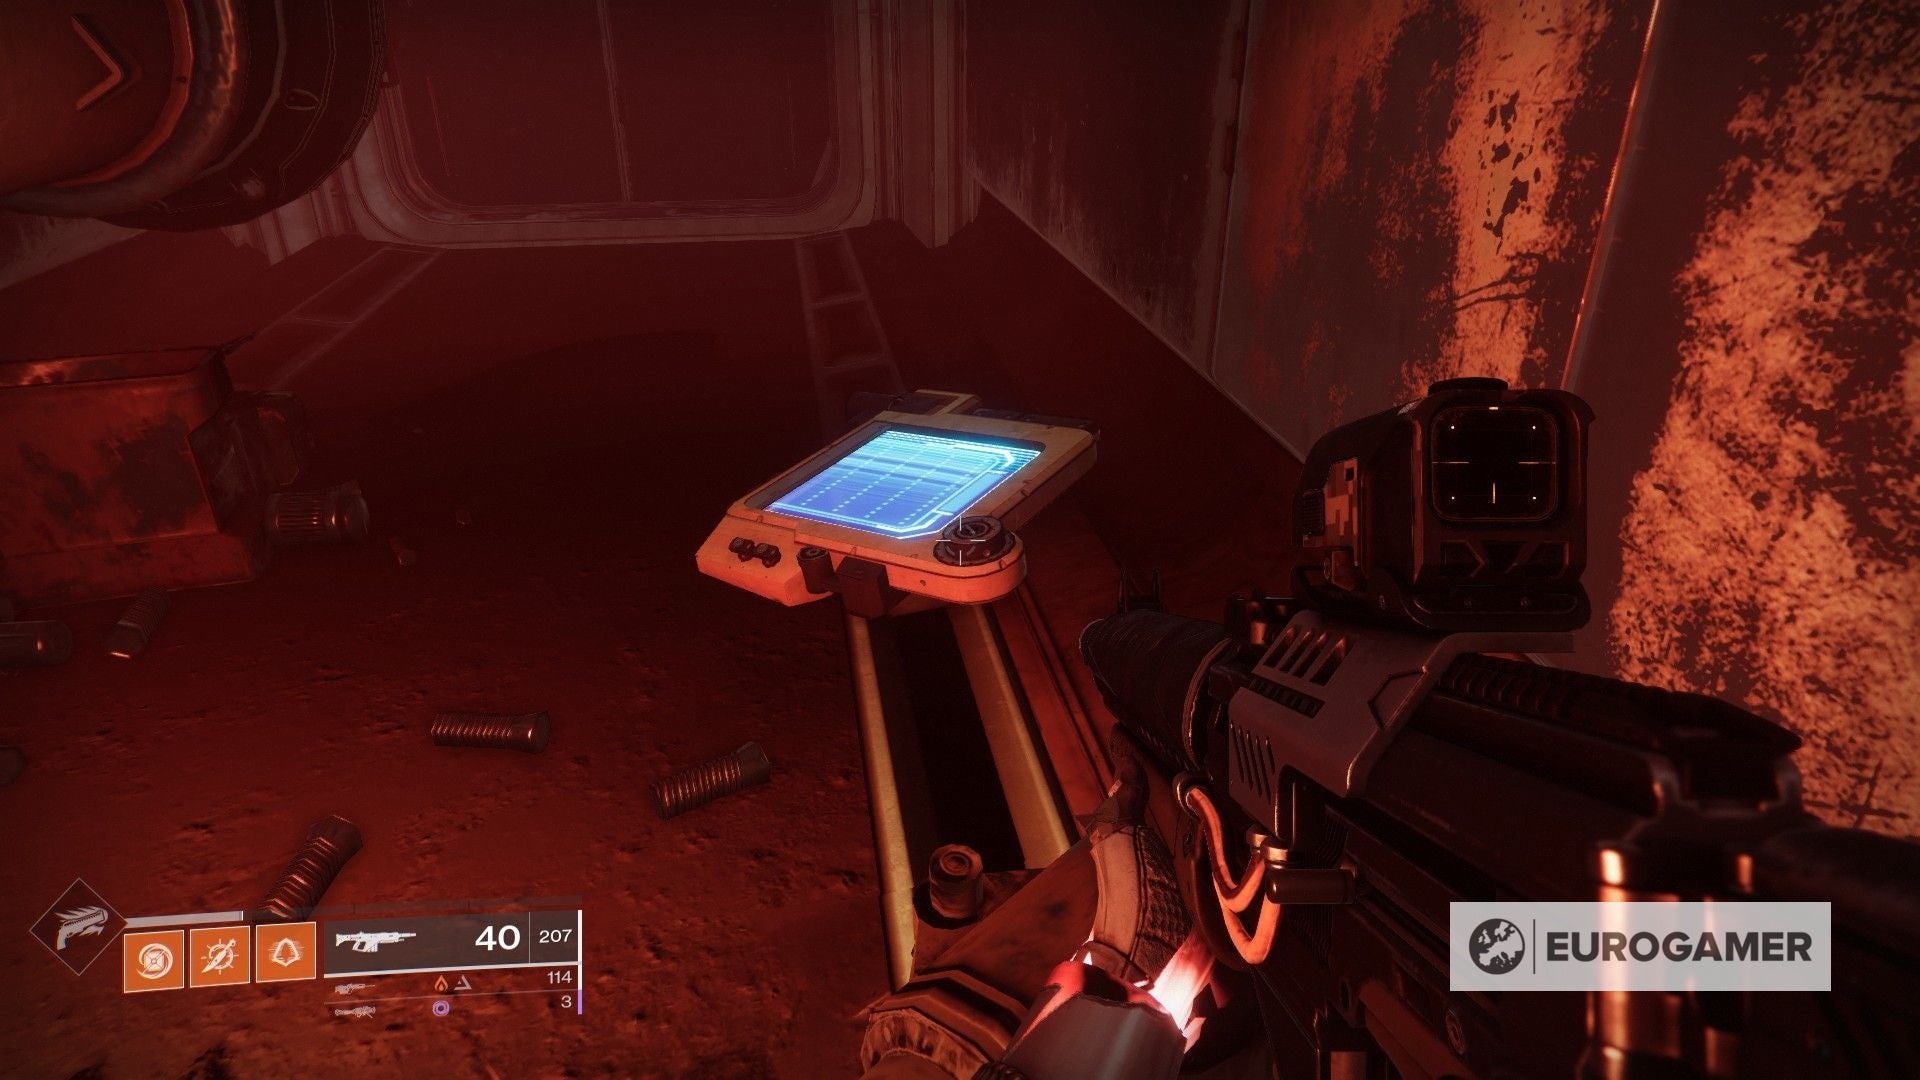
The Presage mission has you discover an deserted ship. Central mechanics embody taking pictures vents to seek out new routes, taking pictures fuses and throwing switches to open panels and doorways, and taking pictures blue spore buildings to obtain a Egregore Hyperlink buff to make it by means of partitions which ‘burn’ you.
There’s a Presage walkthrough beneath, however some ideas that will help you by means of are:
- If you’re in a room or vent with seemingly no manner out, lookup – chances are high there’s a ledge or doorway which takes you onward.
- With the Egregore Hyperlink buff from the spores, all Guardians should be inside a detailed proximity when shot. If it is inexperienced, you must wait till it turns blue once more earlier than you possibly can shoot once more and obtain the buff.
- A number of switches you must throw for puzzles are in plain sight – look carefully on the partitions round you if there isn’t any manner onward.
- Hold a psychological notice of all of the closed doorways you come throughout. In the event you throw a swap and the route forward is not clear, chances are high it has opened a kind of doorways. Some fuses, in the meantime, open one thing on a timer – so if nothing has seemingly occurred, shoot once more and preserve wanting.
- For the primary time by means of it ought to take between 90 minutes and two hours, relying on how a lot you understand about it forward of time. Know there are not any checkpoints, so you should definitely clear sufficient time for a full playthrough if you wish to see it to the tip.
Presage walkthrough for Future 2
For the reason that path by means of the ship is lengthy, sometimes maze-like however linear sufficient you need to discover the route given sufficient exploring, we do not go right into a full blow-by-blow walkthrough in textual content (although the next video reveals a playthrough from begin to end). As a substitute, we spotlight main moments you may set caught on.
First, we have to discover a manner into the ship. Use the platforms on the skin to take action – flip left from the place you start and leap to the pipes, and work your manner spherical.
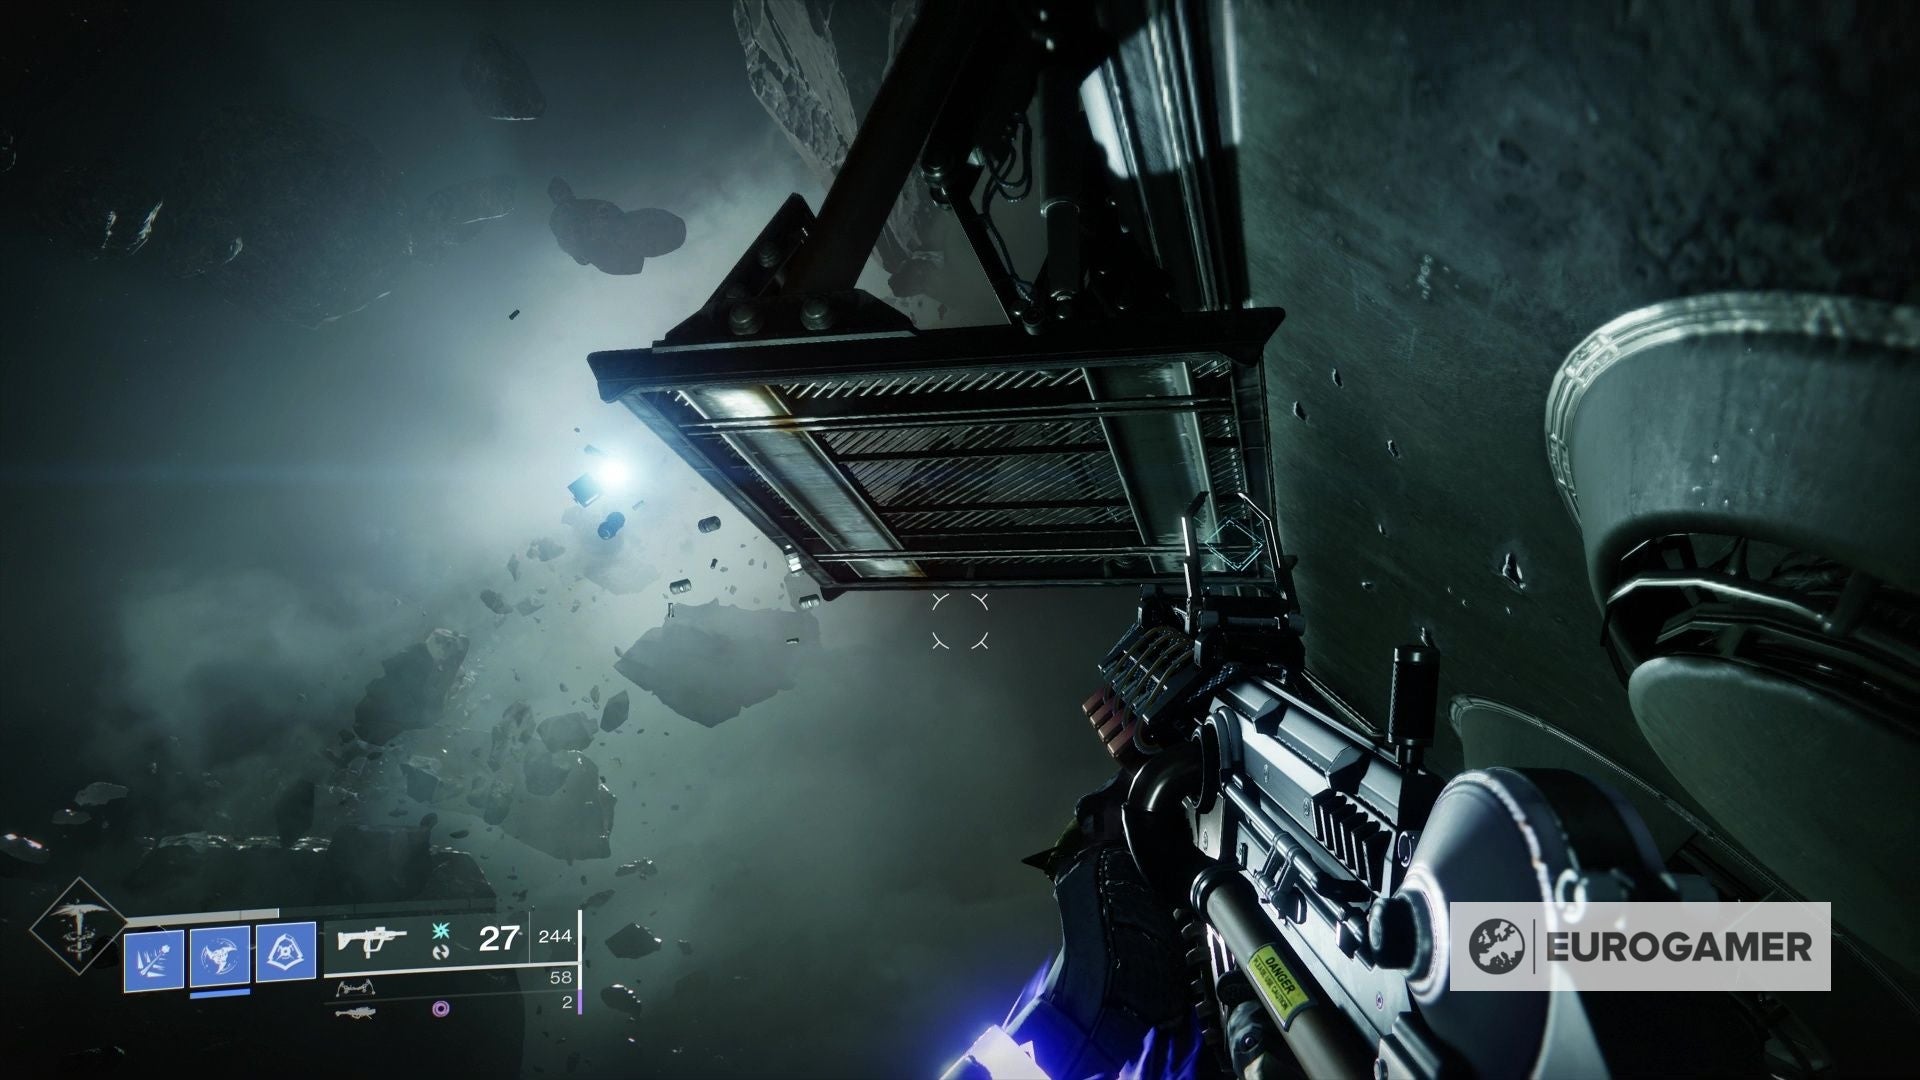
From there, undergo the small passages – in case you get caught, keep in mind to lookup.
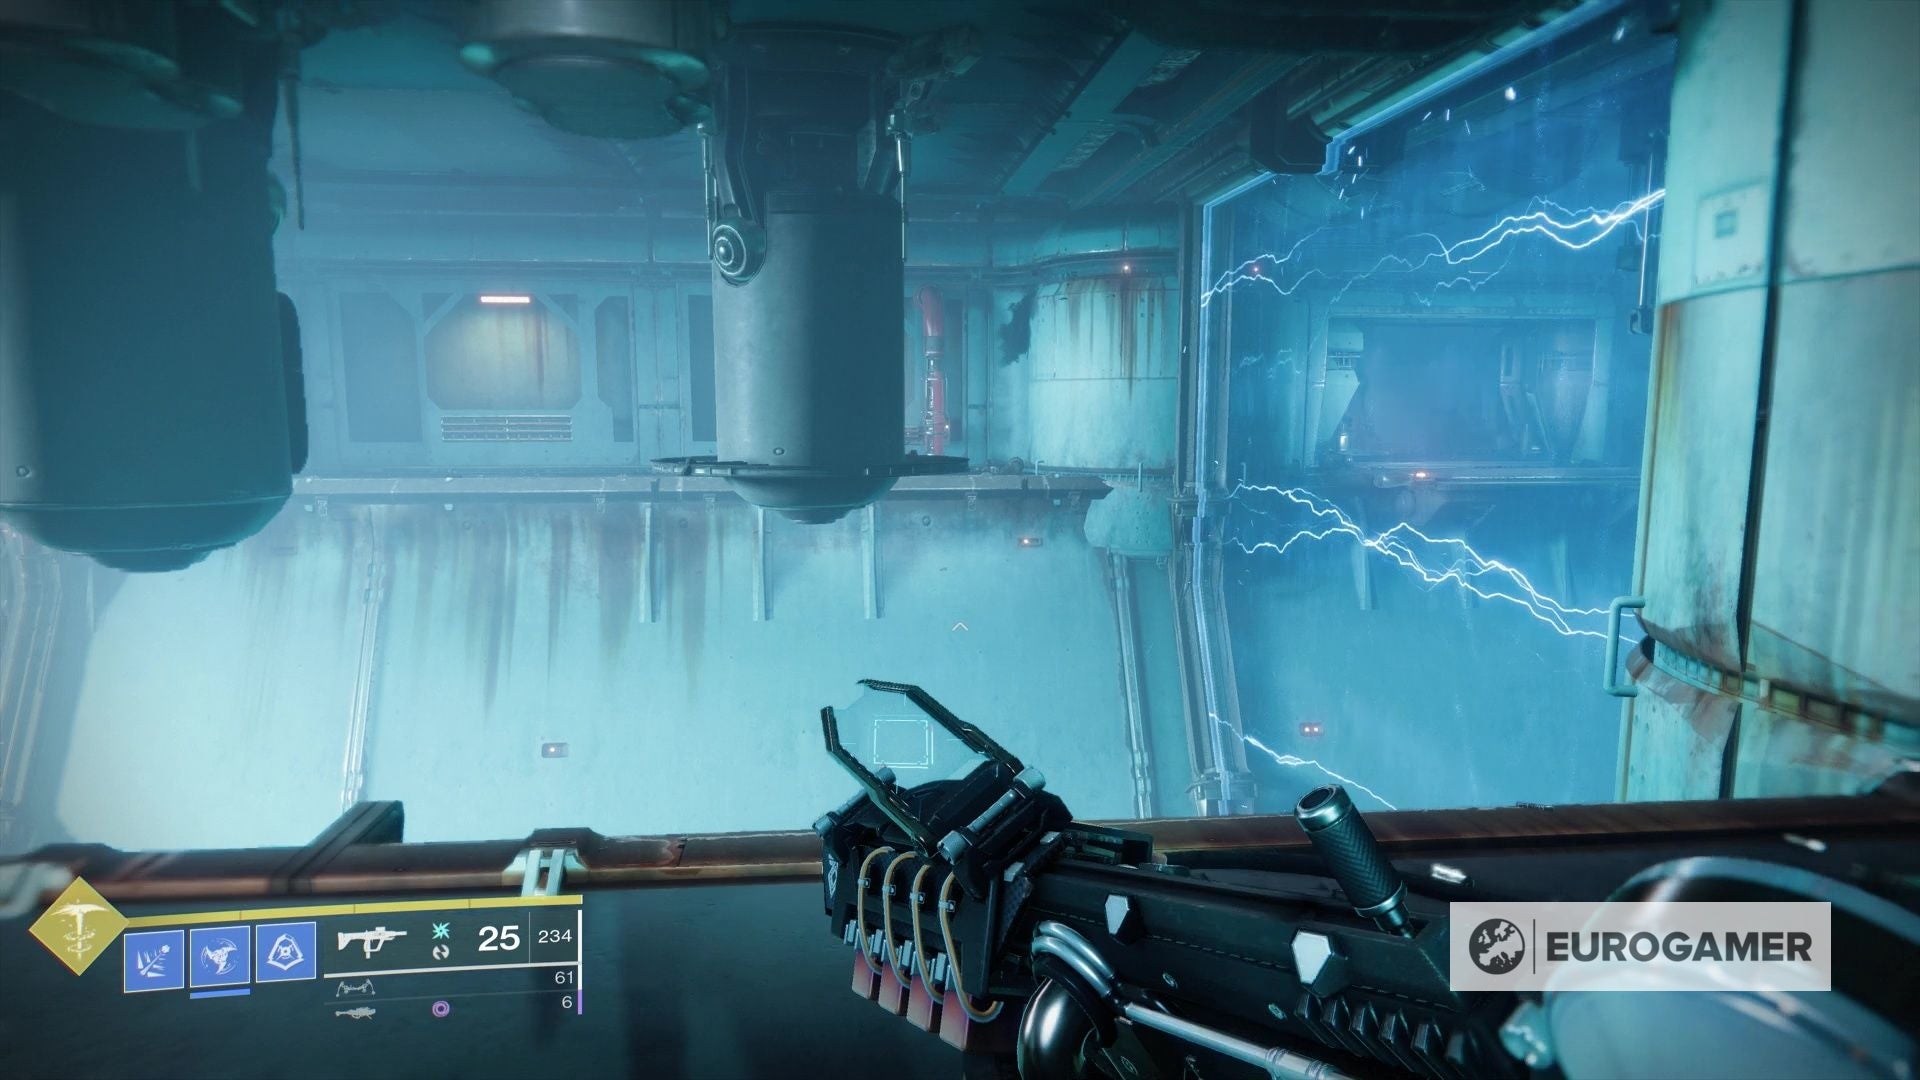
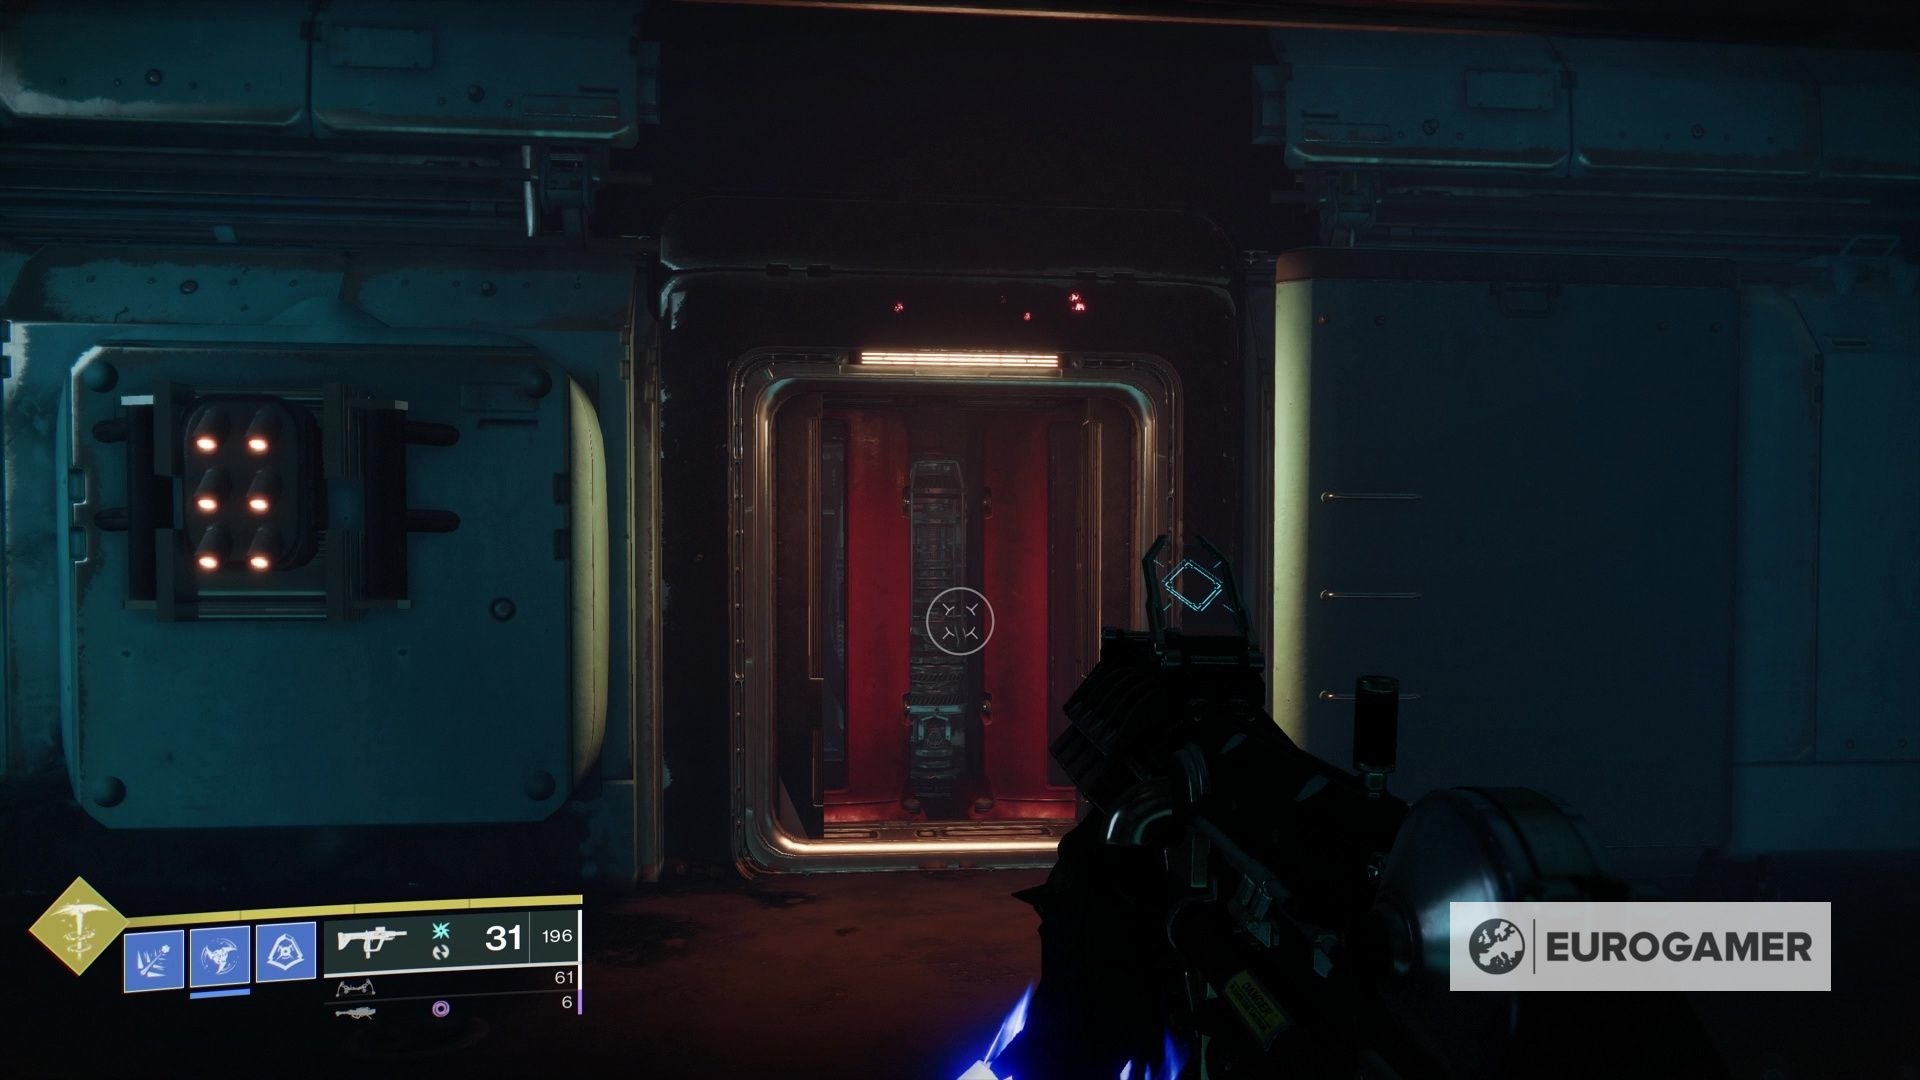
Shortly after utilizing the Egregore Hyperlink buff to get by means of the wall for the primary time is a bit with electrified partitions with doorways in-between you must leap throughout. You must throw three switches as you go – one close to the place you drop down, one within the penultimate room, and one on the very finish.
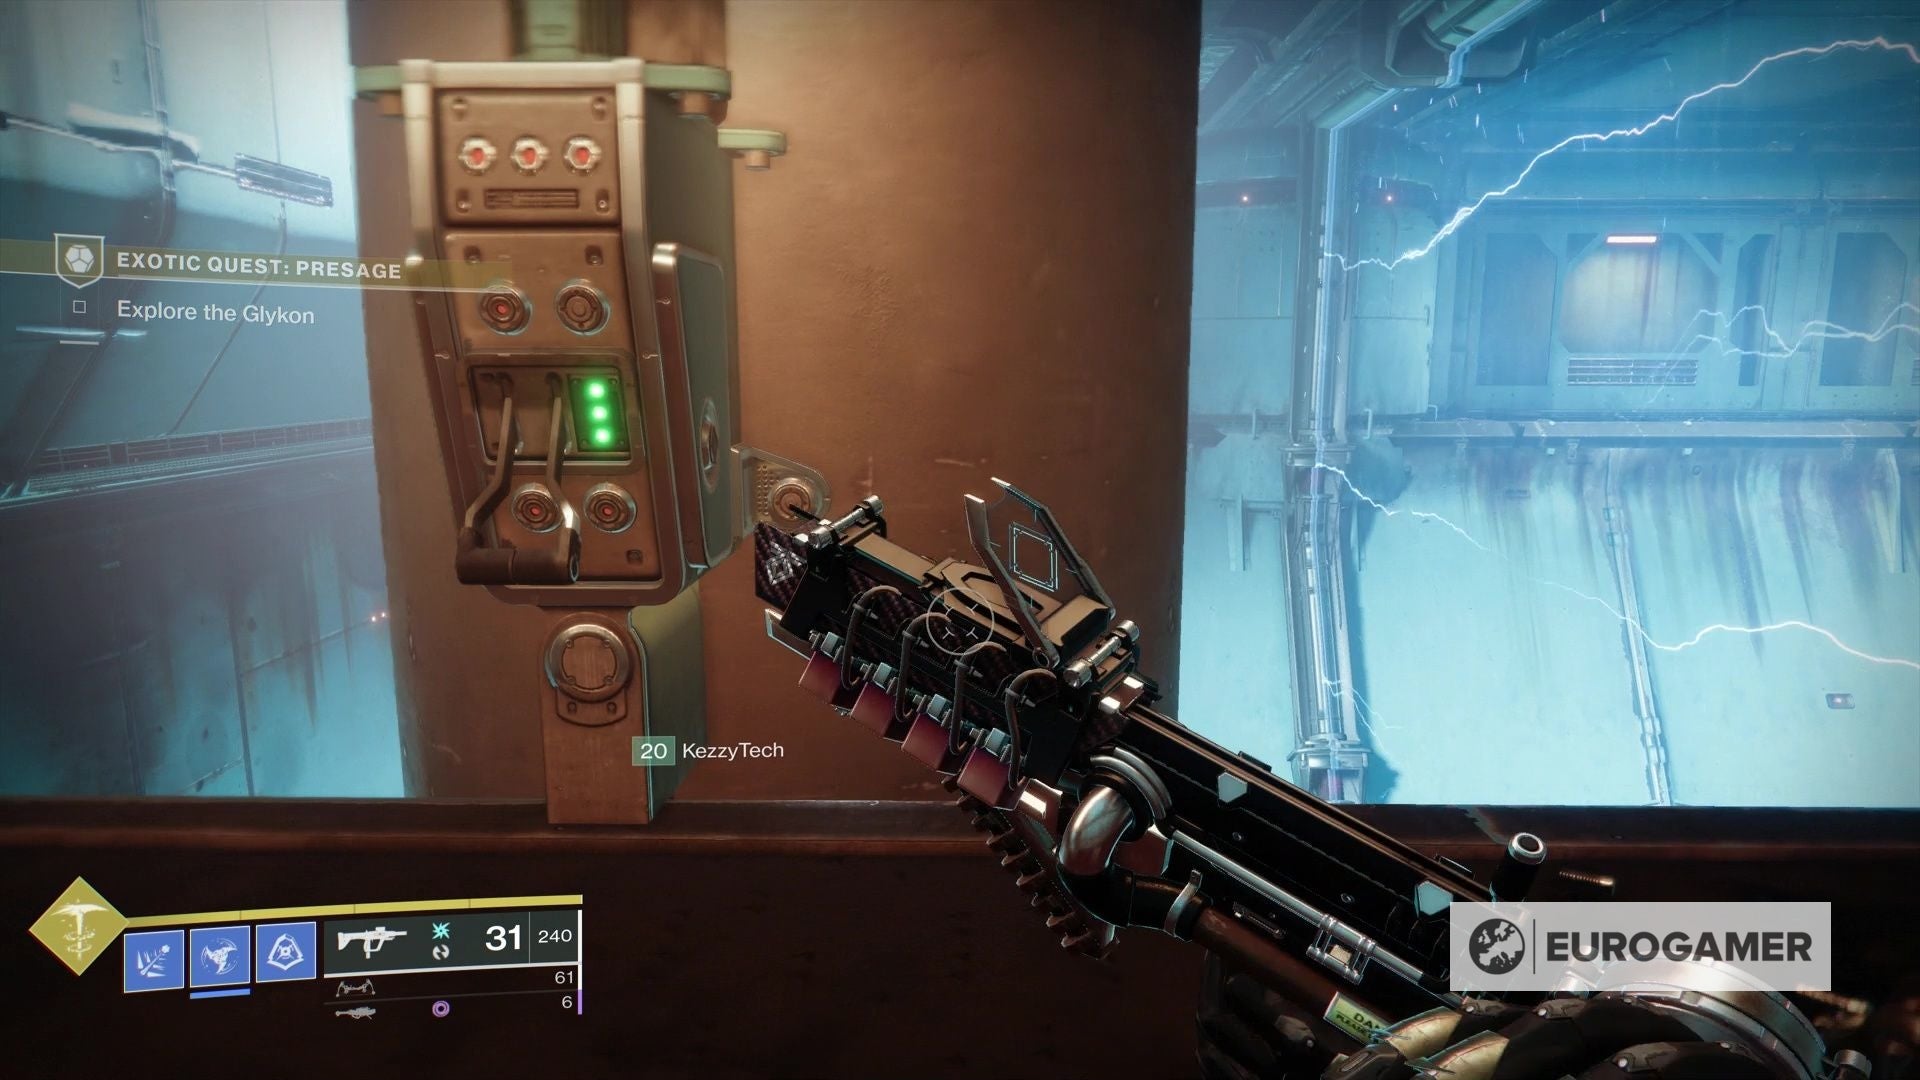
From there, return to the identical room because the second swap, and drop down beneath the ledge as quickly as you enter. On the wall is a panel which has opened, and it face on, is a fuse you possibly can shoot to open a door beneath the third swap.
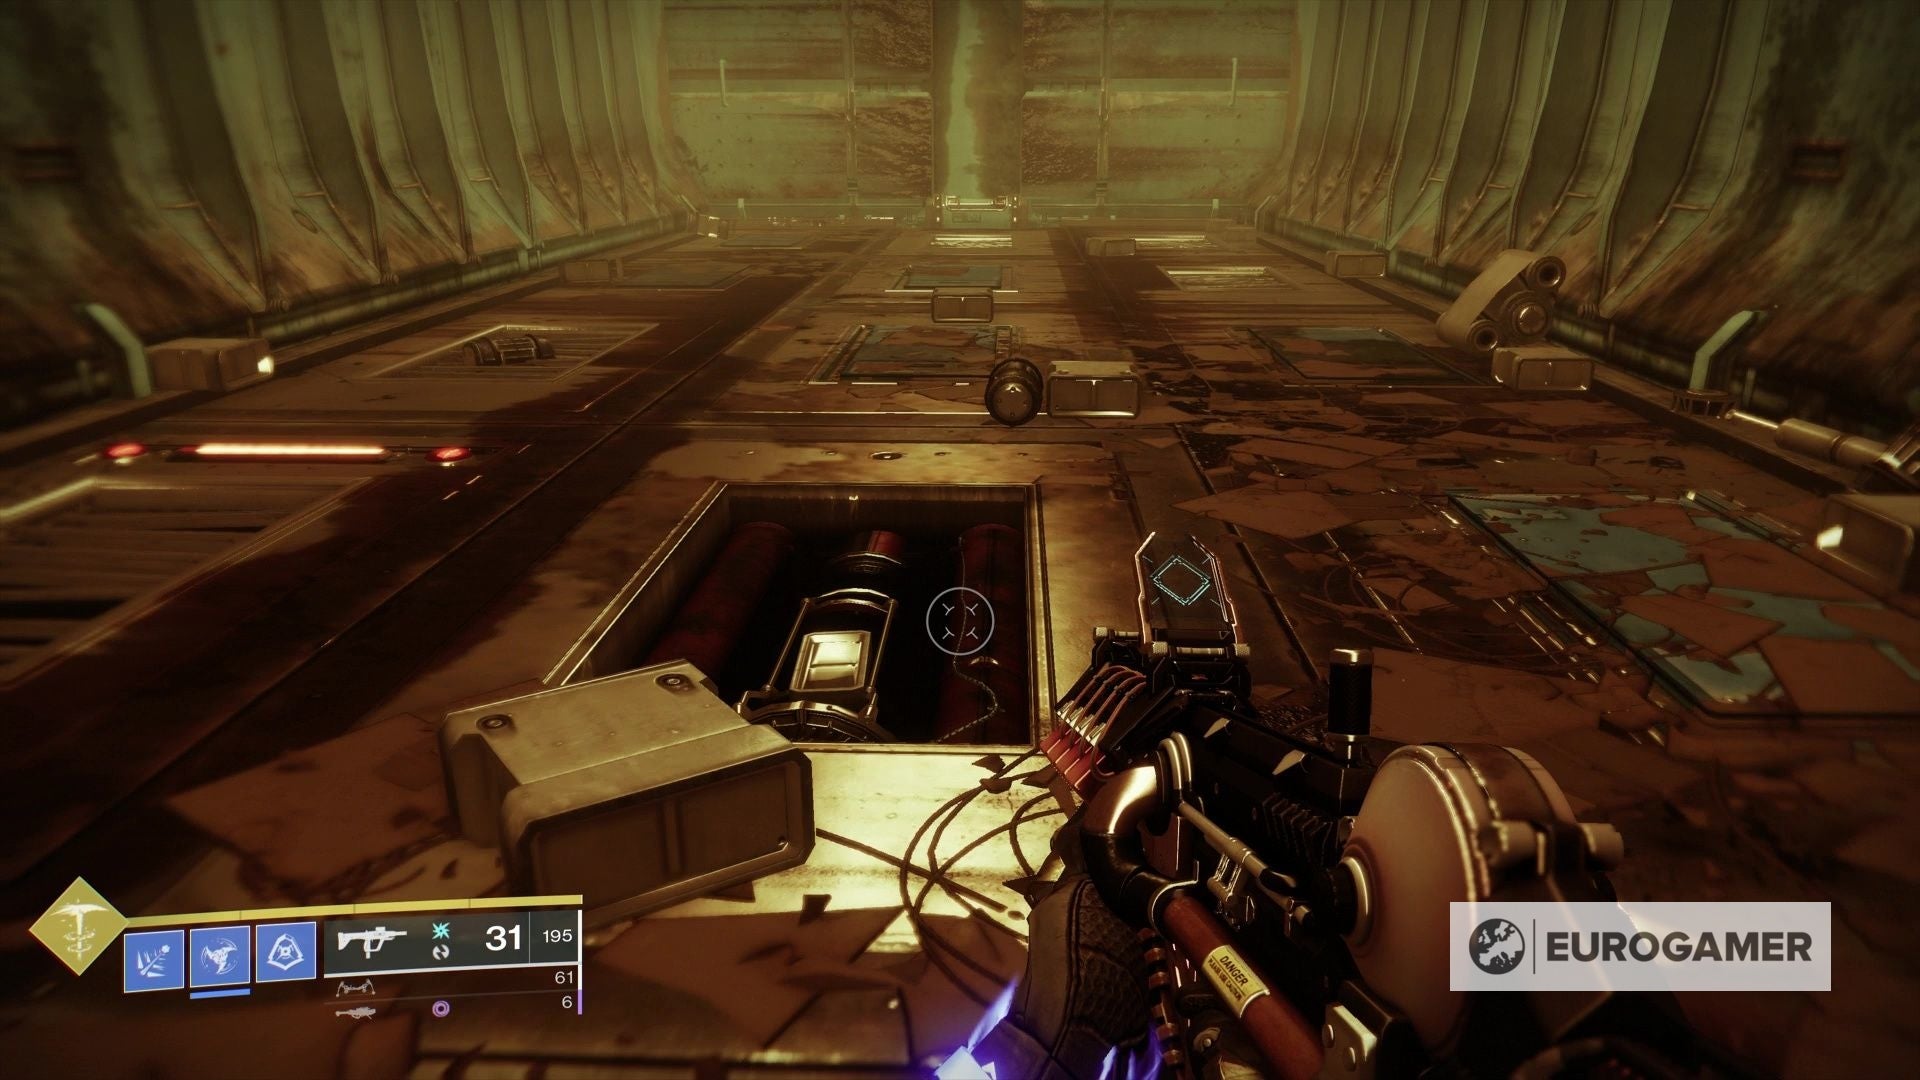
To flee the trash compactor-like room, shoot the vents on the ground to disclose fuses (you possibly can see these with out taking pictures by wanting from above – leaping across the room and searching down may also help). Discover all three, and the partitions will cease shifting, permitting you to discover a vent to the route beneath.
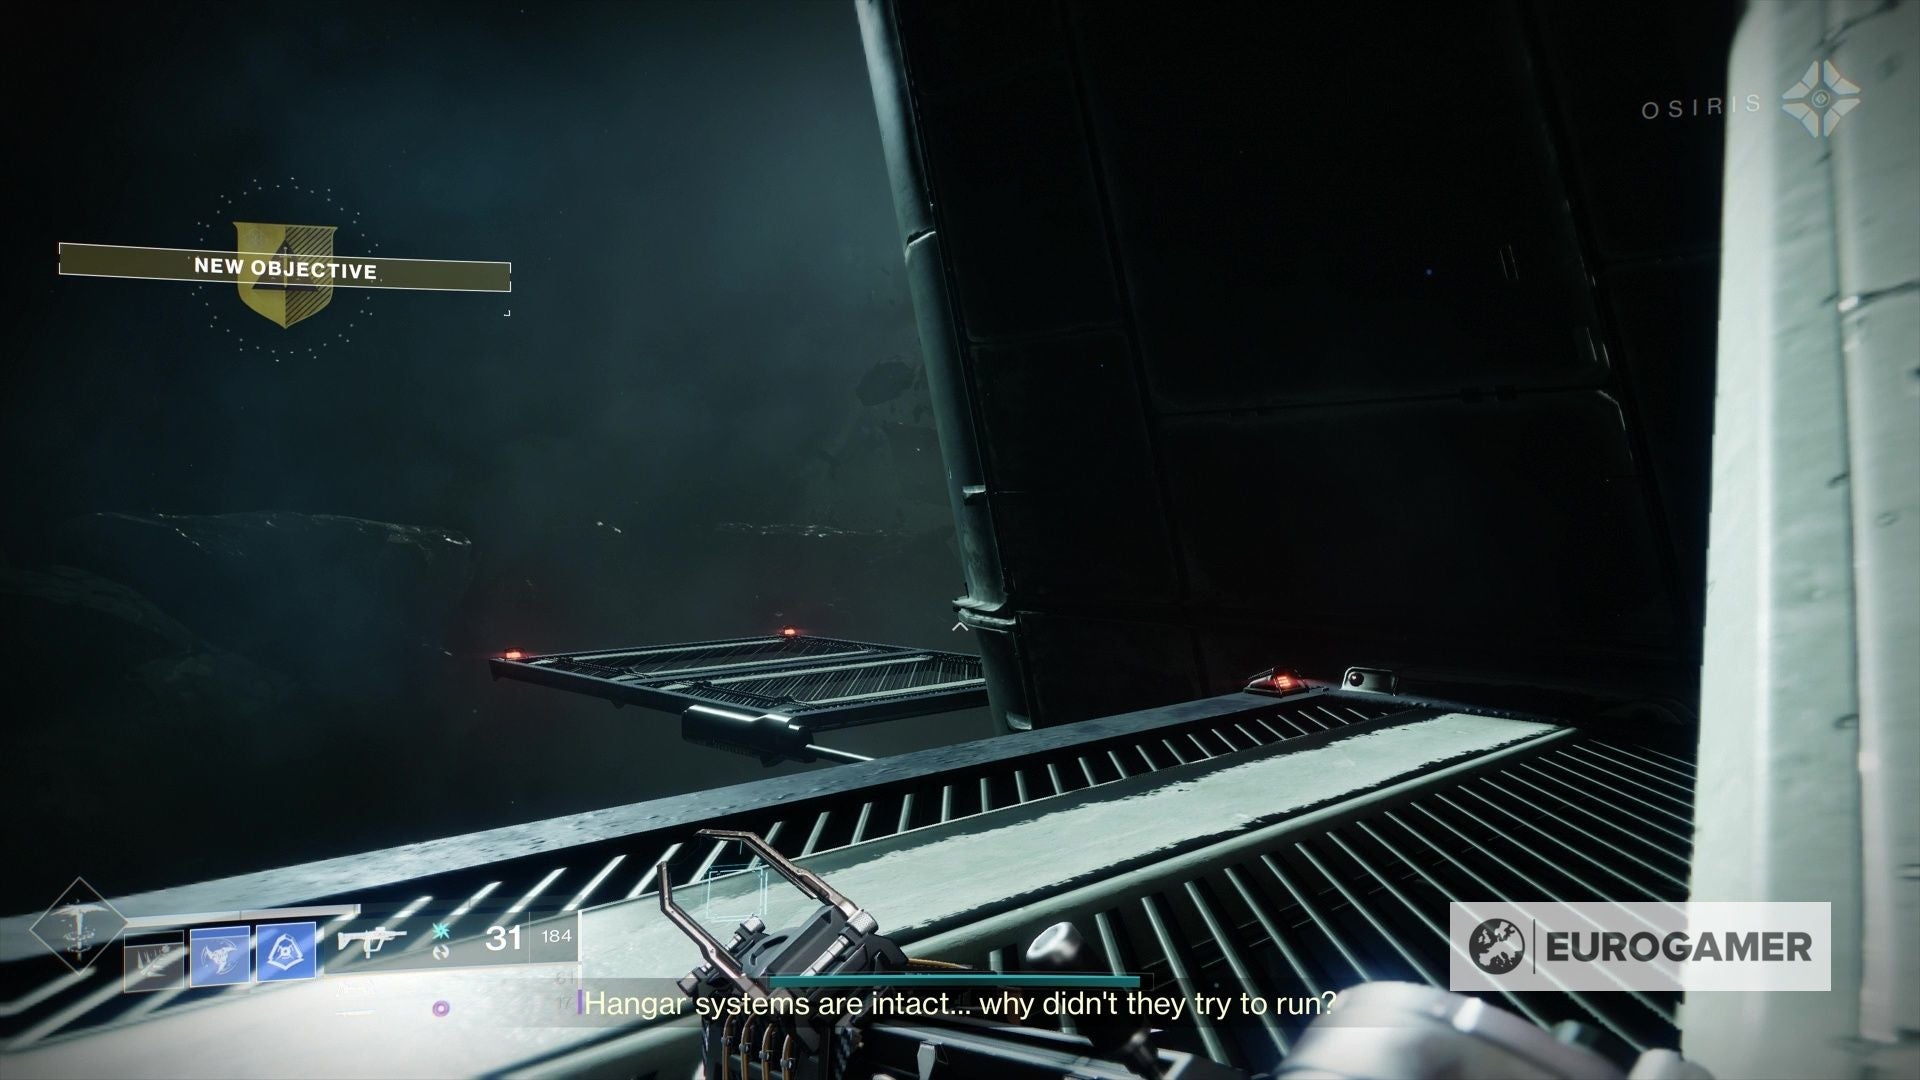
A fight part follows, ending in a hangar. To progress, you need to use the platforms exterior in area.
The following collection of puzzles is kind of difficult, however know some switches are in plain sight, and that the primary fuse will deactivate the electrical discipline above on a timer. After you discover the buff to go away this room is one other puzzle room, after which a red-tinted air flow shaft. A full video walkthrough on this complete part – primarily between the hangar fight enounter, and the brief combat in opposition to the 2 Abominations – is beneath:
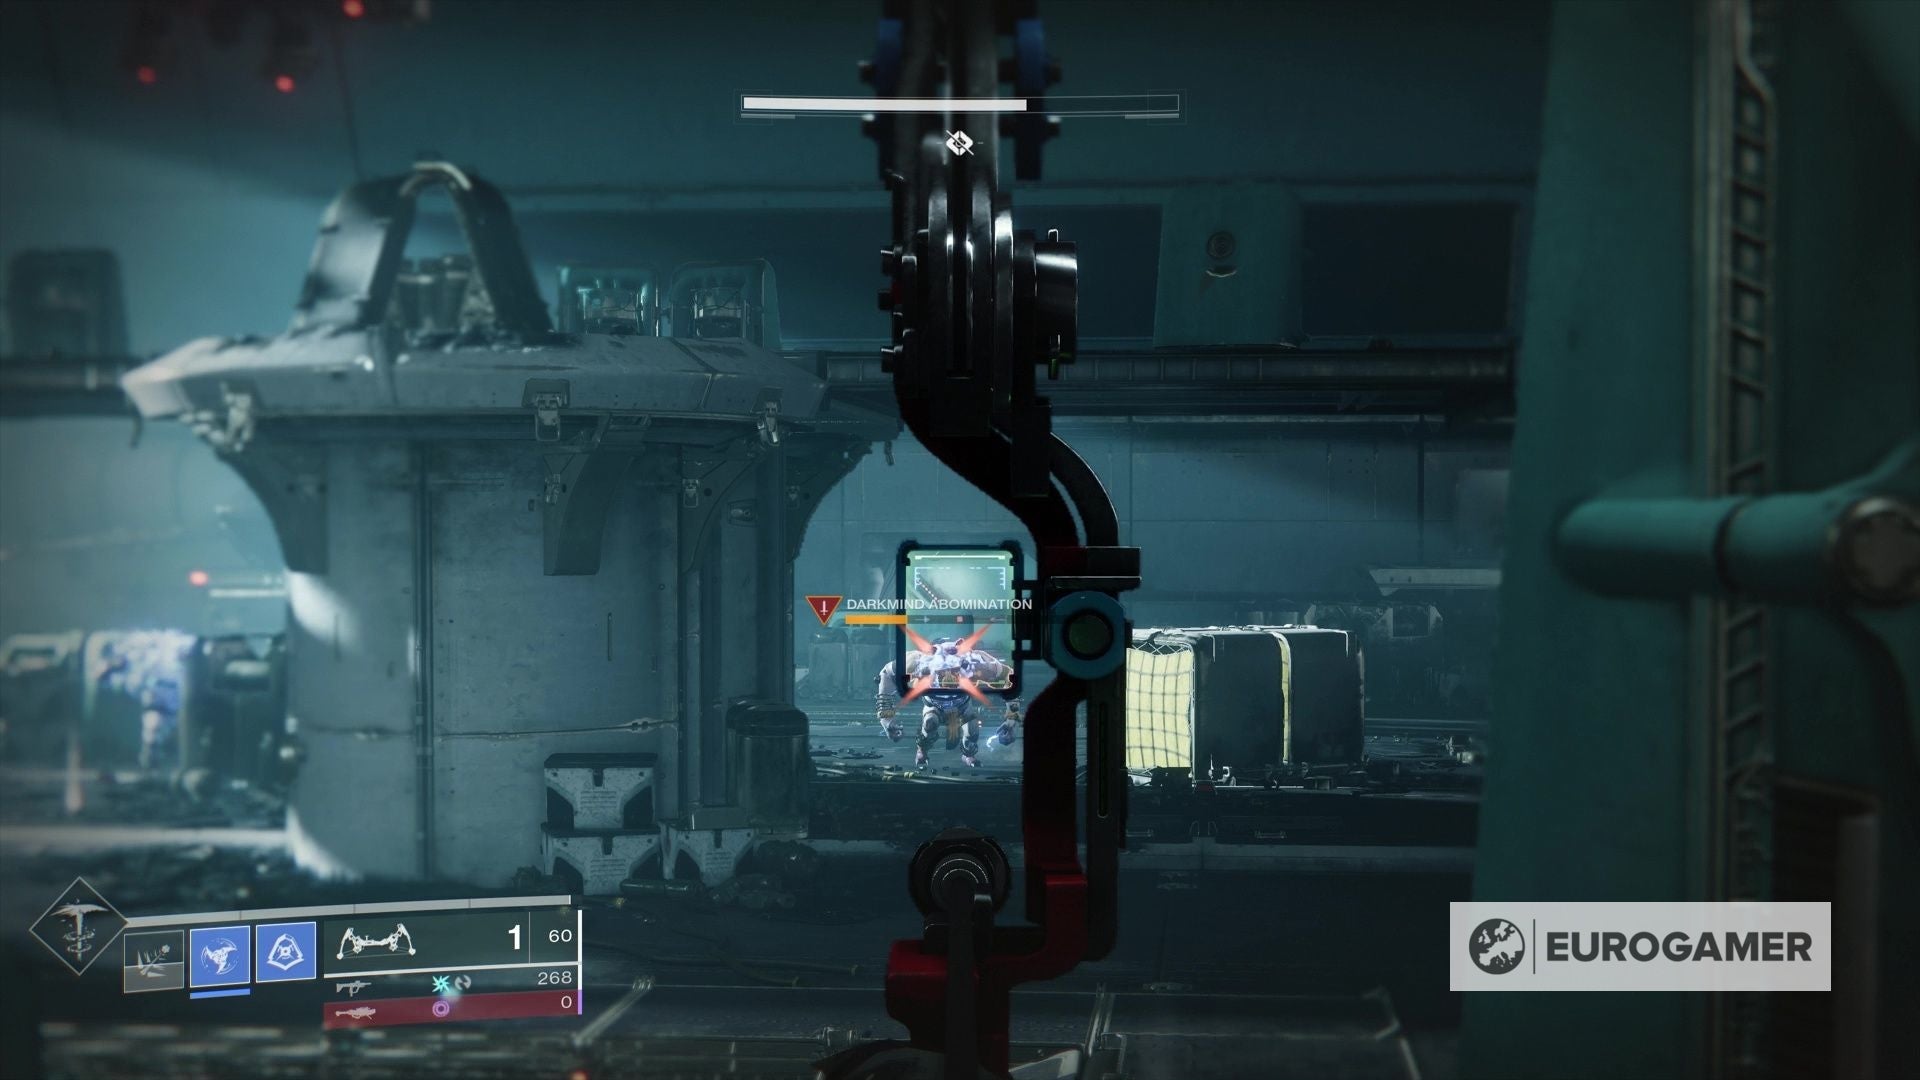
After going through in opposition to two Abominations is an extended room the place you need to leap throughout ledges whereas going through enemies. To undergo the burning wall on the finish, throw the swap that is simply not far away which reveals a turret behind you, then backtrack to a door with a burning wall which has opened midway down the room.
This has a burning wall of its personal. To progress, you must return to the beginning of this space to get the buff, go on this room to high it up, then journey by means of to the tip.
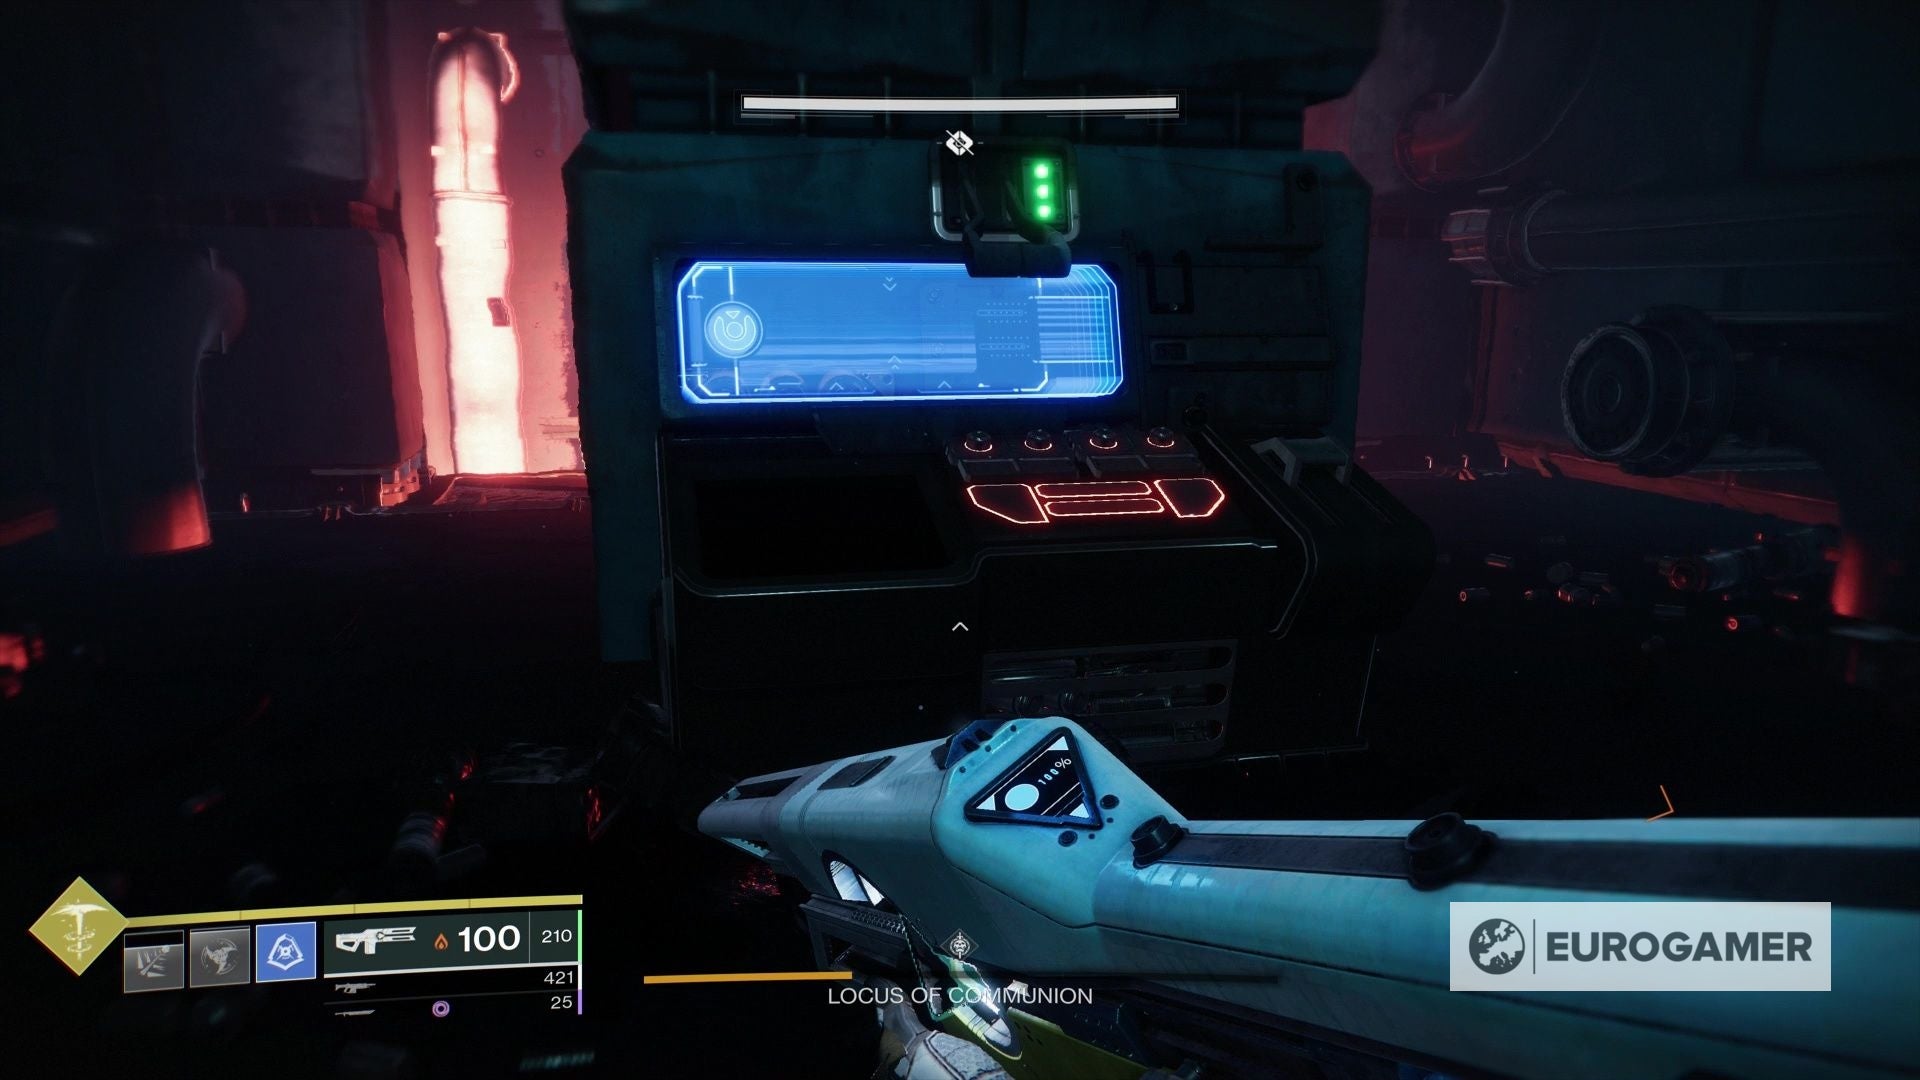
After this can be a boss combat in opposition to the Locus of Communion. After dealing sufficient injury and clearing the enemies, there are three coolants to activate on an higher stage – two on blue screens at both finish, and one in a burning room to the aspect.
Drop all the way down to the extent beneath behind both finish display screen which activated the coolants, and injury the boss till a 3rd of well being is gone.
It is price saving Supers right here till the enemies spawn as issues can get hectic, and keep in mind you possibly can return to the higher stage in case you want a breather.
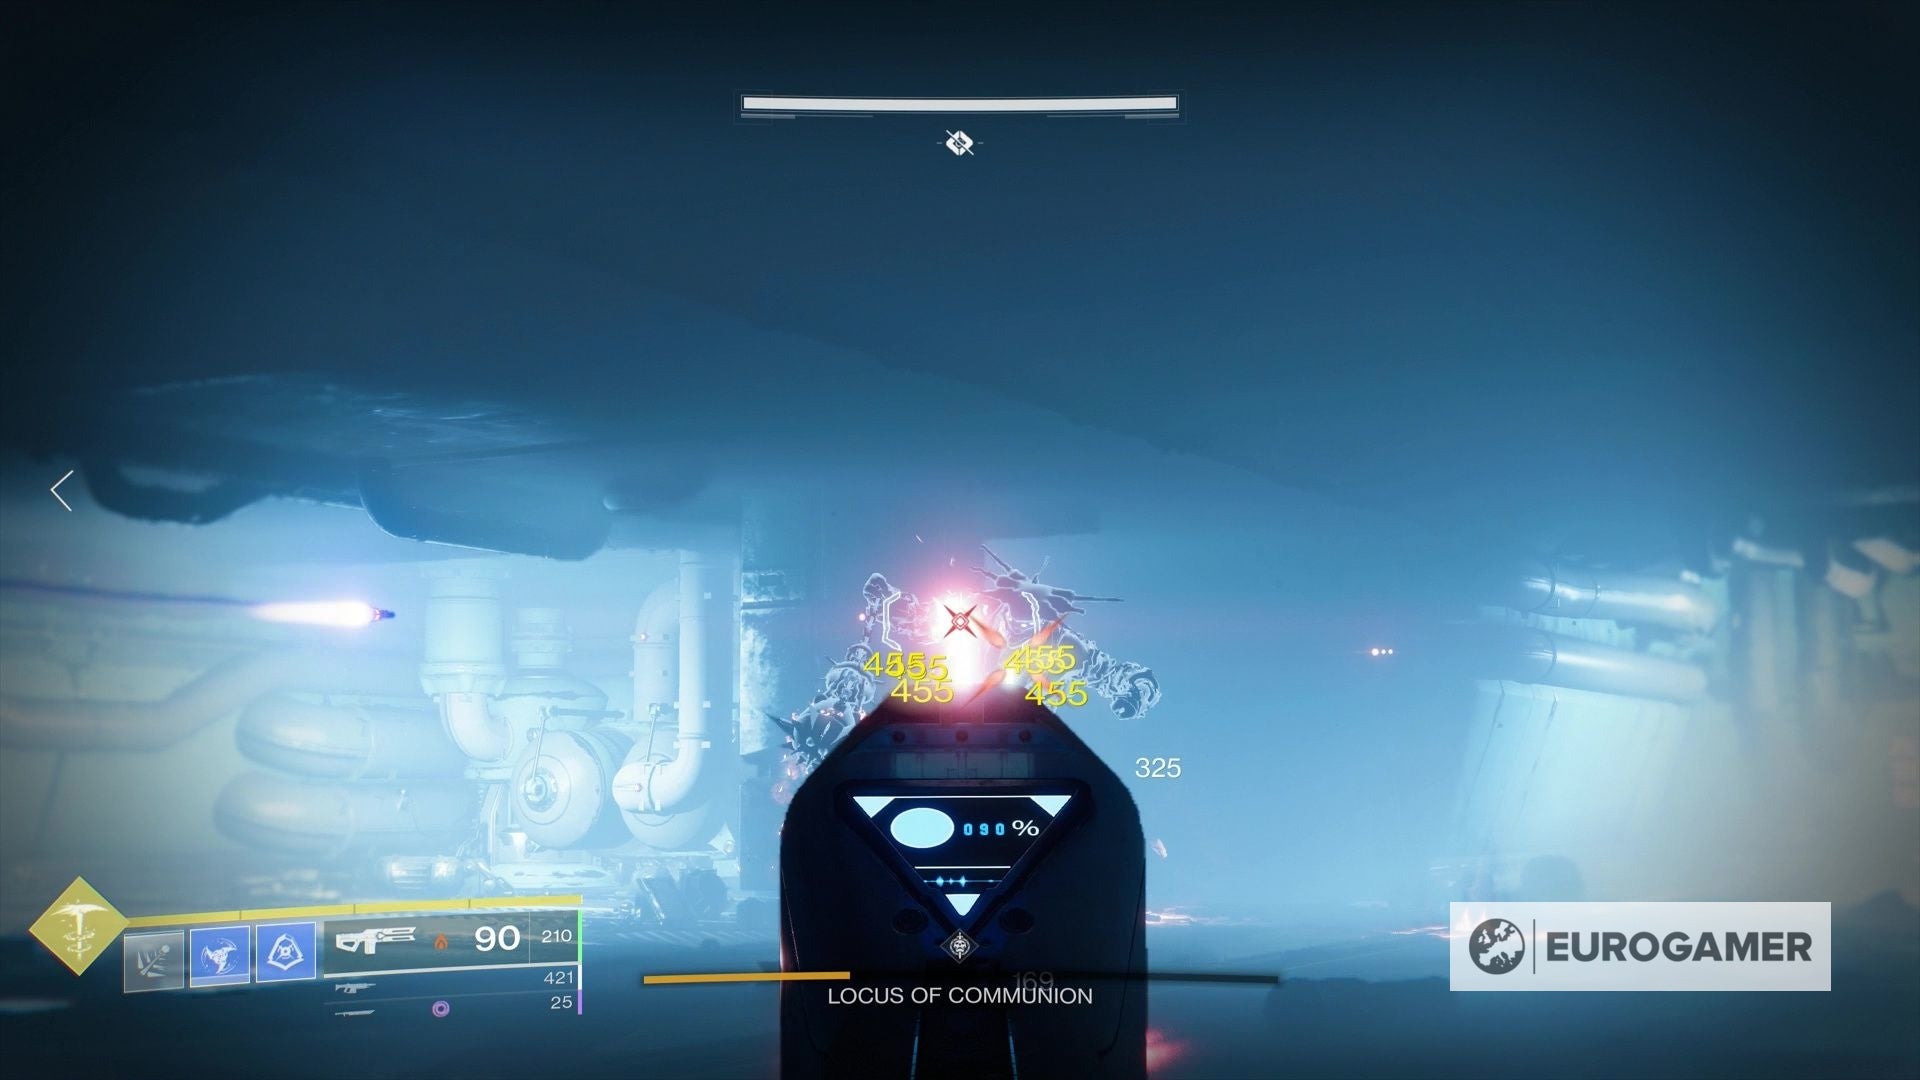
Attempt to stay near this higher stage when a 3rd of the well being is sort of up, as this decrease stage will start to warmth up once you attain it. Now repeat this step – activating the coolants above and damaging the boss’s well being by a 3rd – till you are achieved.
Examine the scene within the remaining room to complete the mission, however be sure you wait till the precise immediate seems on display screen earlier than you permit – for us it took 20 seconds or so after the dialogue to seem – which offers you the final quest step to return to Zavala on the Tower.
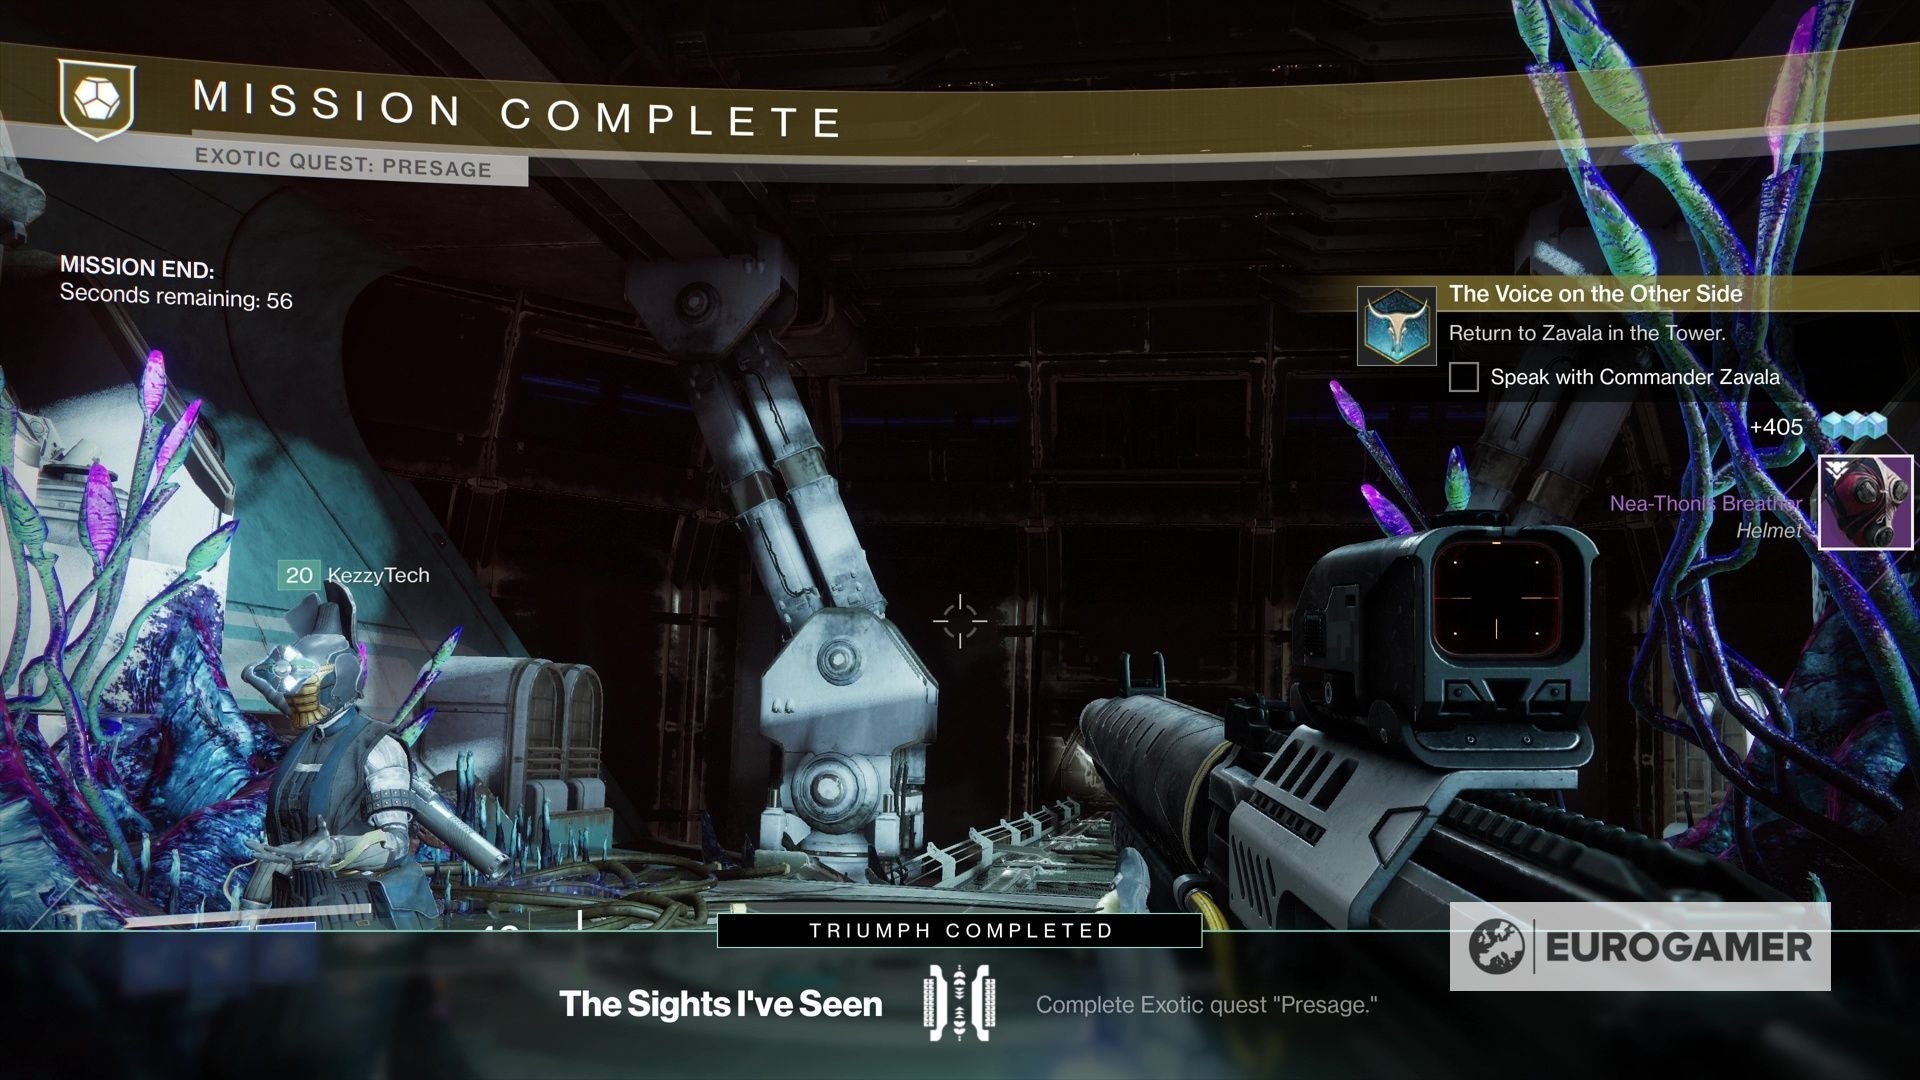
Doing so completes the hunt. Congrats – Unique Scout Rifle Lifeless Man’s Story is yours.
Future 2 Presage secrets and techniques, Lifeless Man’s Story Catalyst and Presage Grasp issue defined
There are incentives to replay the Presage mission on later resets to earn extra rewards and discover new secrets and techniques.
Much like Hawkmoon, every subsequent completion offers you a brand new roll of Lifeless Man’s Story, supplying you with new perks for various playstyles. The mission can also be a Pinnacle reward supply, which is beneficial in case you want one thing to take you to the arduous stage cap.
For the Lifeless Man’s Story Catalyst, that is out there by visiting Zavala after finishing Presage as soon as, supplying you with one other quest named At Your Fingertips, which rewards you with the Catalyst upon completion.
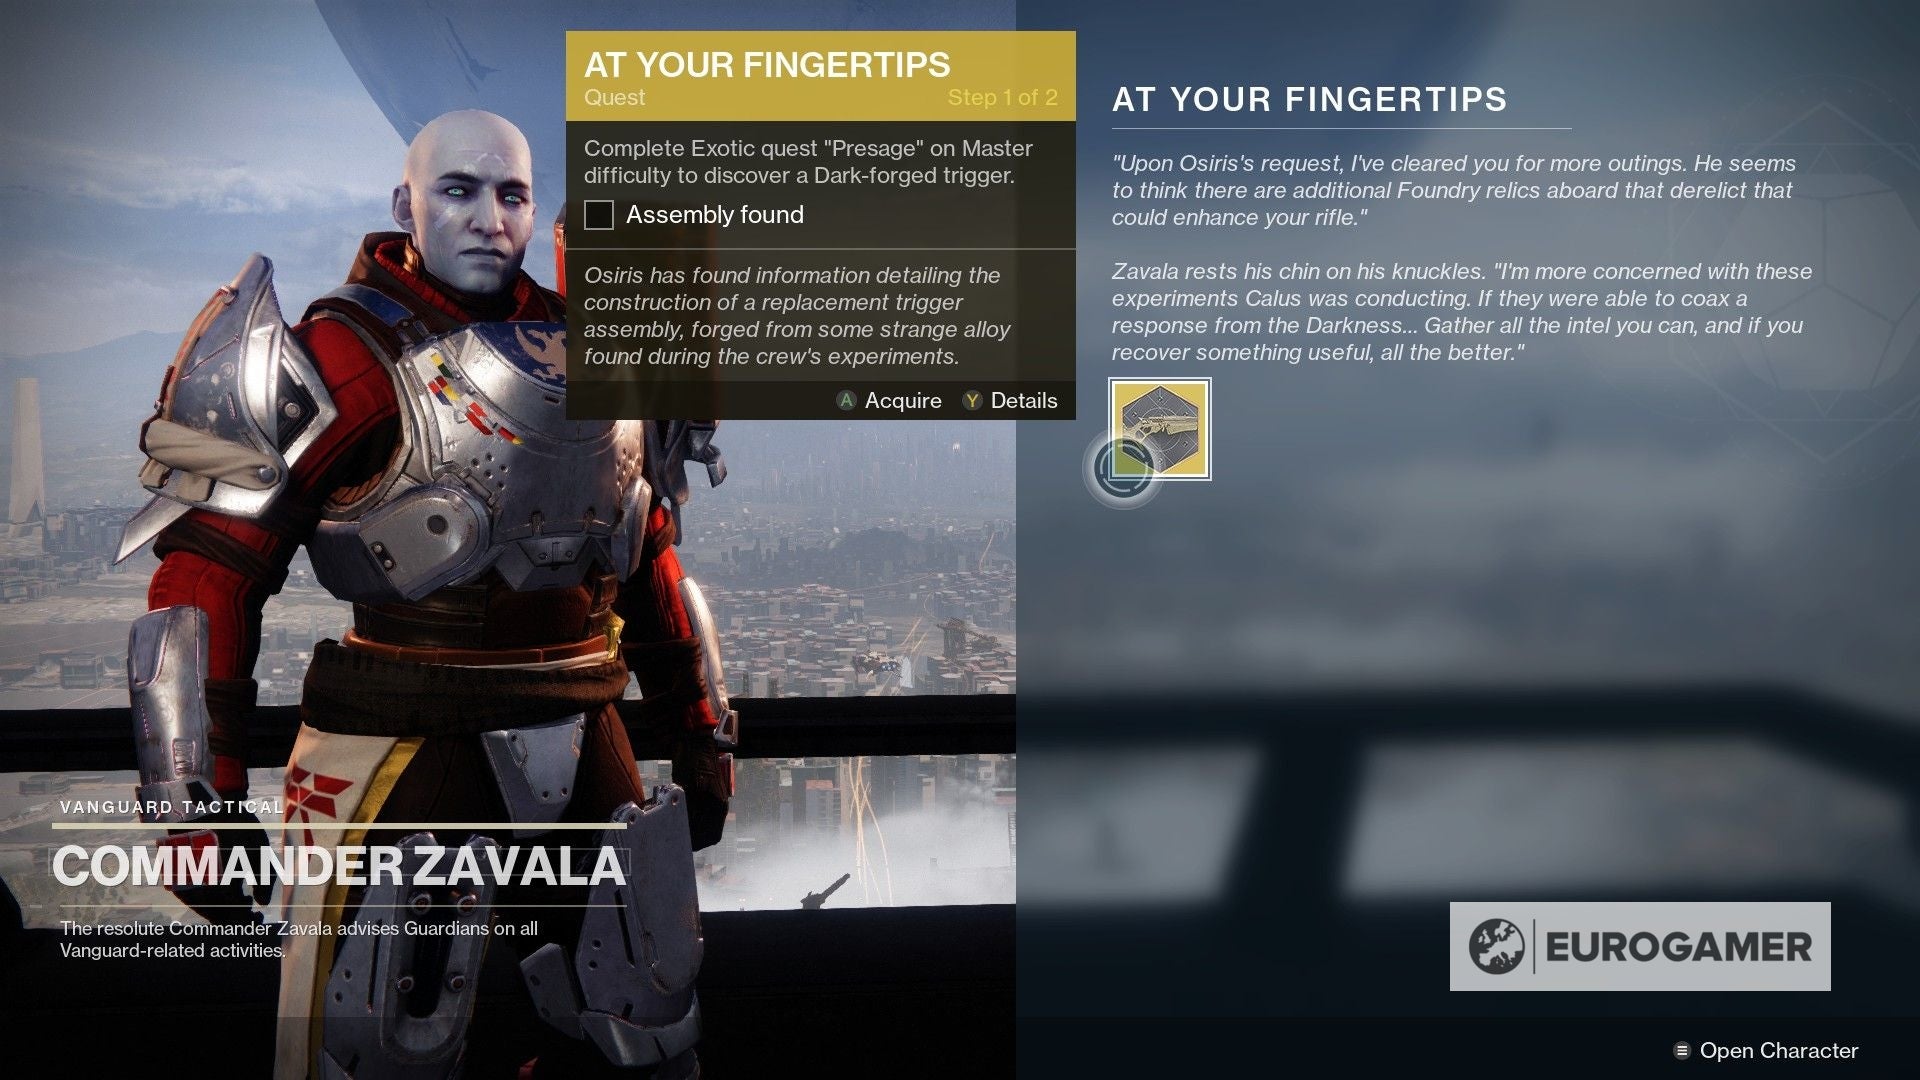
The search goal itself is straightforward – full Presage on Grasp issue. Not solely does it bump up the problem and add modifiers, nevertheless it reintroduces the timer of Unique missions of previous.
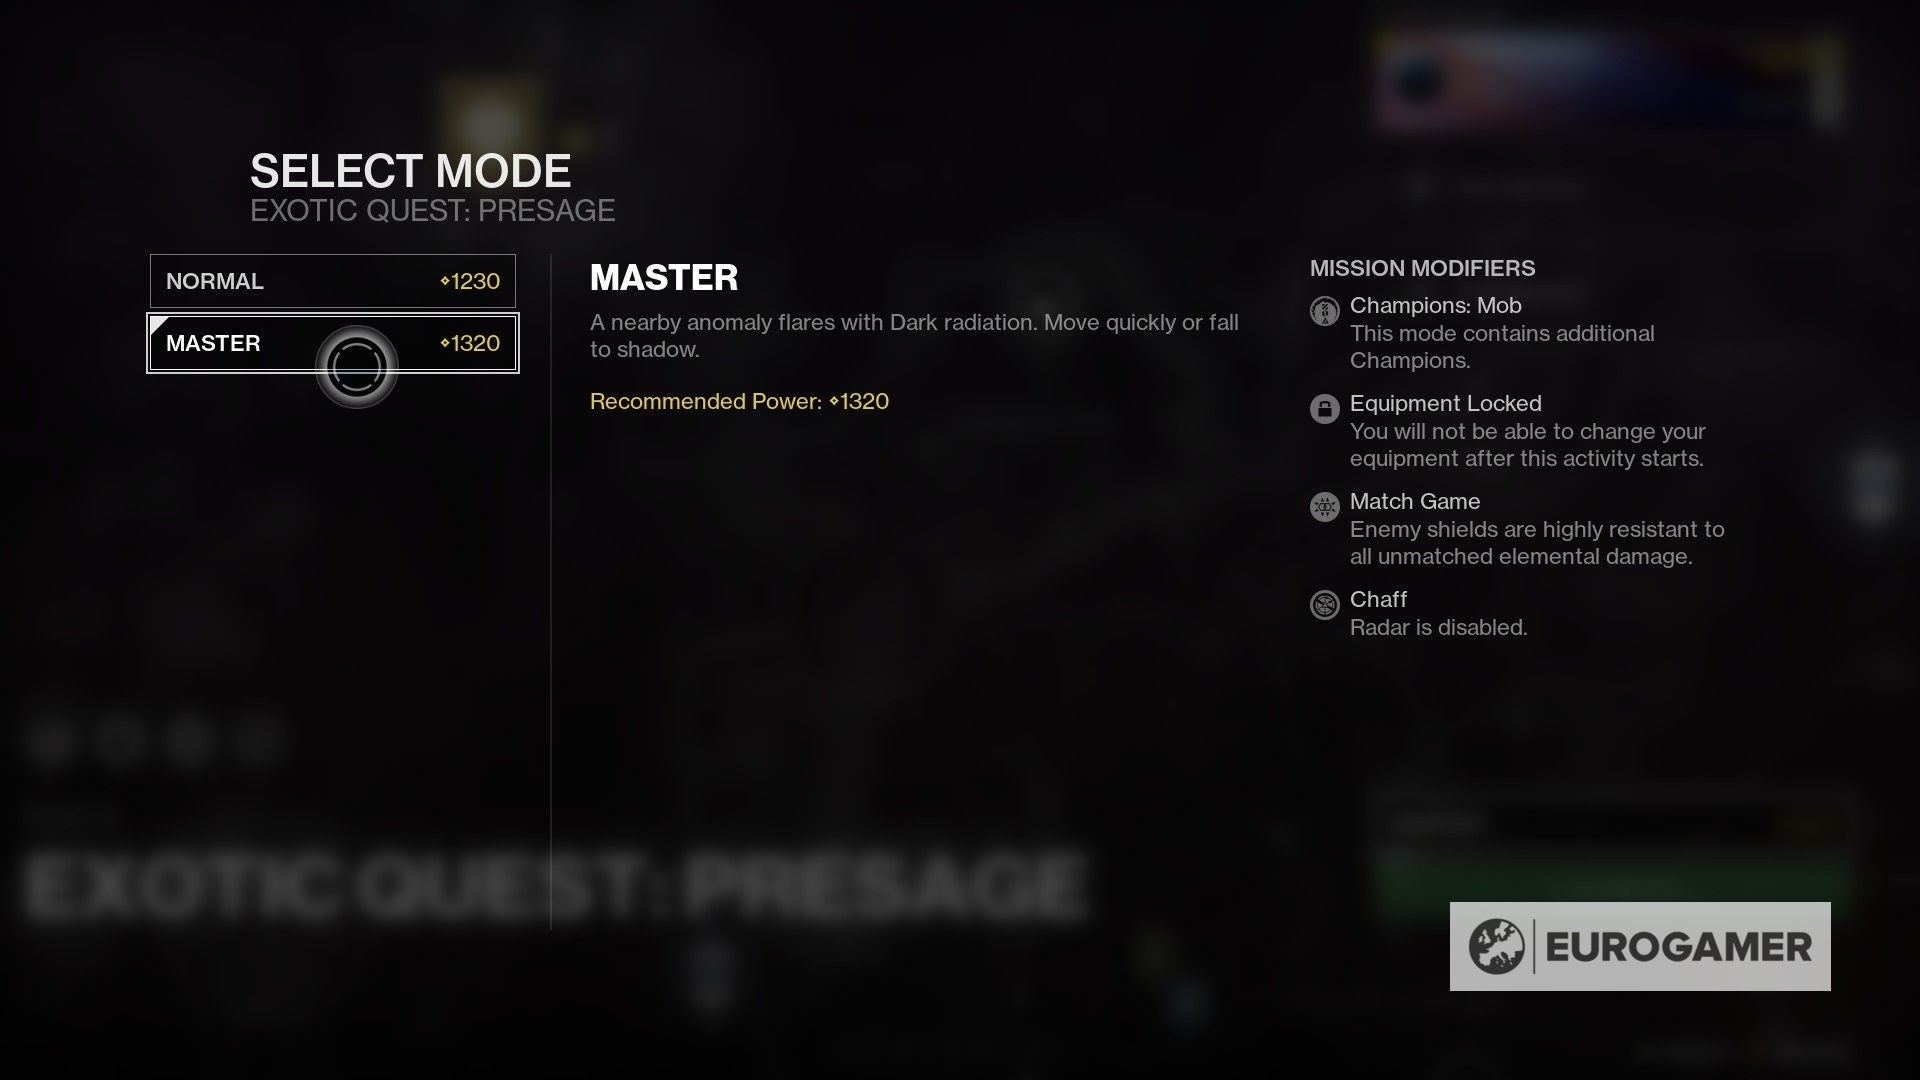
Go in as excessive a stage as potential, with a full fireteam, and memorise the route and puzzle options, and you need to have an honest likelihood of beating the mission throughout the 25 minute objective.
Past that, there are additionally collectables to seek out, equivalent to Captain’s Logs and smuggling compartments.