Valheim bosses are particular enemies which act as the first obstacles to beat as you discover the world.
Valheim presents itself as a survival and sandbox sport, delivering quite a lot of challenges by constructing, looking, and killing enemies – all of which result in difficult boss encounters.
Every boss requires particular necessities earlier than they are often summoned – in addition to sure issues to organize that can assist you survive the battle to come back.
This web page explains learn how to summon bosses in Valheim, their biomes, rewards, and naturally, learn how to beat every boss with our technique suggestions and preparation recommendation.
On this web page:
When you’re trying to work with pals on bosses, our web page on Valheim devoted servers can clarify learn how to preserve a persistent sport up and operating.
Valheim bosses defined: find and summon bosses
Every biome in Valheim has one boss to search out, and could be positioned by in search of a runestone – which can mark in your map the boss location – or by exploring till you discover the boss altar itself.
Keep in mind that every Valheim map is procedurally generated, which suggests each map within the map within the sport is exclusive. As such, there isn’t a strategy to simply find a boss in Valheim except for placing the work in to search out it.
Additionally, know if you happen to’re enjoying with pals, you will not get it marked on the map until you do it your self in your personal map.
Both means, know that every biome could have the boss someplace, although it is extremely really helpful you sort out them so as as a result of rewards you obtain in every (see subsequent), in addition to objects resembling keys which might help you acquire entry to them.
When you positioned the boss altar, you should collect sure objects to sacrifice on the altar and summon stated boss.
Defeating them will unlock one particular means known as Forsaken Energy, which can make your life simpler in several methods, relying on the facility. They may also have two assured dropped objects that can make it easier to to progress into additional tiers of kit, instruments, and weapons accessible for crafting, to be ready to proceed to the later, hostile biomes in Valheim.
Lastly it is price noting that, since bosses function important story development checkpoints inside the sport, every one additionally prompts considerably random story-based occasions. These are offered as teams of enemies raiding your base in specifically organized assaults till you defeat the associated boss. We define what these may very well be throughout every boss technique part beneath so that you could be ready.
Valheim boss order and summon choices record
Whereas are you free to roam Valheim’s map at your individual tempo, the sport will naturally take you from one biome to the following based mostly on the boss rewards and the varied assets they unlock, or keys which permit entry to sure areas you can not get anyplace else.
The really helpful Valheim boss order is as follows:
| Boss order | Boss identify | Biome | Summon providing required |
|---|---|---|---|
| 1st | Eikhytr | Meadows | 2 Deer Trophies |
| 2nd | The Elder | Black Forest | 3 Historical Seeds |
| third | Bonemass | Swamp (Swamp Key required) | 10 Withered Bones |
| 4th | Moder | Mountains | 3 Dragon Eggs |
| fifth | Yagluth | Plains | 5 Fuling Totems |
Valheim first boss Eikythr: beat Eikythr and learn how to summon the primary boss defined
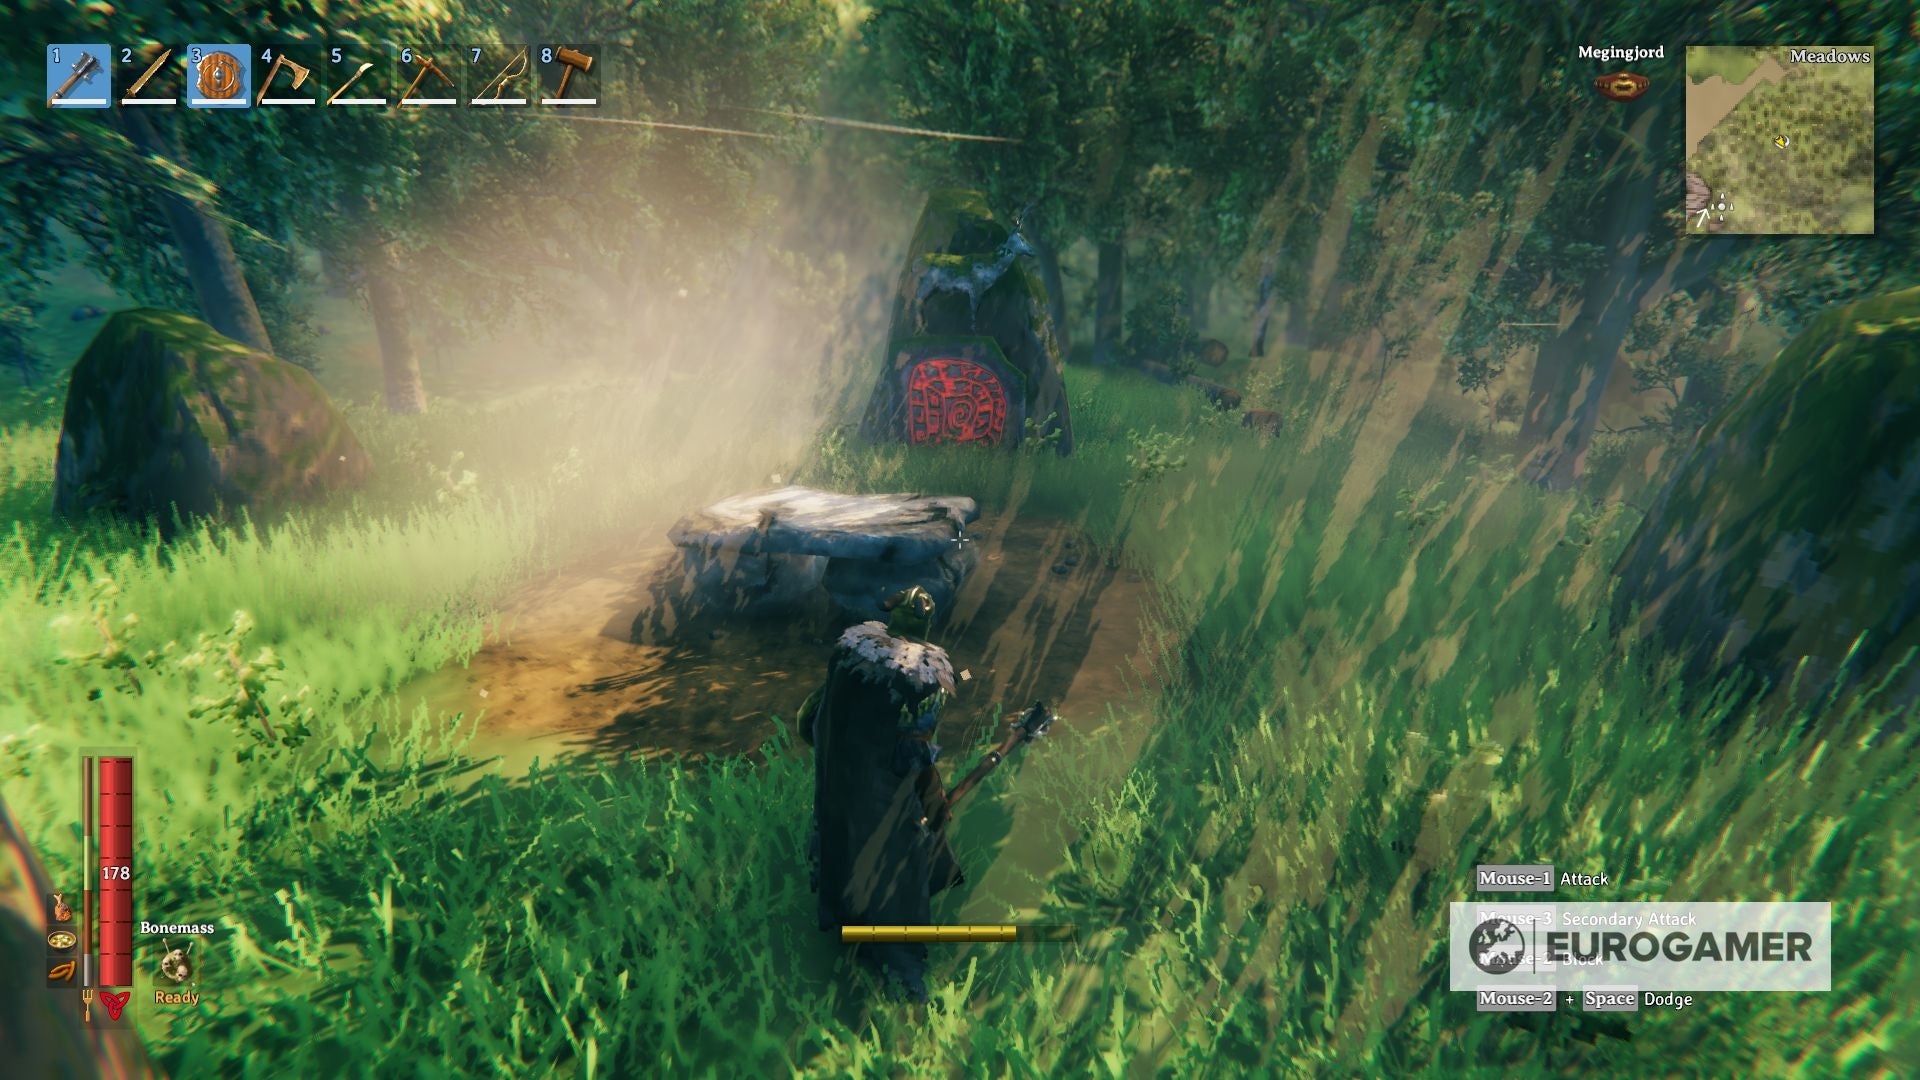
Eikythr is discovered within the Meadows, after providing a sacrifice to a Mystical Altar, and is the primary boss it’s best to battle in Valheim.
Since there are a number of altars within the area, likelihood is that you’ll encounter one whereas exploring, however the best strategy to discover the situation is to work together with the small runestone proper beside the primary sacrificial stone within the participant spawn level.
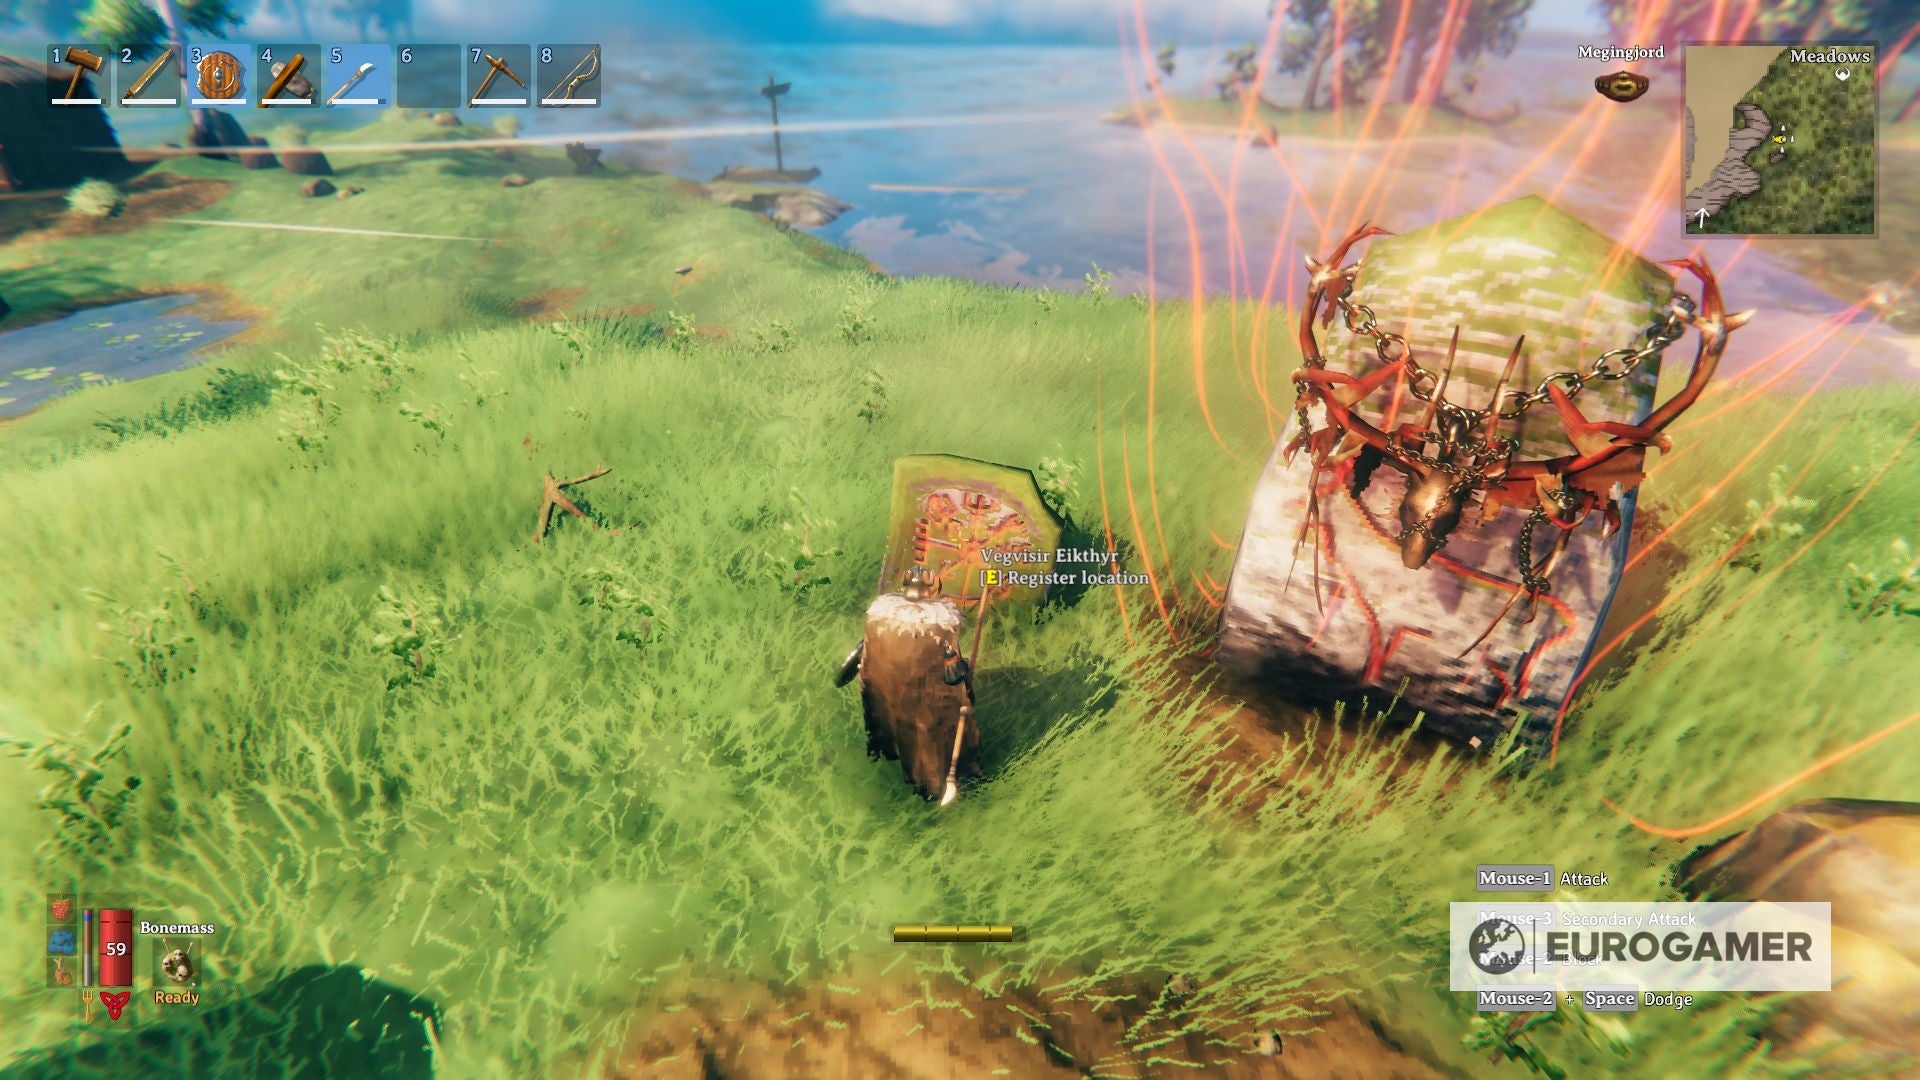
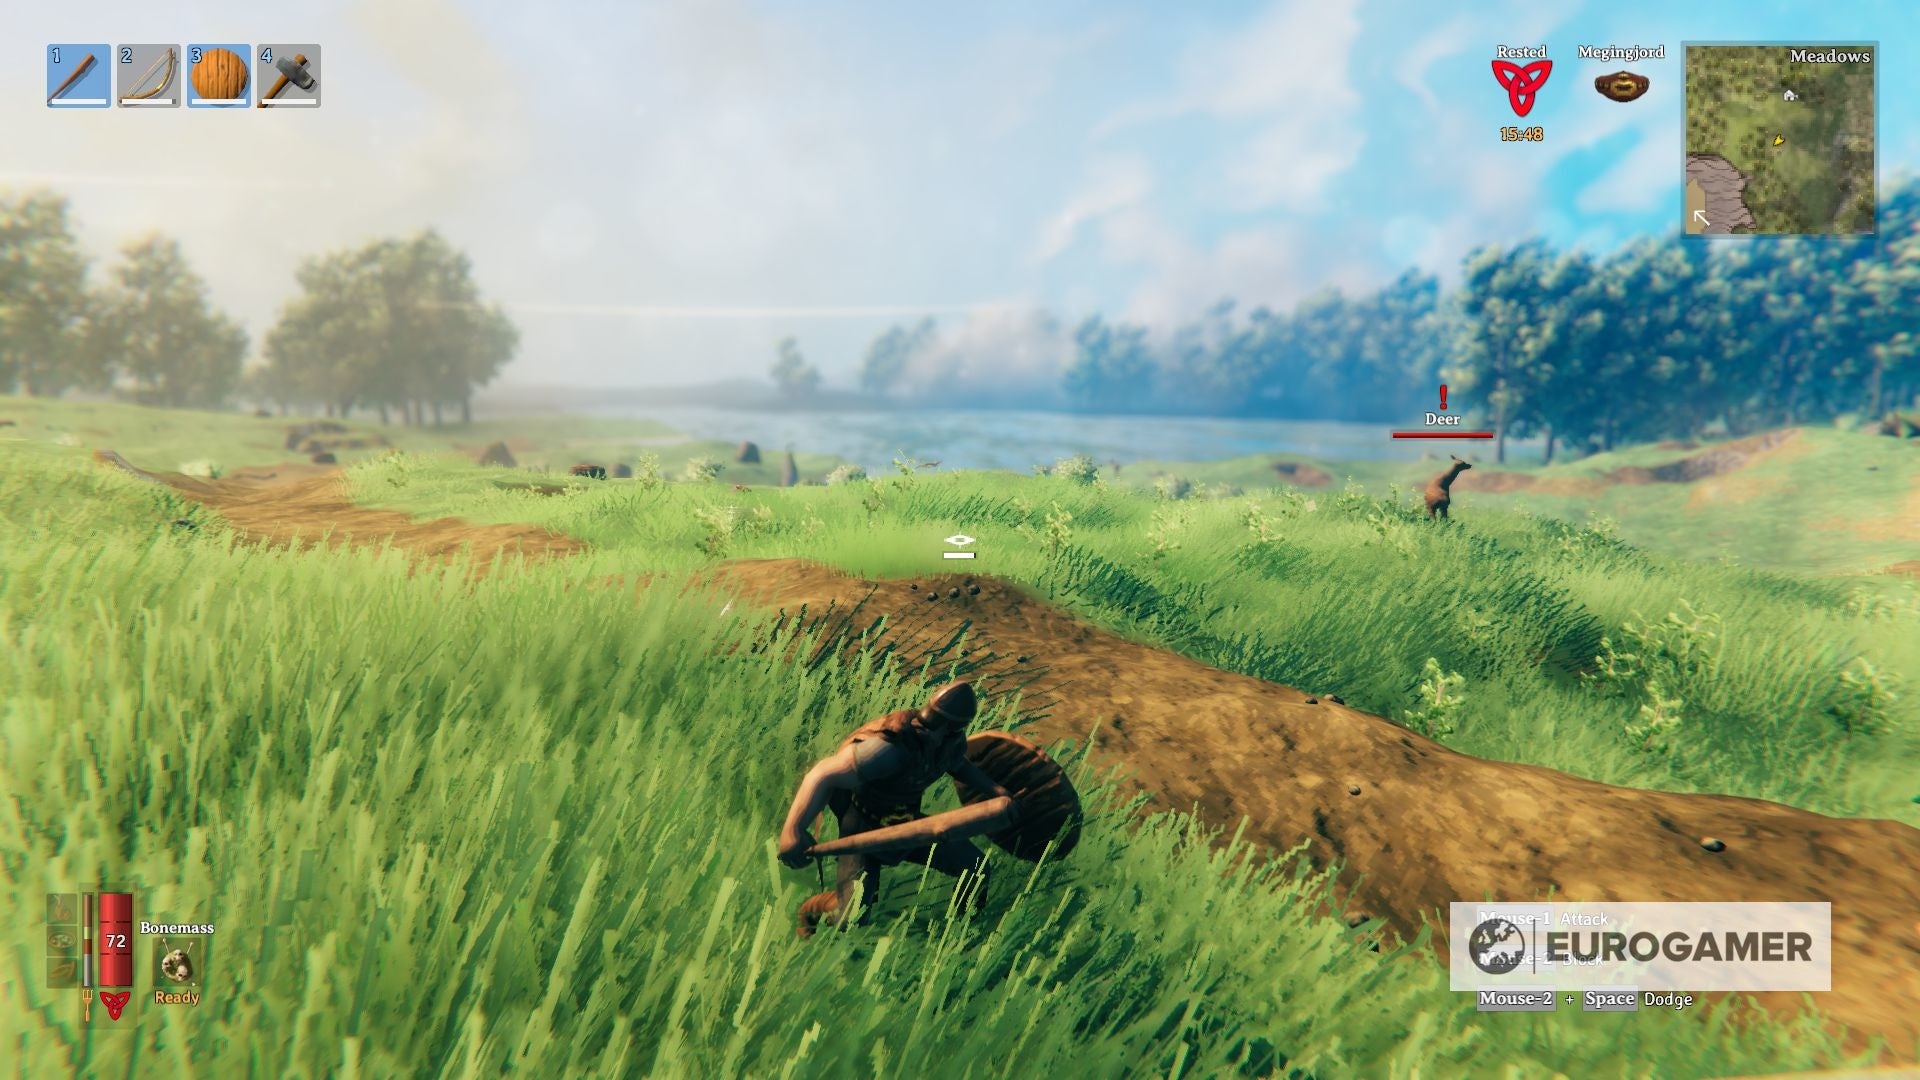
summon the primary boss: To summon Eikythr you should provide 2 Deer Trophies to the Mystical Altar. These Deer Trophies are rewarded by killing Deers and have a 50% drop probability, so that you simply have to hunt a couple of till you might have sufficient.
Eikythr rewards: After you defeat this boss, you’re going to get the next assured drops:
- Eikythr Trophy: The primary and most blatant reward would be the Eikythr Trophy. When you place it within the corresponding sacrificial stone it’s going to unlock the Forsaken Eikythr Energy, which grants 60% much less stamina drain when operating and leaping for five minutes, with a cooldown of 20 minutes.
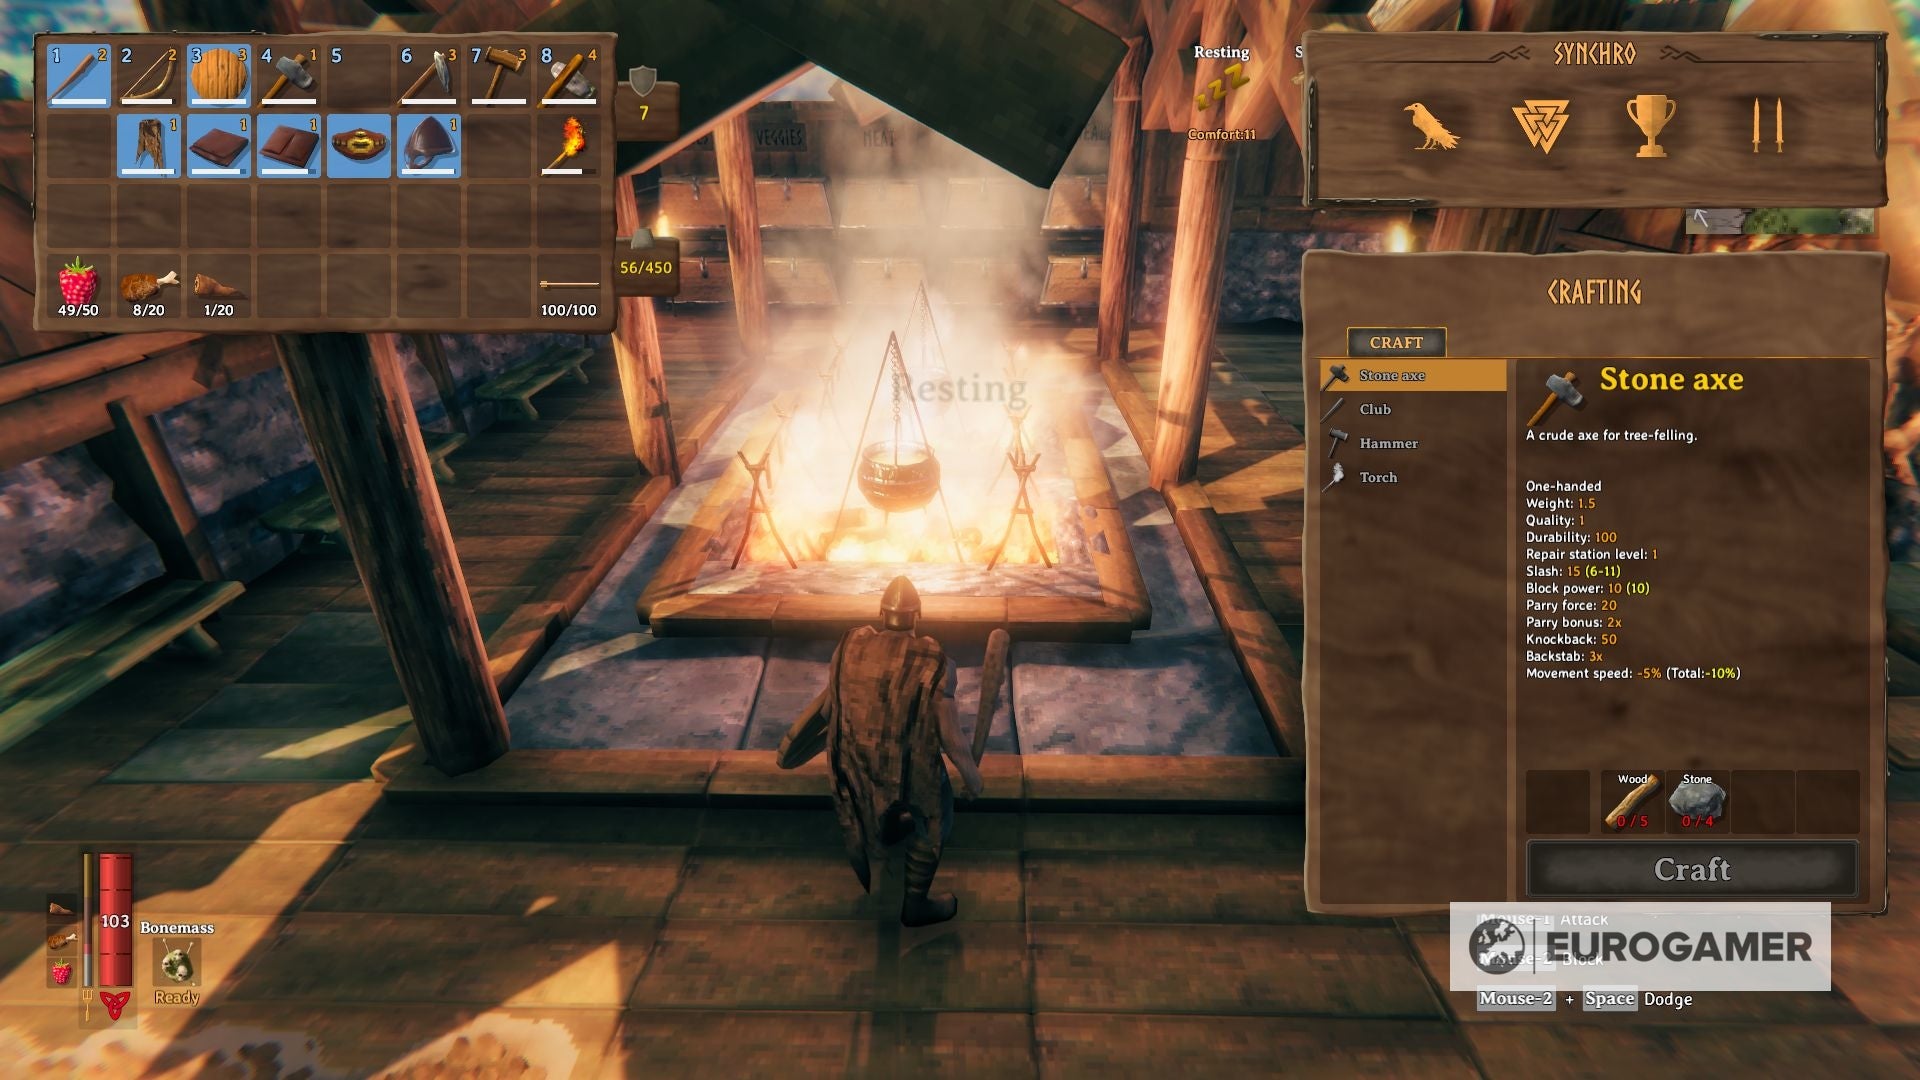
- Arduous Antlers: Moreover, you’re going to get 3 of his antlers, which can unlock the recipe to craft our first Pickaxe, permitting you to mine Copper and Tin nodes. This may allow you to craft Bronze, essential to craft the following tier of weapons and armor.
Eikythr story occasions: Earlier than and after you’re taking down Eikythr, the next might happen:
- Till you defeat Eikythr, Boars and Necks will raid your base in random intervals of 90 seconds.
- After defeating Eikythr and till you defeat The Elder, Greydwarfs, Greydwarf Brutes, and Greydwarf Shamans will raid your base in random intervals of 120 seconds.
put together for Eikythr: When you really feel assured sufficient at blocking, it is really helpful to craft the Picket Defend and a Flint Spear along with your workbench, however if you wish to preserve a protected distance you can even kill this boss utilizing a Crude Bow.
It is usually really helpful to eat Cooked Meat, Grilled Meck Tail, and Raspberries, so your HP and Stamina are excessive sufficient to endure Eikythr’s assaults. Having the Rested impact lively additionally helps rather a lot.
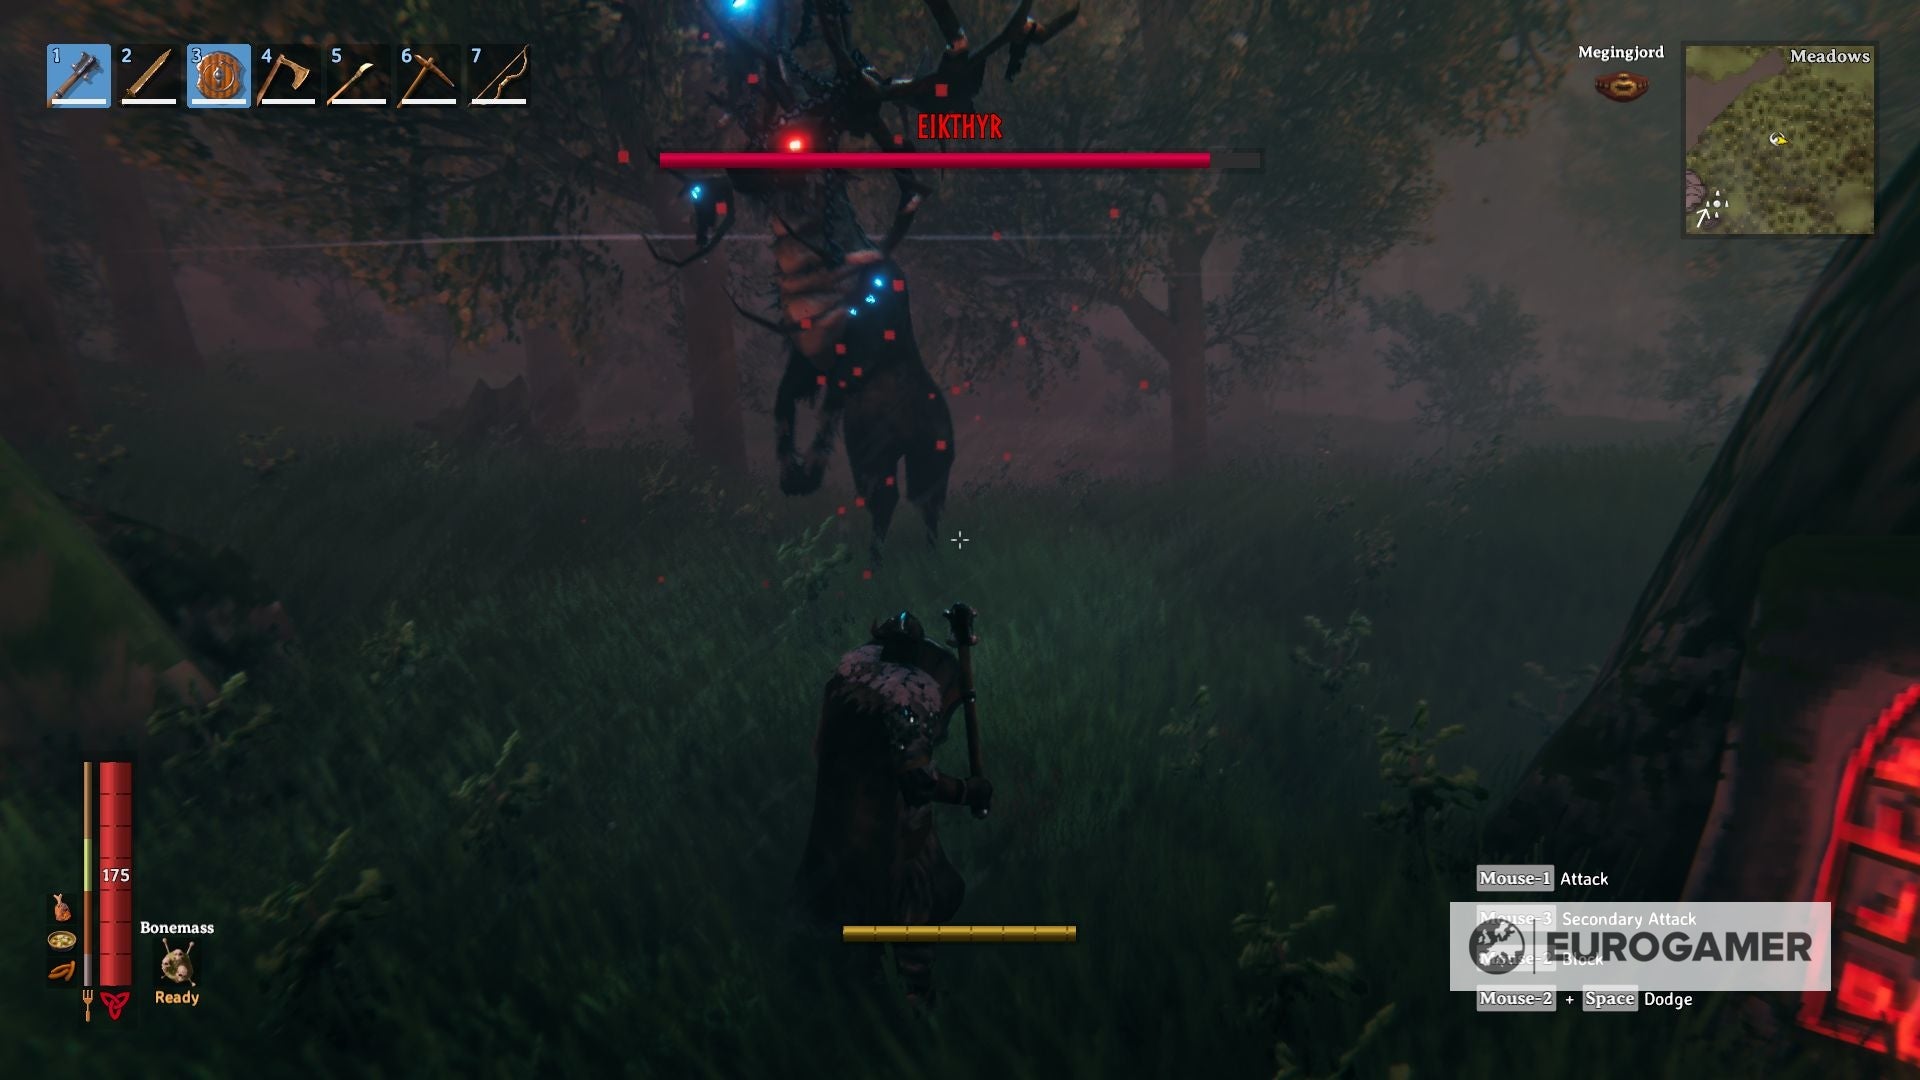
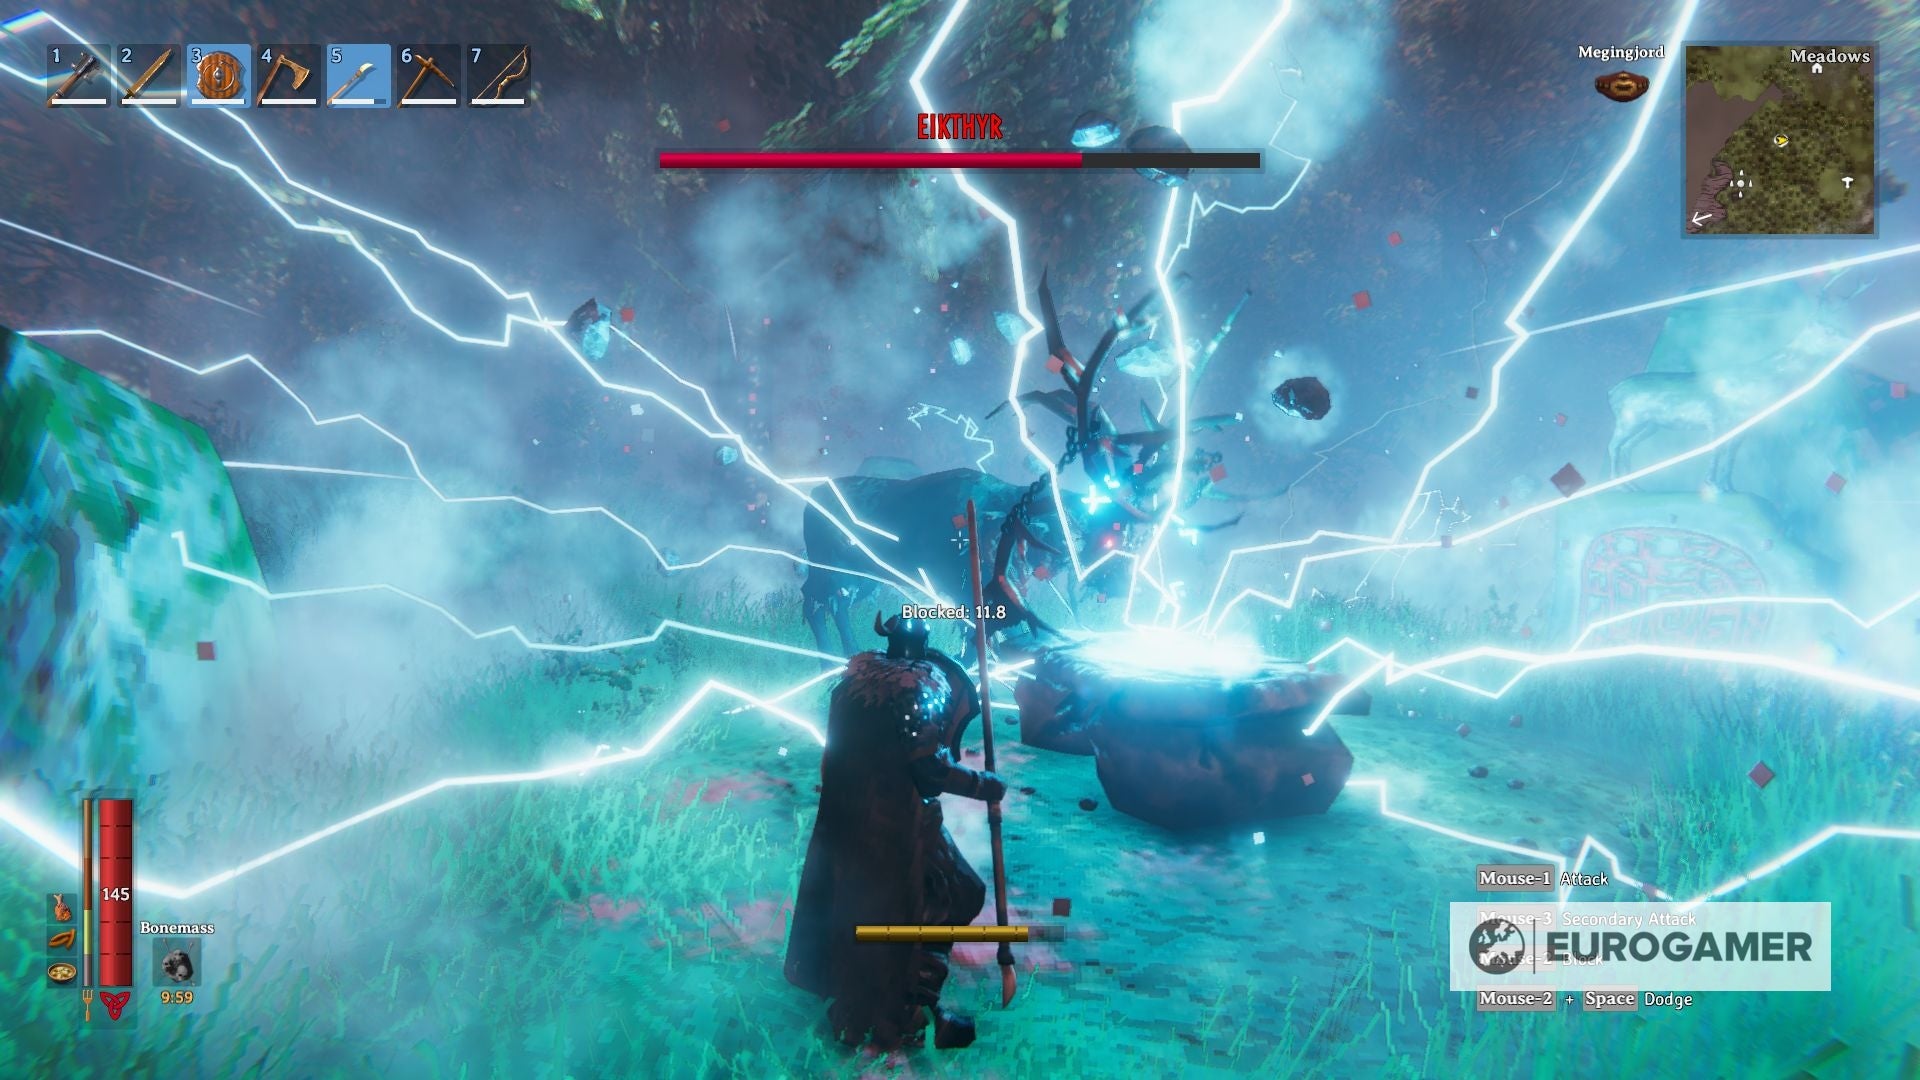
Eikythr Technique
Eikythr presents a really fundamental problem and makes use of highly effective strikes that make evading or parrying a key a part of the battle. The primary motion is a frontal, melee swipe assault utilizing its antlers, simply blockable and never too robust.
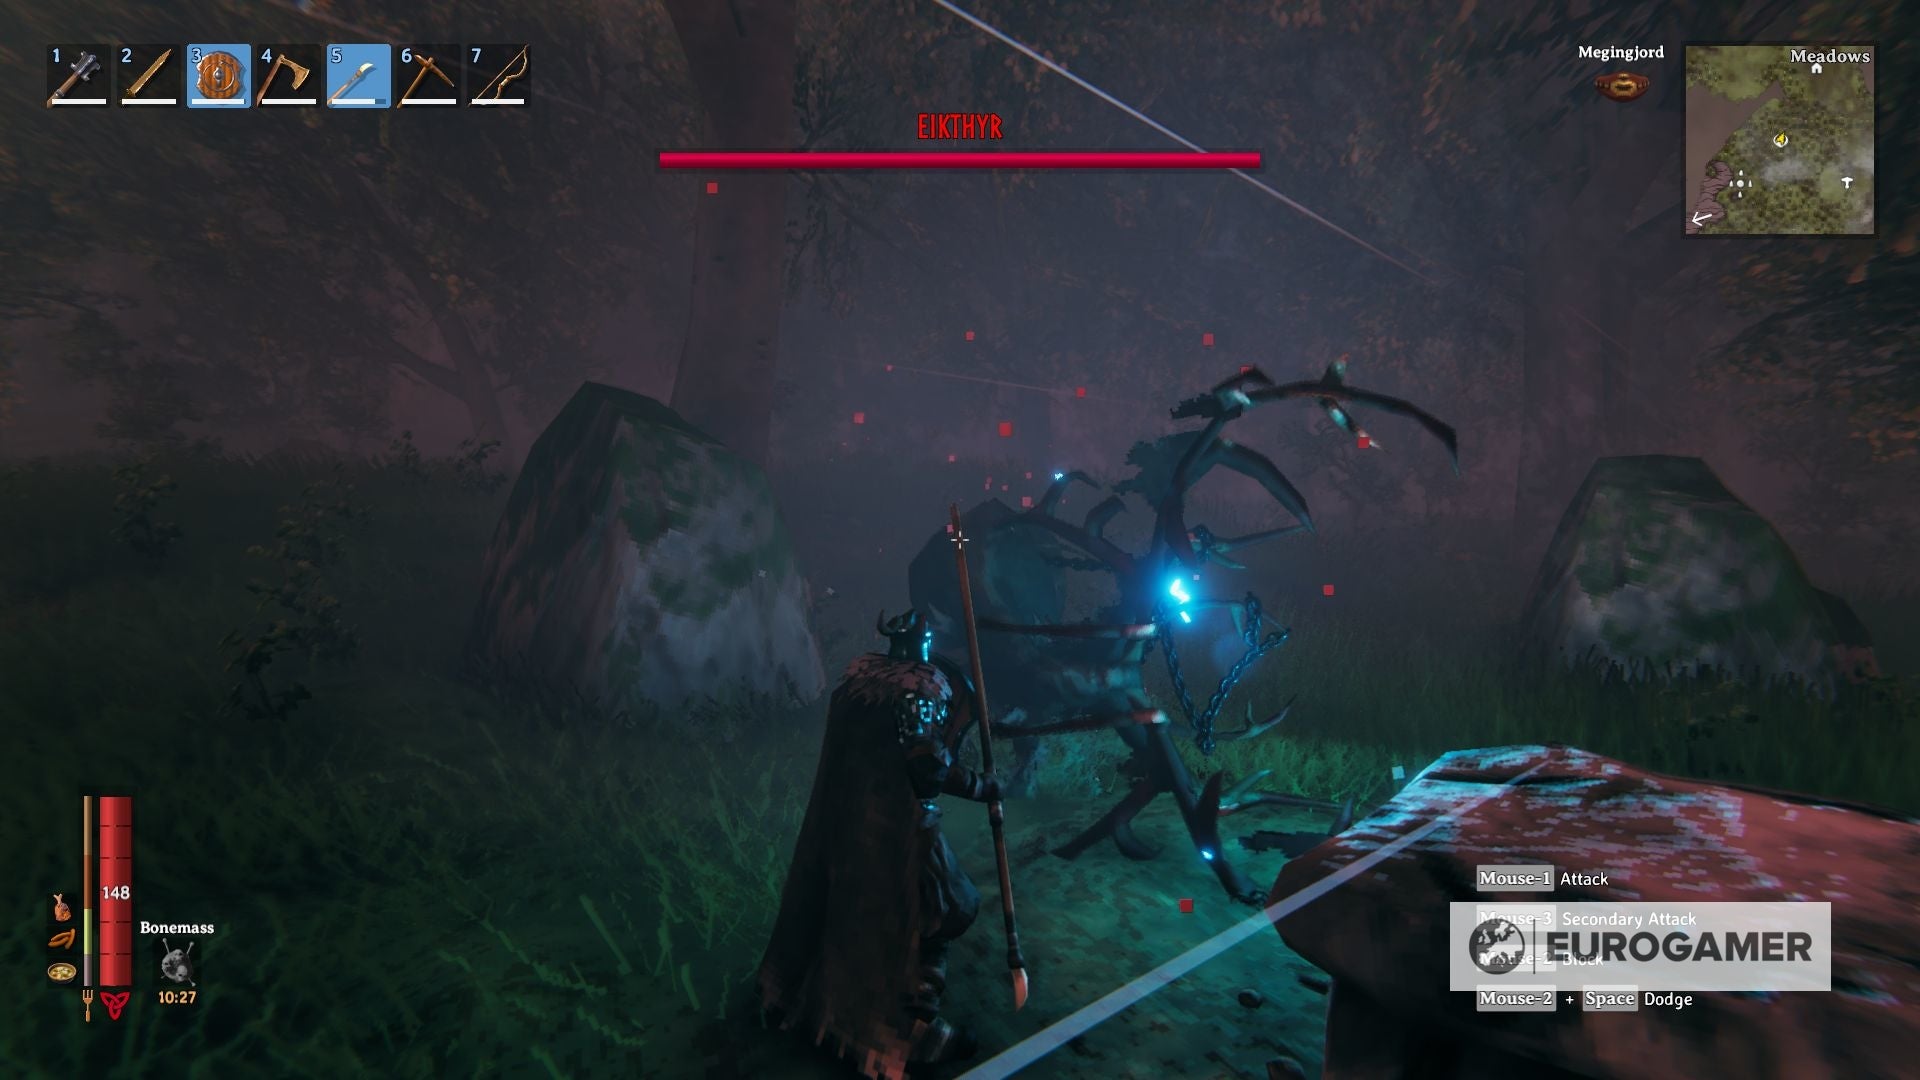
The second is a ranged lightning bolt, a bit stronger but in addition pretty evadable. A great technique to undertake is to flank the monster and poke it with a lance each time it is doable since these actions are frontal ones.
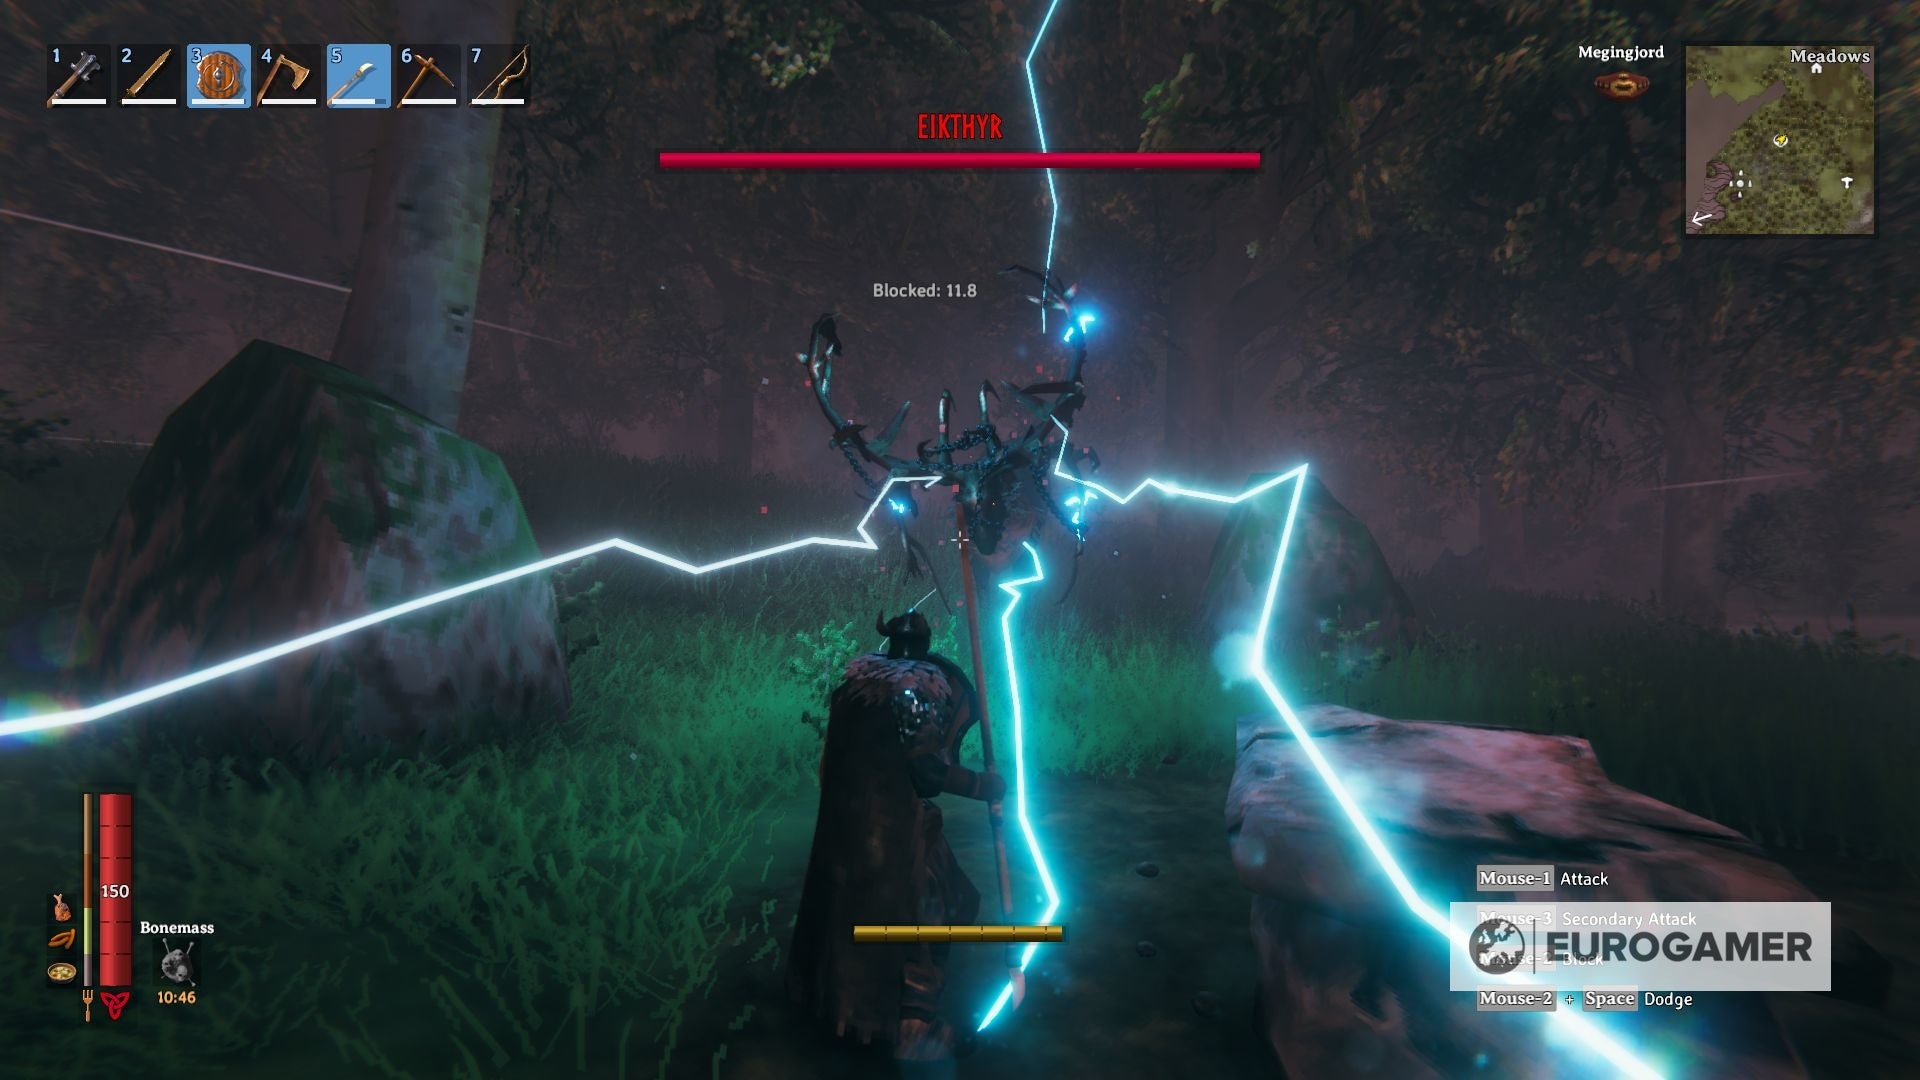
The third motion, nonetheless, is the strongest, a stomp that ends with an AoE lightning assault. It is really helpful to not rely an excessive amount of on evading for this one because the space of impact can catch you without warning.
When you selected the ranged strategy you will not have issues with this one, you simply have to preserve your distance always and shoot each time it is doable. Total, be affected person and you’ll prevail.
Properly performed on taking down your first boss! Together with your rewards, now you can make it into the following biome, the Black Forest, in quest of The Elder.
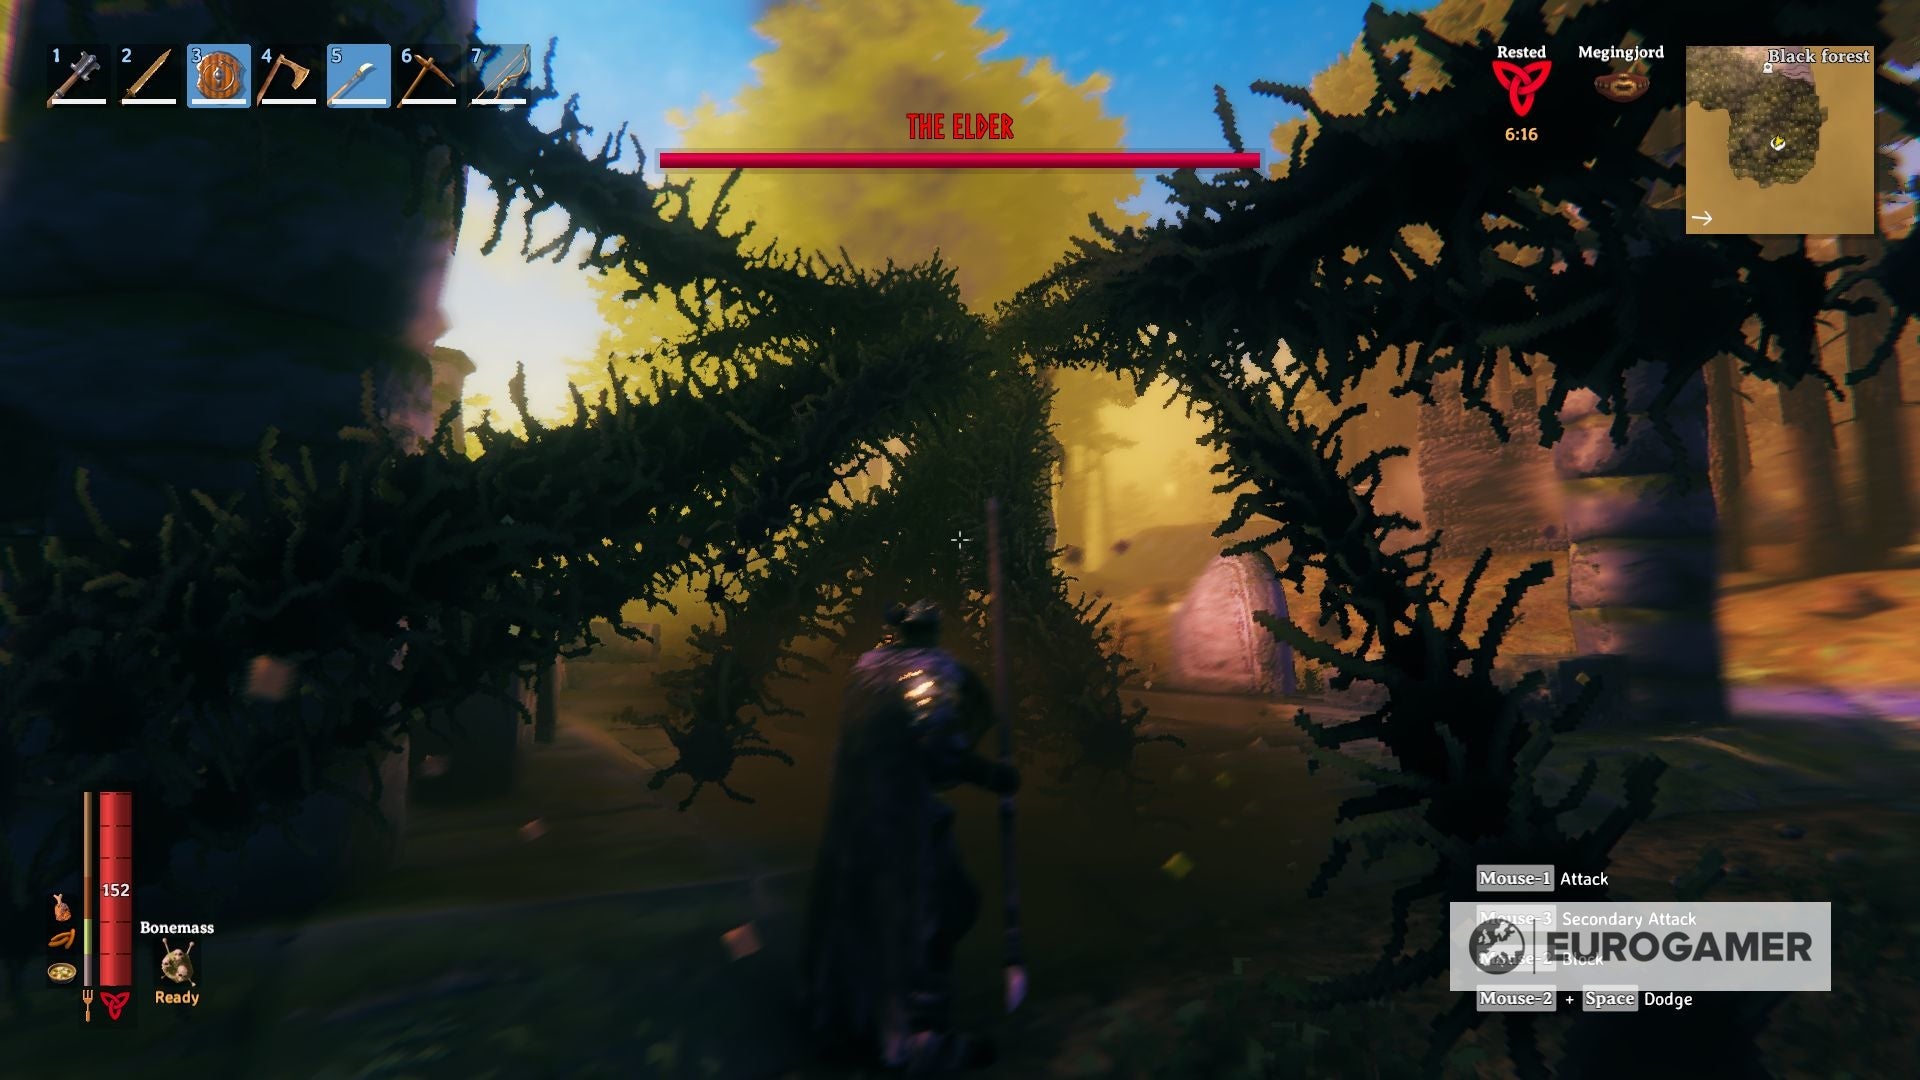
Valheim second boss The Elder: beat The Elder and learn how to summon the second boss defined
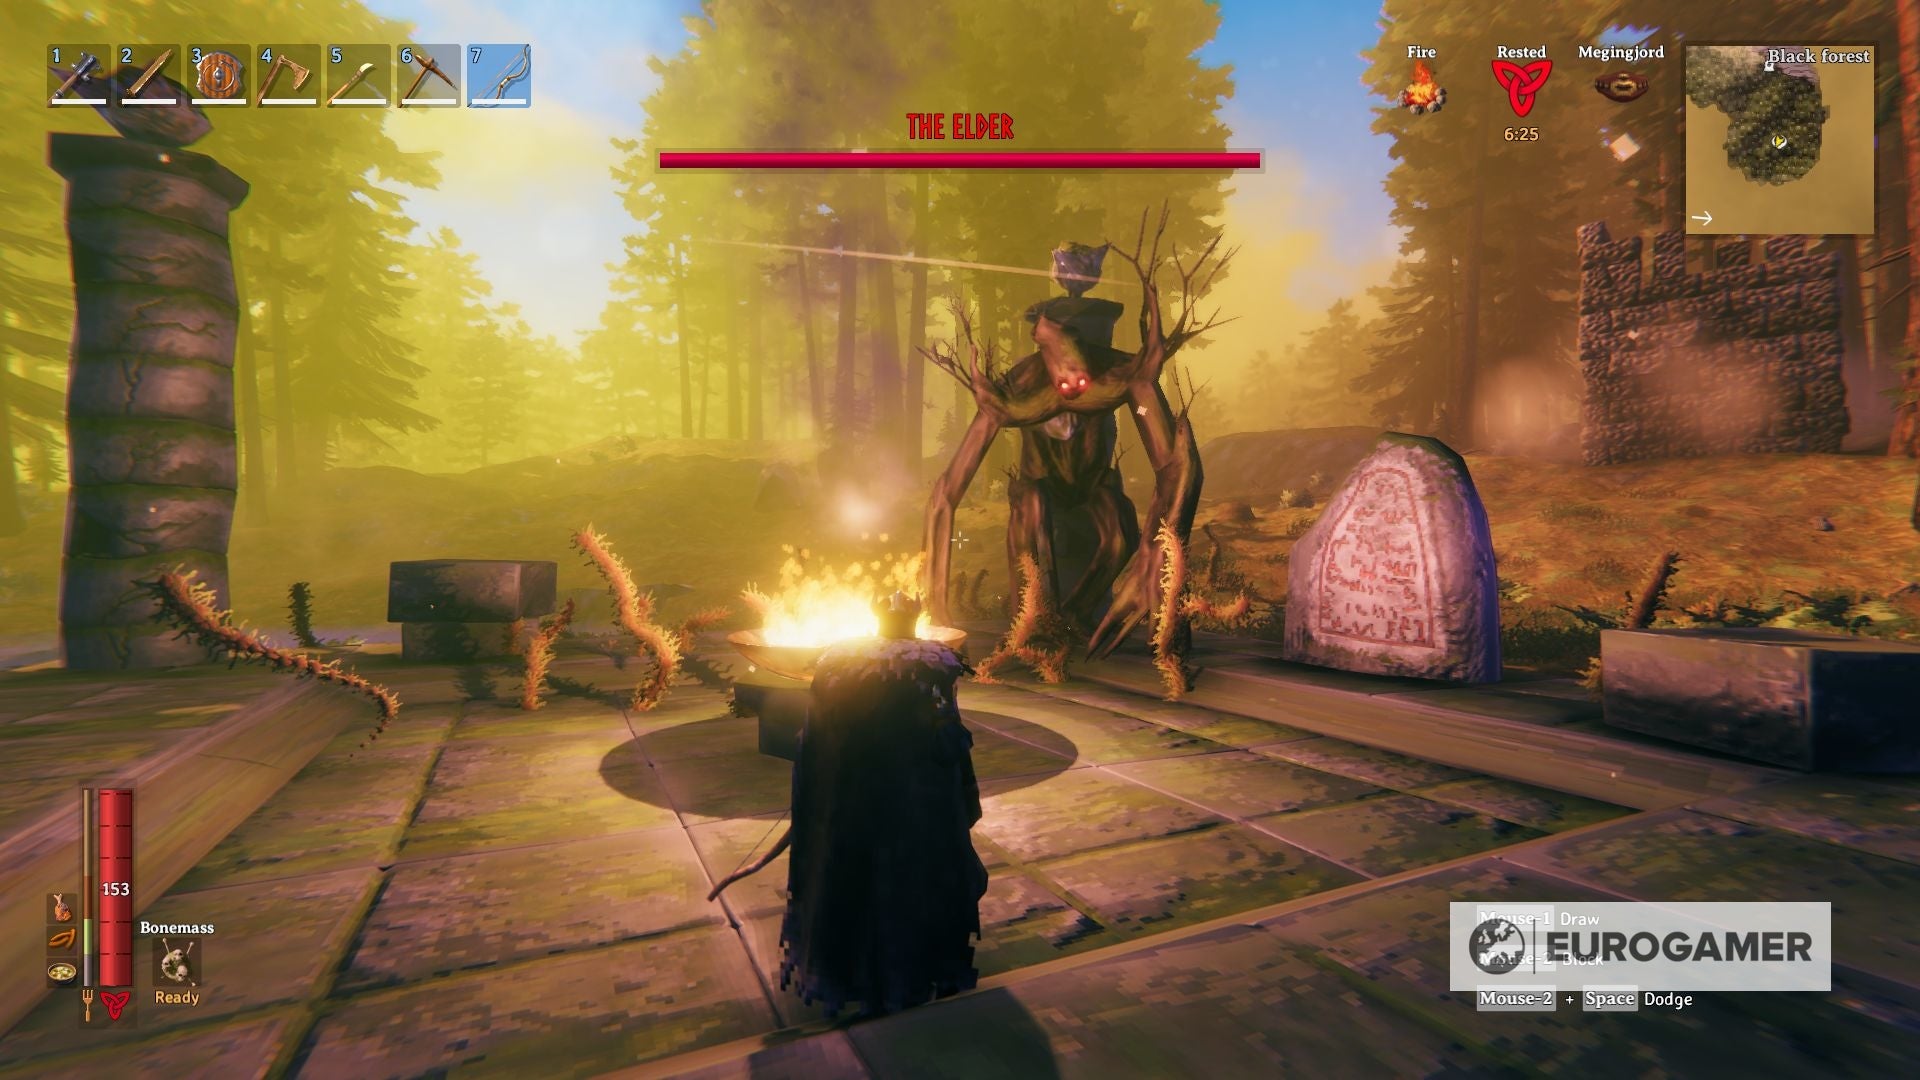
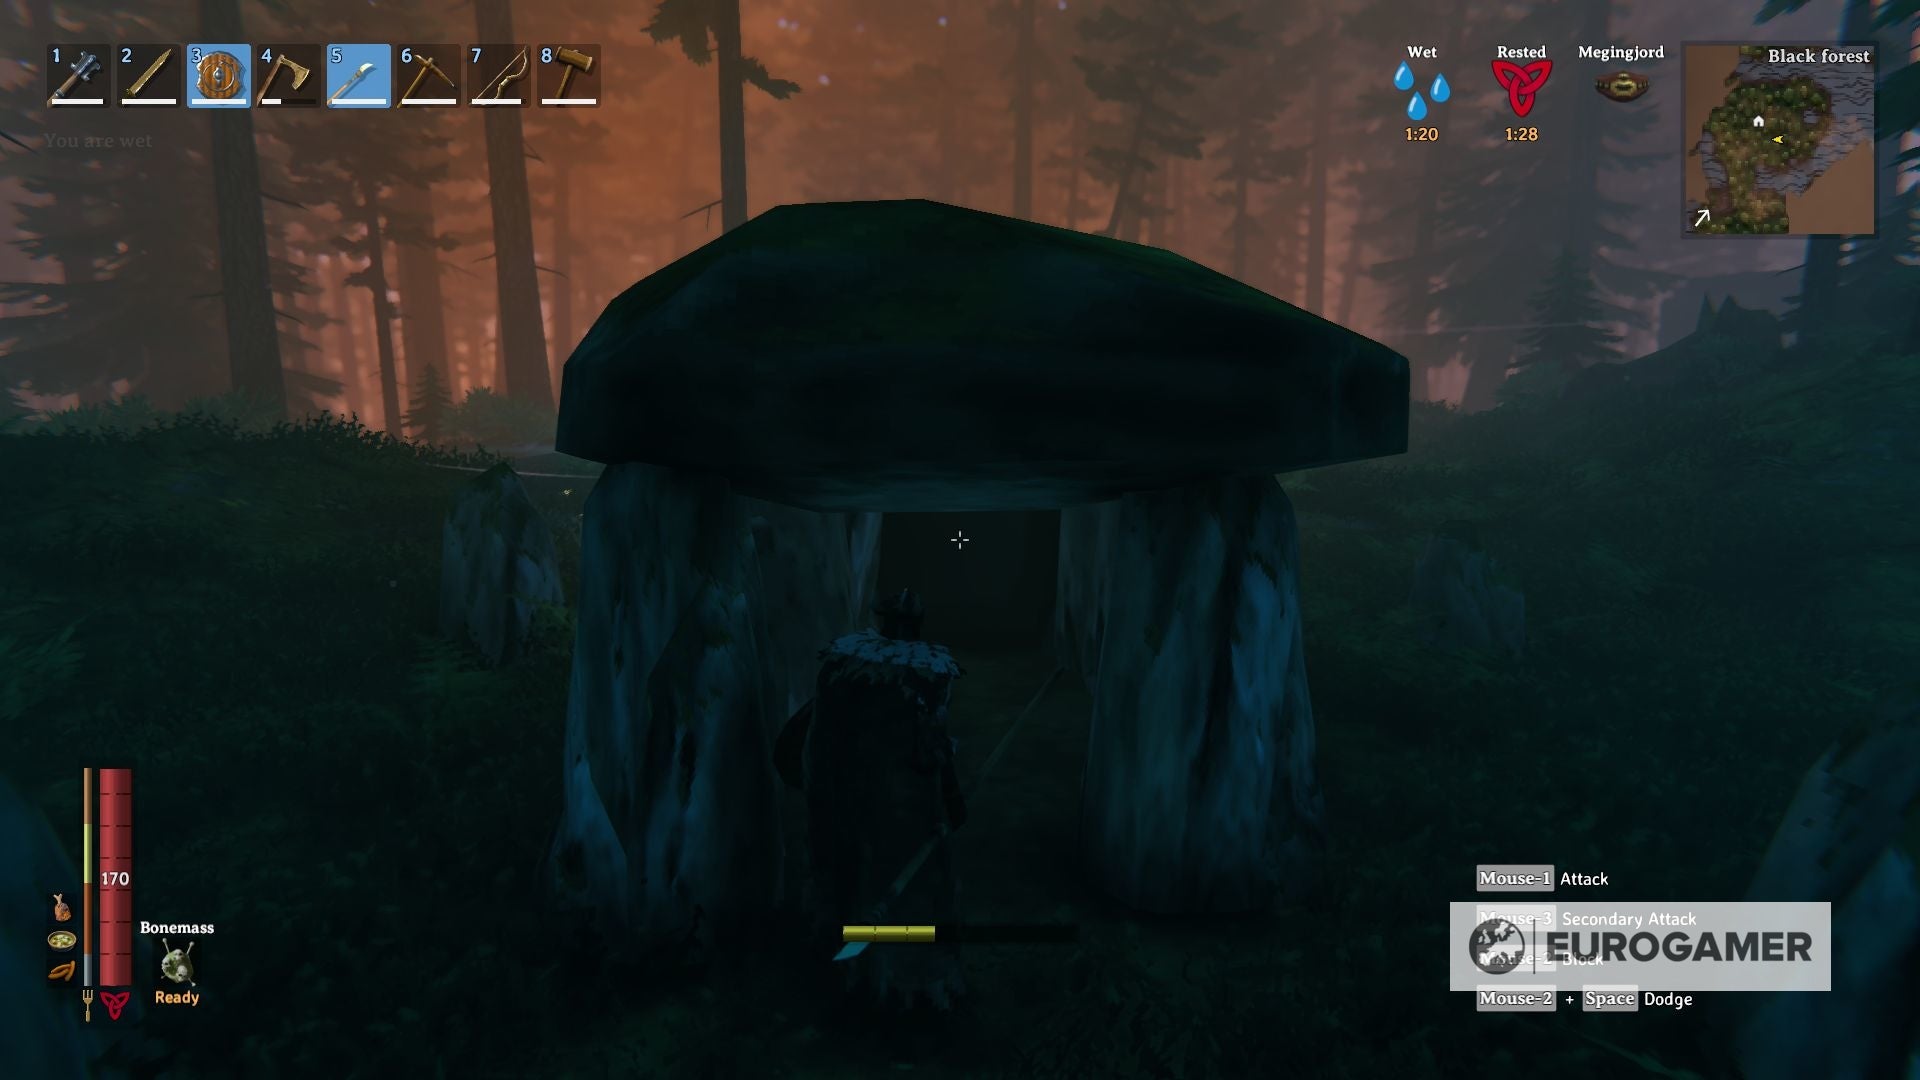
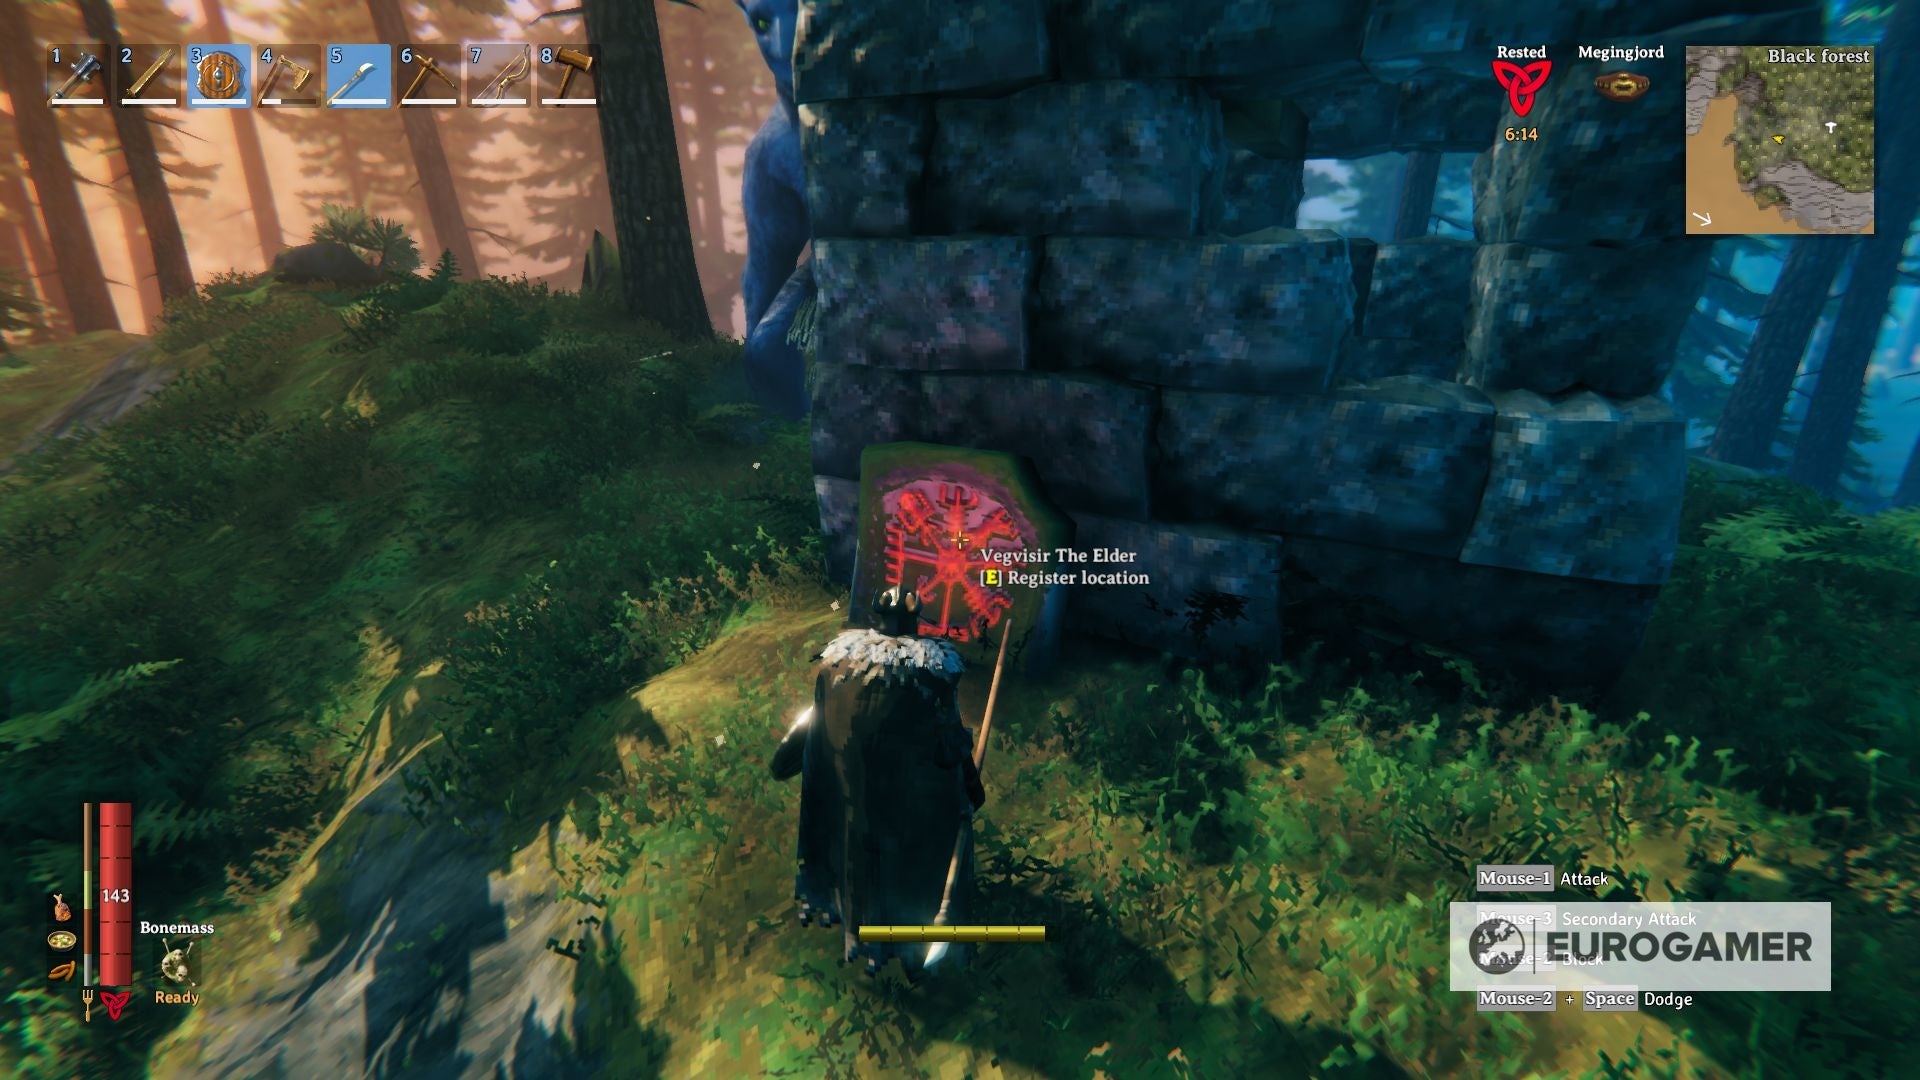
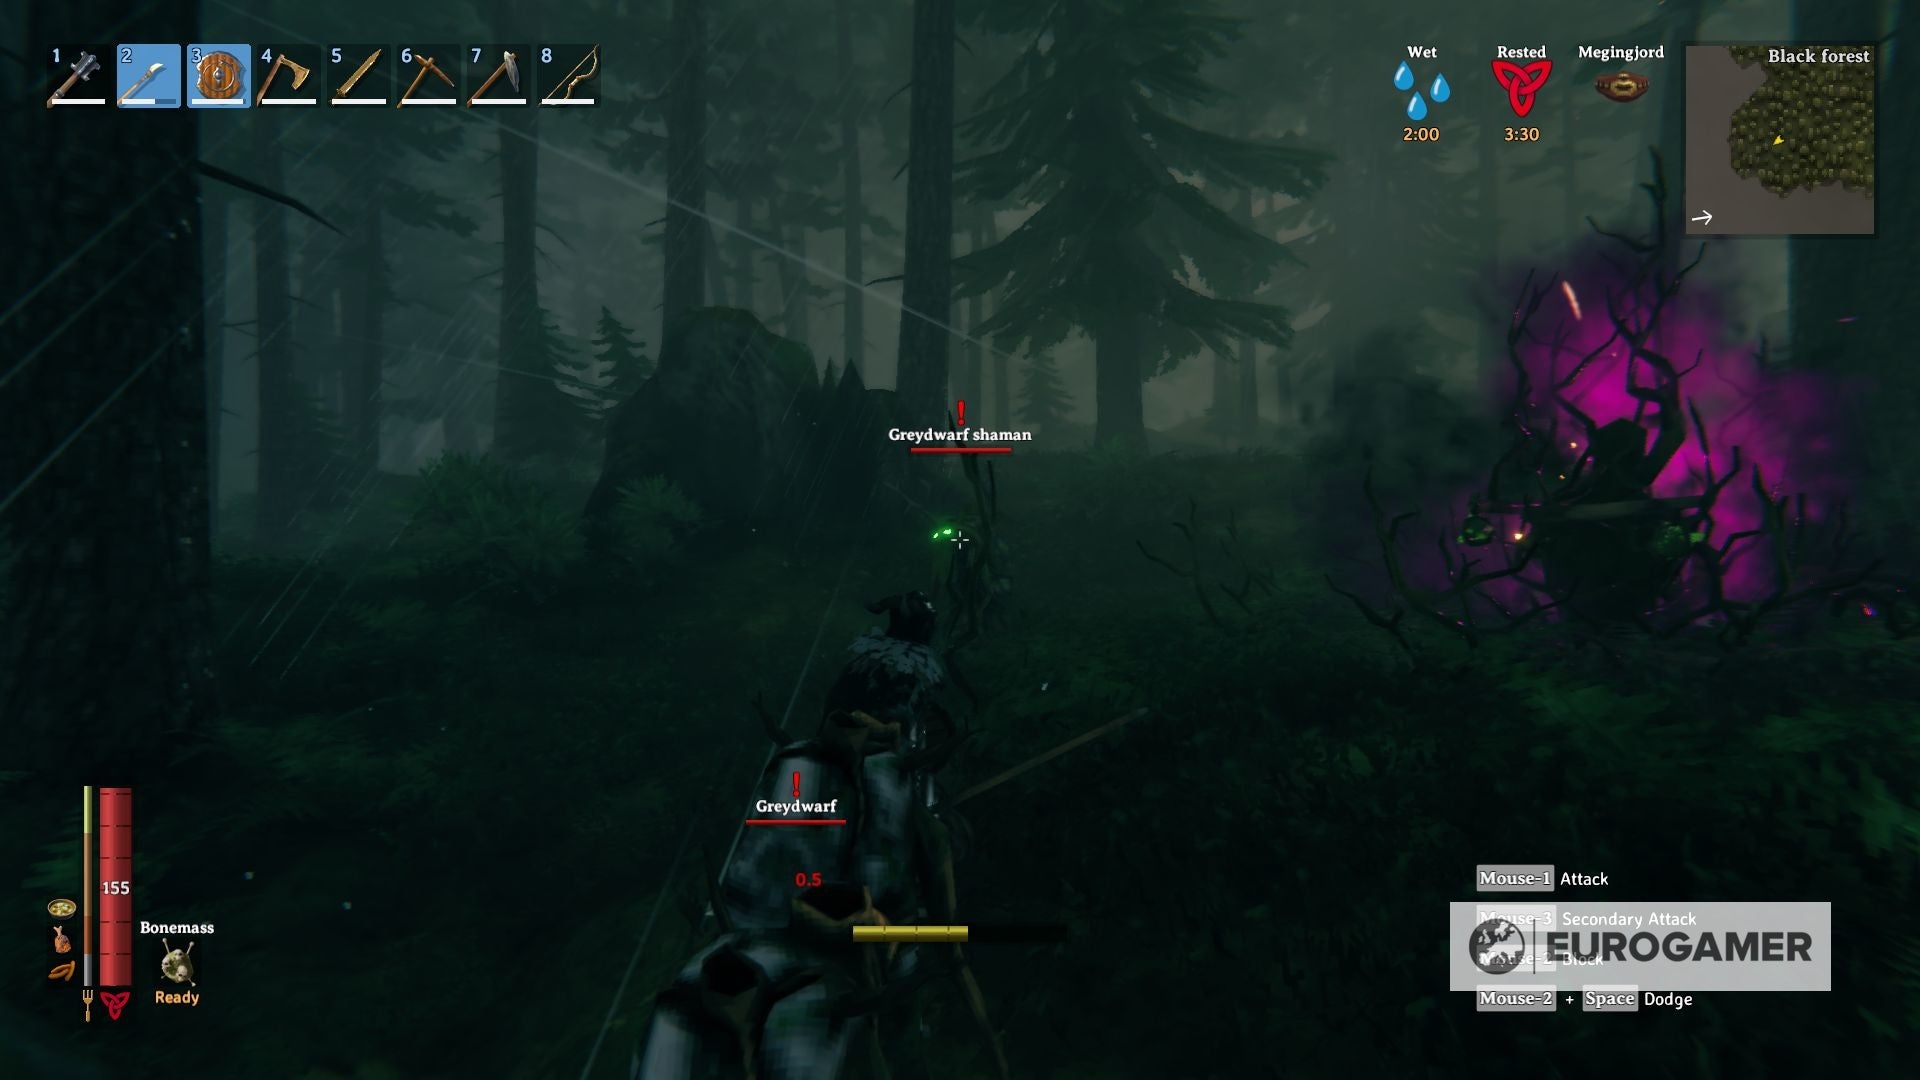
The Elder is discovered within the Black Forest, and is the second boss to tackle in Valheim.
To search out The Elder, search for runestones that provides you with his location being discovered contained in the Burial Chambers or sitting randomly in any stone break across the Black Forest biome.
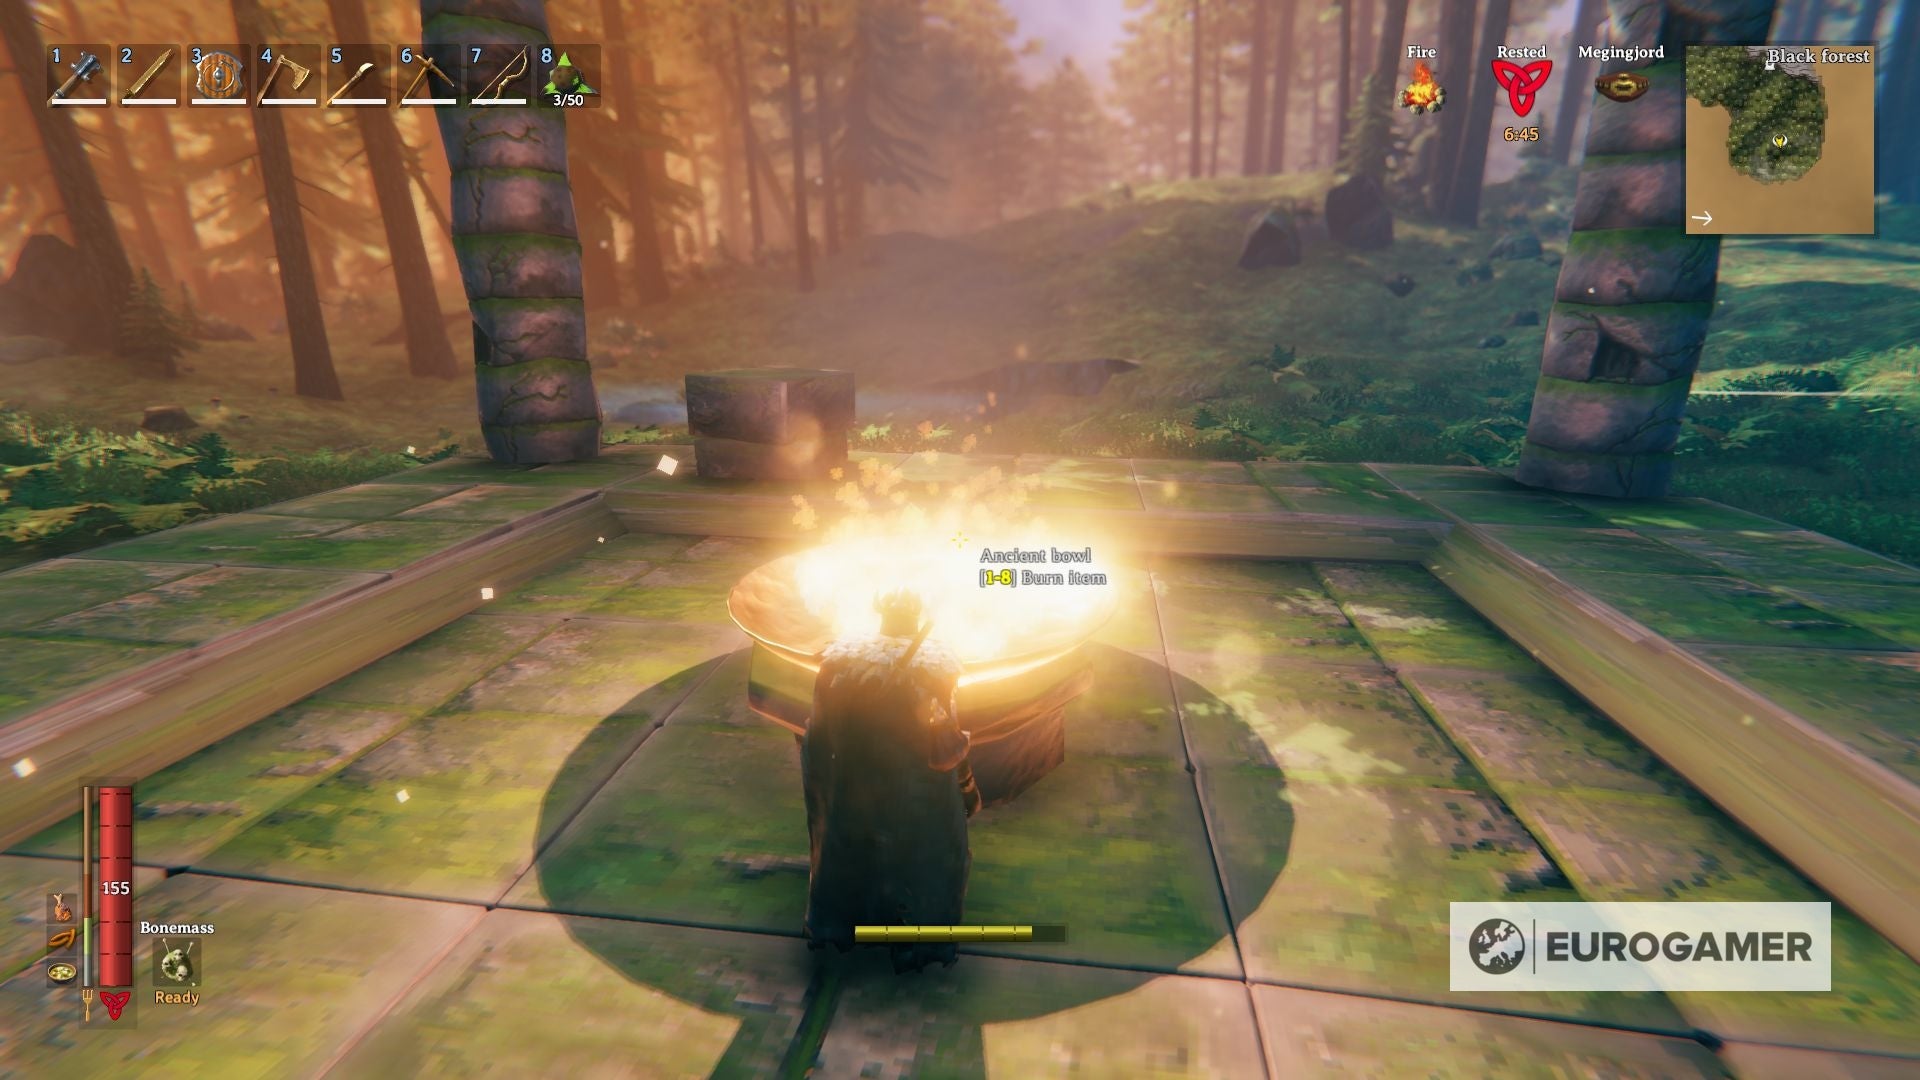
summon the second boss: When you positioned the Sacrificial Altar, you should provide 3 Historical Seeds on the fireplace bowl to summon The Elder.
These seeds are rewarded by killing Greydwarf Brutes and Shamans, with a 33% drop probability, they usually’re additionally assured drops everytime you destroy a Greydwarf Nest. You can even discover them in random chests throughout the Black Forest, however that is simply not as dependable as the previous strategies.
The Elder rewards: After you defeat this boss, its respective story-based occasions will stop, and you’re going to get the next assured drops:
- The Elder Trophy: This trophy, as soon as it is positioned in its respective sacrificial stone, will unlock the respective Forsaken Energy. This means will permit you to chop timber quicker for five minutes, with a cooldown of 20 minutes.
- Swamp Key: This key will allow the participant to enter into any Sunken Crypt within the Swamps, which is important to get the situation of the following boss, in addition to the one strategy to get Iron in Valheim.
The Elder story occasions: Earlier than and after you’re taking down The Elder, the next might happen:
- After defeating Eikythr and till you defeat The Elder, Greydwarfs, Greydwarf Brutes, and Greydwarf Shamans will raid your base in random intervals of 120 seconds.
- After defeating The Elder and till you defeat Bonemass, Draugar and Skeletons will raid your base in random intervals of 150 seconds.
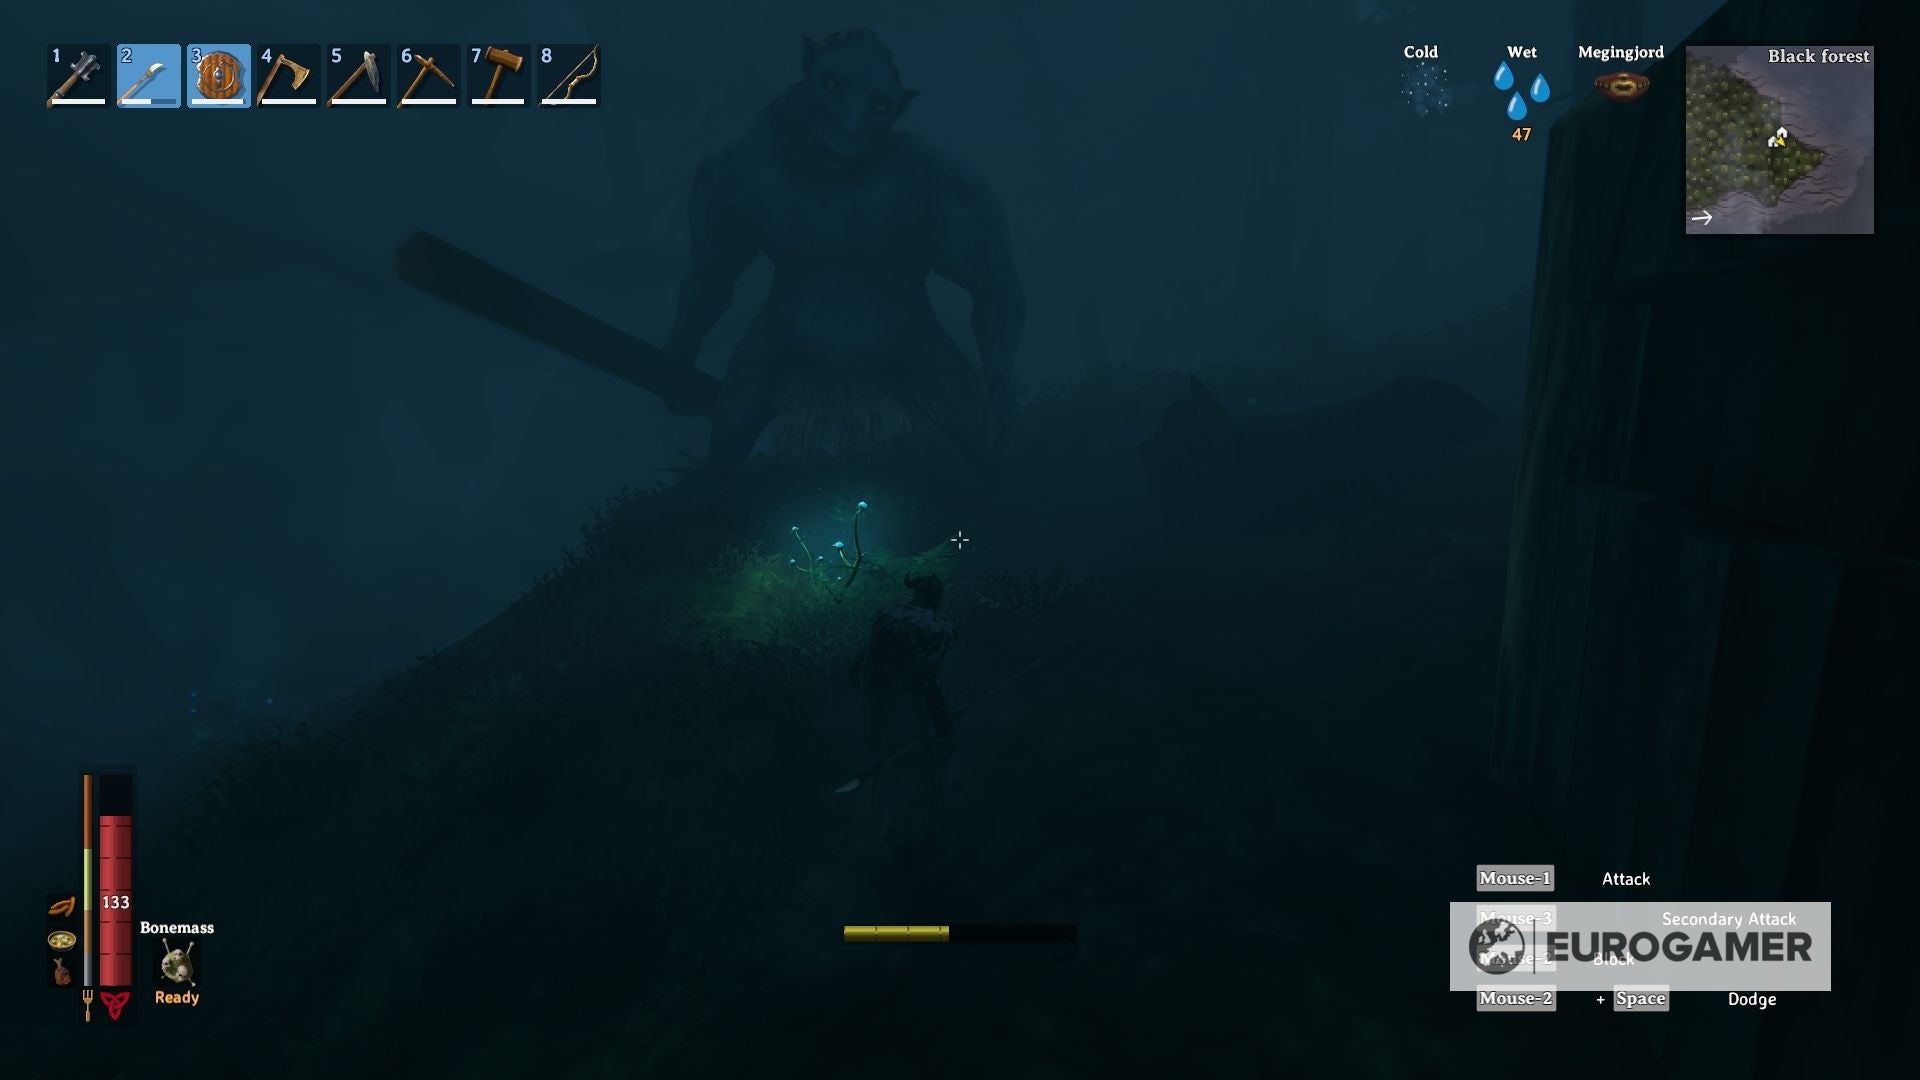
- After defeating The Elder and killing no less than 1 Troll, Trolls will raid your base in random intervals of 80 seconds.
put together for The Elder: Much like the Eikythr battle, you should have the Rested enhance and eat sufficient meals to have your HP no less than over 100 factors. Do not even attempt till you possibly can’t attain this, in any other case, the boss assaults shall be an excessive amount of so that you can endure.
You must also put together some Hearth Arrows since he is weak towards that aspect, making the battle means simpler if you happen to take a Bow with you.
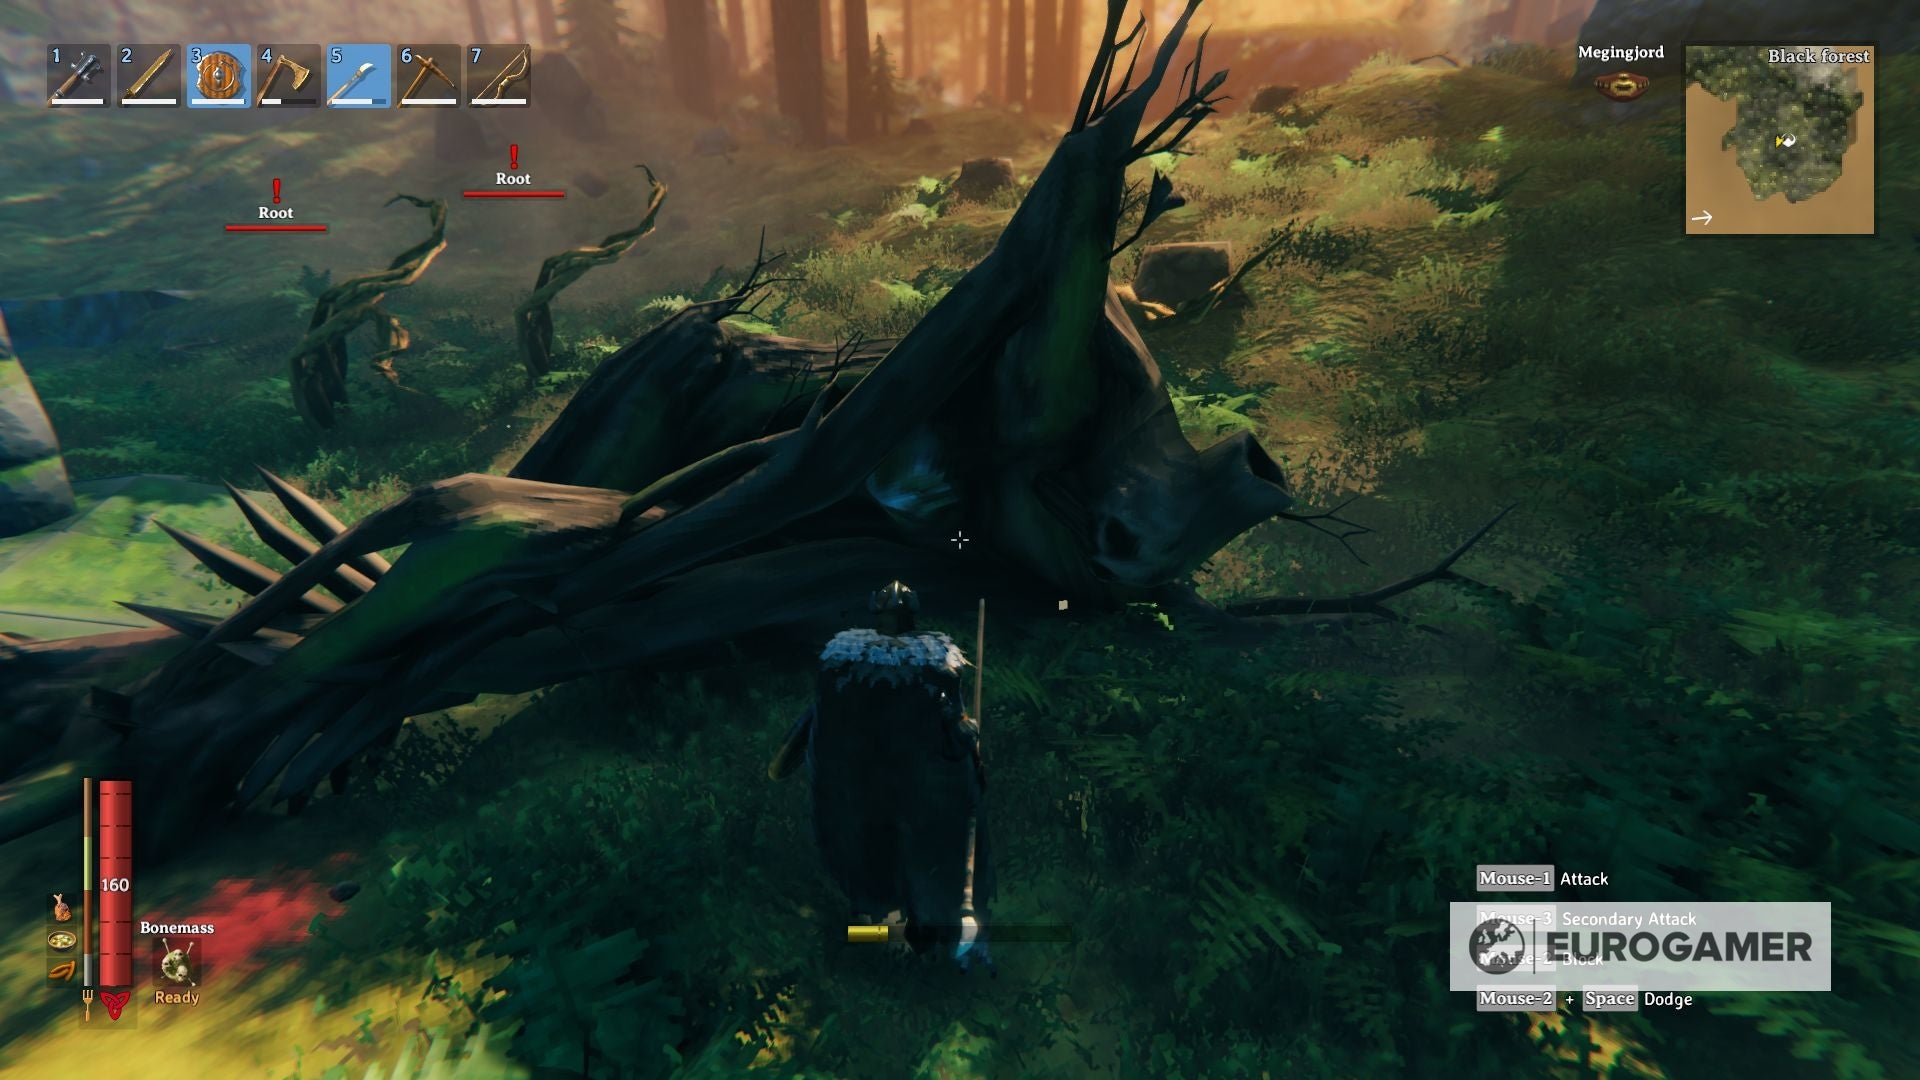
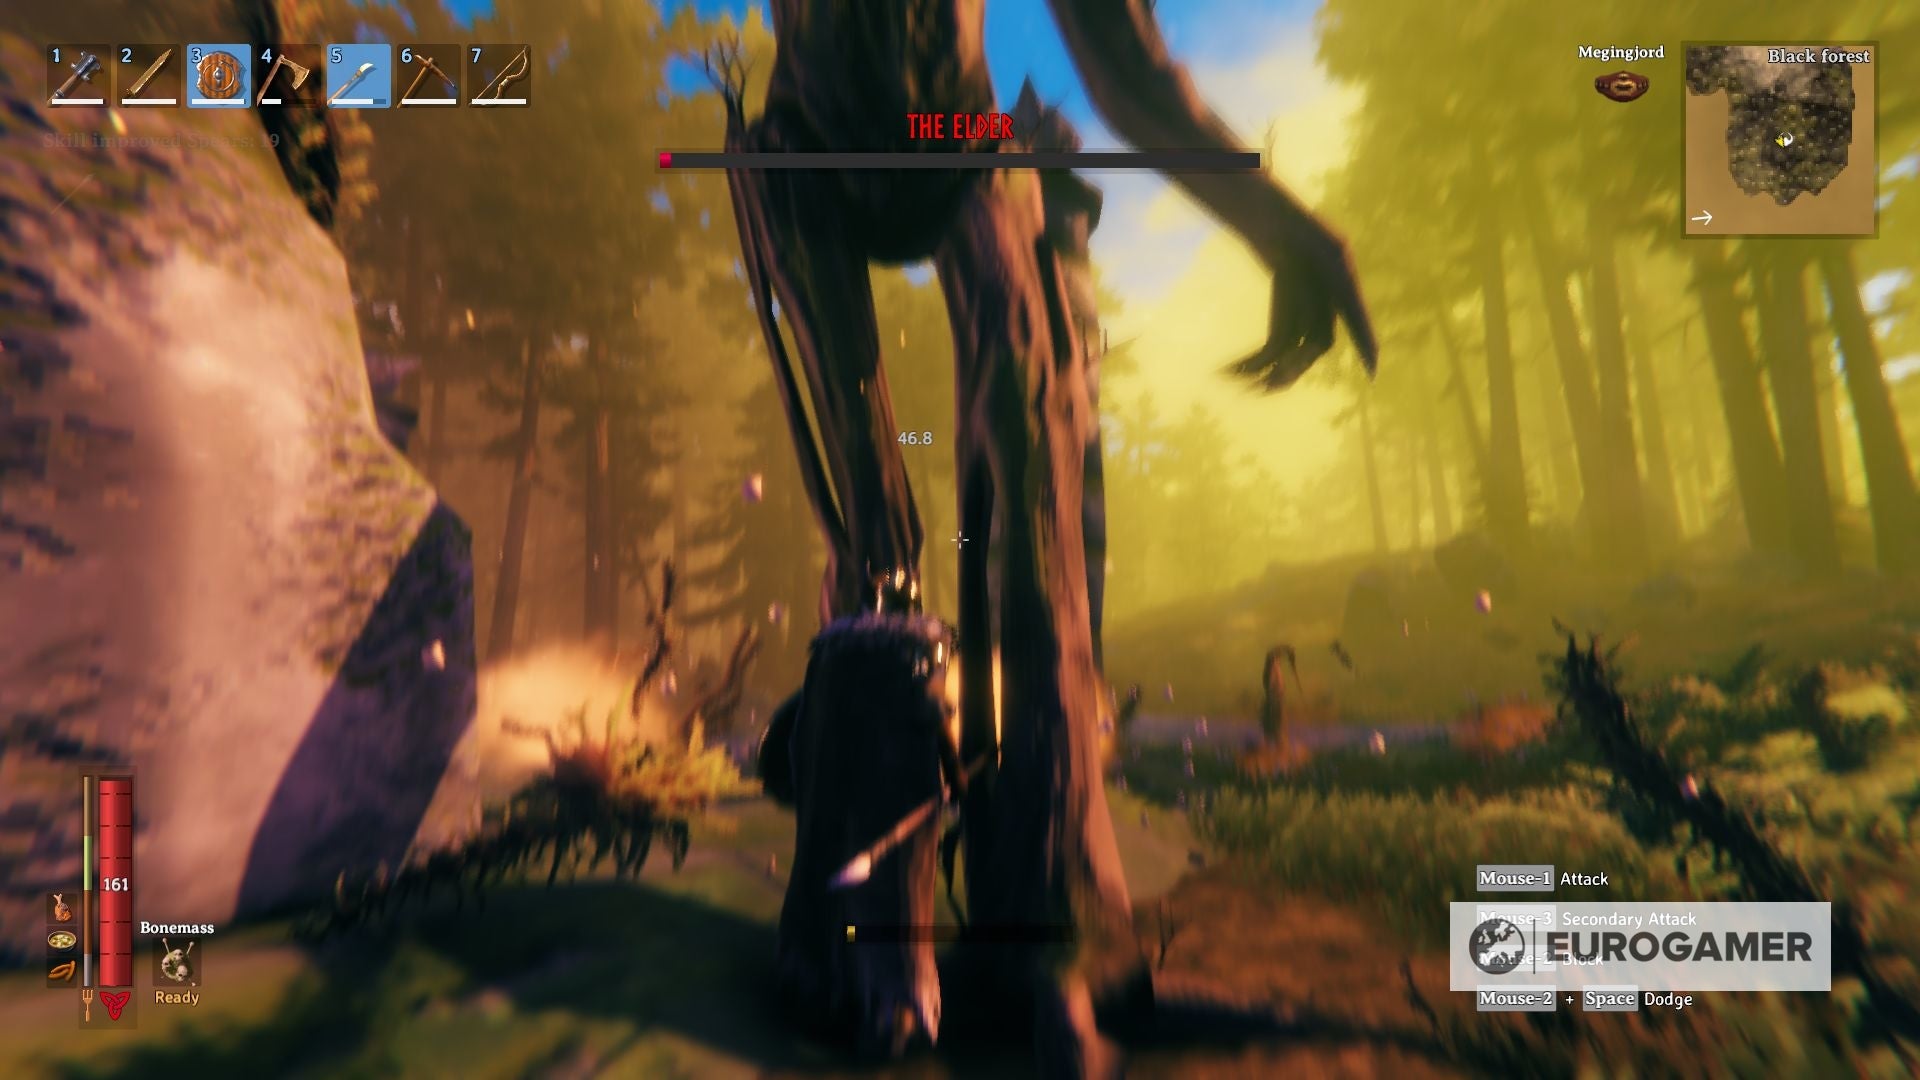
The Elder Technique
The Elder has stronger strikes than the earlier boss, however they’re pretty simple to grasp, and as soon as you know the way to guard your self or evade them, it is only a matter of discovering home windows so that you can strategy the boss and assault him.
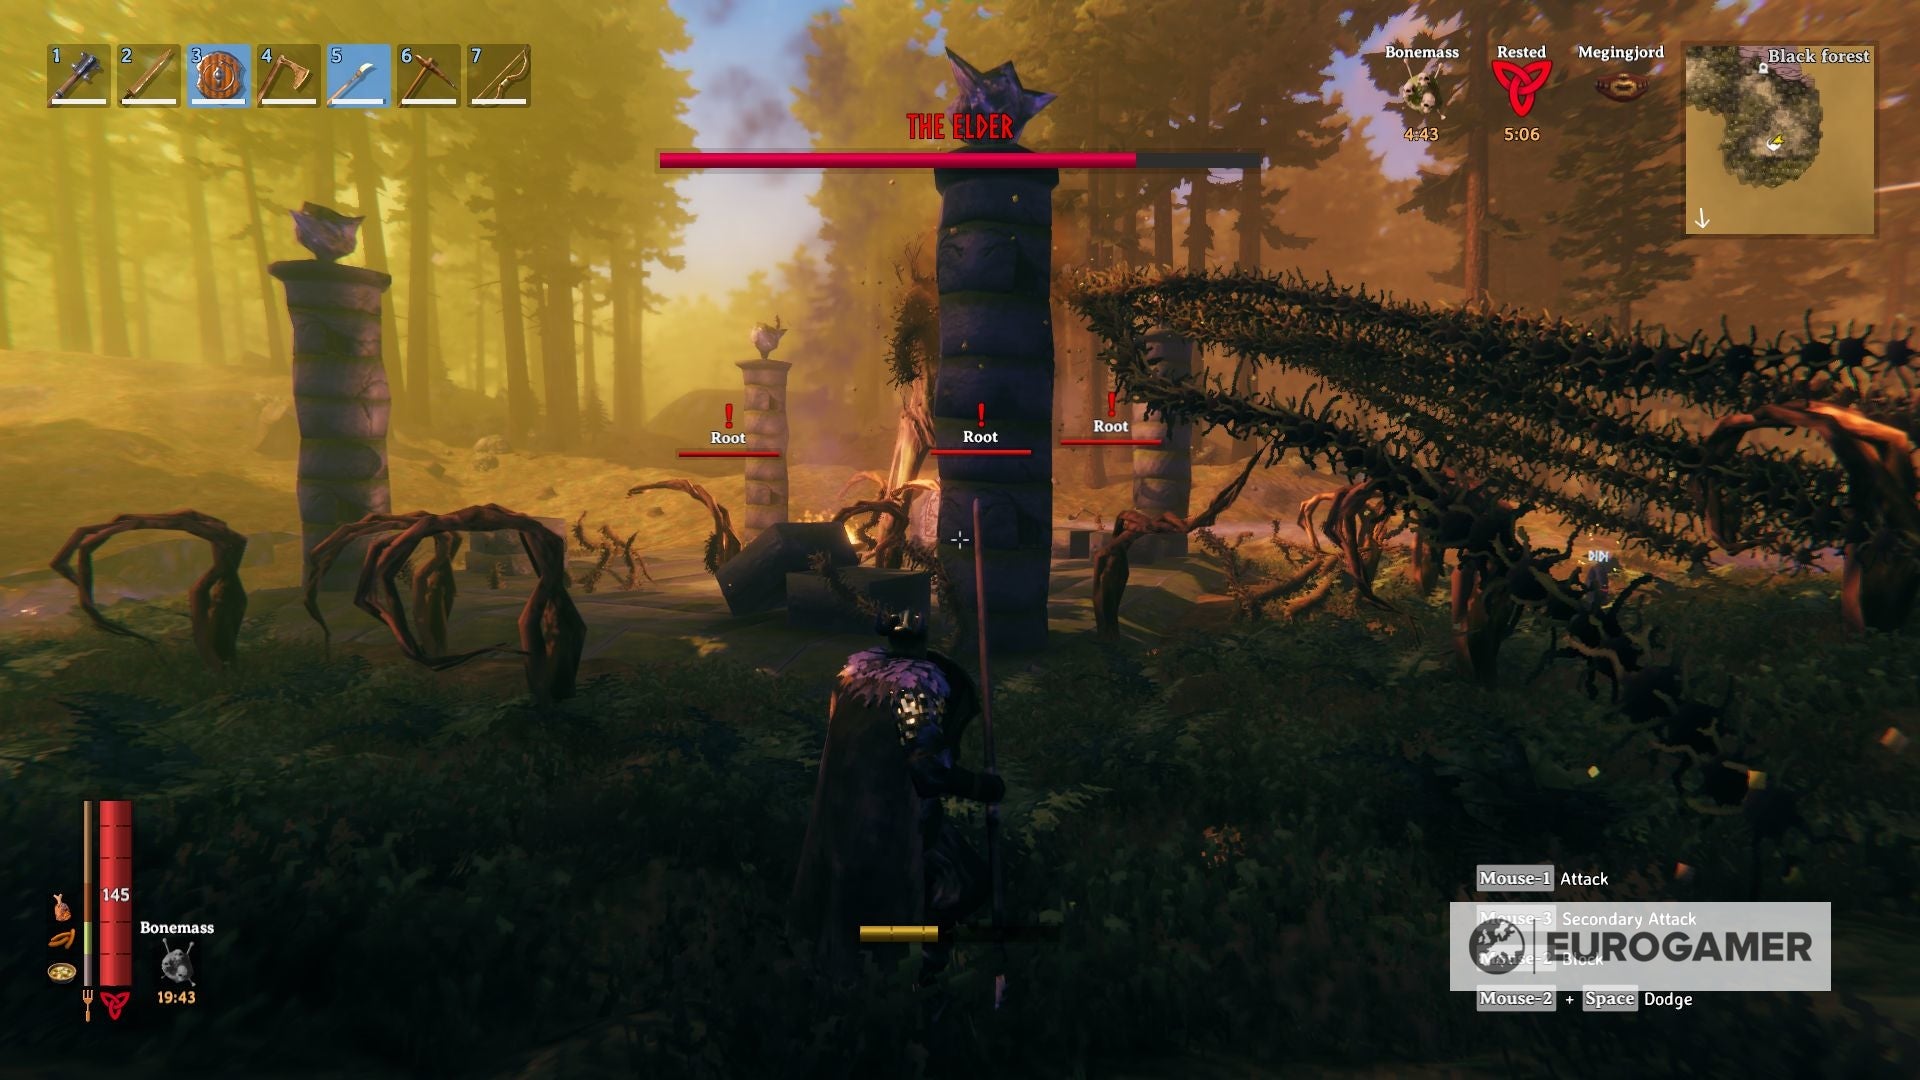
The primary of the strikes it is a ranged Vine Assault in a straight line, directed to the participant. It may be simply blockable and in addition completely avoidable if you happen to stay behind one of many 4 pillars within the altar since he will not have the ability to attain you.
The following transfer is a stomp that he’ll use everytime you’re within the melee vary. Simply avoidable however it does hit onerous and causes space injury, so do not get too comfortable about it.
Alternatively, keep watch over the Roots he summons as a result of, whereas destructible, they hit onerous and should overwhelm you if you happen to stay too shut. Similar as Eikythr, be affected person, whether or not you are going melee or ranged, and you have to be wonderful.
Congrats! With the Swamp Key in hand, it is time to head to the Swamp in quest of the following boss, Bonemass.
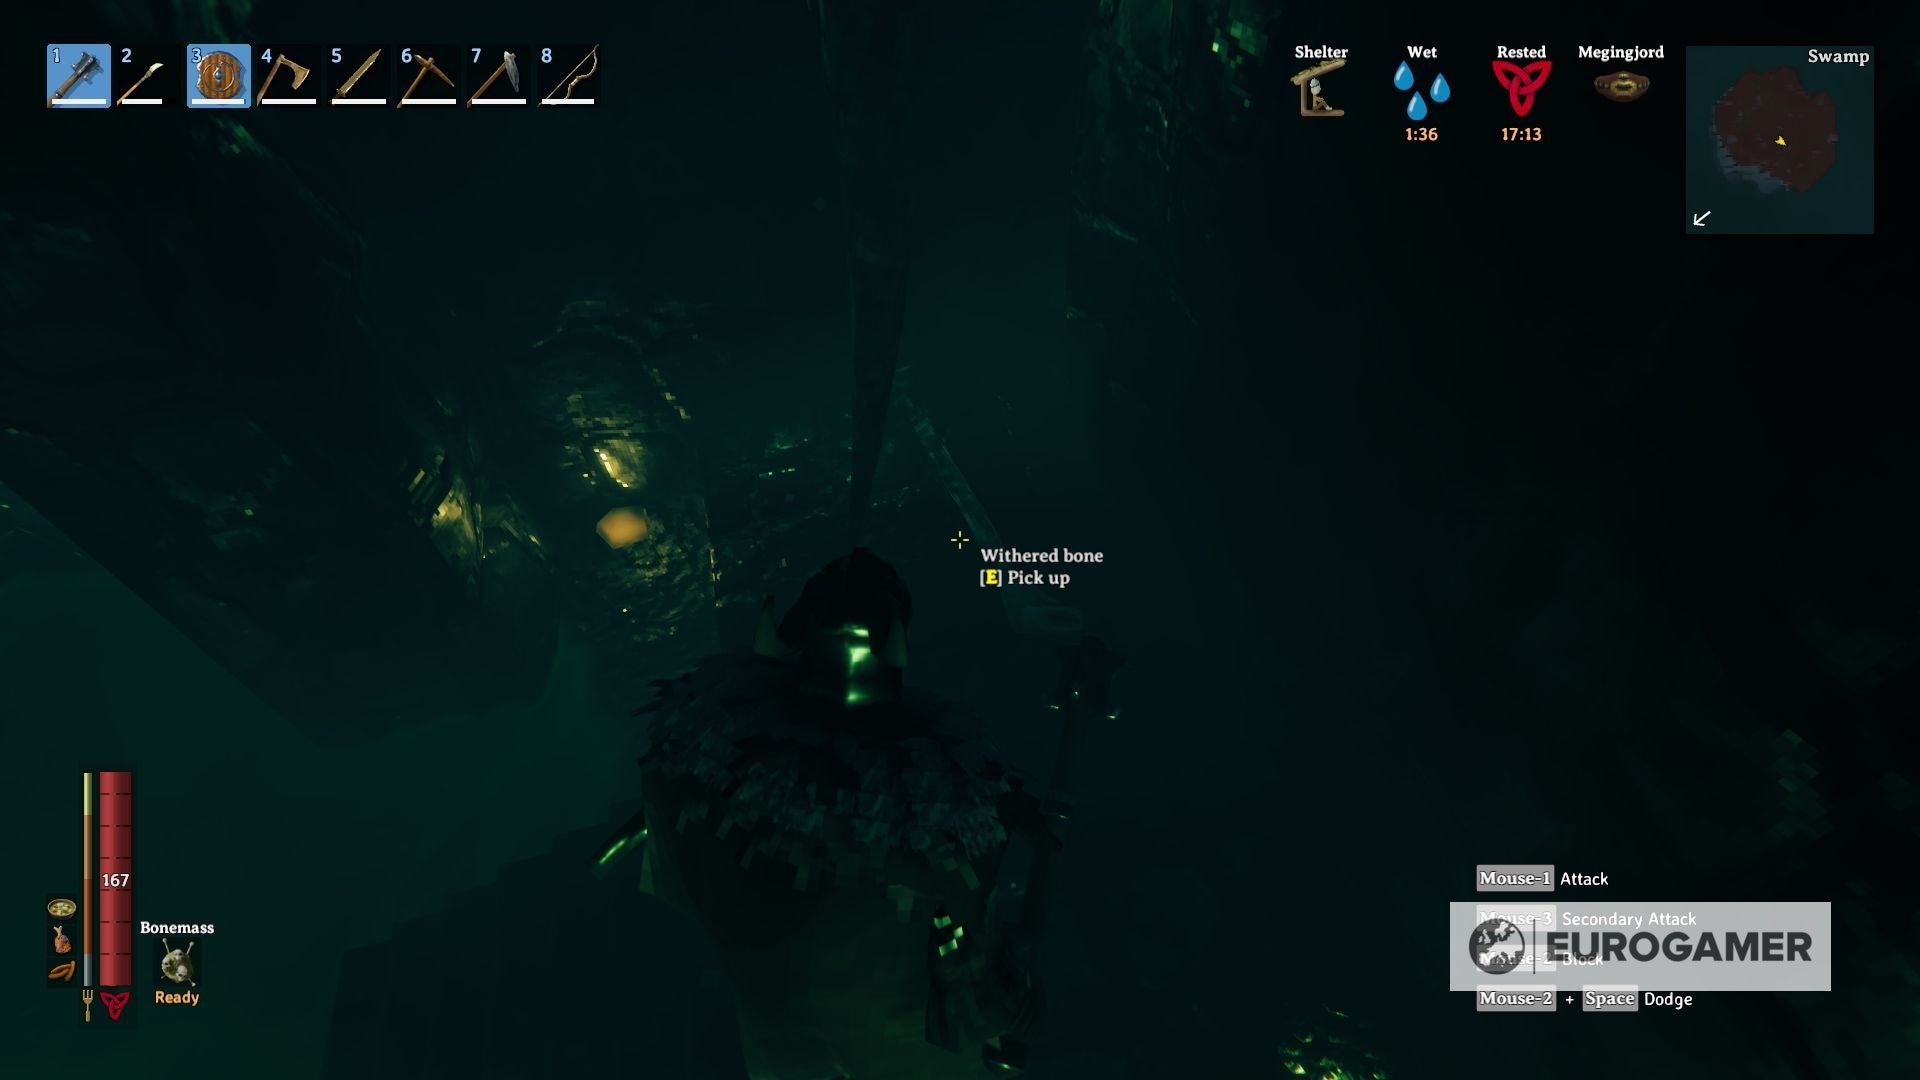
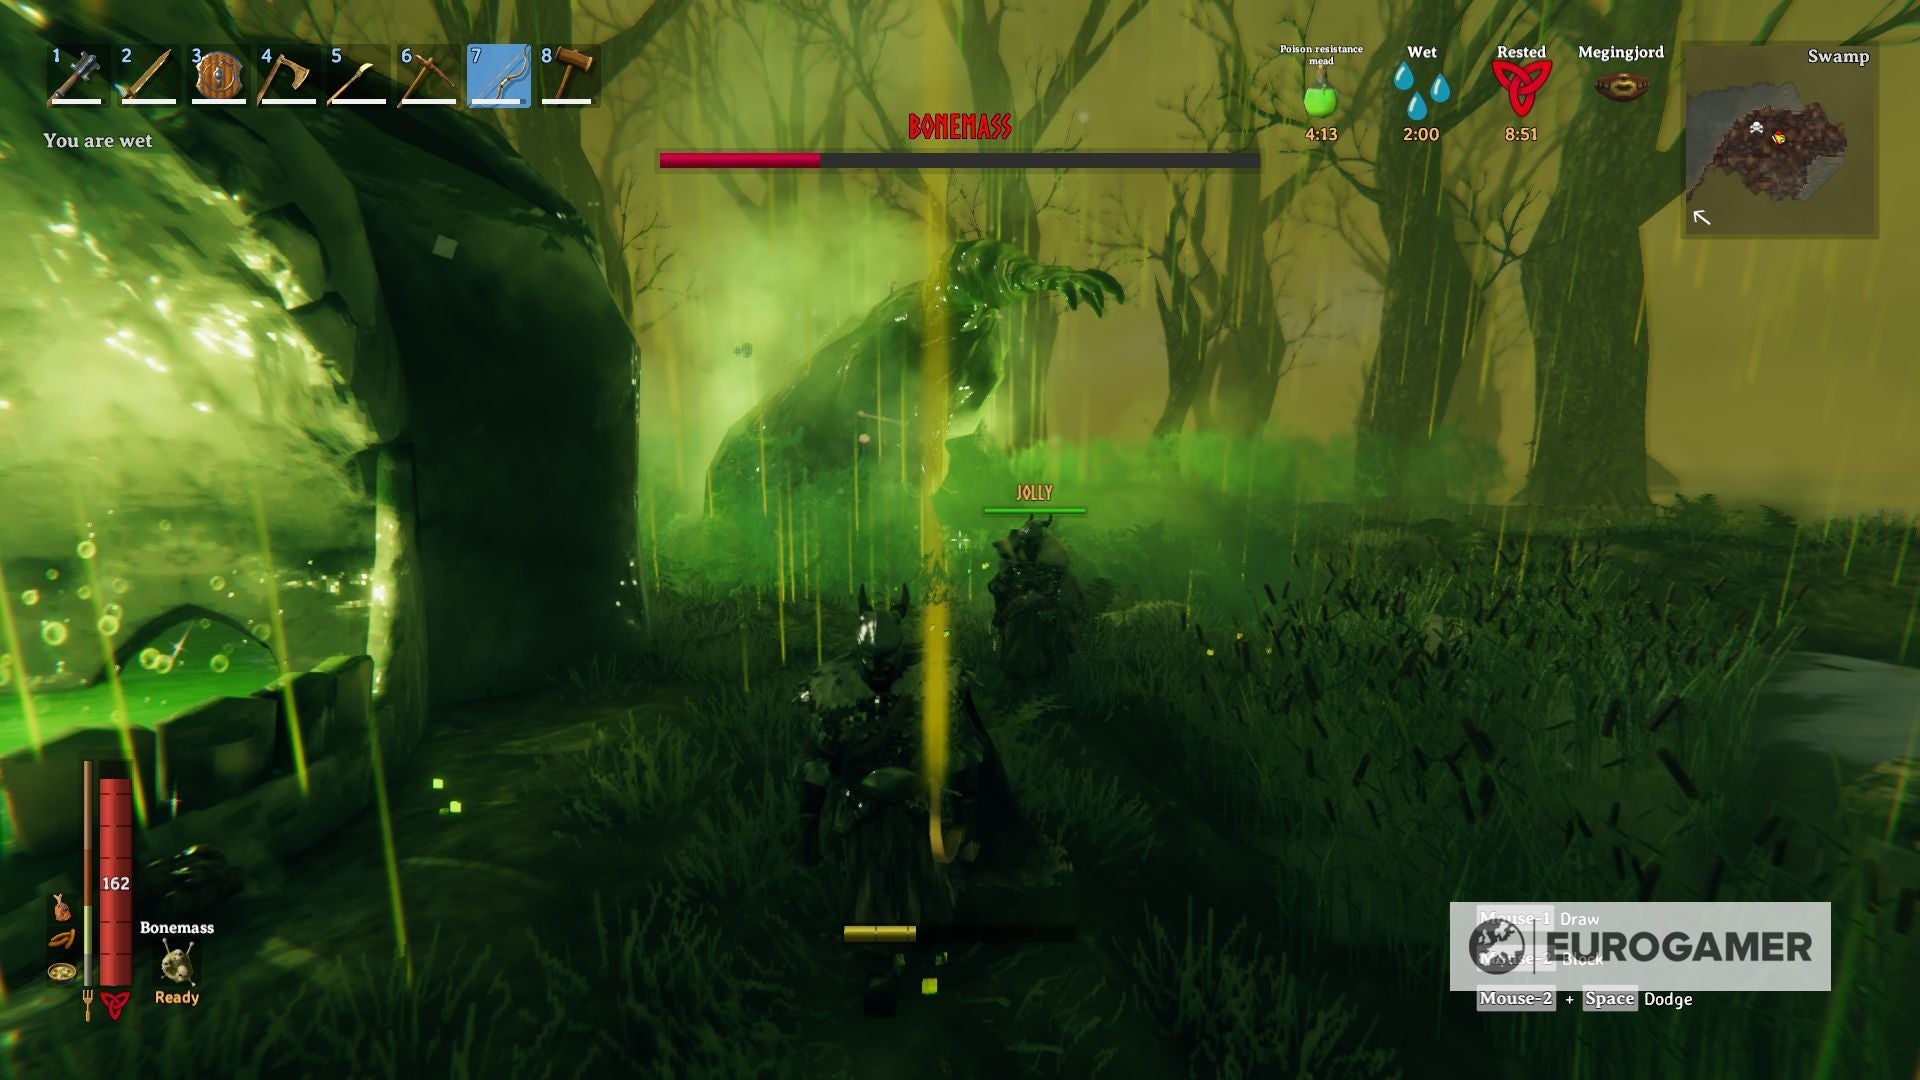
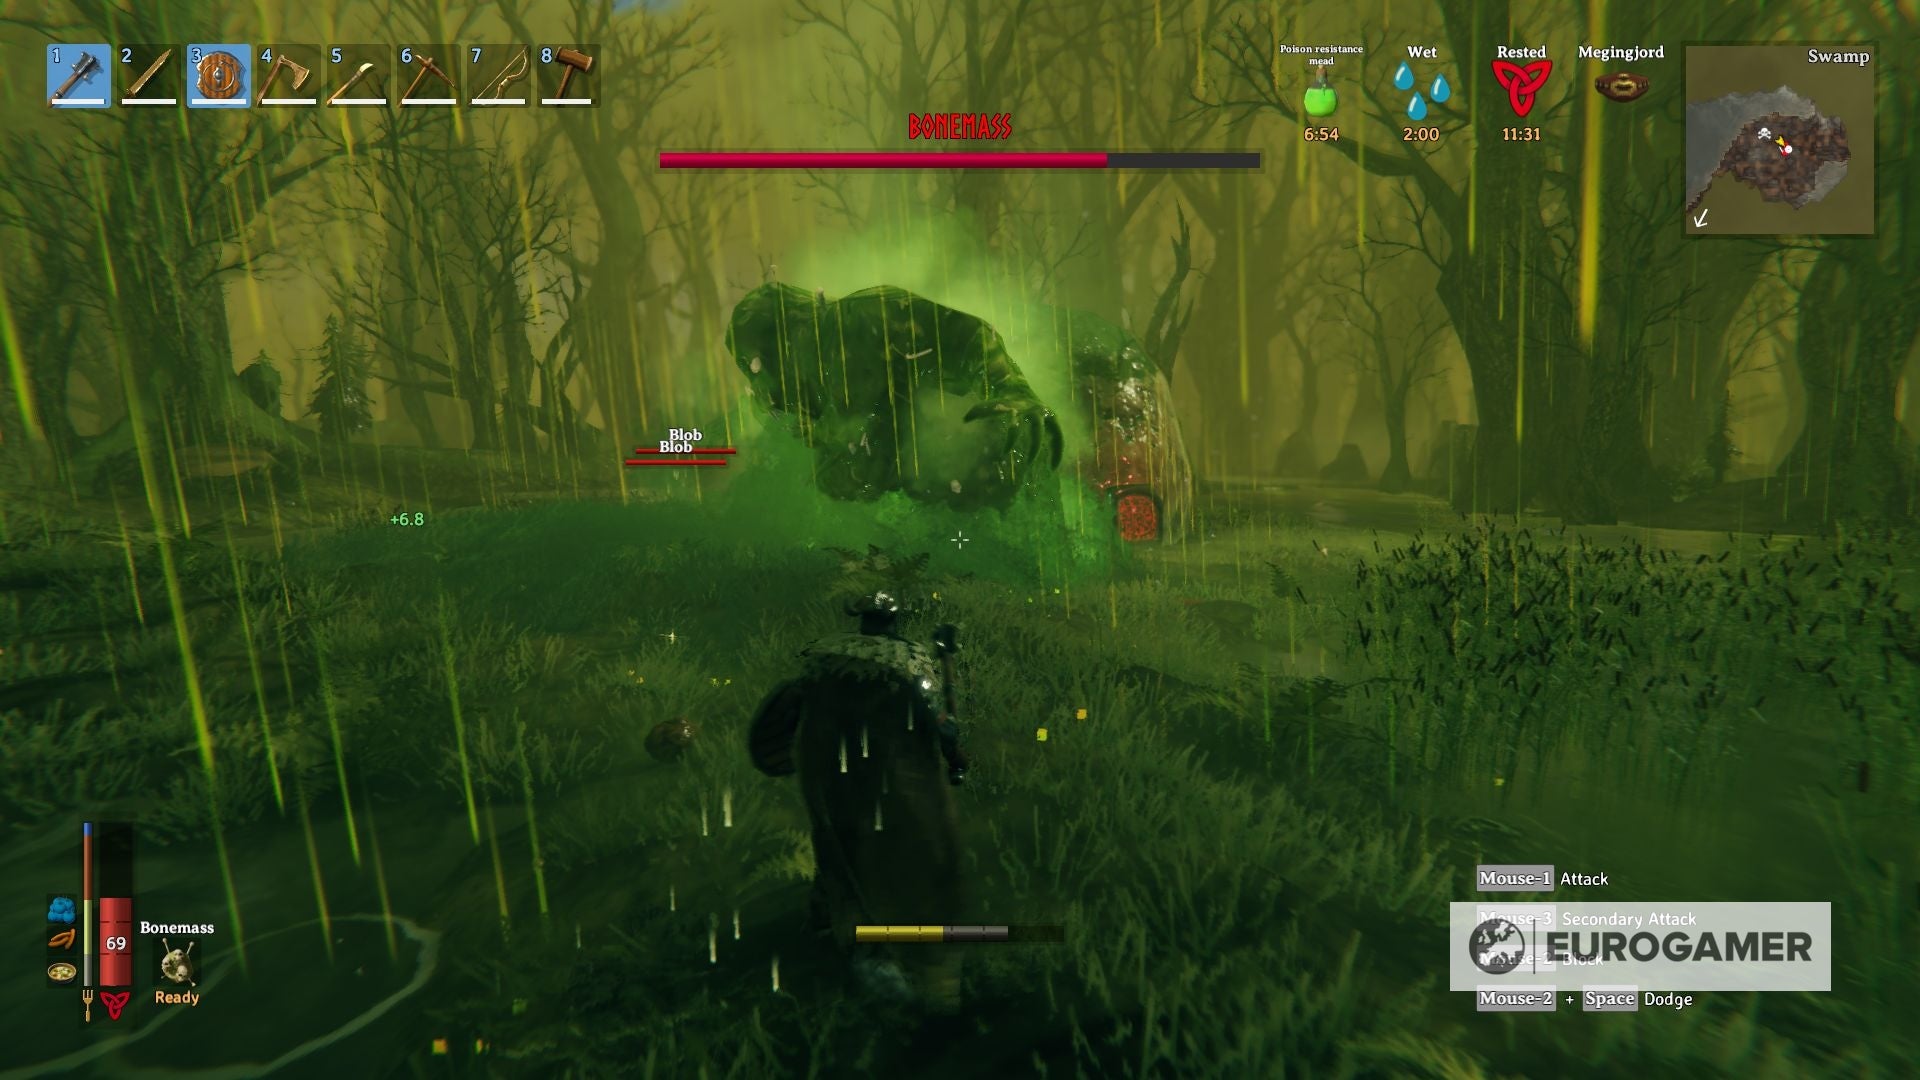
Valheim third boss Bonemass: beat Bonemass and learn how to summon the third boss defined
Bonemass is discovered within the Swamp, and is the third boss to tackle in Valheim.
After we defeated The Elder, we’ll acquire a Swamp Key. This merchandise will allow us to journey into the numerous Sunken Crypts that seem within the Swamp biome, the place a randomly positioned Runestone provides you with the situation of the altar.
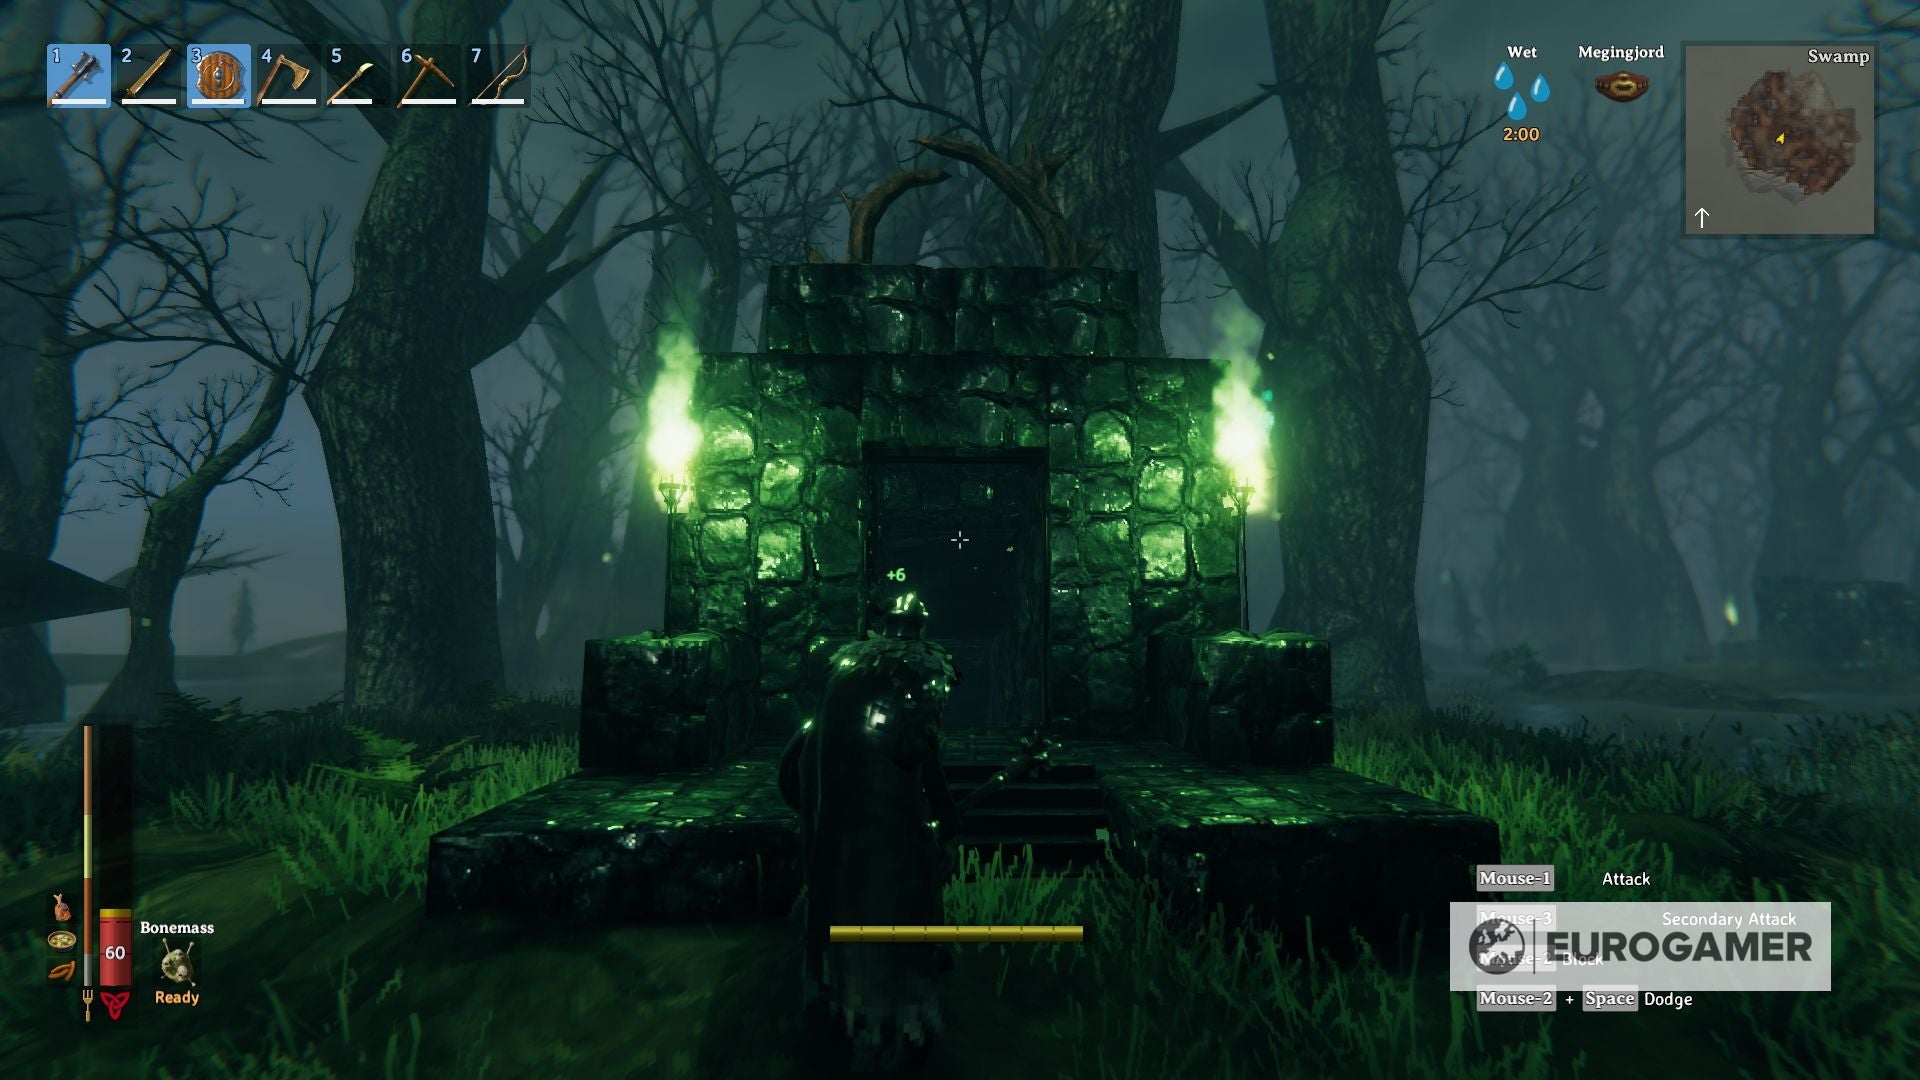
summon the third boss: To summon Bonemass you should provide 10 Withered Bones to the Sacrificial Altar. These are discovered inside the Sunken Crypts, both after destroying Muddy Scrap Piles with a 4% drop probability or laying on the ground randomly.
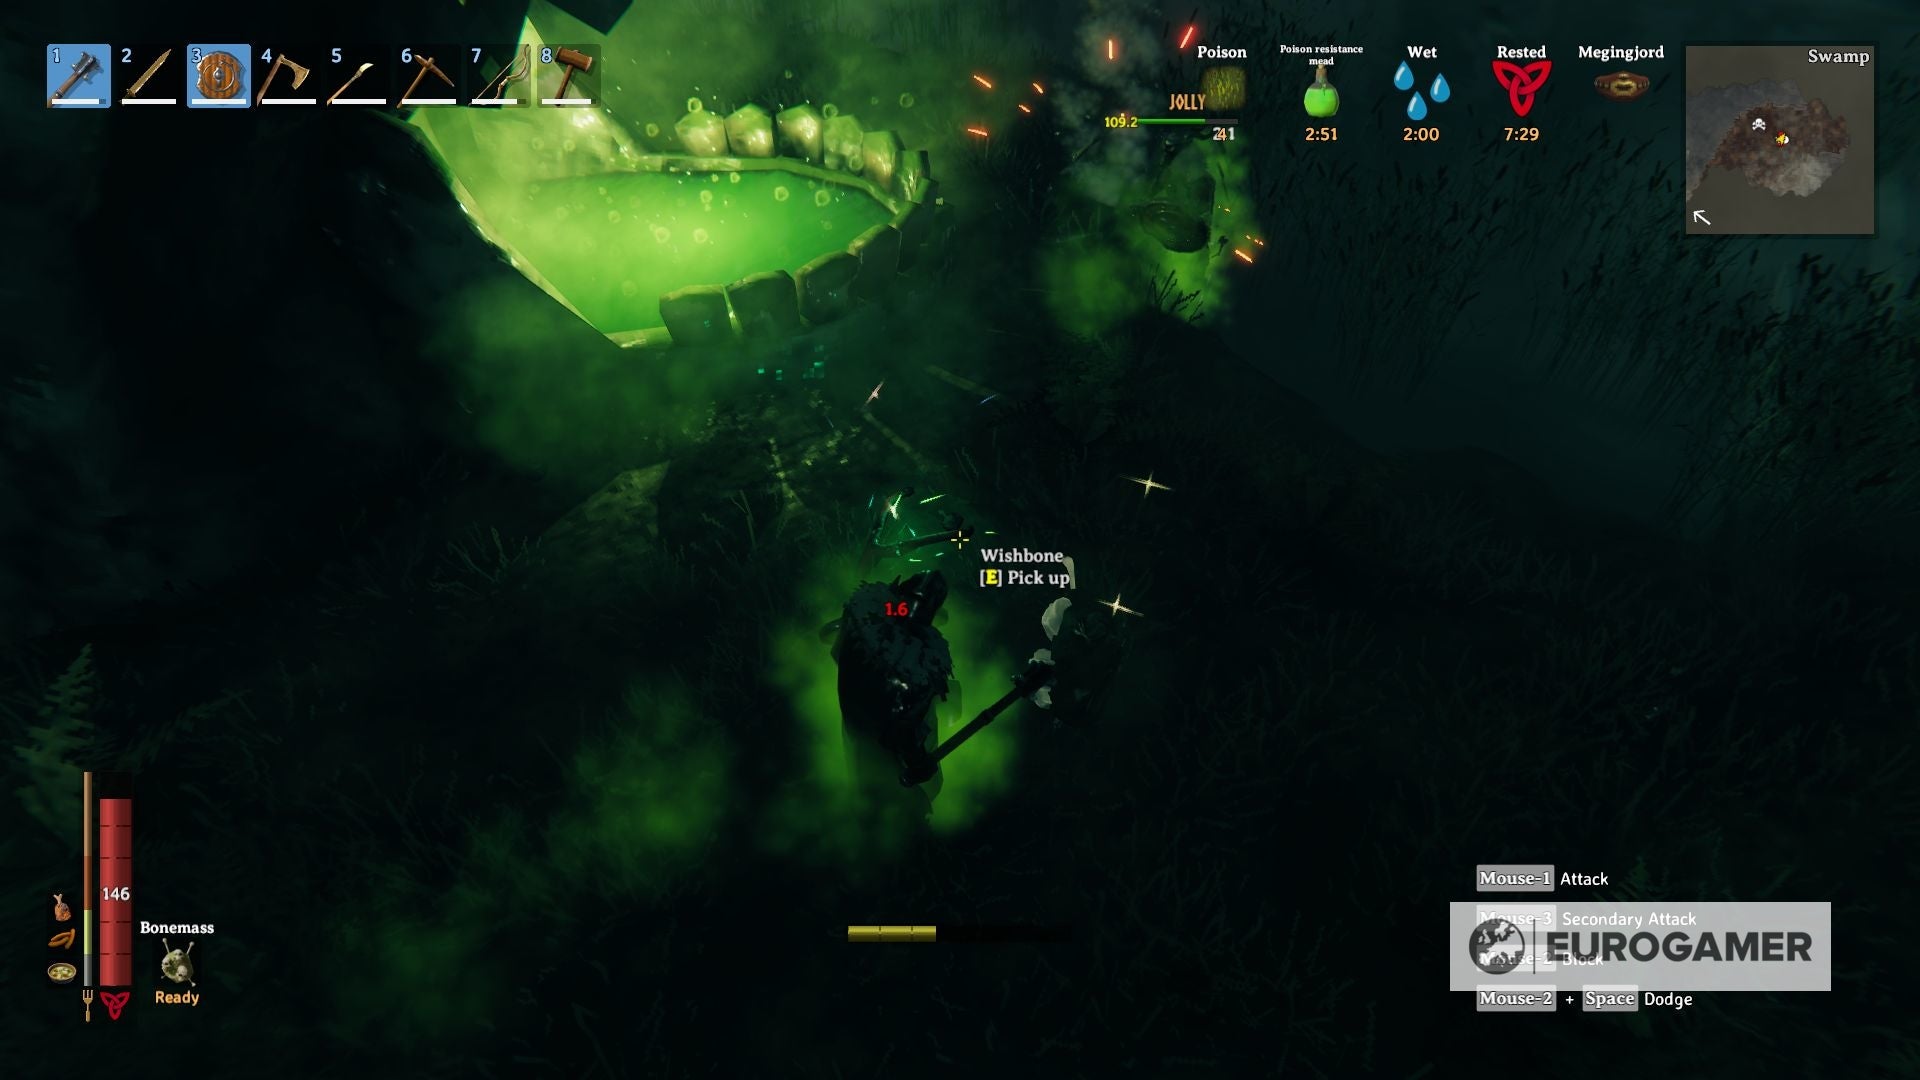
Bonemass rewards: After you defeat this boss, its respective story-based occasions will stop, and you’re going to get the next assured drops:
- Bonemass Trophy: This trophy, as soon as it is positioned in its respective sacrificial stone, will unlock the respective Forsaken Energy. This means provides you with a lift in your resistances towards all of the sorts of bodily injury for five minutes, with a cooldown of 20 minutes.
- Wishbone: An equipable merchandise, this Wishbone will allow you to search out buried secrets and techniques, resembling Muddy Scrap Piles within the Swamp (helpful for iron farming), Silver Nodes within the Mountains, and Buried Treasures within the Meadows. Everytime you get near a buried secret, you will note a inexperienced particle impact round your character, accompanied by a ringing sound that can solely get extra intense the nearer you get.
Bonemass story occasions: Earlier than and after you’re taking down Bonemass, the next might happen:
- After defeating The Elder and till you defeat Bonemass, Draugar and Skeletons will raid your base in random intervals of 150 seconds.
- After defeating Bonemass and till you defeat Moder, Drakes will raid your base in random intervals of 150 seconds. Additionally, you will get the Freezing utilized no matter your location.
- After defeating Bonemass, Skeletons and Rancid Stays will raid your base in random intervals of 120 seconds.
- After defeating Bonemass, Blobs and Oozers will raid your base in random intervals of 120 seconds.
- After defeating Bonemass and killing no less than 1 Surtling, Surtlings will raid your base in random intervals of 120 seconds.
put together for Bonemass: Okay, we’re now threading into harder territory. Bonemass has poison-based strikes, and as such, having Poison Resistance Mead in your stock is extraordinarily vital.
As all the time, the Rested bonus is a should, and when it comes to meals you will have to maintain your HP as highest as doable, so having a number of sorts of meat resembling Sausages and Cooked Meat it is extremely suggested, and some bottles of Medium Therapeutic Mead, simply in case.
On the Tools aspect, we have to have two issues current: Bonemass is extraordinarily weak to Blunt and Frost Harm, so an Iron mace, Banded Defend, Iron Armor set, and Frost Arrows are a should. Once more, do not even attempt if you cannot meet the standards, it is all the time higher to attend till you are effectively ready.
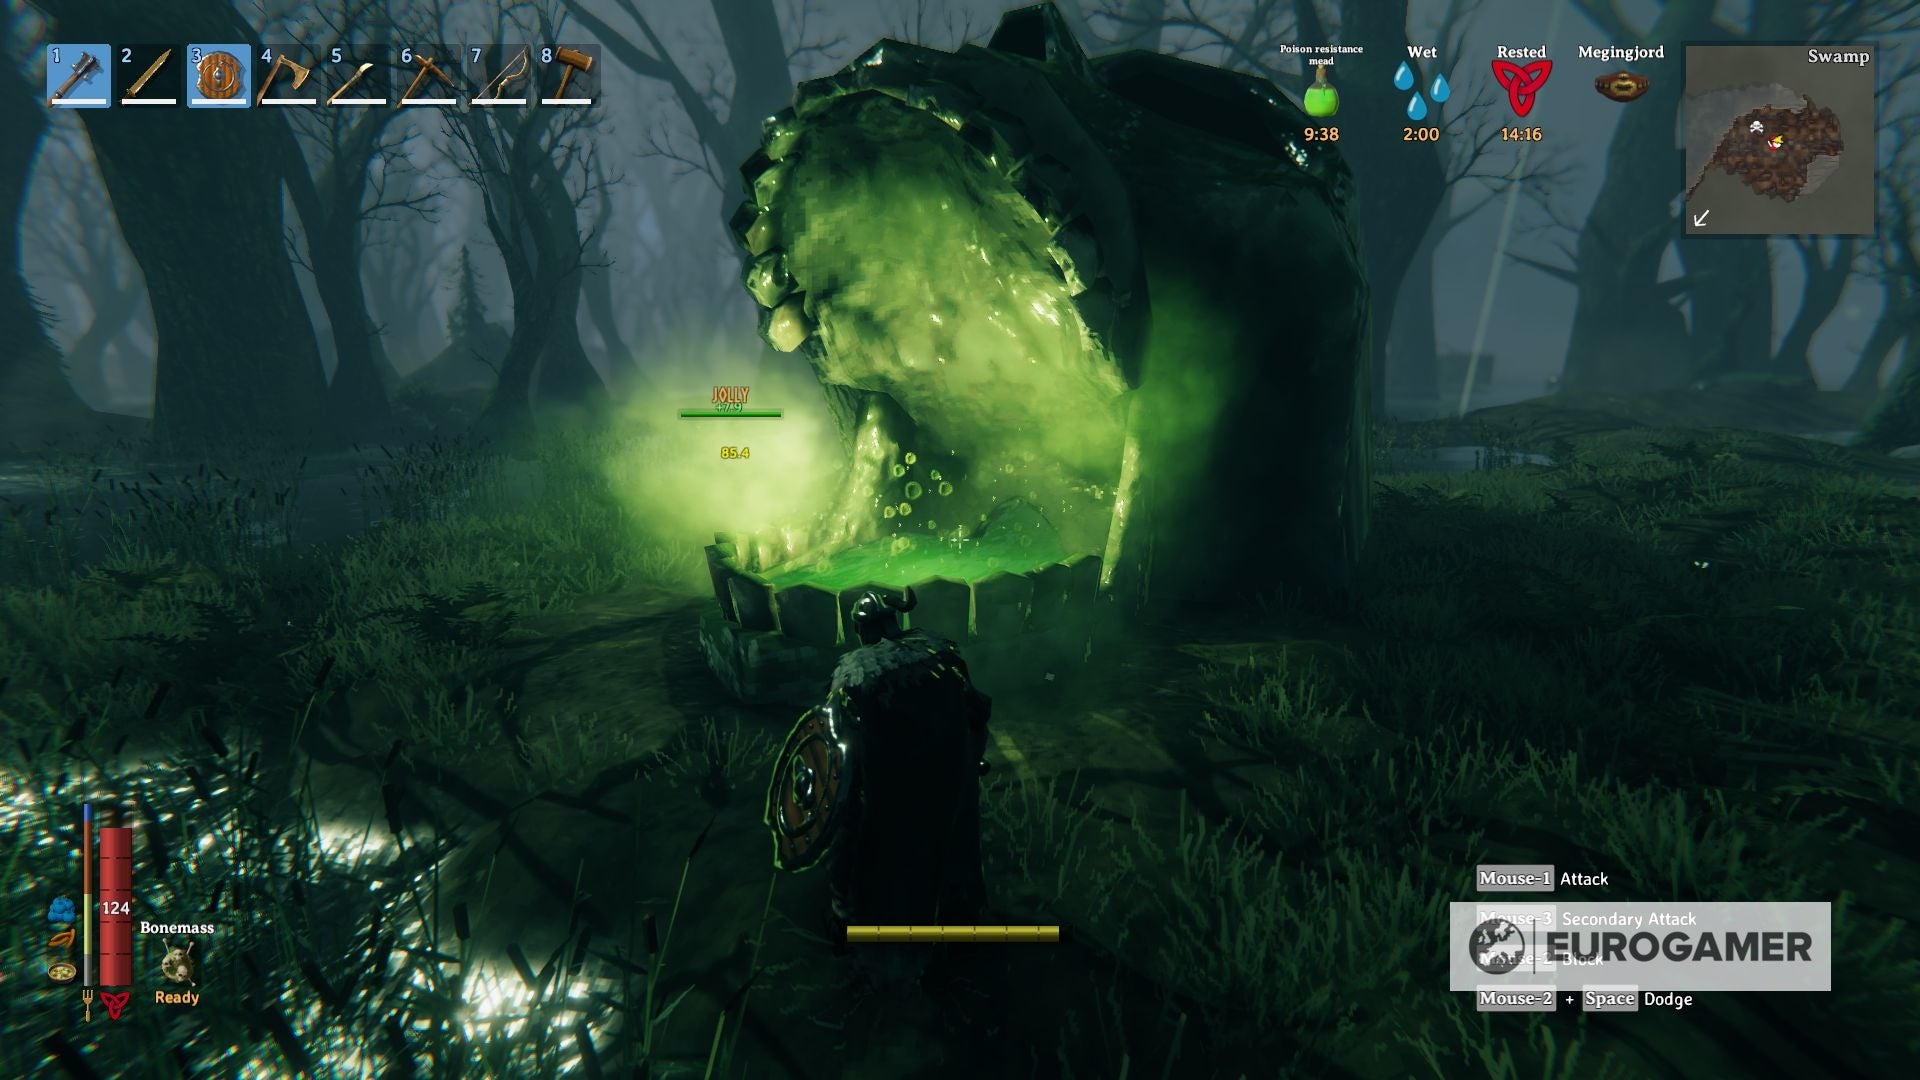
Bonemass technique
This shall be a means more durable battle than the earlier two, so you should be further cautious. Whereas being affected person is not a nasty selection on this battle, you should be fast and thoughts the way you spend your stamina, as a result of you do not have the luxurious of staying too lengthy within the poison clouds that this enemy makes use of. Use your Mace to hit him onerous and quick.
The primary transfer is a straight punch to your face. Nothing actually fancy, however it hits like a truck, so evade or parry, and quick.
The second transfer shall be Bonemass throwing a ball of goop up within the air. It will not be geared toward you, however as soon as it touches the bottom, 4 random enemies will spawn proper there. Is extremely suggested to cease and take care of them shortly, or you will get simply overwhelmed if too many enemies are summoned.
The third, and by far probably the most annoying of all them, shall be a charged assault, the place Bonemass will collect a poison cloud, solely to launch it as a wave of toxic ooze shortly after.
Even when you’ve got a Poison Resistance Impact lively you continue to will get poisoned, so do not linger inside that wave, simply run away till it is protected to strategy the boss once more. Velocity is vital on this battle, however if you happen to’re effectively outfitted and fed, you are able to do it.

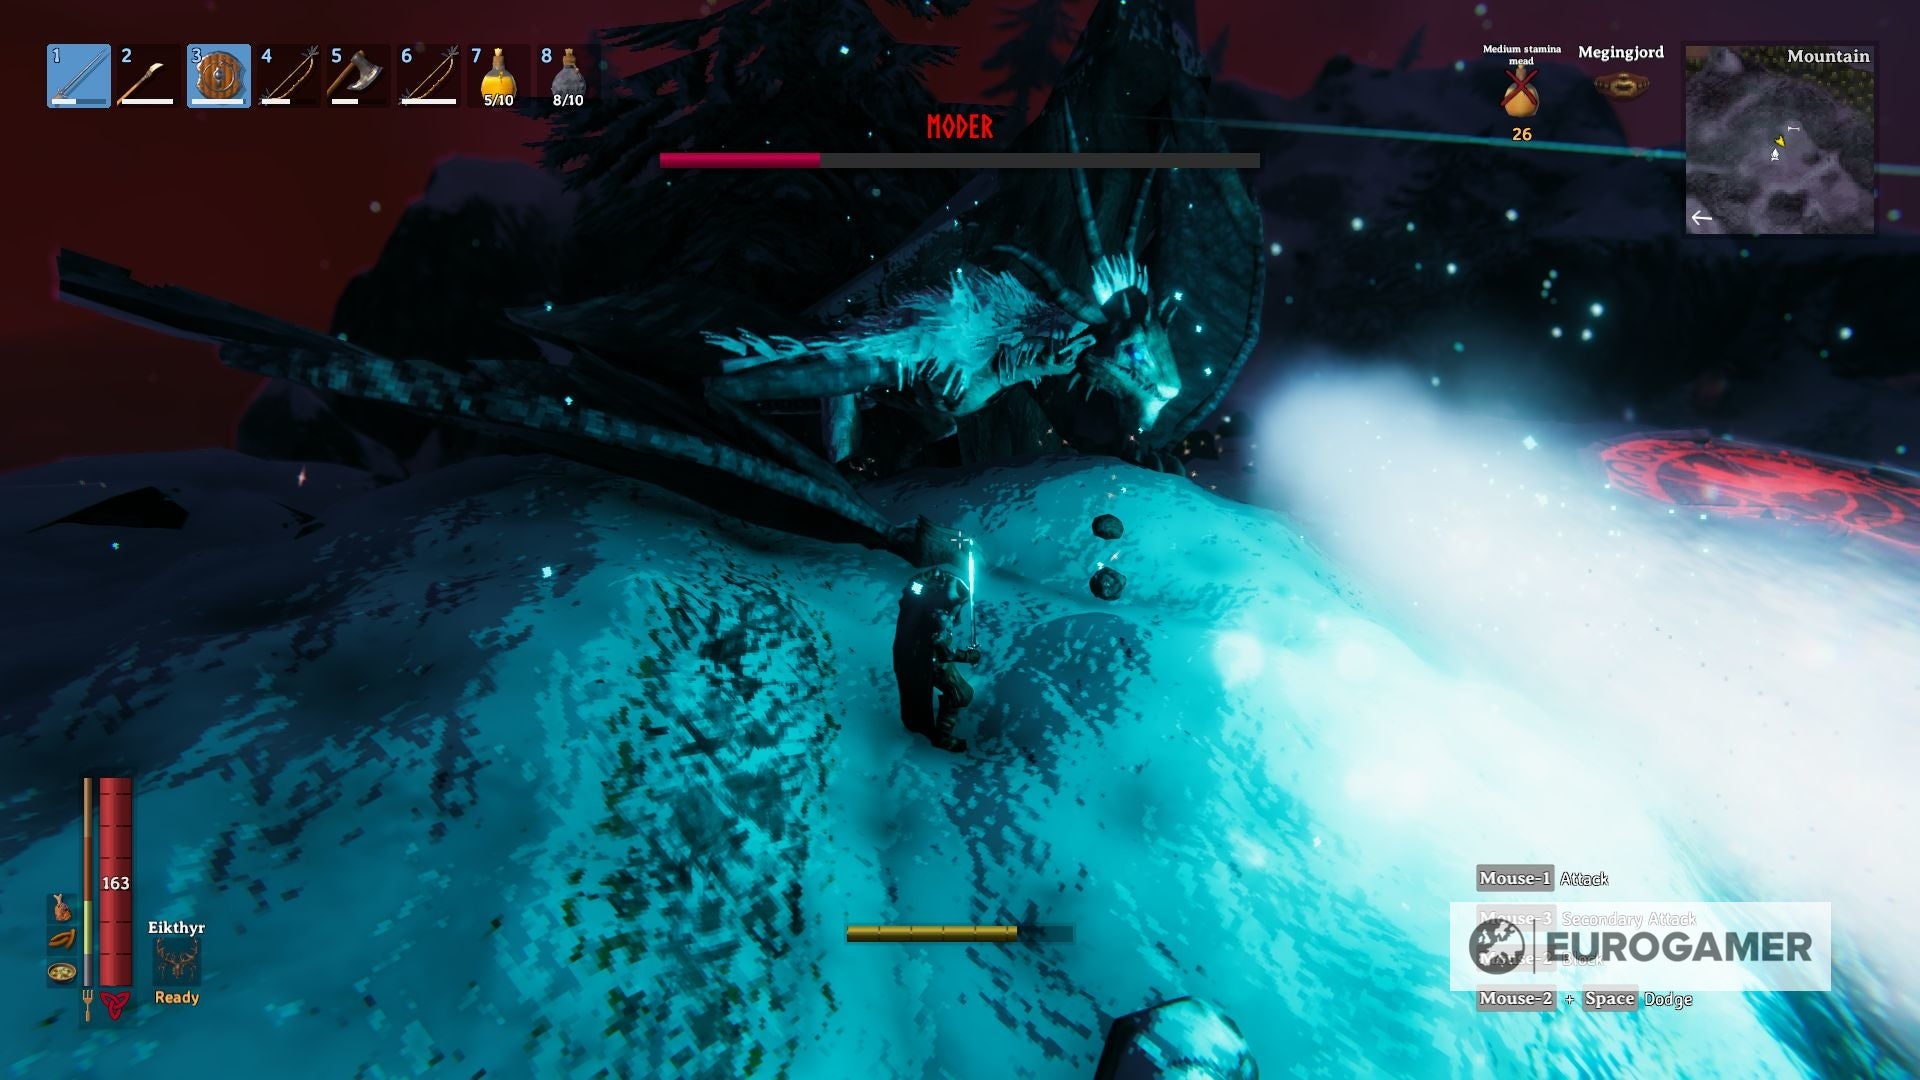
Valheim fourth boss Moder: beat dragon boss Moder and learn how to summon the fourth boss defined
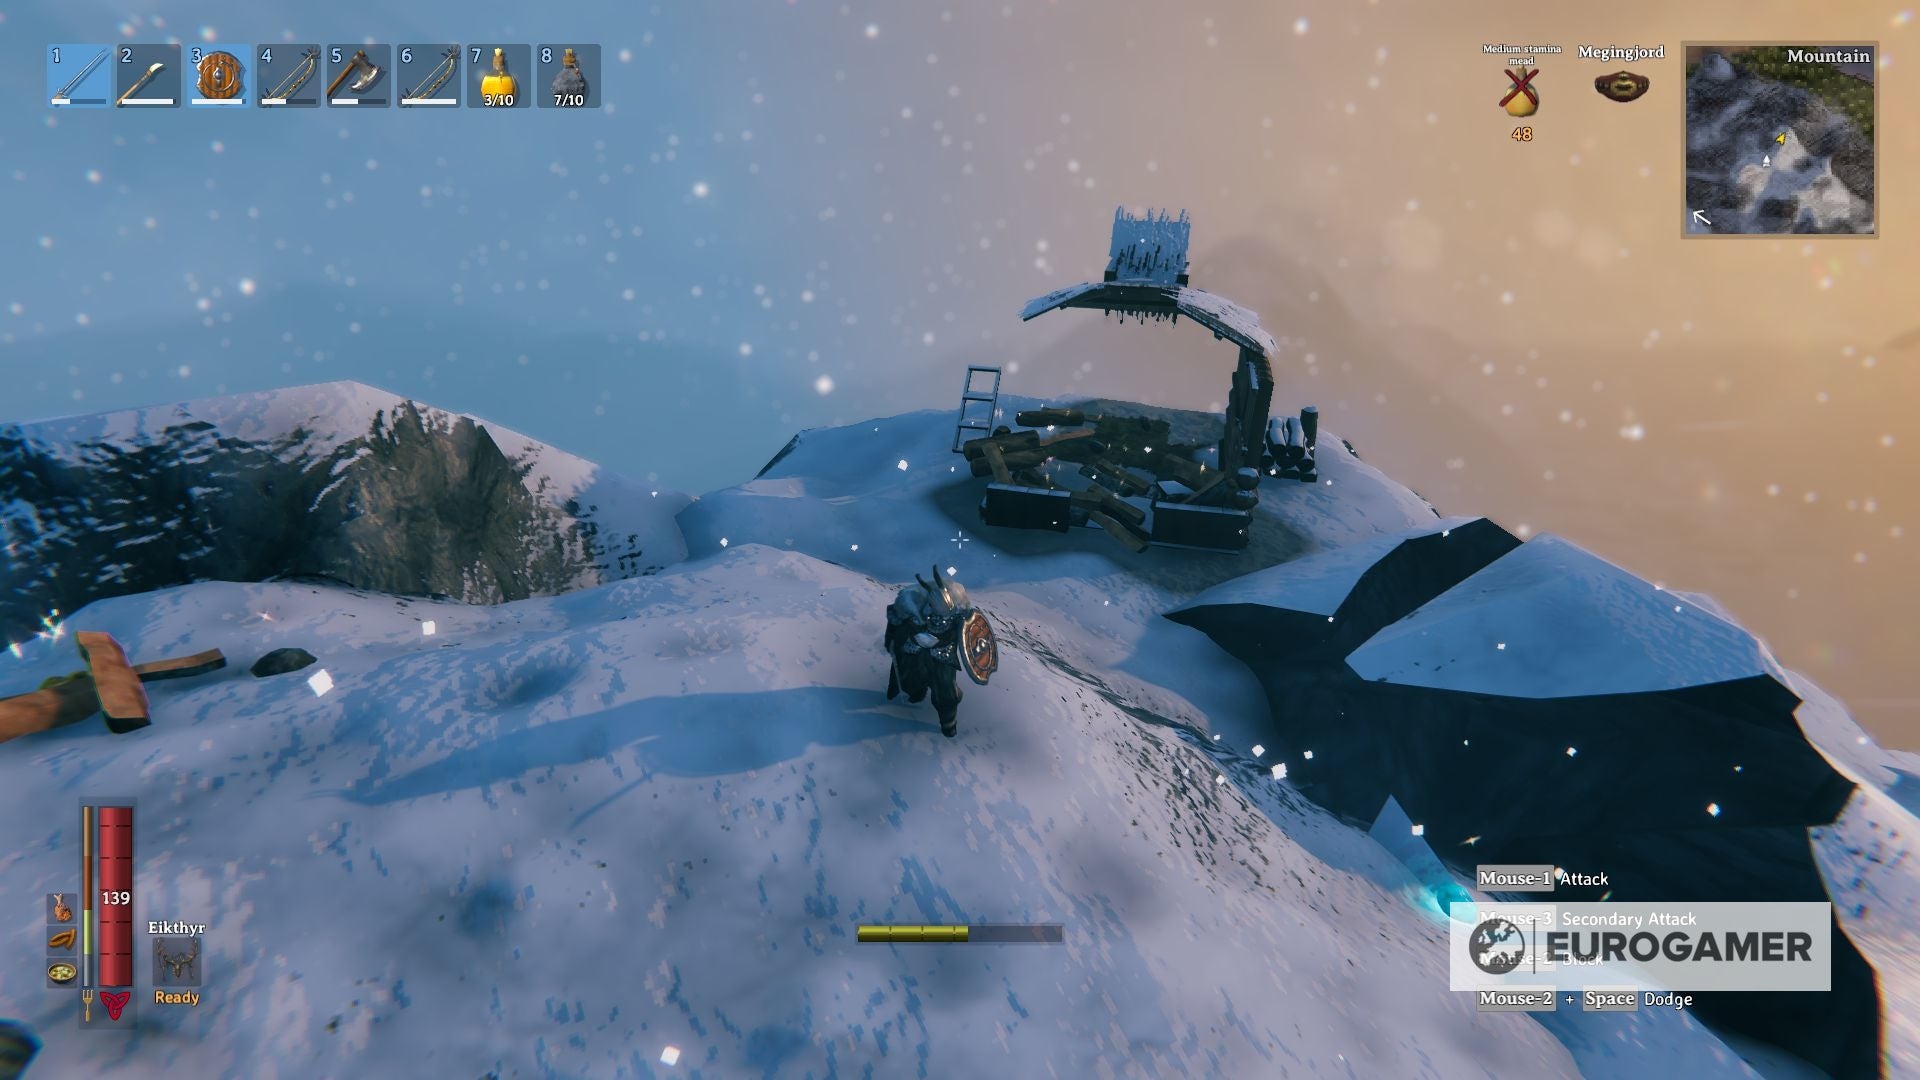
Moder is discovered within the freezing Mountains biome, with the runestones that provides you with her location sitting randomly in a few of the many deserted forts round.
It’s suggested to craft some Frost Resistance Meads within the Fermenter earlier than you head into this place to battle towards the Freezing debuff till you get to craft the Wolf Armor set, which can handle it robotically.

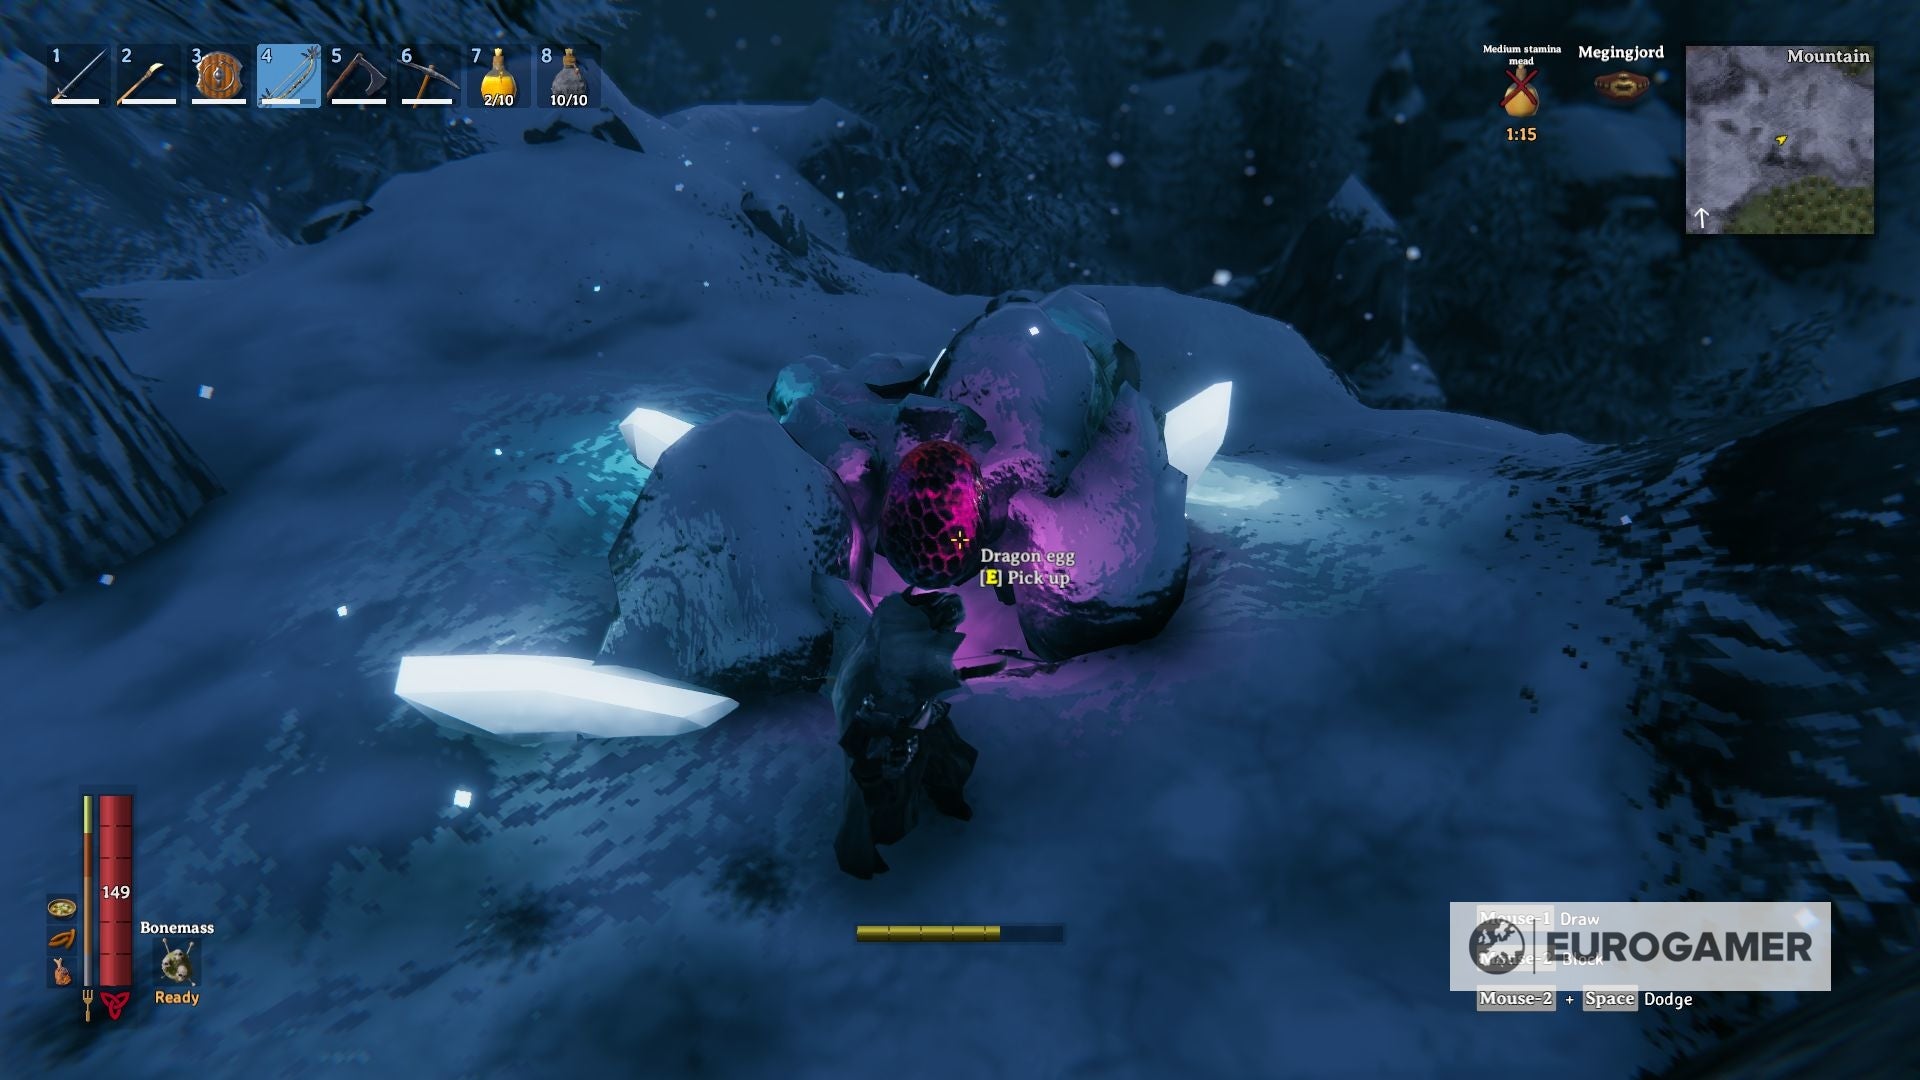
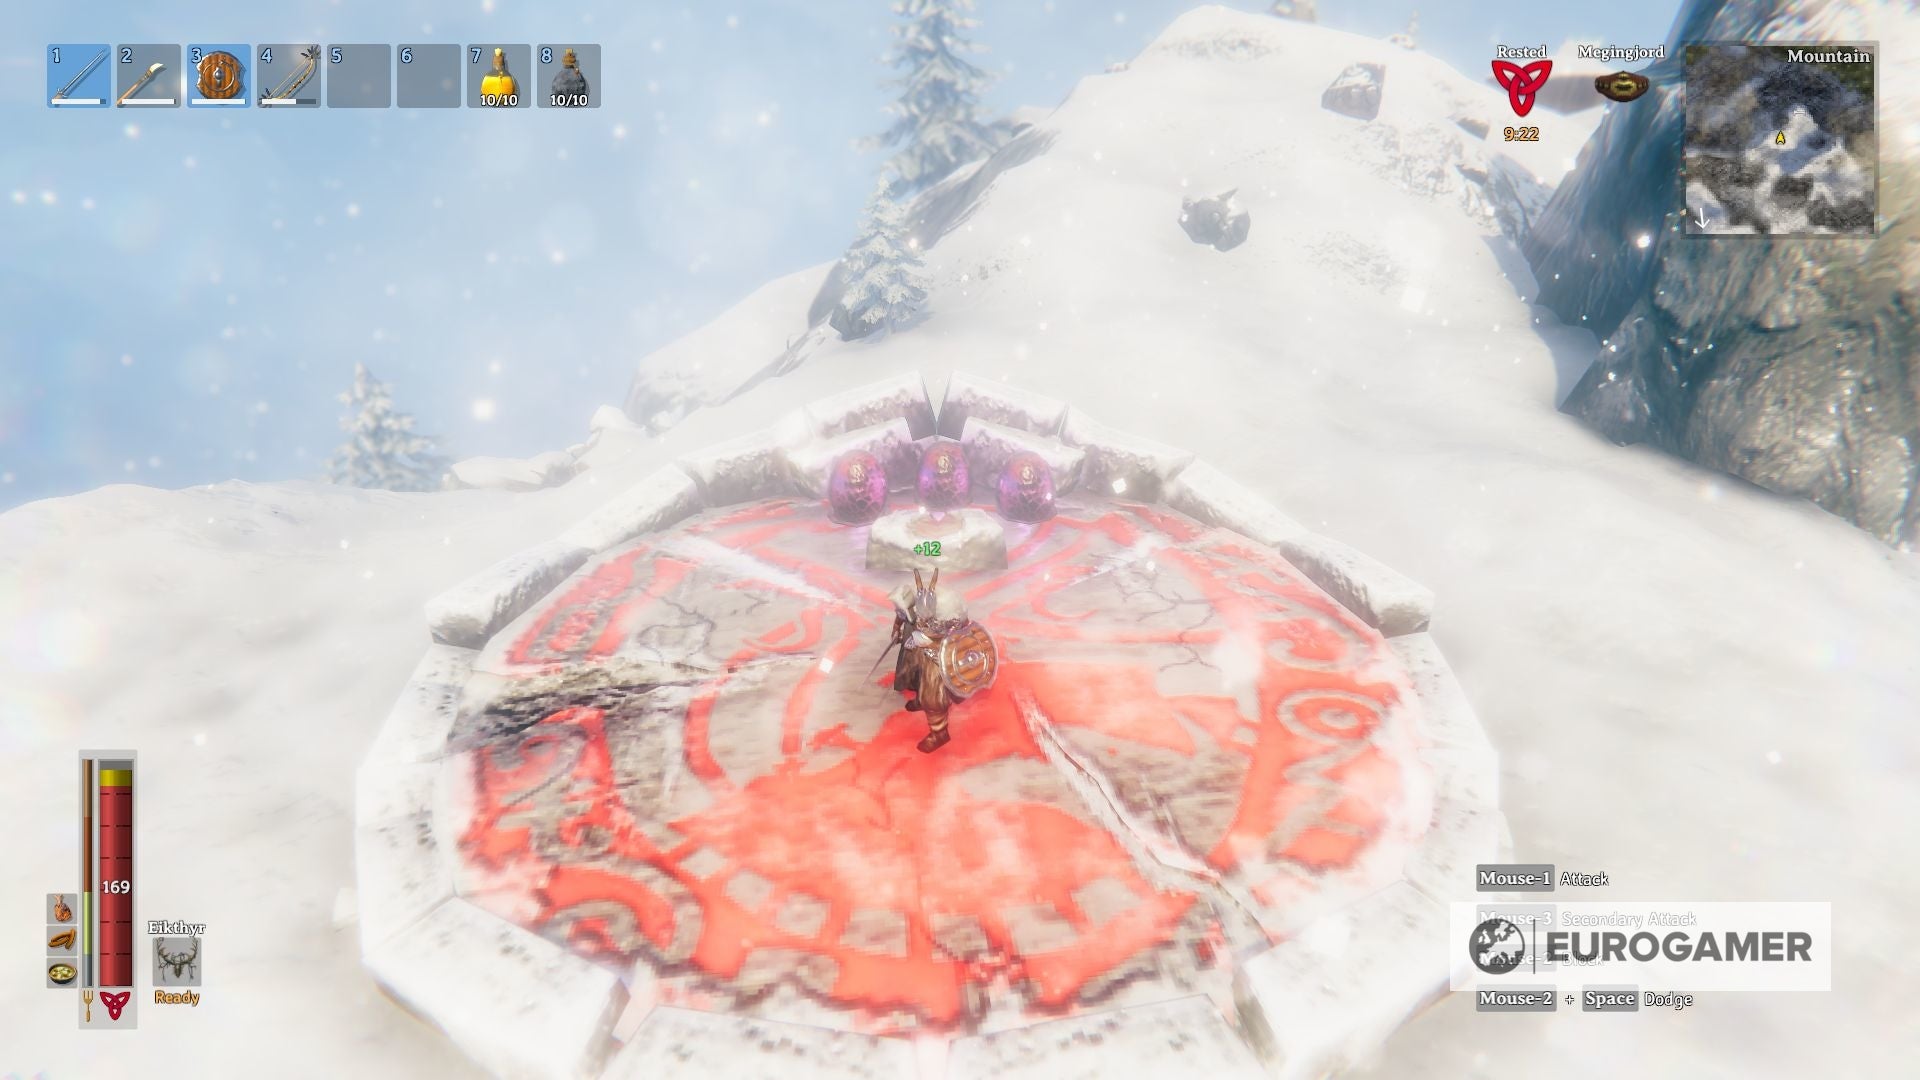
summon the fourth boss: When you positioned the altar, summoning Moder is actually a tough job. First, you should discover the Mountains till you discover a Dragon Egg. These are, by far, the heaviest object within the sport (200kg) so you possibly can simply carry two at a time, with minimal tools.
You may carry one after the other to the altar, or play with a gaggle of pals. Both means, as soon as you bought 3 Dragon Eggs, provide them to the altar and you’ll summon Moder.
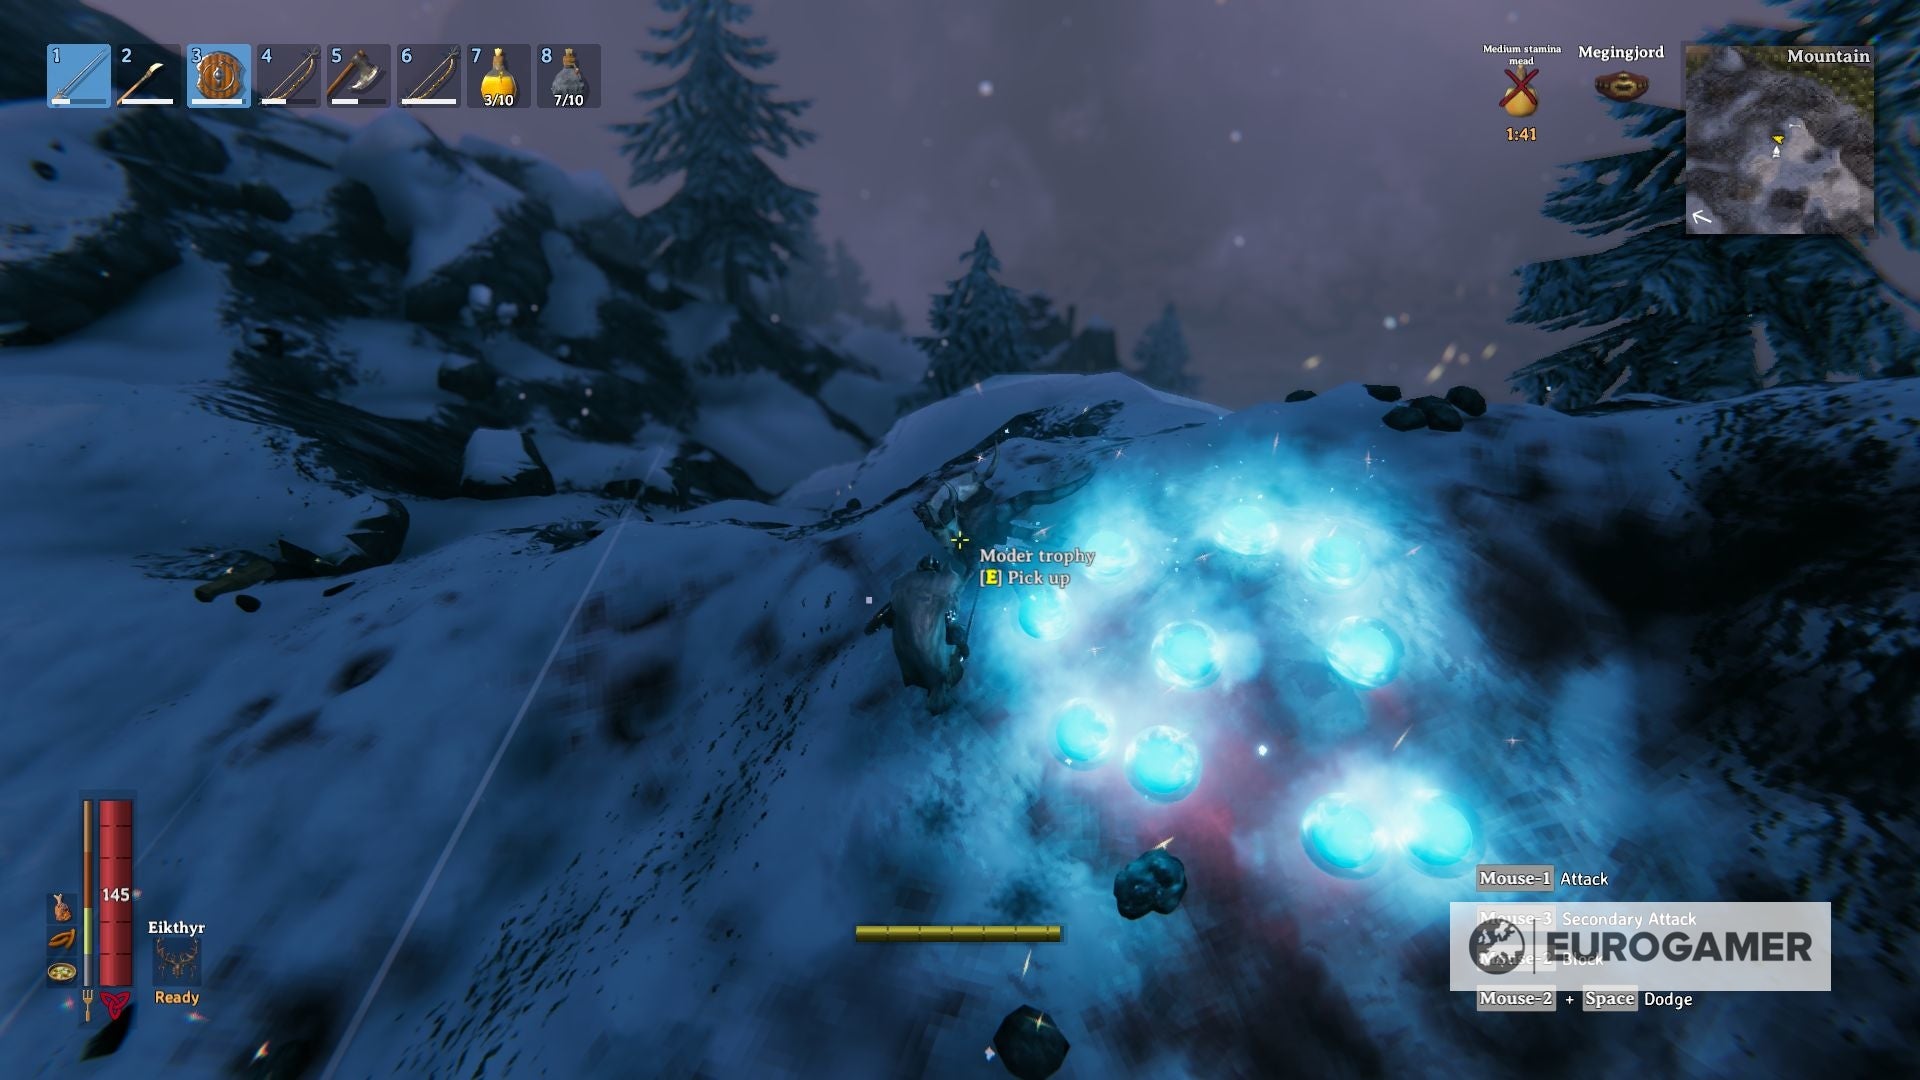
Moder rewards: After you defeat this boss, its respective Story-Based mostly Occasions will stop, and you’re going to get the next assured drops:
- Moder Trophy: This trophy, as soon as it is positioned in its respective sacrificial stone, will unlock the respective Forsaken Energy. This means, when activated, will all the time provide you with a tailwind whereas crusing for five minutes, with a cooldown of 20 minutes.
- Dragon Tear: Dragon Tears will unlock the recipe to make an Artisan Desk, essential to you since it can permit you to craft a Windmill and a Blast Furnace, each essential to entry the following Weapons and Armor class.
Moder story occasions: Earlier than and after you’re taking down Moder, the next might happen:
- After defeating Bonemass and till you defeat Moder, Drakes will raid your base in random intervals of 150 seconds. Additionally, you will get the Freezing utilized no matter your location.
- After defeating Moder and till you defeat Yagluth, Fulings, Fuling Berserkers, and Fuling Shamans will raid your base in random intervals of 120 seconds.
put together for Moder: Neglect about attempting your luck this time. Any more fights shall be very tough, so that you need to farm all of the doable supplies within the Mountains till you get a full set of Wolf Armor, a Drake Helmet, and Silver weapons, in addition to Hearth Arrows.

Improve all of them as a lot as you possibly can or you may be in a really tight spot. On the meals aspect, Turnip Stew, Cooked Meat, and Sausages provides you with sufficient boosts to your well being and stamina, and never solely Frost Resistance Meads are obligatory, but in addition you should have sufficient Medium Well being and Medium Stamina Meads.
One other factor which will assist, it is to place a workbench close to the altar and stage the encircling floor as a lot as you see match. These biomes can current as a really difficult terrain to maneuver inside a battle, and you do not need to get caught with no stamina attempting to dodge assaults.
It is price noting that Moder inflicts large injury to constructions, so it’s best to preserve that in thoughts and never set bases too near the altar.
Moder Technique:
Moder is probably the most cellular boss battle of all of them, and you need to be ready to behave as quick as her. She is going to change the strategy, taking a while to fly round you and assault from the air, after which touchdown to correctly hit you want a truck.
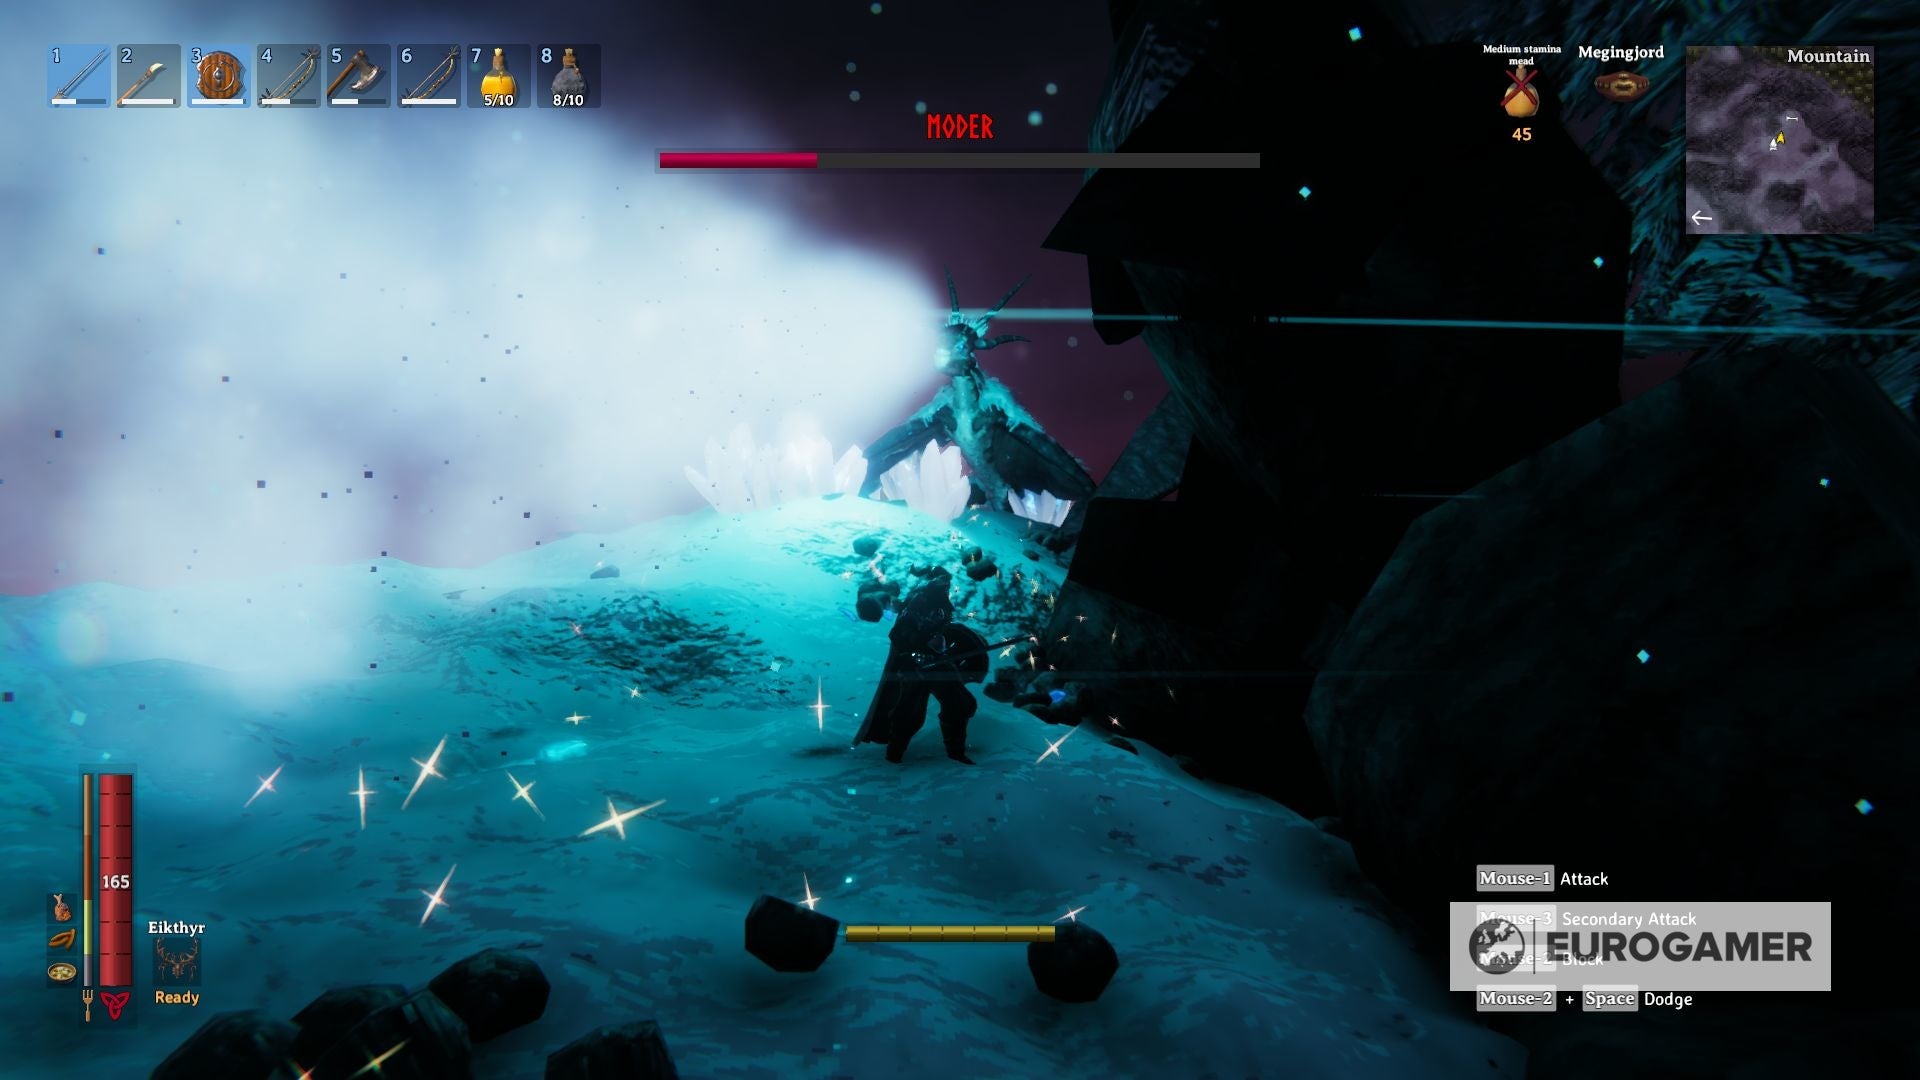
As quickly as she takes flight it’s essential to prioritize attacking her with hearth arrows, which she’s weak to, and finally, she is going to land. As soon as she’s within the floor, attempt to preserve your distance, since her mobility is considerably worse on foot. And if you happen to strategy her extra carefully, do it from the perimeters and you have to be protected sufficient.
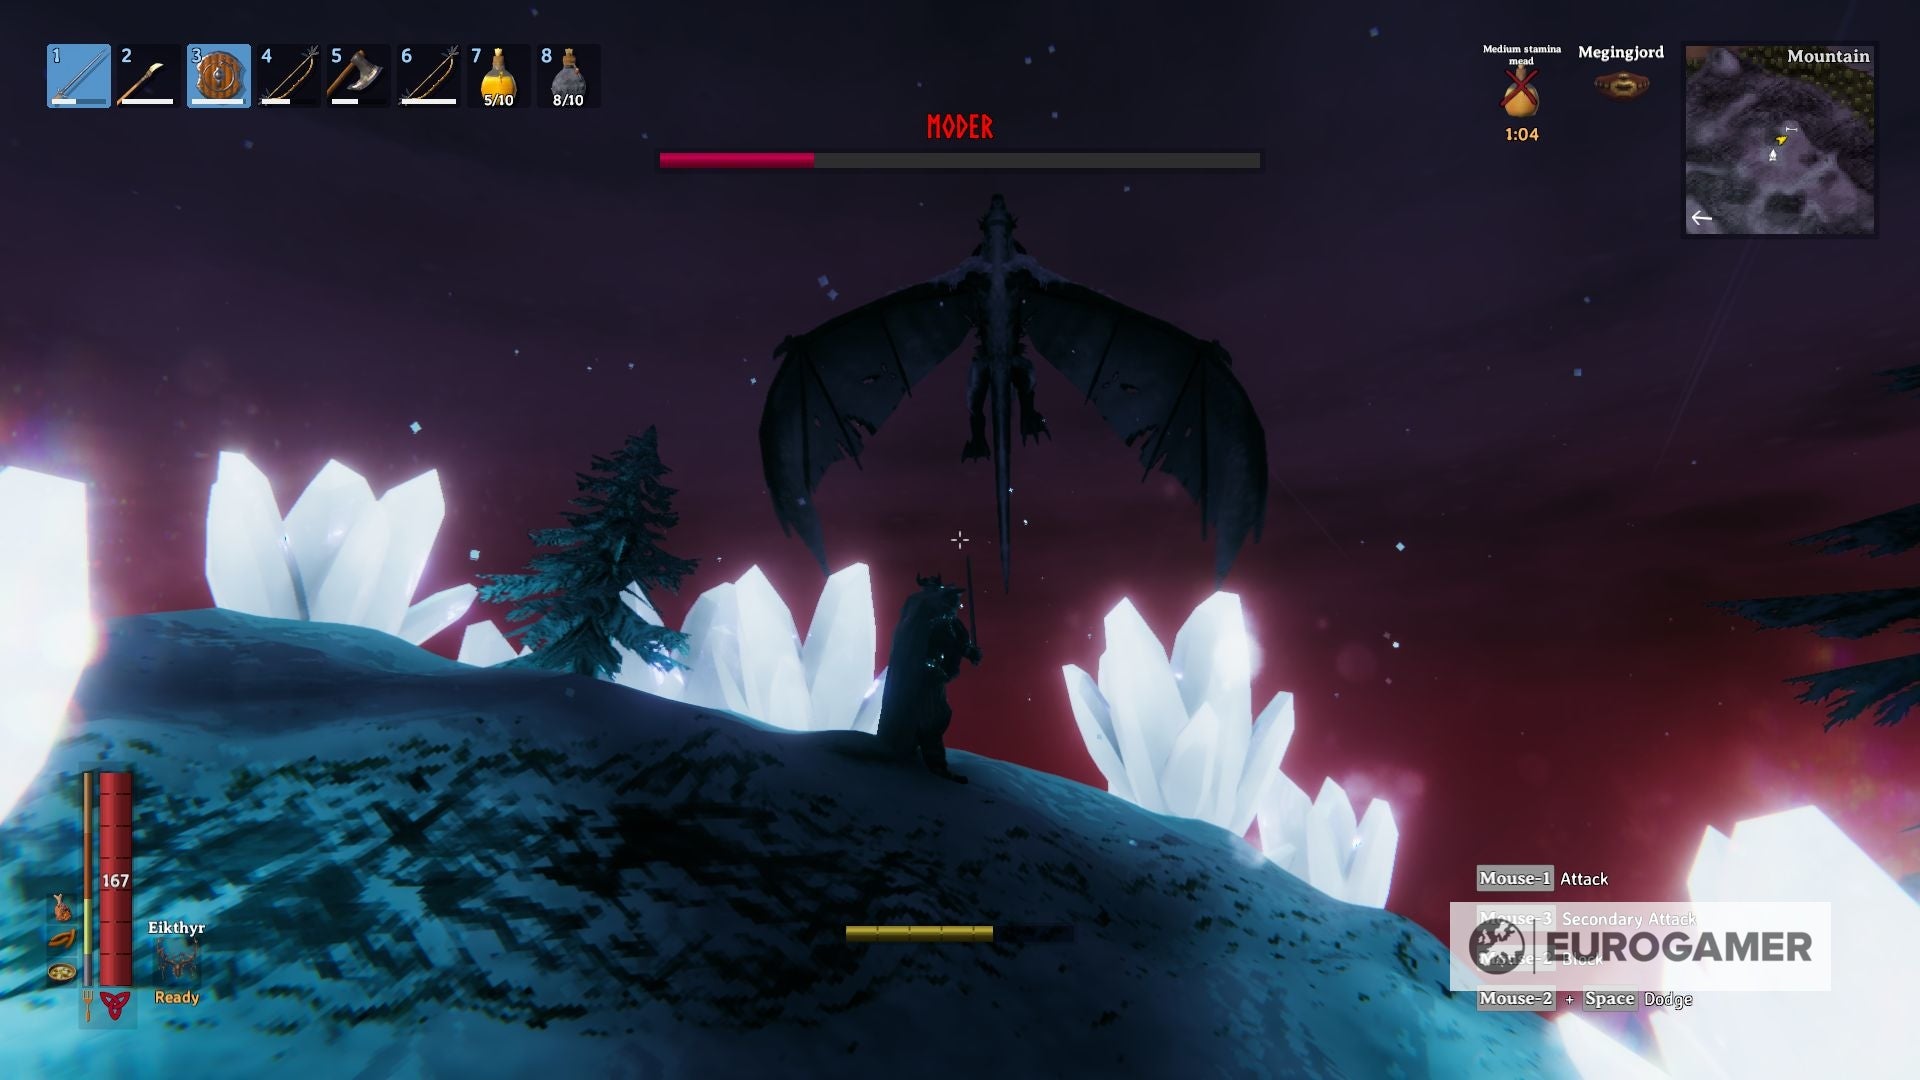
You should be ready for the next strikes; the primary, and probably the most annoying, is a mid-air assault. Whereas flying, she is going to shoot ice projectiles that can sluggish your motion for 15 seconds in the event that they influence on you, or kind ice crystal formations each time they land, blocking your path. Maintain your distance from these, as a result of they’ll explode after a bit, or hit them shortly to destroy them earlier than that.
The second transfer, as soon as she landed, would be the most elementary one, only a claw swipe towards you. It does a number of injury, however it’s simply blockable. Not a lot to say about this assault, as a normal rule it’s best to attempt to flank Moder always.
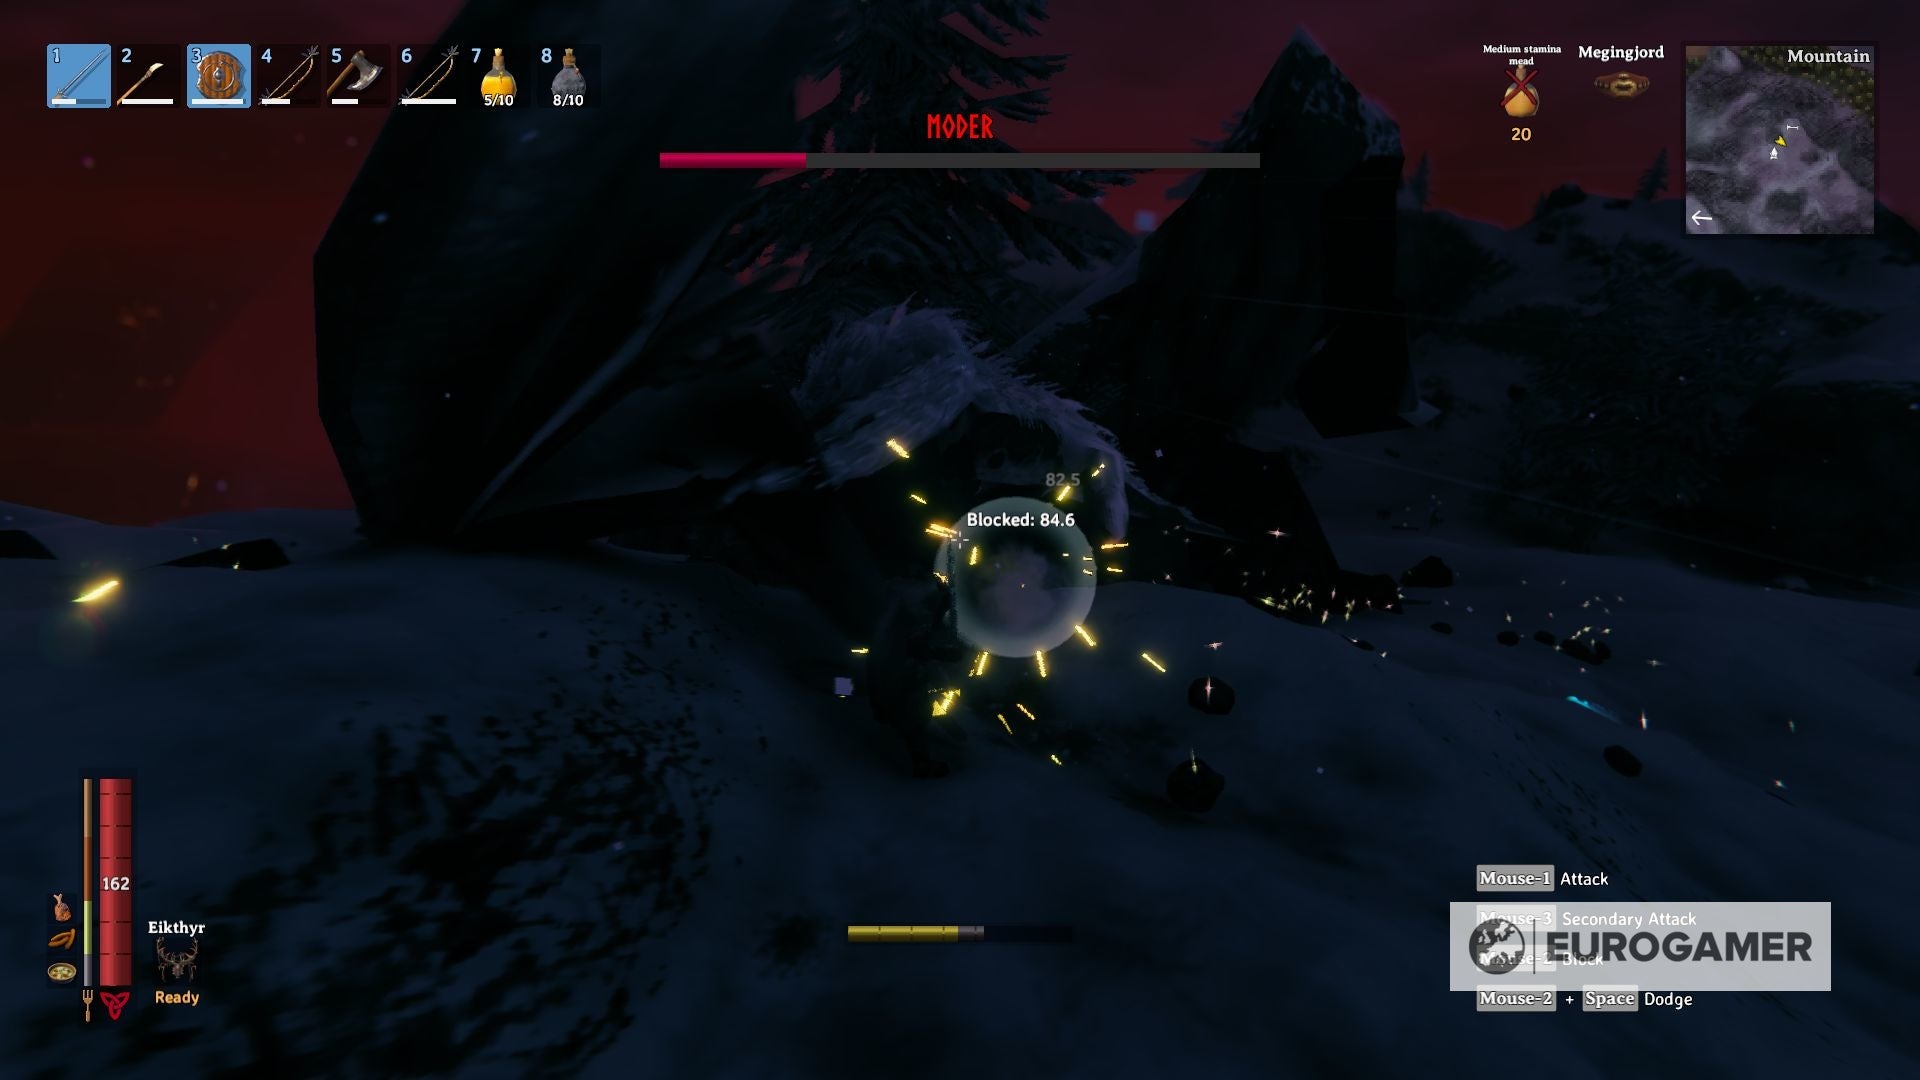
By far the strongest transfer, her third assault is an ice breath assault on a straight line. It extends a protracted distance, however because it does not unfold that a lot, it is simply avoidable and it leaves Moder’s protection open sufficient time so that you can inflict a very good quantity of direct blows.
This assault additionally slows your motion for 15 seconds when it hits you, so it is vital to evade it and never find yourself being the weak one within the battle.
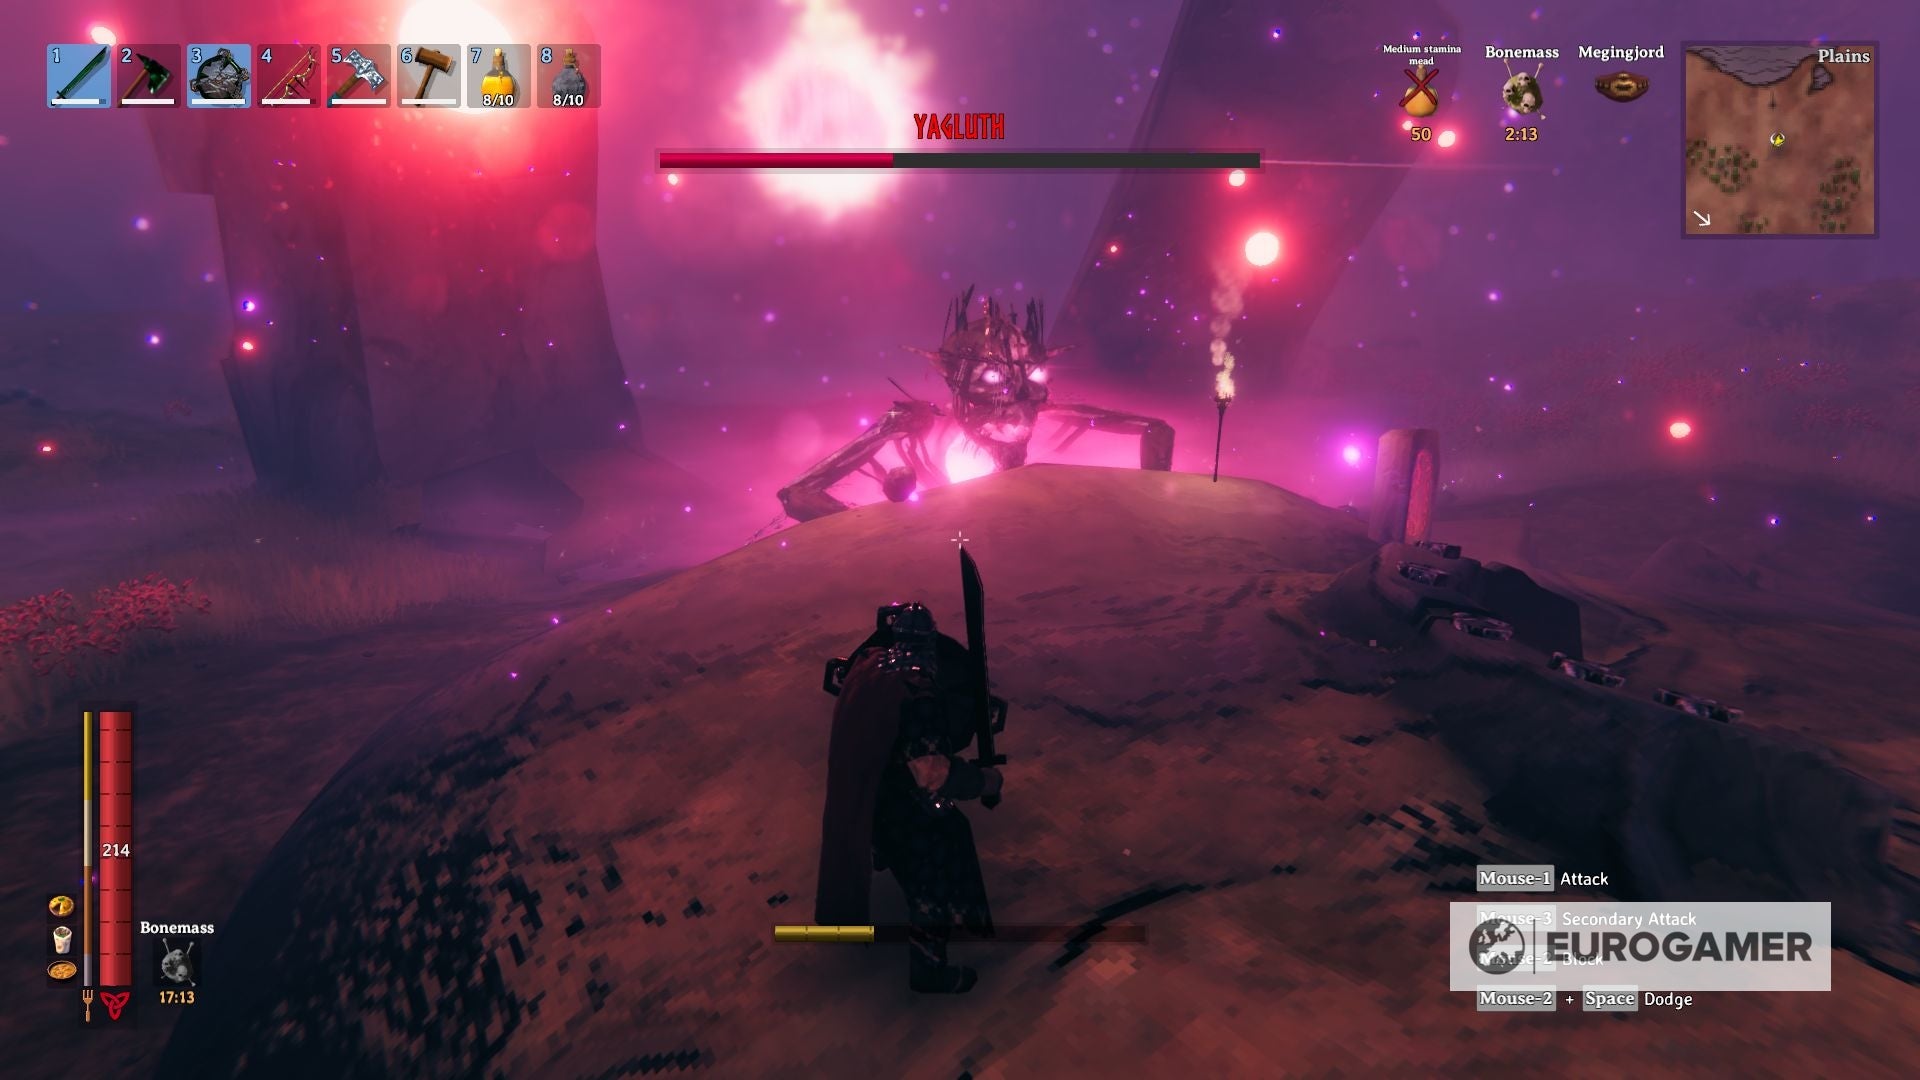
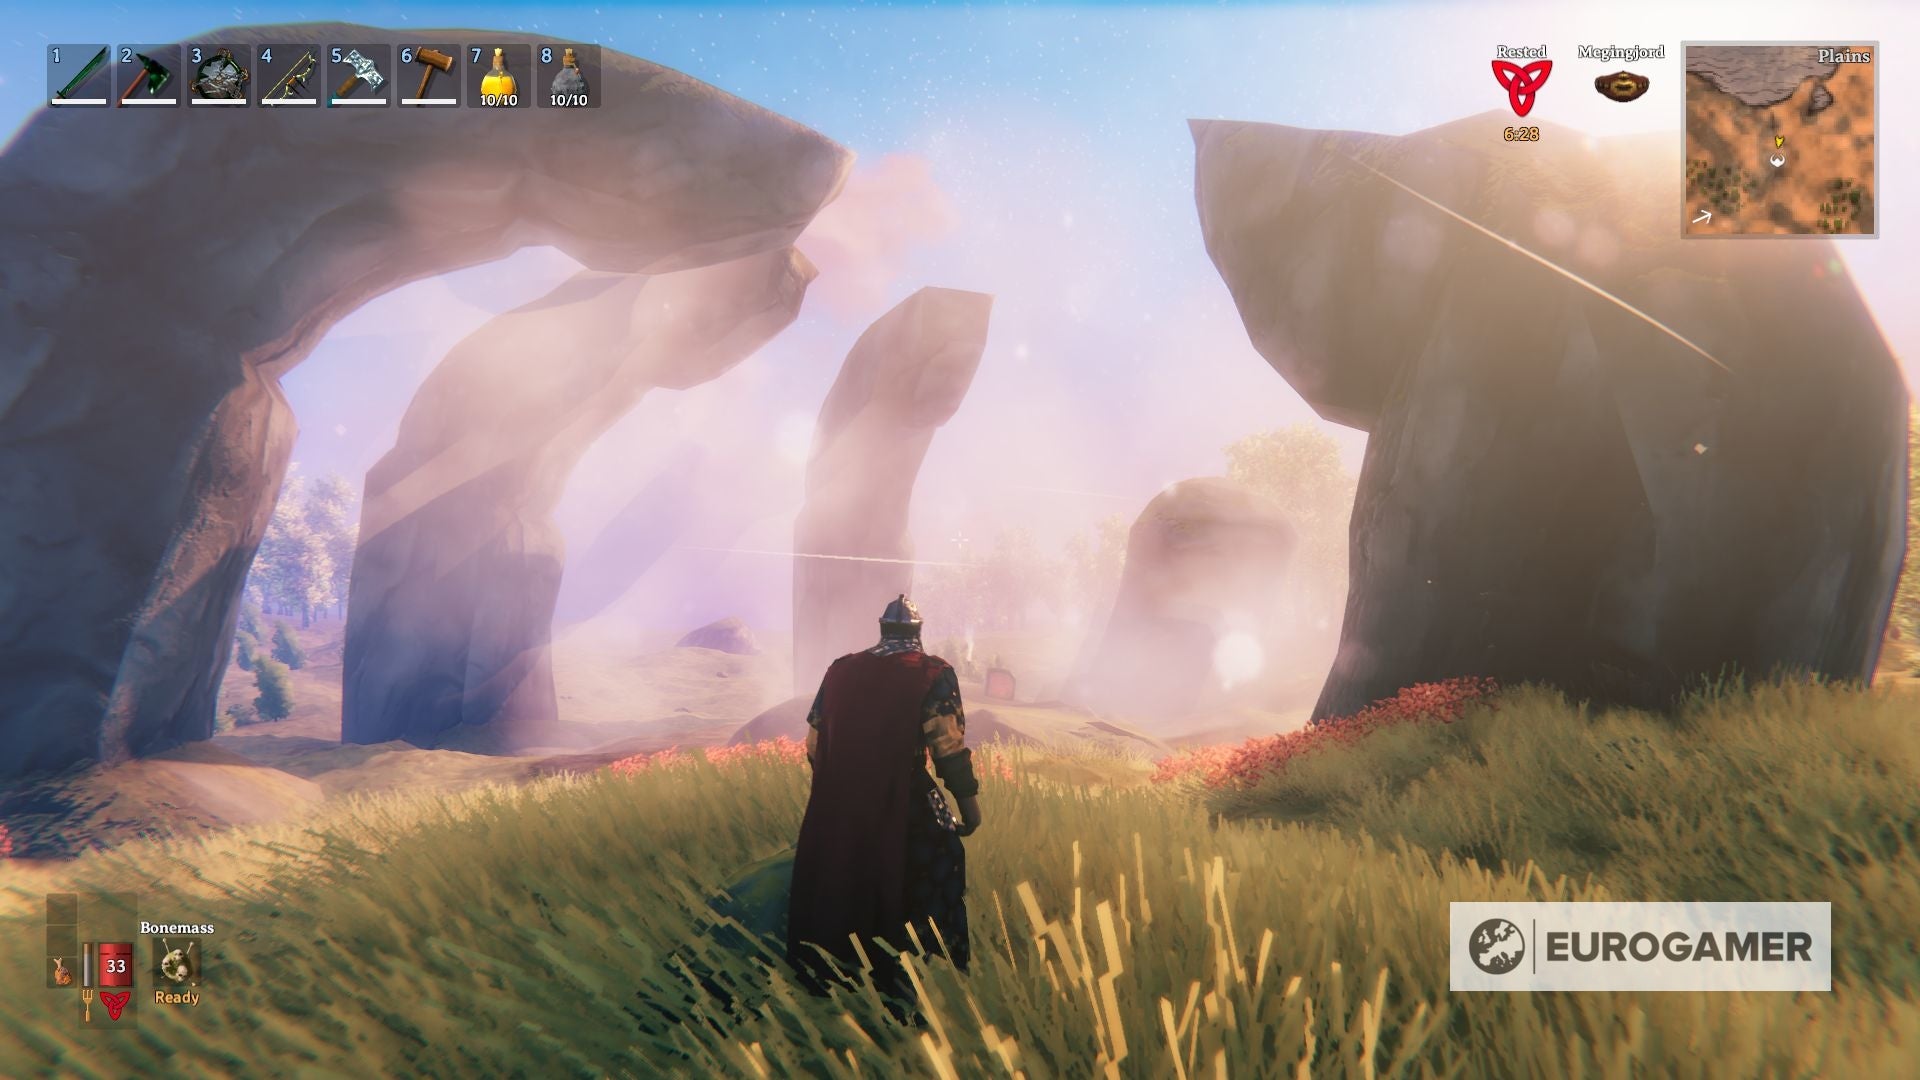
Valheim fifth boss Yagluth: beat Yagluth and learn how to summon the fifth boss defined
Yagluth is discovered within the Plains, probably the most tough biome to discover up to now. Whereas there is no pure ailment like low temperatures, the monsters listed below are by far probably the most difficult to defeat.
Solely proceed to this space as soon as you are feeling protected and outfitted sufficient to face Loxes, Fulings, and the extraordinarily aggressive Deathsquitoes.
The runestones that mark the situation of this boss could be discovered close by random teams of rocks and in addition in advanced stone formations. Consider, runestones on this biome are means rarer to search out than in the remainder of the biomes. Cowl as a lot terrain as you possibly can, preserve your eyes open, and hope to search out one as quickly as doable.
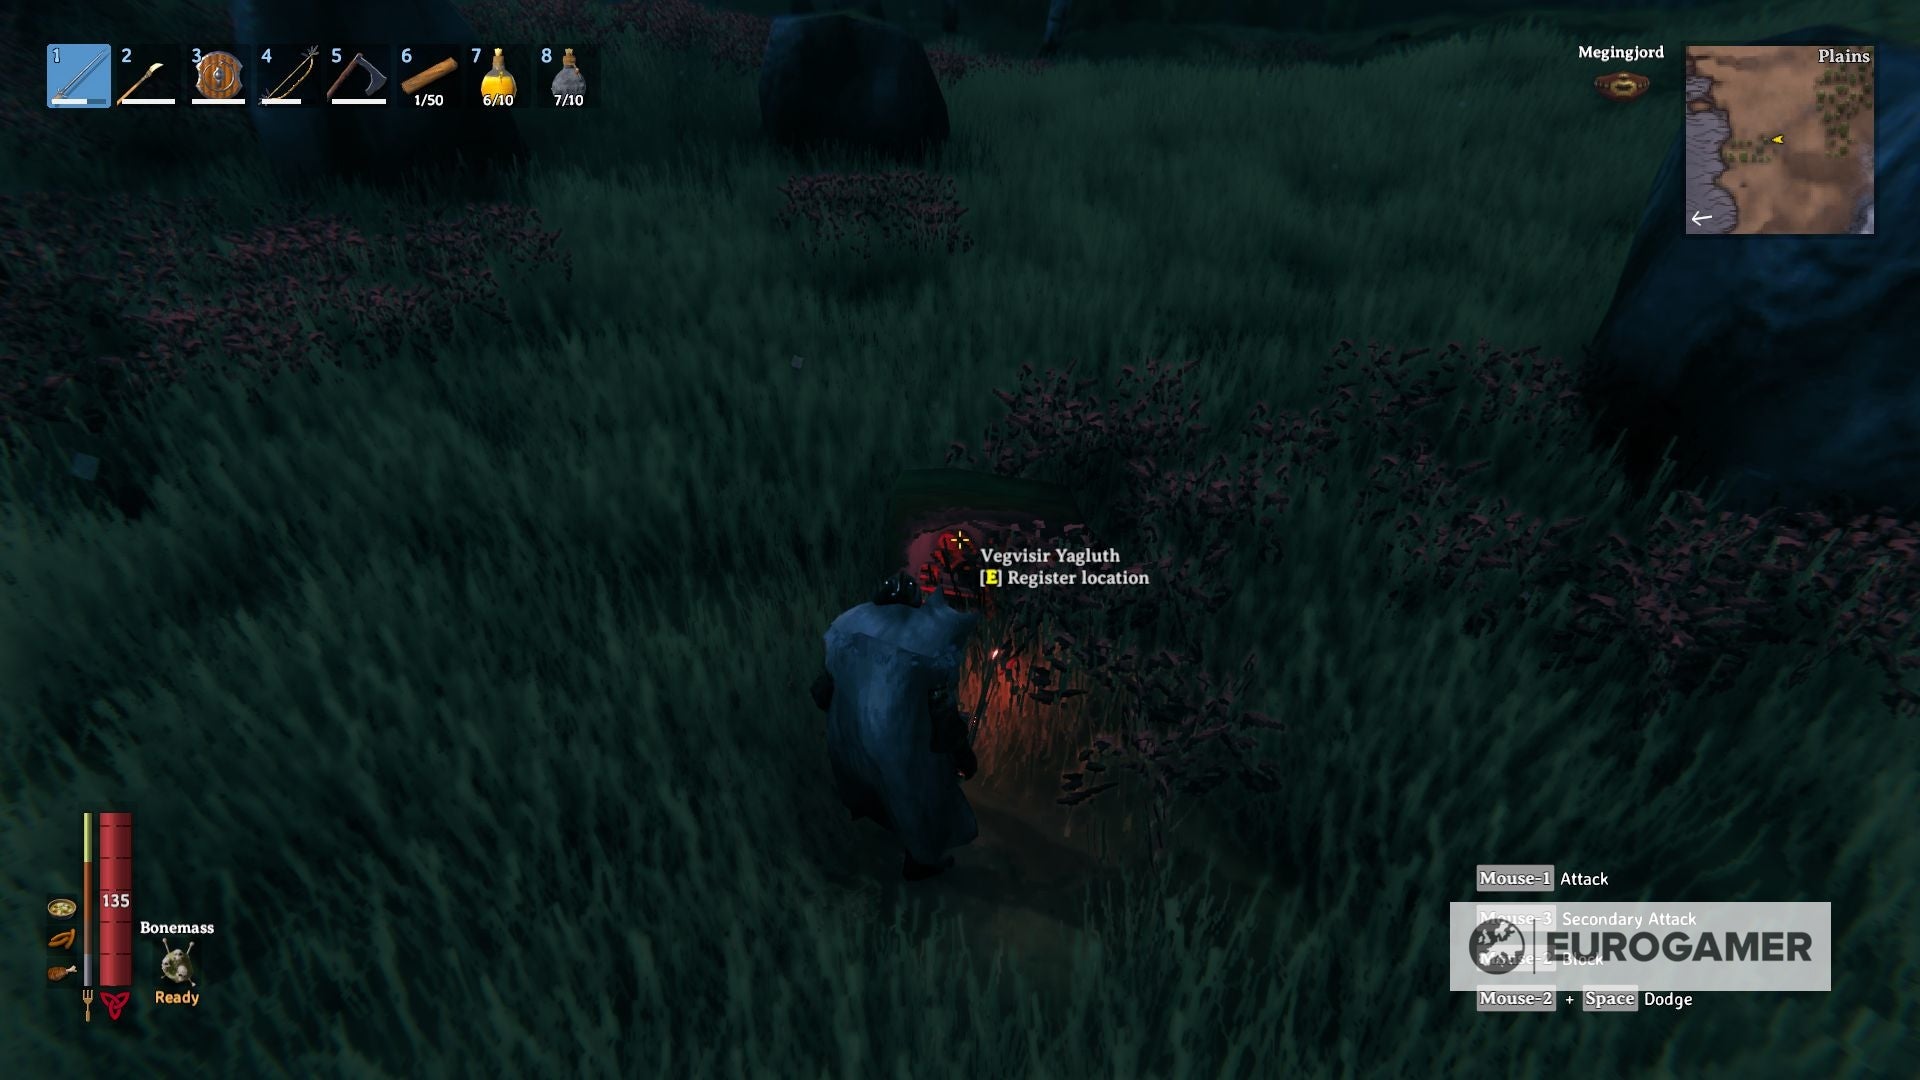
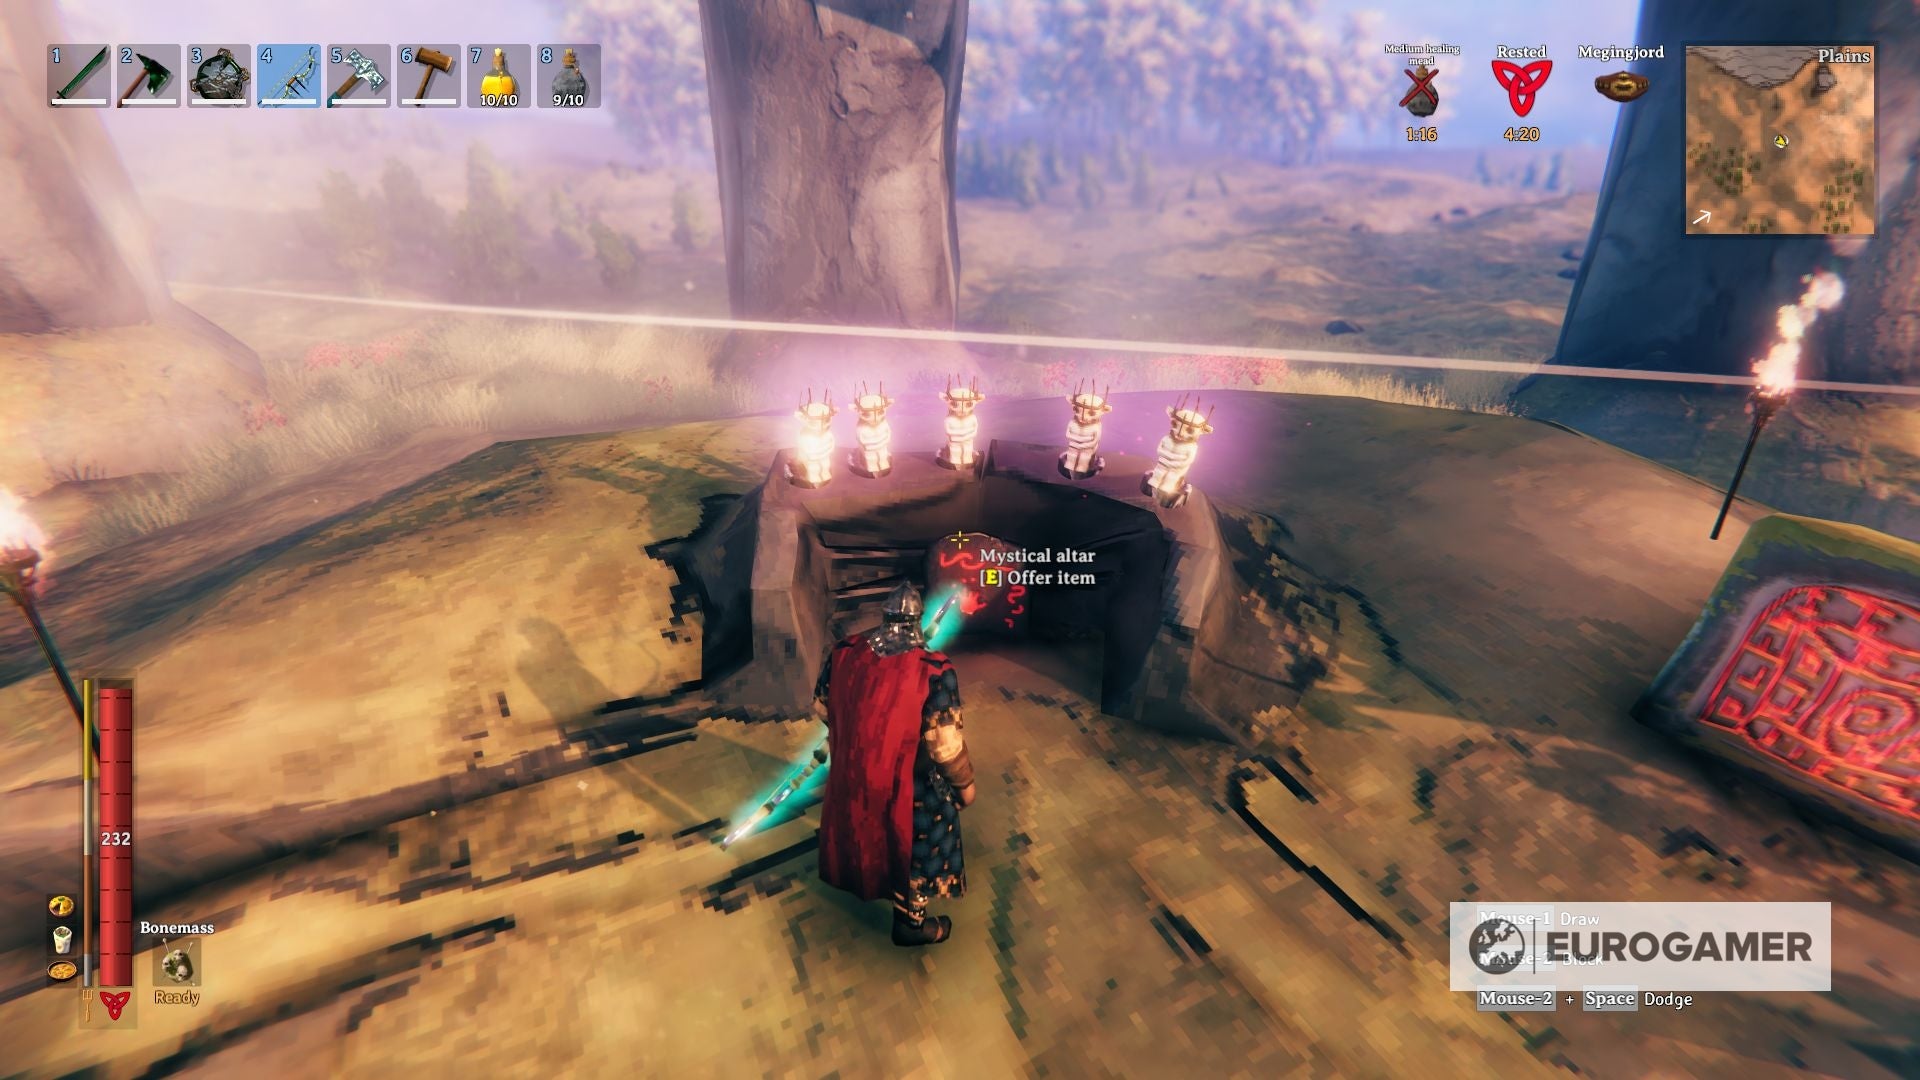
summon the fifth boss: When you positioned the altar, the following step is to collect 5 Fuling Totems. That is no simple feat, because it implies that you need to discover and clear 5 Fuling camps the place they’ve totems you possibly can steal after killing the residents.
A great technique to get that is to clear them from afar with a bow, which might take some time however it’s much less dangerous. After you bought them, you should place every one of many totems on the altar, and it is possible for you to to summon Yagluth.
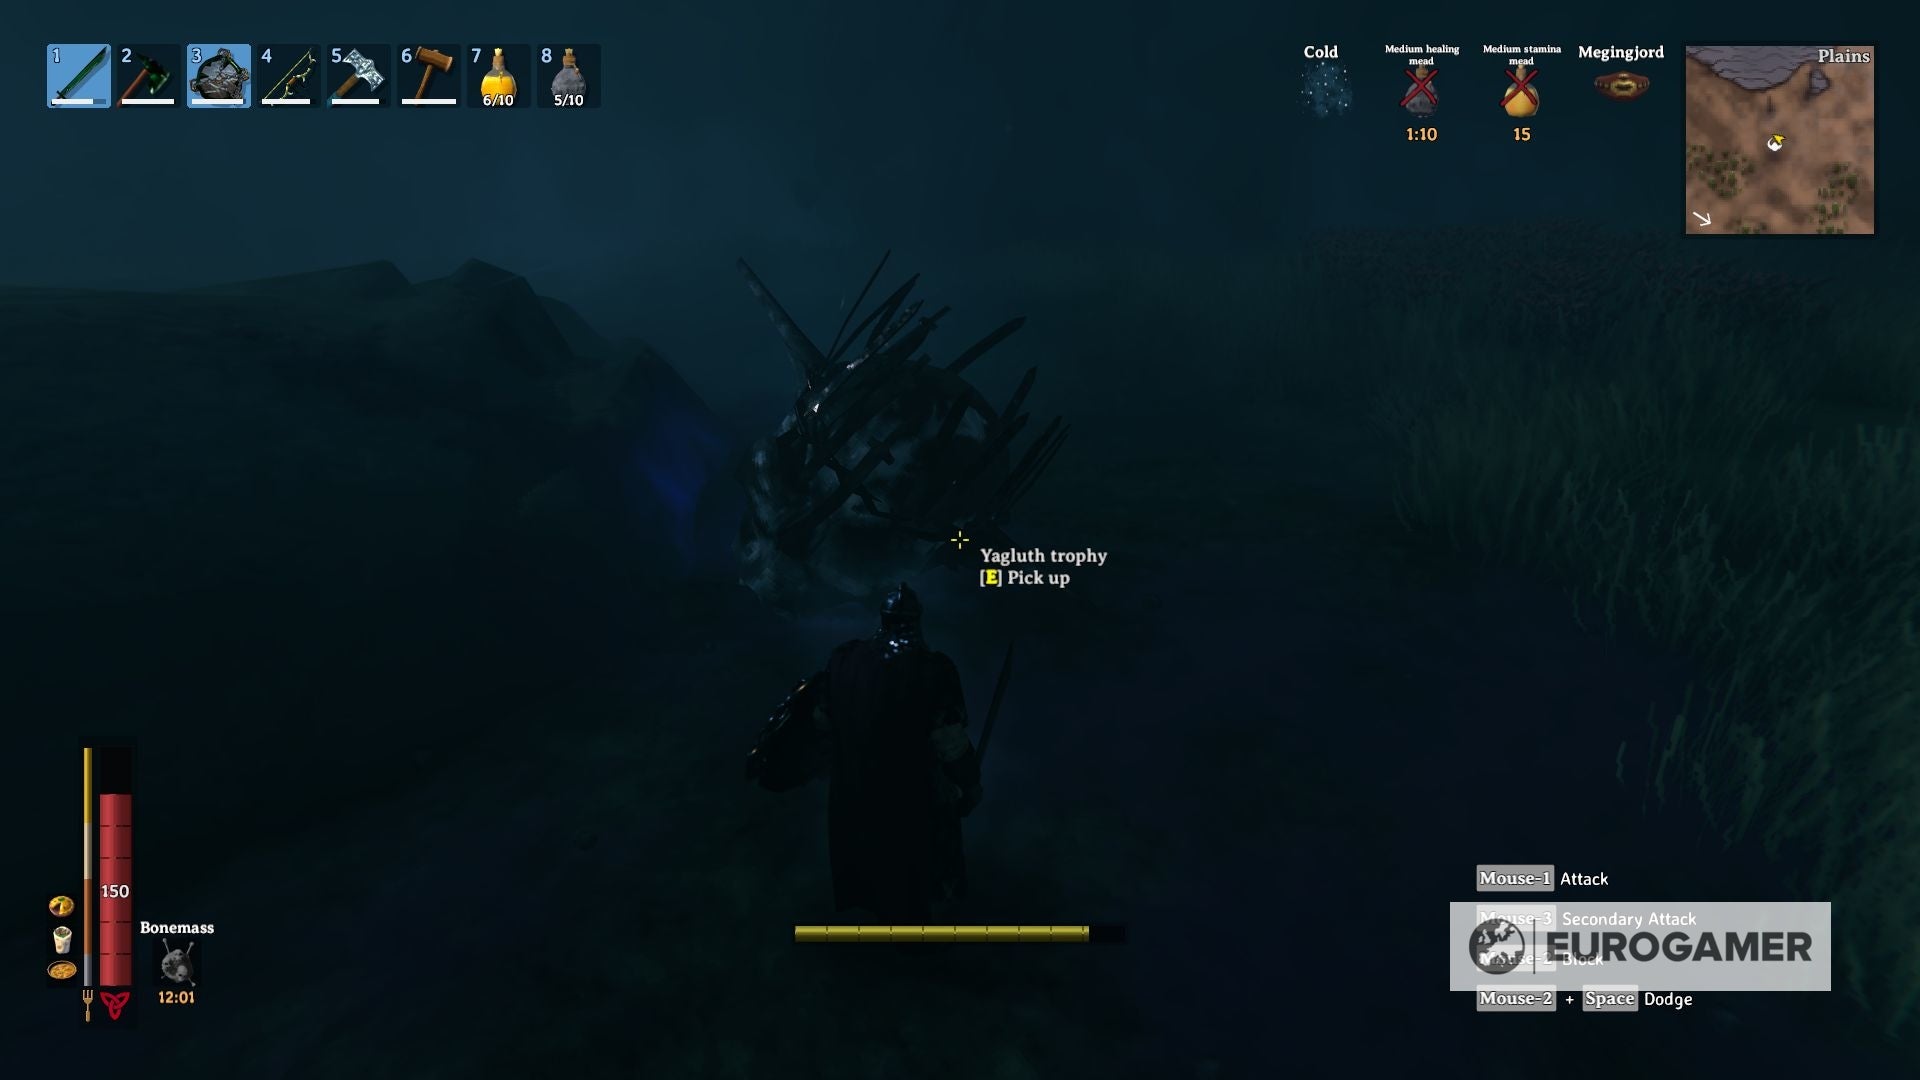
Yagluth rewards: After you defeat this boss, its respective Story-Based mostly Occasions will stop, and you’re going to get the next assured drops:
- Yagluth Trophy: This trophy, as soon as it is positioned in its respective sacrificial stone, will unlock the respective Forsaken Energy. This means will enhance your resistances towards Hearth, Lightning, and Frost for five minutes, with a cooldown of 20 minutes.
- Yagluth Factor: Yeah, you probably did learn appropriately, that is the identify of the merchandise. Since Valheim it is nonetheless an early entry sport, this merchandise is only a placeholder for now.

Yagluth story occasions: Earlier than you’re taking down Yagluth, the next might happen:
- After defeating Moder and till you defeat Yagluth, Fulings, Fuling Berserkers, and Fuling Shamans will raid your base in random intervals of 120 seconds.
put together for Yagluth: Okay, that is it. You reached the tip. Yagluth awaits for you, and you’ll’t rush into this encounter, because the last boss requires as a lot preparation as you possibly can, when it comes to meals, armor, and weapons.
I am unable to stress this sufficient, when it comes to preparation there isn’t a such factor as “an excessive amount of”, take as a lot time as you want for leveling fight abilities (max them if you happen to can), cooking the most effective meals, crafting the most effective tools, and enhancing it as a lot as you possibly can.
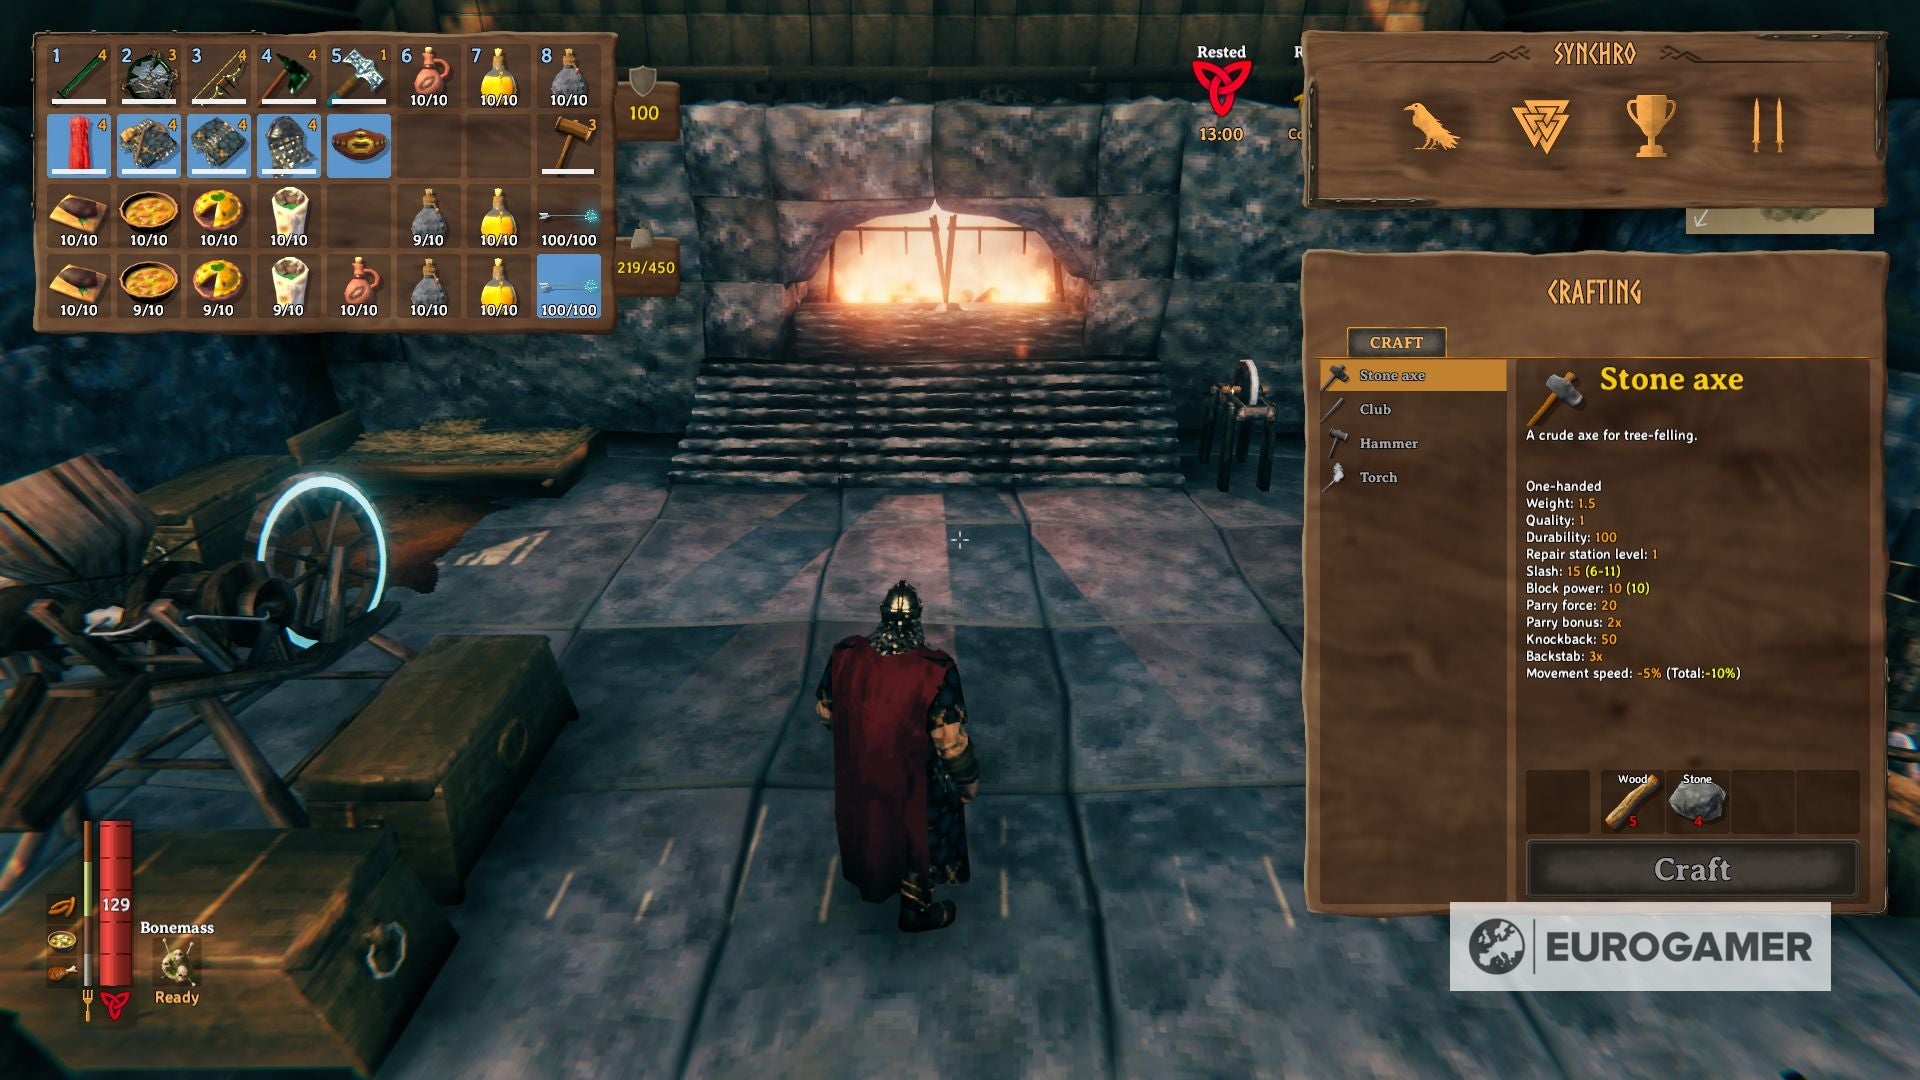
For the tools, you haven’t any different choice however to get the most effective of the most effective, which suggests Black Steel Weapons, and the entire Padded Armor set. Additionally, you will have to craft the Draugr Fang bow and craft sufficient Frost Arrows.
Crafting and upgrading all this tools will take a good period of time because it entails getting supplies of a number of biomes and upgrading all of your work installations to the max.
On the meals aspect, the really helpful meals are Lox meat pie, Blood Pudding, Fish Wraps, and Serpent Stew, with particular emphasis on Hearth resistance barley wine, to endure the flames that Yagluth will use towards you. Do not forget to take Medium Stamina and Medium Well being meads too, and you have to be adequate for the battle.
Yagluth technique
Yagluth is extraordinarily robust and will not spend a single second with out attacking you, so you should be continuously in motion and reacting as shortly as you possibly can. That being stated, he is additionally extraordinarily sluggish and he cannot climb surfaces, so you should use any column of the altar as safety, or circle across the inside altar for canopy.
Each the three actions this boss makes use of are robust, however so long as you retain your distance and capturing frost arrows from afar, it’s best to have the ability to get the timing quickly and see your openings to assault him with a melee weapon till you defeat him.
The primary motion will start when Yagluth raises a glowing fist in blue shade. As soon as he punches the ground, it can create an explosion, and whoever is within the radius will take injury. Simply transfer away sufficient to not be hit by it and you have to be alright.

Subsequent is a rain of meteors. Yeah, meteors. Yagluth’s fist will glow in orange shade, and as soon as he slams it towards the ground, meteors will rain and explode each time they land, not solely inflicting injury but in addition hearth debuff, inflicting steady injury. To be trustworthy, there is not a strategy to get out of this one however operating away as quick as you possibly can till you are protected.
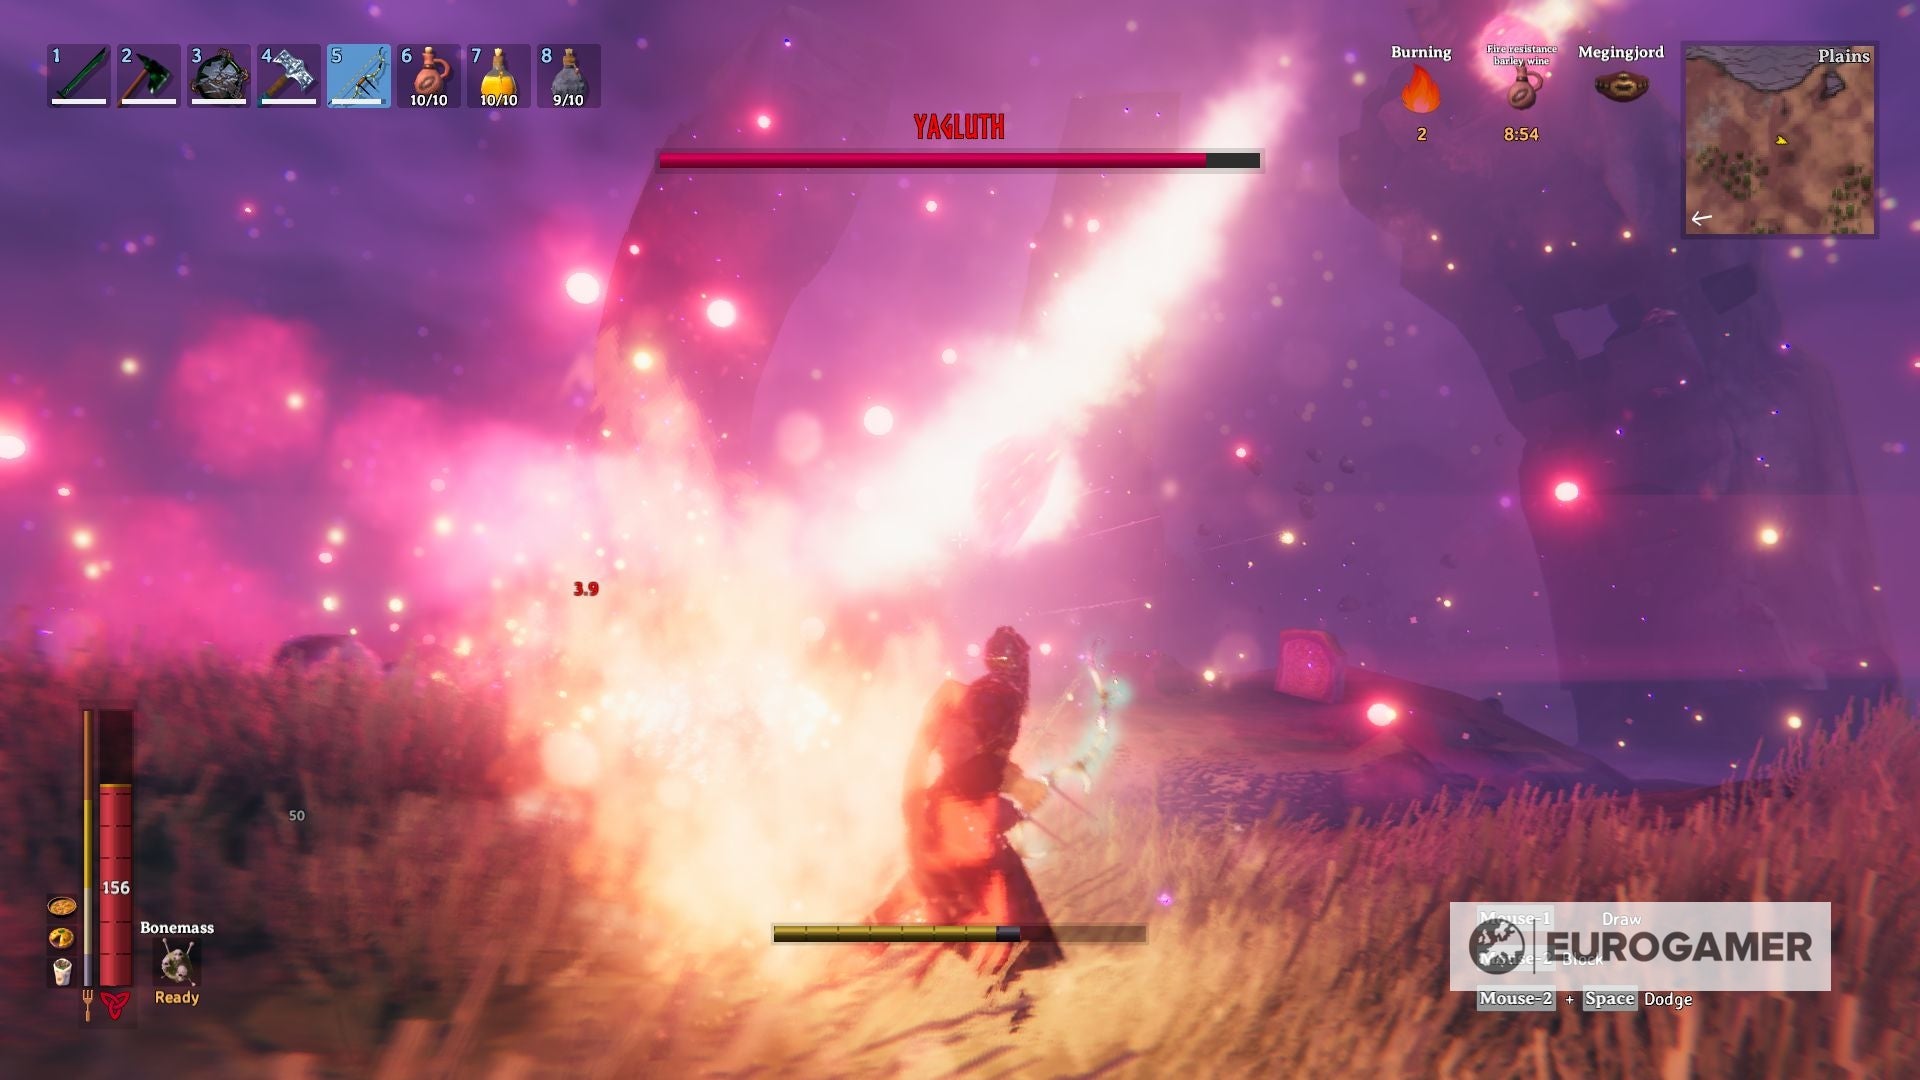
The ultimate assault is a straight breath of fireplace, which is not going to solely inflict you a Burn debuff but in addition an enormous quantity of harm if you happen to do not block or evade. Flank Yagluth or get cowl behind a column, and watch out to not be too uncovered as a result of he’ll redirect this assault if wanted.

Better of luck!
That is the entire bosses accessible in Valheim up to now! Till extra arrive, if you happen to’re trying to work with pals for a contemporary problem, our web page on devoted servers can clarify learn how to preserve a persistent sport up and operating.