The Core is among the remaining areas of Undertale, following on from exploring the Hotlands.
The next is designed to be performed as a part of a whole Pacifist information – briefly, going by way of your complete recreation with out killing something to unlock a distinct ending.
Most different endings observe the very same route and solely differ in small methods, and our wider Undertale walkthrough delves into different areas of the sport.
The Core
Observe the shadowy figures into the core and Alphys will provide you with some instructions to observe.
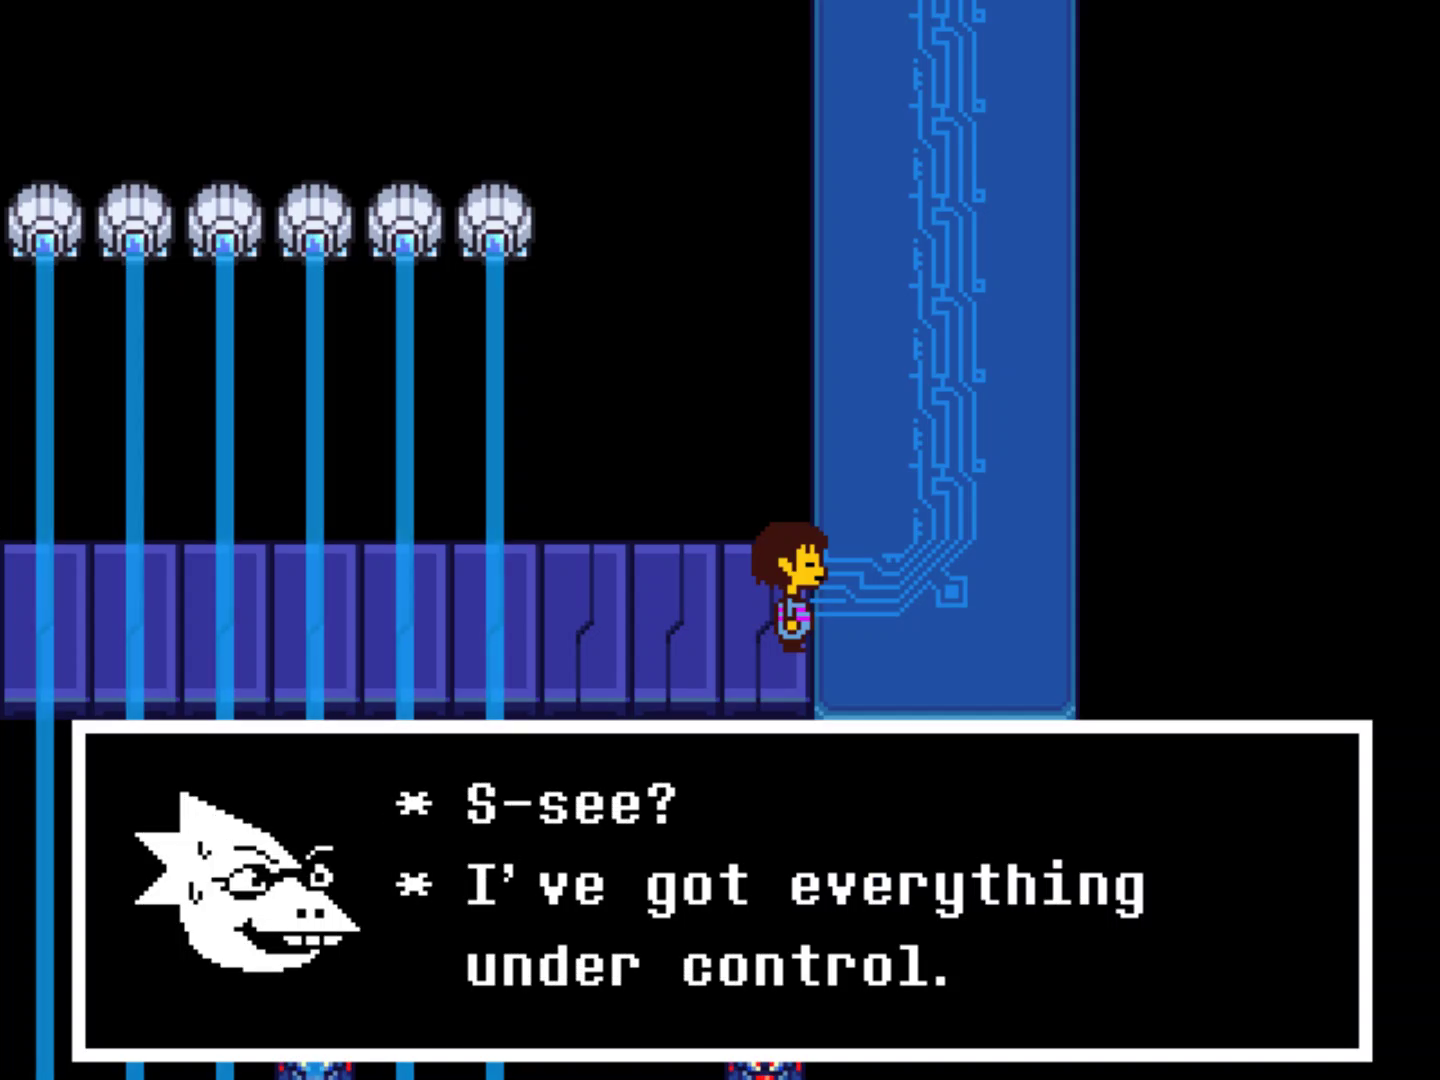
After a number of false turns you may encounter some lasers – Alphys will get the order fallacious, and so they’ll really be blue, blue, orange so let the primary two move by way of you then run east by way of the final one.
Hold following Alphys’s instructions. She’ll proceed to guide you the fallacious approach, however you continue to have to do what she tells you.
While you attain the lengthy conveyor belt the lasers will activate and off at random.
Run to the correct once they’re off, and when the display screen flashes stand nonetheless and await them to cycle on and off once more.
On the finish head north, use the save level, then head north and east till you discover a barrier blocking the exit to the correct. From right here head north so far as you’ll be able to, then east throughout the bridge to seek out the change that disables the barrier. Double again to the place it was and head east once more.
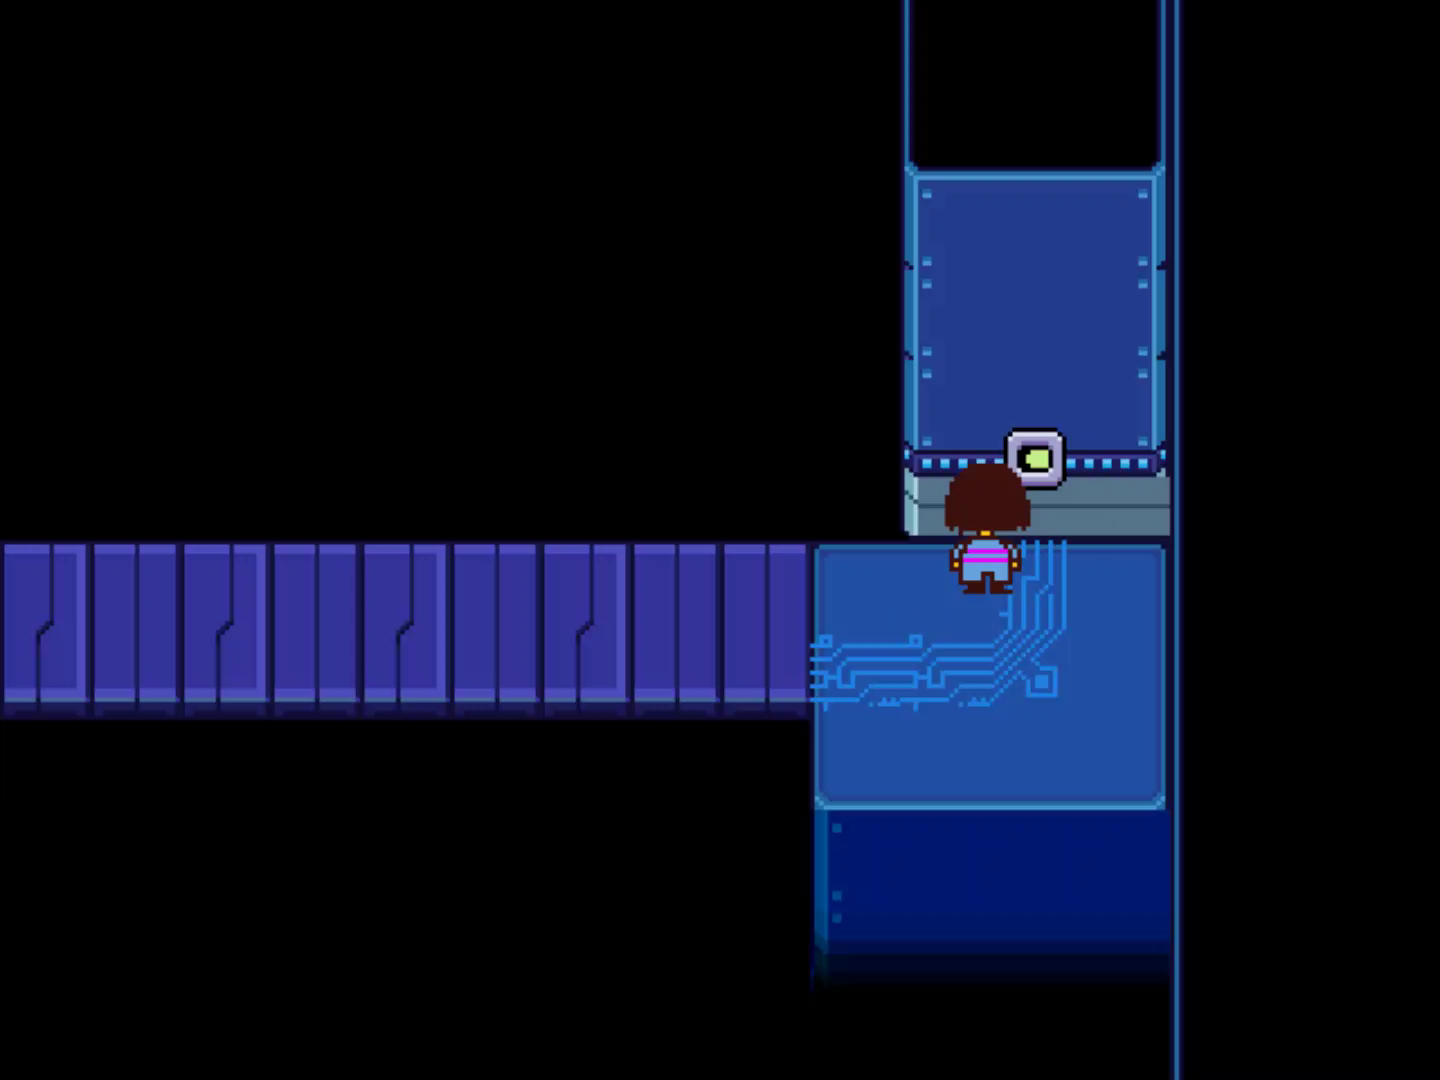
You may come to an space containing a door, a save level, and an elevator that may take you again to the doorway of The Core. Use the save level, head again to resupply in the event you want it, after which undergo the door.
Mettaton EX boss struggle
When the struggle begins you may be in your yellow kind however will not be capable of injury Mettaton in any respect. Your photographs will work towards his assaults, although, so take a defensive stance for a number of turns till Alphys calls, then use Flip Round from the Act menu and flip the change on his again.
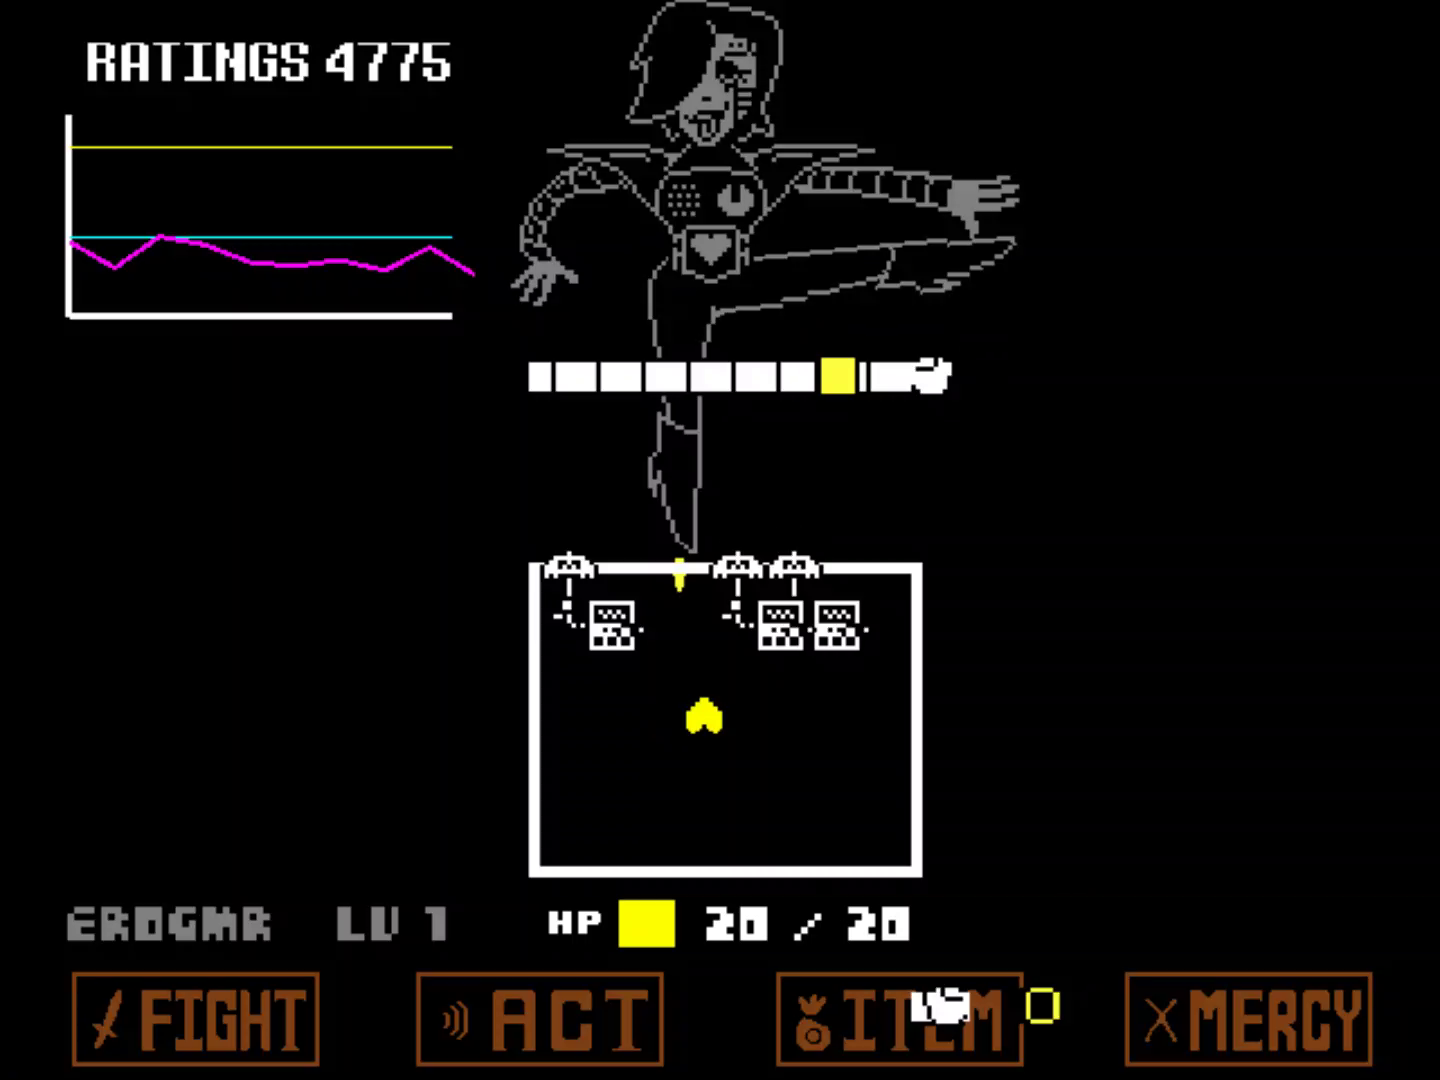
He’ll now tackle a brand new kind. You continue to cannot injury him, and as a substitute want to spice up your Rankings. Pose will provide you with a small enhance, Boast will provide you with a bigger enhance in the event you handle to keep away from getting hit by his assaults, and Heel Flip will provide you with a lift each time you’re taking injury, however until you are assured which you could keep away from getting hit we would counsel sticking to Pose.
Your Rankings will drop slowly when it is your flip, so select your actions as shortly as attainable.
He has a wide range of assaults to name on:
- Blocks and bombs: Shoot the bombs as they fall to destroy the blocks.
- Falling Arms: Shoot the yellow blocks to destroy the arms; hitting wherever else will trigger the arms to fall quicker, so precision is important.
- Disco Ball: Shoot the ball to show the beams blue, then preserve nonetheless.
As soon as your Rankings attain 10,000 he’ll spare you.
After the struggle head north; Alphys will observe you and speak to you a number of instances. Use the elevator to depart The Core.
New Residence
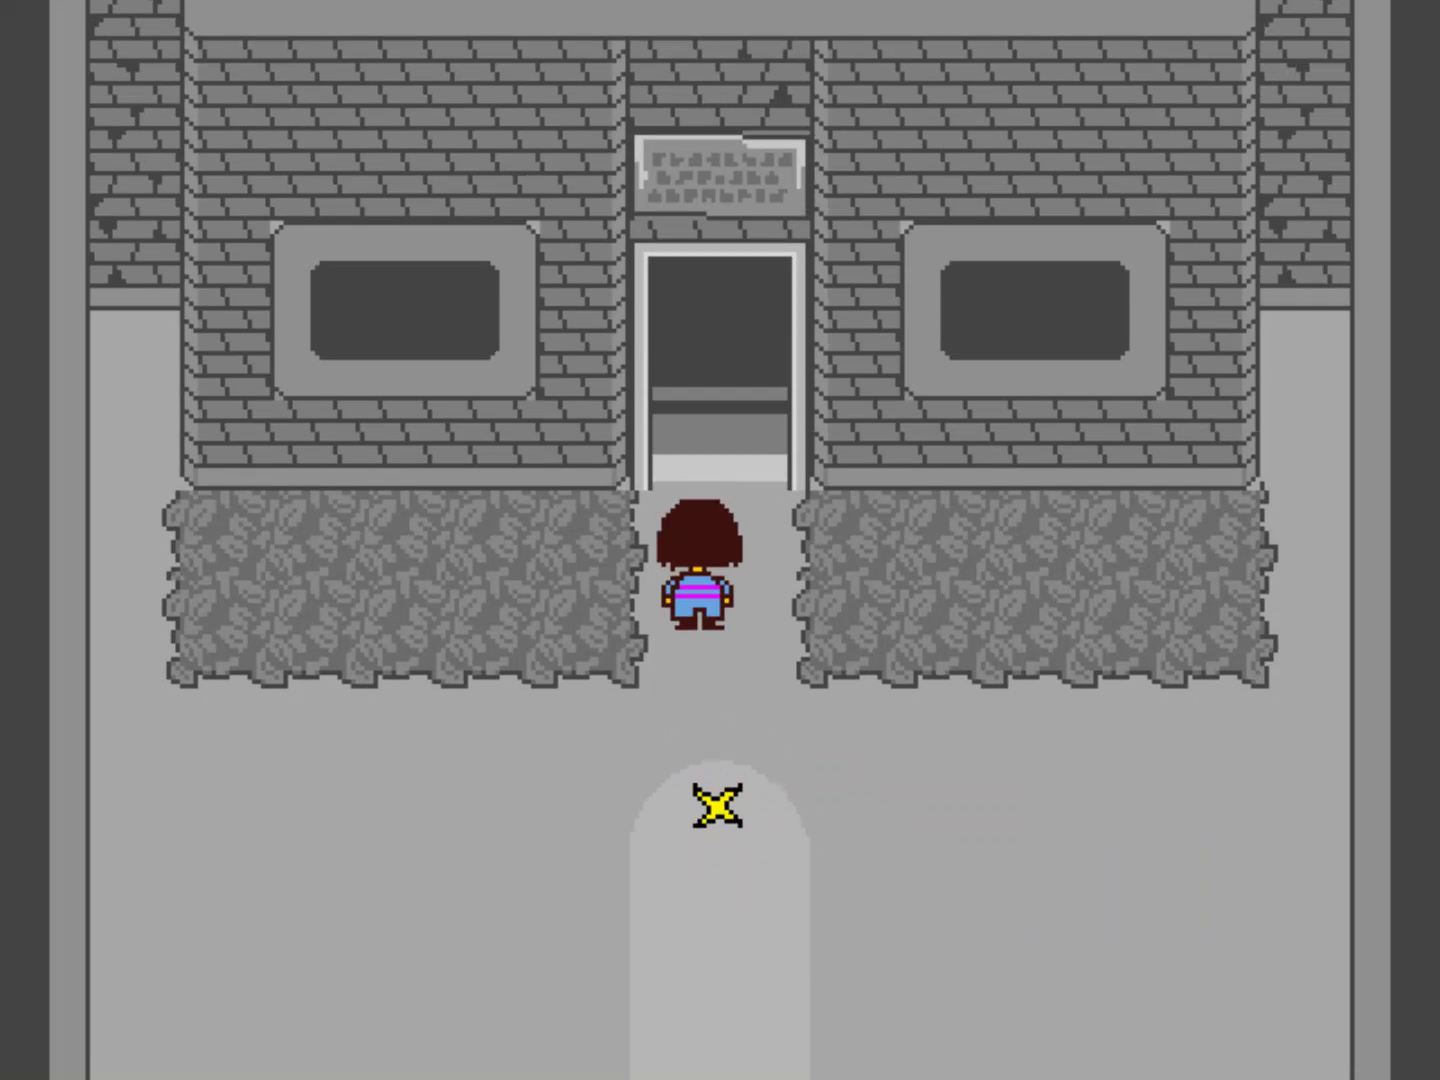
It is all a bit drab right here, and not one of the save factors will refill your HP. Observe the lengthy path by way of the greyness, ignore the elevator, and you will finally arrive at a familiar-yet-different location.
Discover the home totally to study extra about what’s been occurring, and seize the keys from the kitchen and outdoors the bed room earlier than heading right down to the basement.
Enjoying Undertale? Our full Undertale walkthrough and Pacifist information will clarify the best way to end the sport whereas sparing everybody, overlaying all areas together with the Ruins, Snowdin, Waterfall, Hotlands and The Core and extra. You can too find out about the best way to unlock each Undertale ending and all Undertale Trophies, entry exhausting mode and play the sport in probably the most evil approach attainable with a Genocide run.
Extra exposition is offered down right here, and whenever you attain the top you may discover a save level and an elevator that may take you again to the beginning of the world. Save, ignore the elevator for now, and head down after which east to fulfill up with Sans once more.
He’ll now choose you based mostly in your efficiency to this point, after which inform you you’ve gotten two choices: kill Asgore, or let him kill you.
Non-obligatory: If you need extra plot particulars, give up the sport, reload it, speak to Sans once more, and after repeating the earlier dialog he’ll provide you with a secret password. Give up and reload a second time, speak to him once more, after which give up and reload as soon as extra; Sans will now provide the key to his bed room, and in the event you head again there and poke round you could find out extra about him.
Head to the far finish of the hall, head north, ensure you have the Snowman Piece and the Butterscotch Pie in your stock, and use the save level.
Hold heading up and you will meet Asgore – after the dialog observe him inside. While you attain the ultimate door he’ll provide the possibility to show again; if there’s the rest you need to do then now could be the time to do it, as when you undergo there is not any turning again.